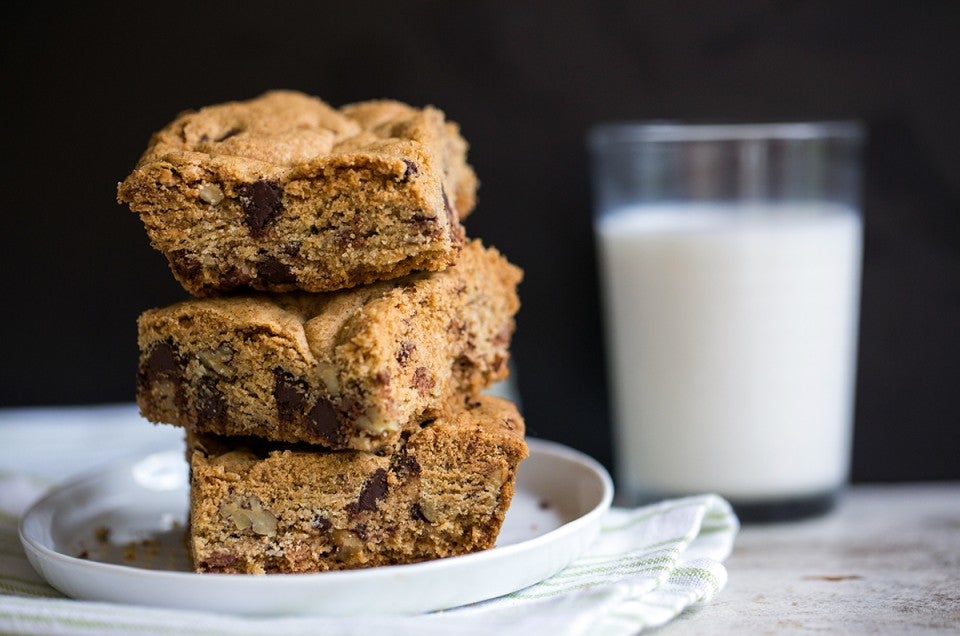


Sometimes cookie cravings hit hard and fast. All of a sudden, you find yourself dying for your favorite cookie. But all of that scooping and rotating of pans just seems like too much work. When that moment comes, you need something satisfying and sweet. This is when you pull out your secret weapon: you know how to make cookie bars from the best cookie recipes.

It might seem easy to whip up some cookie dough, throw it into a pan, and pop it into the oven to bake. But when you're making something seemingly simple, it becomes even more important to bake it to perfection.
The last thing you want is to end up with dry, hard edges to your cookie bars while the center is still raw. You also don't want the cookie dough to puff up and over the sides of the pan, spilling onto the bottom of your oven. You want freshly baked cookie bar magic and nothing less!

Here are five simple steps that'll allow you to transform cookie recipes into the very best cookie bars.
Like many projects in the kitchen, set yourself up for success by choosing the right recipe. While practically any cookie recipe could hypothetically be made into cookie bars, some lend themselves to bar cookie format better than others.

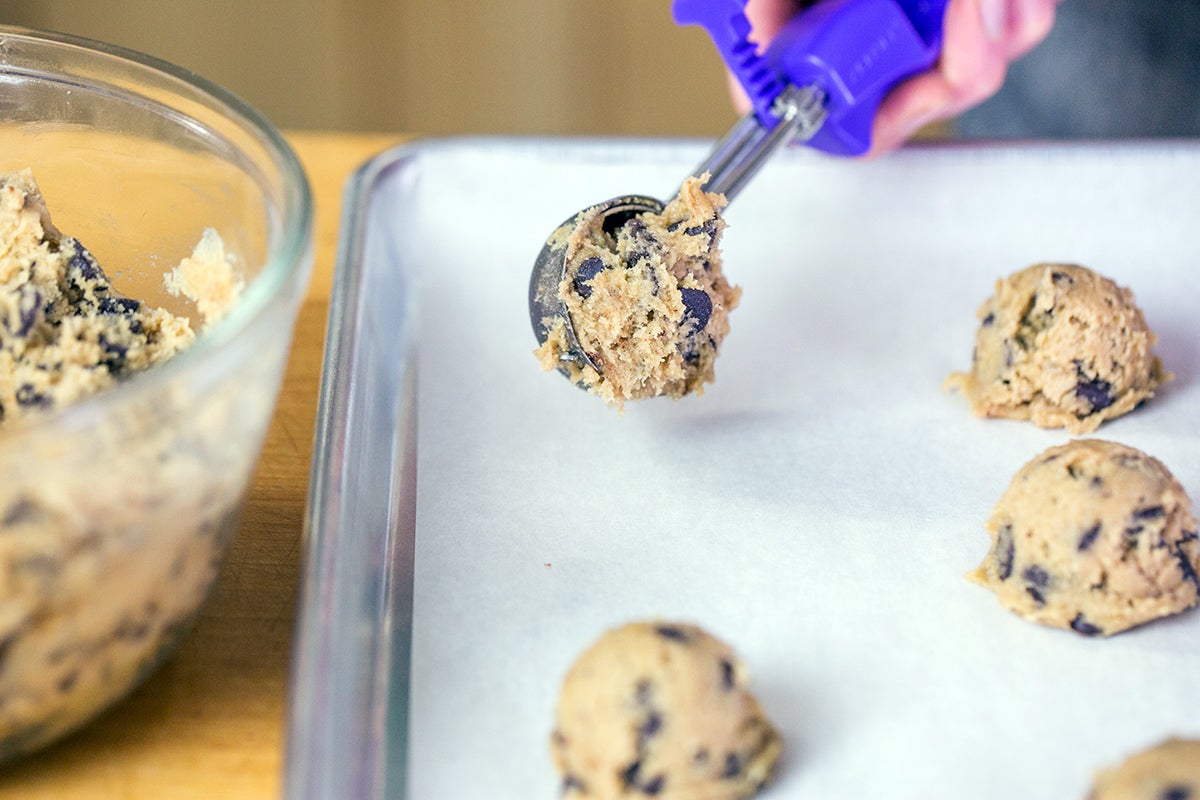
The best choice? Drop cookies. Any recipe that calls for scooping and baking on a cookie sheet is a good place to start.
Are there any exceptions? Of course! Some recipes call for "scooping" the dough or batter onto baking sheets, like our Flourless Fudge Cookies or Almond Cloud Cookies. But these recipes have a consistency that's unlike normal drop cookie dough. You can't easily press it into a pan or roll it in your hands to form a dough ball.
Regardless of whether the dough is quite wet (i.e. Flourless Fudge Cookies) or thick and sticky (i.e. Almond Cloud Cookies), stay away from recipes that you can't easily handle with your bare hands.
When you're learning how to make cookie bars, start with these fail-proof choices: Soft Chocolate Chip Cookies, Oatmeal Cookies, Ranger Cookies, or my personal favorite, Chocolate Drop Cookies.

If you're the kind of baker who just wants to cut to the chase, you can start with a recipe that's designed to be baked as bars. There's a whole treasure trove of tasty cookie bar recipes, including Hermit Bars, Take-10 Super Cookies, Camelot Dream Bars, or the ultimate classic, Chewy Chocolate Chip Cookie Bars.
But for those of you who want to have the ability to be nimble in the kitchen, read on. We're going to show you how to make cookie bars from your favorite cookie recipes. Let's bake!

Once you've chosen your cookie recipe, it's time to pick the right vessel for the dough.

Here's a general rule of thumb to guide your choice: The cookie dough should be between 3/4" and 1" thick when pressed into your pan.
Any thicker and you'll have to bake the bars to the point where the edges become hard by the time the center is baked through.
Any thinner and you'll have crispy bars that will likely crumble when sliced. If you're a fan of crispy/crumbly cookies, then you're more than welcome to use a large pan and press the dough out thinly. Just be sure to reduce the baking time accordingly so the cookie bars don't burn.

Now if you don't want to go pressing your dough out into all your pans until you find one that leaves you with the right dough thickness, we have some helpful guidelines based on the total volume of cookie dough.
To figure out the volume of cookie dough your recipe makes (i.e. how many cups), simply add up all of the major ingredients using cups. (For example, 1 cup of sugar + 1/2 cup of butter + 1 1/2 cups of flour + 2 cups of chips = about 6 cups of dough.)
Some ingredients change in volume once they're mixed (i.e. sugar dissolves, flour compacts, etc.) but you'll see that we give a range of 2 cups per pan size. A rough estimate of total volume is fine here. For this reason, you also don't need to account for anything less than 3 tablespoons.
Remember that these are guidelines rather than hard and fast rules. Use the pans that are available to you. The final thickness of your cookie bars may vary slightly based on the dough volume to pan size ratio.

Looking to make more than just a 9" by 13" or half sheet pan of cookies? Maybe you want to make a full sheet pan of cookie bars and seriously feed a crowd.
If you not only want to know how to make cookie bars but also how to make a big batch of cookie bars, read our post, Big batch brownies and bars. It covers everything you need to know to scale up your recipes and bake your bars beautifully.

Now that you have the right recipe and the perfect pan, it's time to turn to the oven. But how do you determine the right baking temperature for your cookie bars? Do you follow the temperature given in the cookie recipe or change it?
Most drop cookie bar recipes that are pressed into a pan about 3/4" to 1" thick bake well at 350°F.
Even if your cookie recipe calls for baking at 375°F or higher, I recommend turning the temperature down to 350°F. This will prevent those hard outer edges that we talked about — no one truly likes the overdone parts. (Crispy, OK. But hard and dry? No thanks.)
350°F it is for baking perfect cookie bars!

Then, how long do you bake your cookie bars?
Start with the bake time called for in the cookie recipe. Then multiply the suggested times by 2.5 to get a range of doneness.
Take our Chocolate Chip Cookie recipe for instance. It calls for baking the cookies for 11 to 12 minutes. If you multiply those numbers by 2.5x, you'll know that the cookie bars should bake for about 28 and 30 minutes. (Multiply by 3x if you opt for a smaller pan and your dough is around or over 3/4" thick.)
There's just one catch! If you lower the baking temperature, you'll need to add an additional 2 to 5 minutes to the baking time for each 25° increment of change.
With the Chocolate Chip Cookies, we lower the temperature from 375°F to 350°F, so we add 2 to 5 minutes onto our range.
That leaves us here: Bake at 350°F for 30 to 35 minutes. Voilà!

Remember to use your baking instincts and check for doneness. Cookie bars should puff up slightly around the edges and look set in the center. The top should be golden brown and your kitchen should smell amazing. You can even try inserting a toothpick or sharp knife into the center; the bars will be done when it comes out just a few moist crumbs clinging to it.

All that's left to do is let your cookie bars cool slightly, then slice into squares or oblongs. A couple tips to make this last step just that much easier:

Remember: Choose a drop cookie recipe, pick the right pan size, and bake at 350°F for 2.5x longer than the cookie recipe calls for. You can even follow these same steps if you're looking to bake gluten-free. It's an easy process with a delicious reward!
We hope you'll take your favorite drop cookie recipe and turn it into bars the next time you're looking to make something sweet.

Do you have more tips or secrets for how to bake cookie bars? Let us know in the comments, below.
Thanks to Anne Mientka for taking the photographs for this post.