


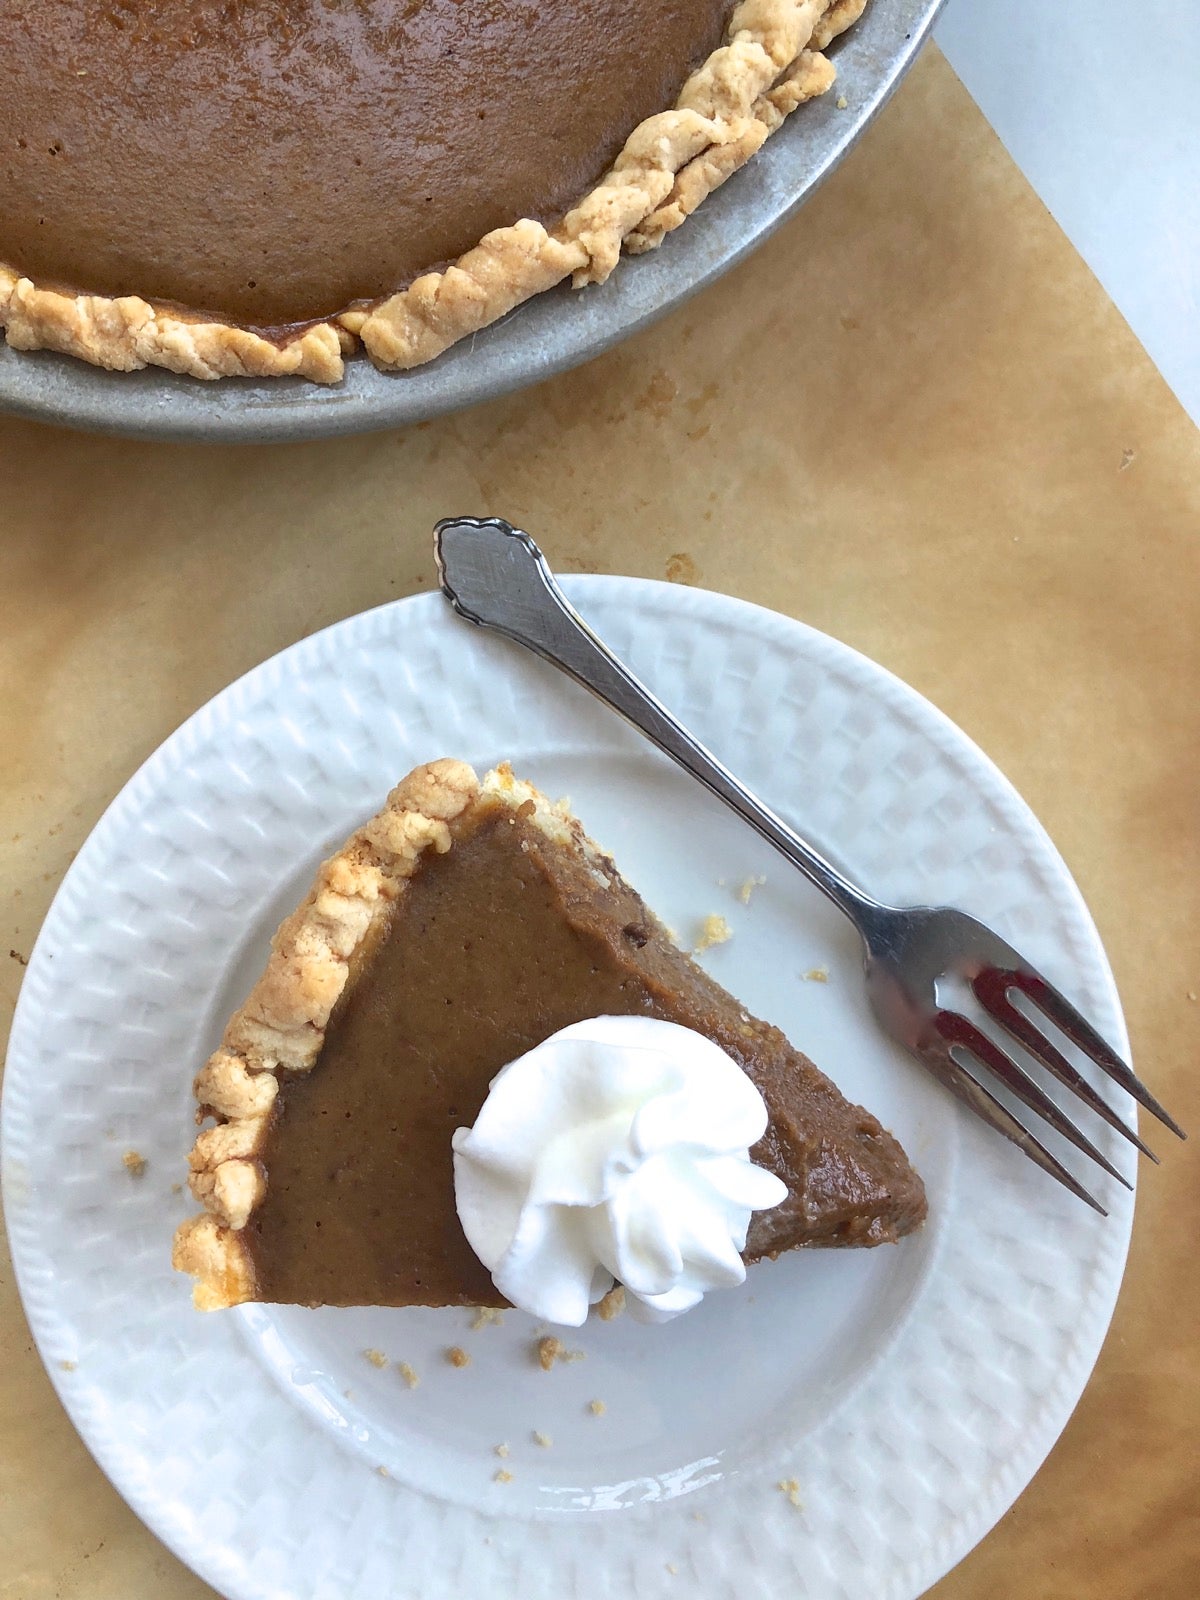
Warm apple pie à la mode. Super-smooth, luxurious pumpkin pie topped with a dollop of cinnamon whipped cream. Classic pecan pie, with its signature salt-sugar crunch in every rich bite. Homemade pie: what’s not to love? Well, maybe the fact that you need the time to put together the crust and get out your rolling pin and flour your counter and gently, GENTLY roll out the crust while hoping the pie gods smile on you… De-stress your life! When the pie urge hits, make and freeze pie crust is a game changer.
I won’t skate around the issue: compared to cookies, muffins, and most cakes, making pie crust can be a technical challenge, as well as a potential time sink. Working the fat (often two kinds) into the flour, nailing the right amount of liquid for optimum flakiness (and handle-ability), rolling without tearing or sticking, then oh-so-carefully transporting the resulting crust into its waiting pan — frankly, it can be a painful process, especially for those of us who don’t make pie frequently.
Enter make and freeze pie crust. While it doesn’t shorten the overall pie-baking process, it does break it into more manageable steps. Make crust now, freeze it, and do the filling and baking later: when the blueberries are ripe or, say, the day before Thanksgiving.
It depends. When do you need to save the most time: now, or later? Making pie crust does take time, but the cadence of the process is up to you.
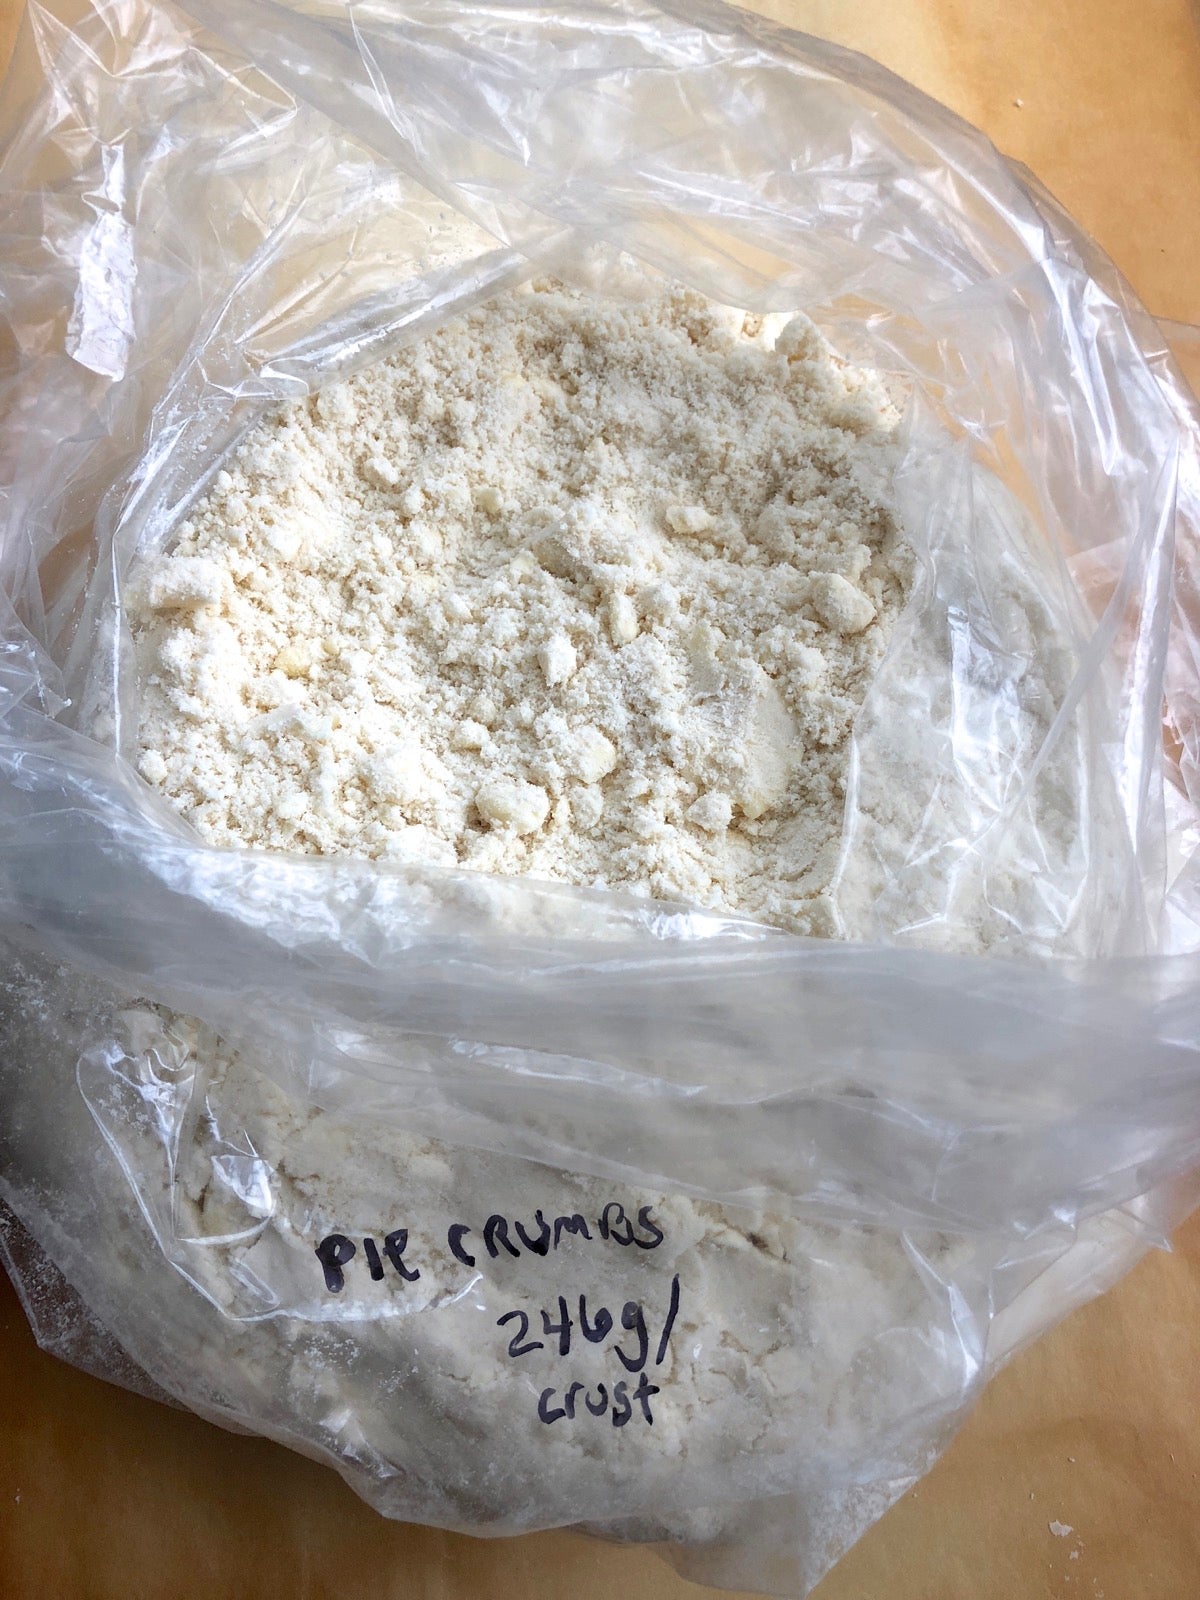
Give yourself a head-start by making pie crumbs: combine flour, salt, and fat, then bag and refrigerate (or freeze) the crumbly mixture. It's ready to be turned into pastry with the addition of liquid whenever you want. Especially if you have a stand mixer, this step is extremely quick; and you can easily make enough crumbs for multiple pies.
Plus: Very little up-front time and effort.
Minus: You still have to finish the pastry and roll it out later.
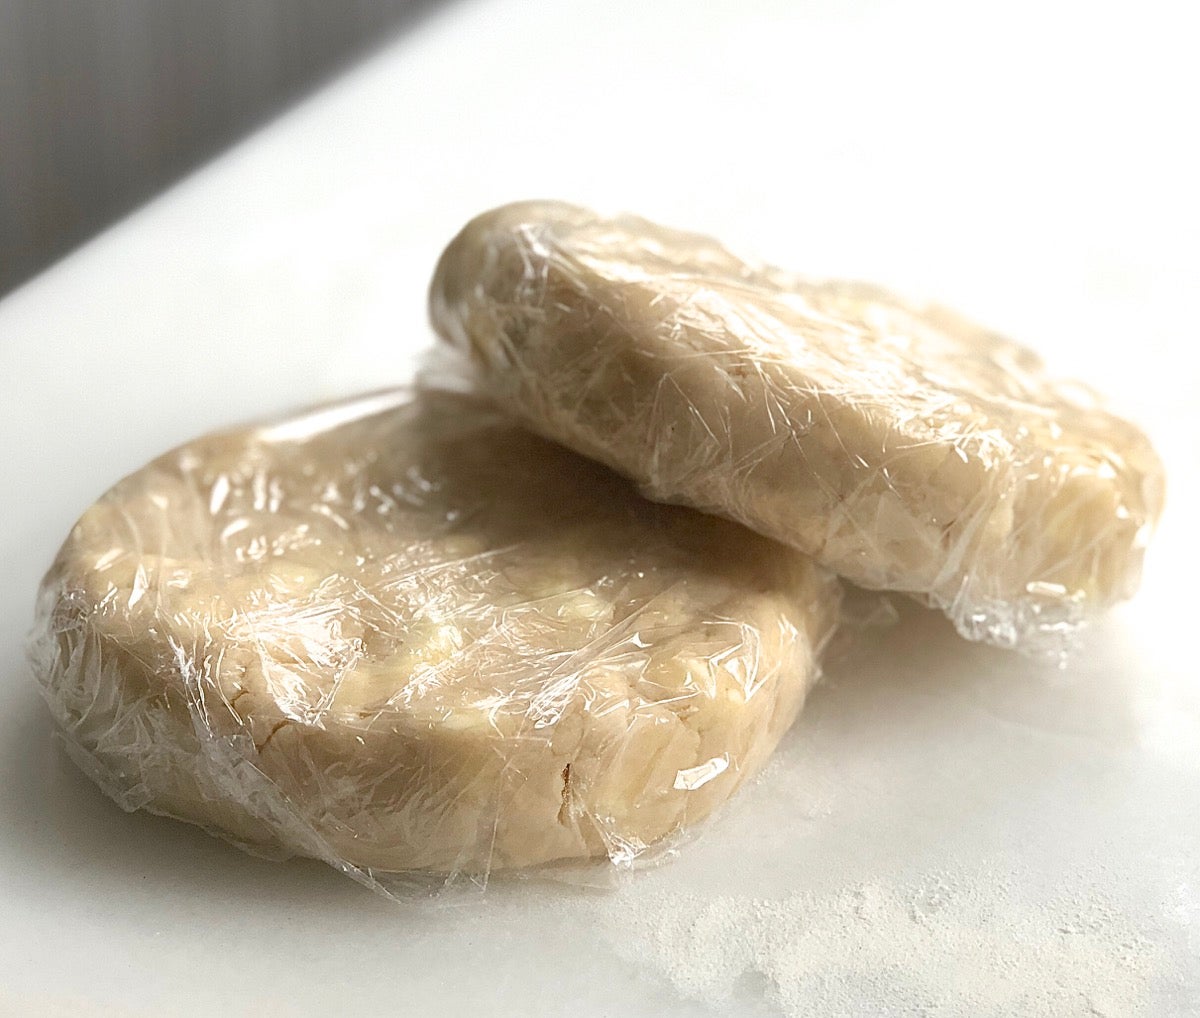
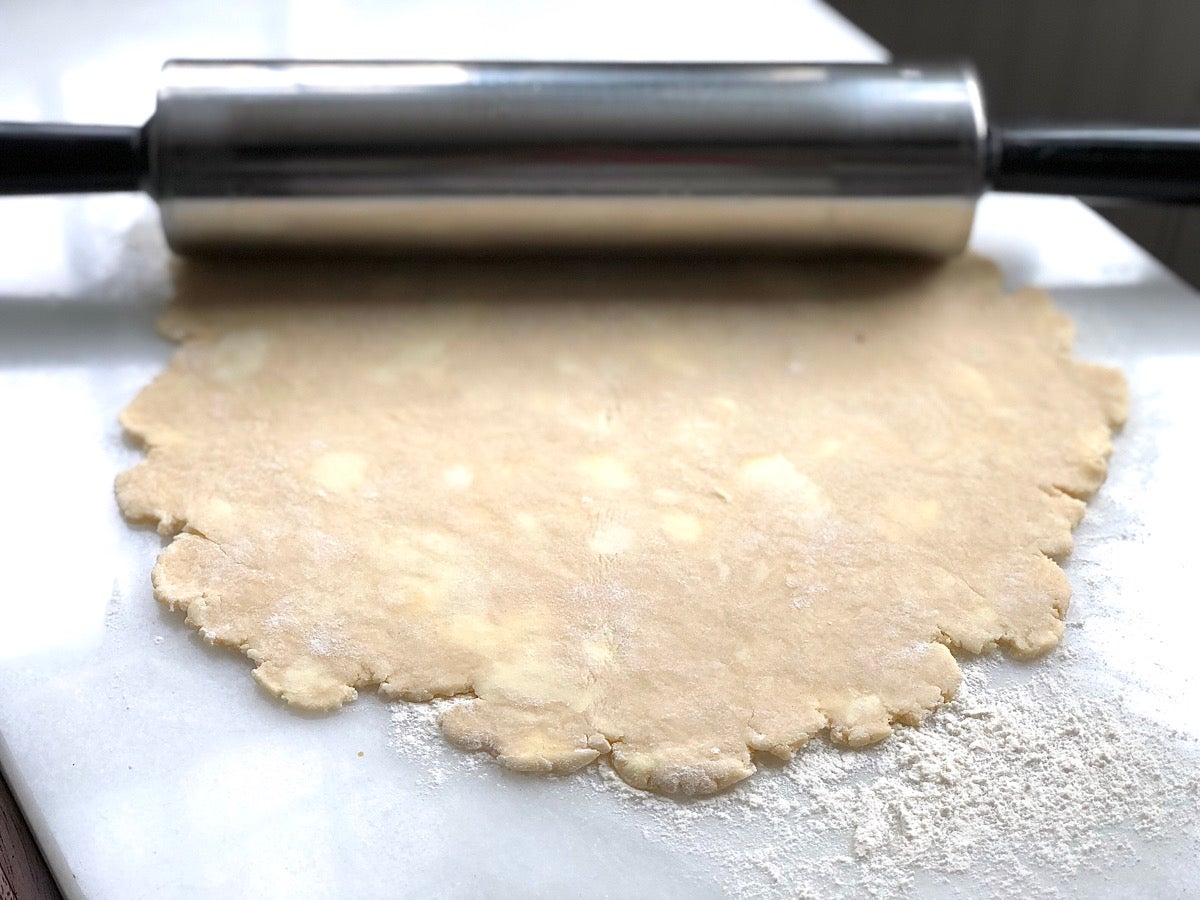
Make the pastry for crust, shape it into puck-like disks, wrap, and freeze. It's ready to thaw, roll out, and fill when the pie urge strikes you.
Plus: No rolling pin, no floured counter, minimal cleanup.
Minus: You still have to leave yourself enough time to thaw the crust, roll it out, line the pan, add the filling, and bake the pie.
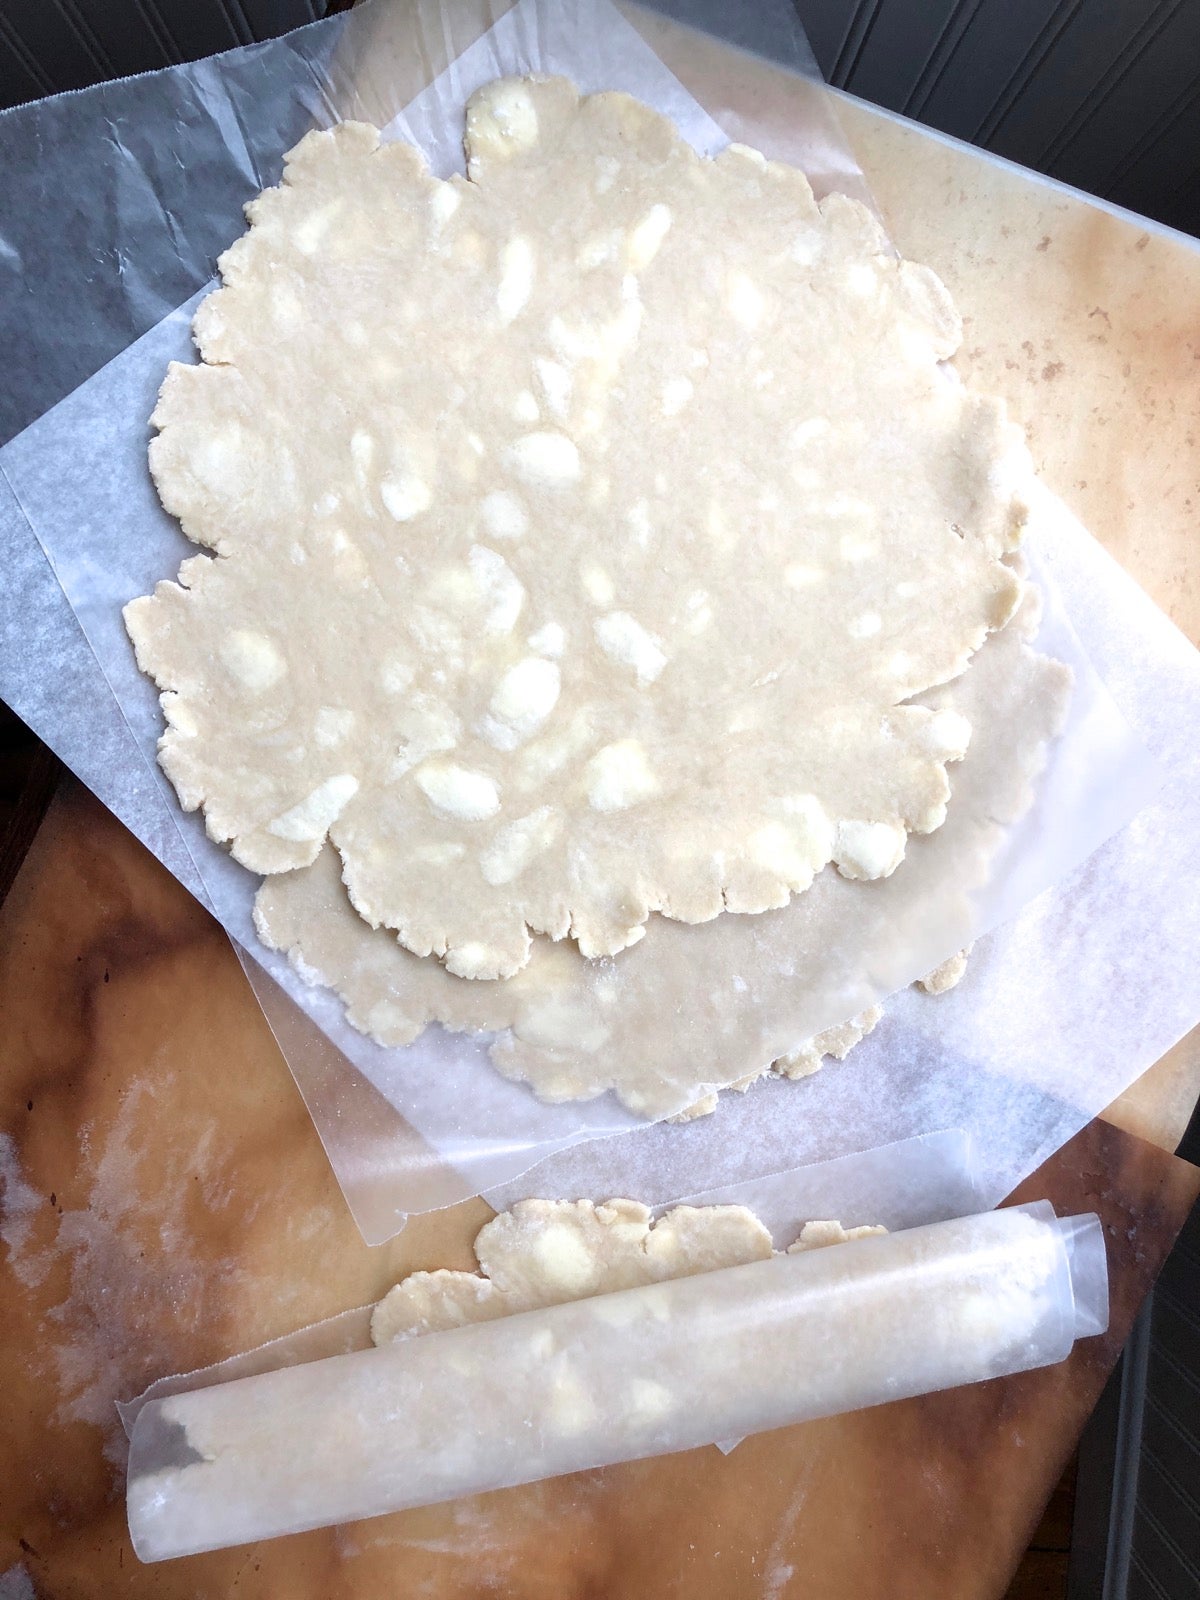
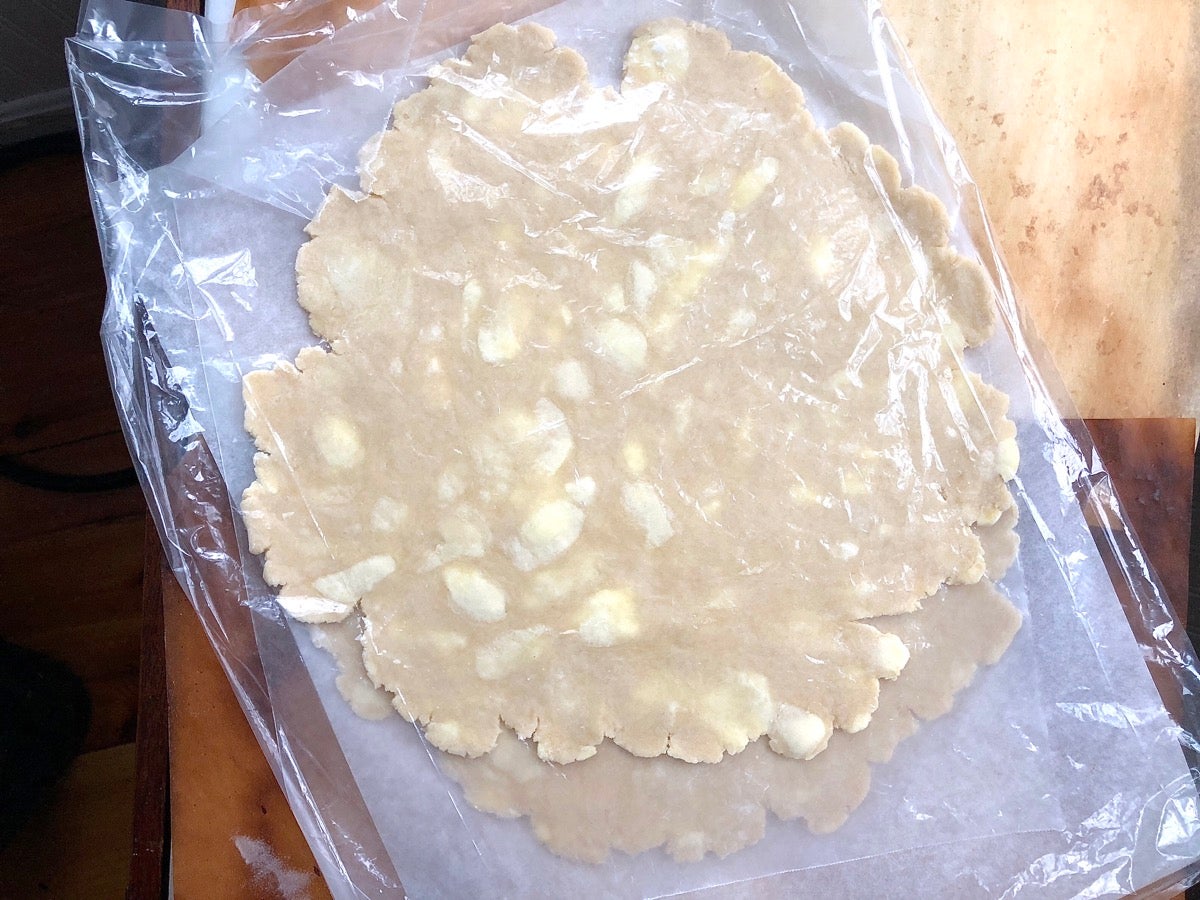
Once your pastry is made, roll it out and freeze it flat (rather than simply shape it into disks). Or fold it in quarters, or roll it into slim pastry tubes.
Plus: Pastry quickly thaws at room temperature, ready to line the pan.
Minus: It’s a bit trickier to find space in the freezer due to the pastry’s awkward shape (compared to space-optimizing disks).
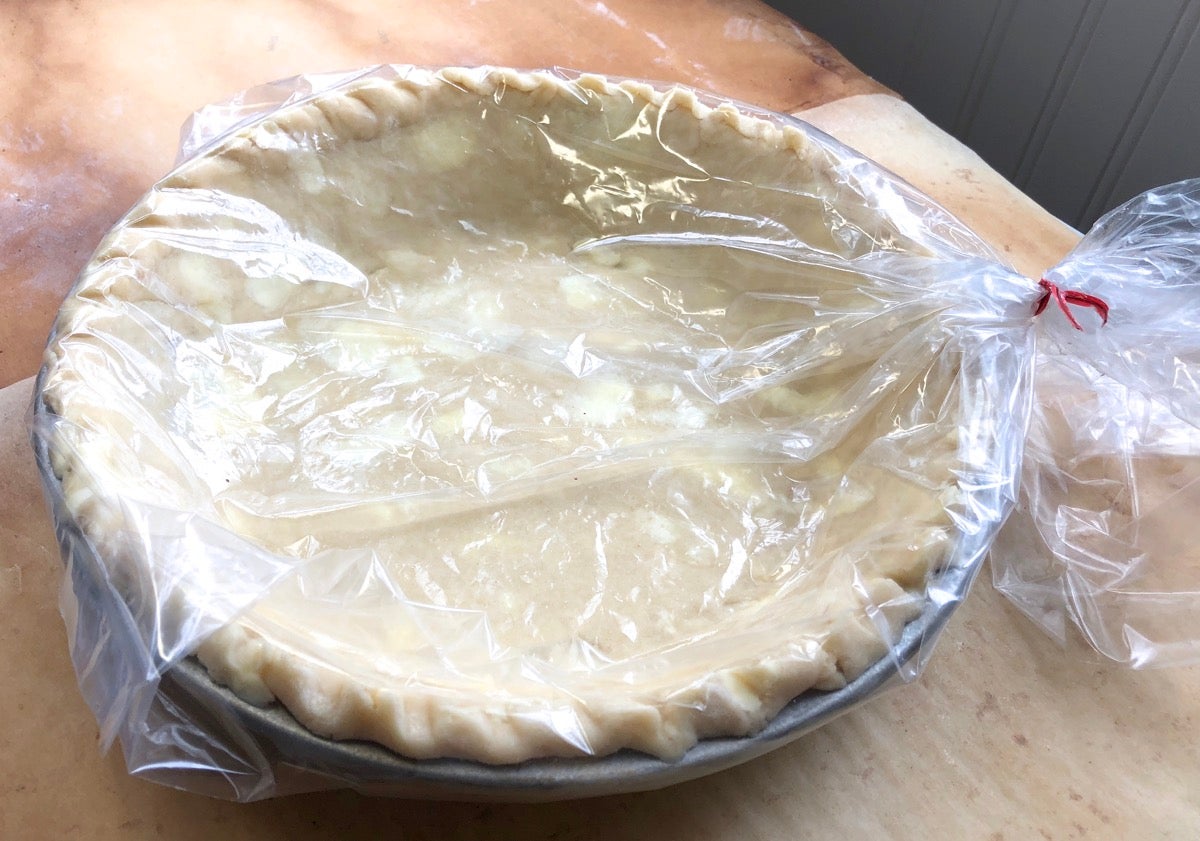
To save the most time down the road, freeze rolled-out pastry right in its freezer-to-oven pan. When you’re ready for pie, all you need to do is haul that handy crust out of the freezer, add filling, and bake your pie, giving it a bit longer in the oven since the crust was frozen.
Making a custard-based pie (e.g., pumpkin), one whose crust might benefit by some pre-baking? Go ahead and prebake the crust, then freeze it in the pan. When the time comes, add filling and bake; no need to thaw the crust first.
Plus: No mixing bowl, no rolling pin, no cleanup — no stress!
Minus: A somewhat bulky space-hog in the freezer, and ties up your pans.
Are you pie crust-phobic? We can help; discover all kinds of handy tips and techniques in our complete guide to perfect pie crust.