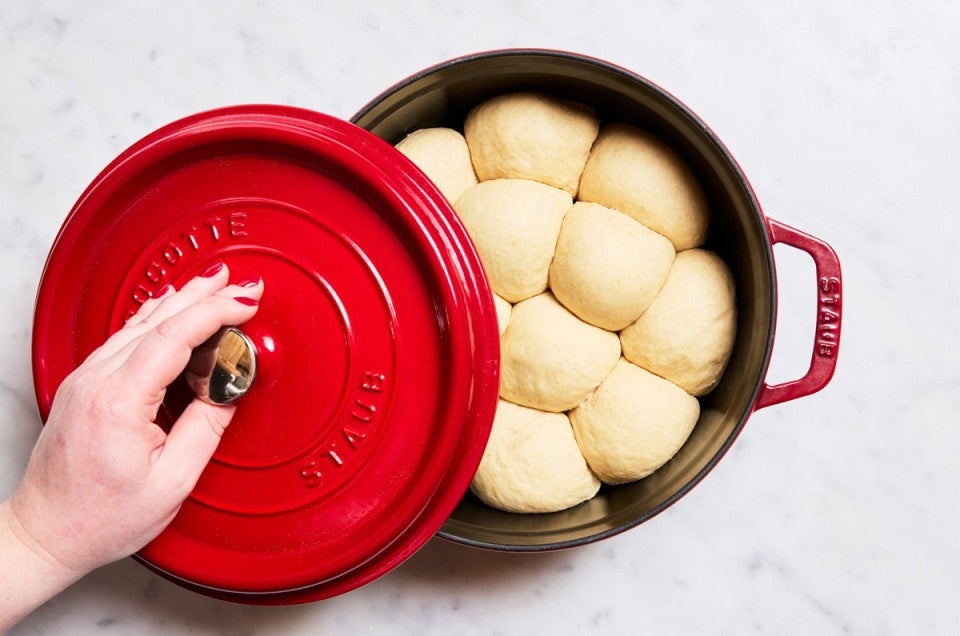
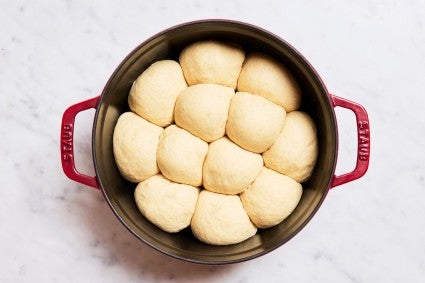
My secret to great pull-apart rolls? A Dutch oven.
This stalwart bread tool makes for great rolls and streamlined baking.


You know a Dutch oven is great for making big loaves of crusty artisan bread. But it’s also an ideal vessel for a more unexpected bake: pull-apart rolls. Here’s why.
The biggest benefit to baking bread in a Dutch oven is that it traps ambient steam from the moisture in the dough and keeps it close to the crust. This trapped moisture keeps the crust pliable and prevents it from setting too soon, which allows the loaf to rise to its maximum potential as it bakes. Baking in a Dutch oven ensures an artisan loaf has maximum oven spring (as well as a beautiful crispy crust), but it’s also a great tool to use to get high-rising rolls with a fluffy crumb, since the steam keeps the surface of the rolls moist at the beginning of baking.
Indeed, for most dinner roll recipes, you’ll see instructions to brush the top with milk, water, egg wash, butter, or something similar; this is to keep the crust moist and pliable while the bread is baking. If you trap the steam in with the rolls, you can skip this step (although I still usually brush with butter after the bake, because butter).

It’s not just about steam, though: A Dutch oven also holds and transfers radiant heat well. This heat retention contributes to even baking and proper crust formation, which means you can get a dinner roll that is soft and fluffy on the inside, but has a pleasantly crisp outer crust, as opposed to a soggy bottom (because no one likes a soggy bottom). It also means that the dinner rolls all bake together, so that the sides are still soft and peel away in translucent sheets as you pull them apart, which frankly is one of life’s greatest joys. In other words, this baking method provides the best of both worlds: You get a crisp outer crust but also the soft, fluffy texture of pull-apart rolls.
As a bonus, the Dutch oven makes an ideal proofing chamber. Bread needs a warm, moist environment to proof, and I’ve found the inside of a Dutch oven with the lid on, placed somewhere cozy like in front of a warm oven or on a dough-rising mat, to be just the ticket. This benefit is unique to rolls: When we bake artisan bread in a Dutch oven, we preheat the Dutch oven before placing the loaf inside — since the loaf is larger and has more mass, the oven needs more heat to start with. But one of the best parts of doing dinner rolls in a Dutch oven is that you don’t need to preheat it first. The smaller, flatter mass of the dinner rolls transfers heat much more efficiently, so you can just proof the rolls in the lidded Dutch oven, then pop it straight into a hot oven.

Want to get started? Try this recipe for Dutch Oven Dinner Rolls, which include dried milk in the dough for an extra-soft texture and a coating of melted butter in the bottom of the pot for a crispy bottom crust. But this method isn’t just limited to dinner rolls. You can try it with brioche buns, milk bread buns, monkey bread (like the Morning Bun Monkey Bread in my book, Baking Bread with Kids) — pretty much anything you can nestle together to bake and that you want to be soft and fluffy. Look for a roll recipe that’s meant to be baked in an 8" or 9" round cake pan, and use the baking instructions in the Dutch Oven Dinner Rolls recipe as a guide.
While buns are always a jewel of the holiday table, they’re a great back-pocket recipe year-round: They make amazing sandwiches for lunchboxes, leftovers, or just a quick snack. Break out your Dutch oven for Golden Pumpkin Dinner Rolls — and keep it around all year long for Soft Sourdough Rolls and Whole Grain Dinner Rolls, too.
From November 23 to December 31, the Cherry Staub 4 QT Dutch Oven is $220 off!
Cover photo by Patrick Marinello; food styling by Yekaterina Boytsova.


