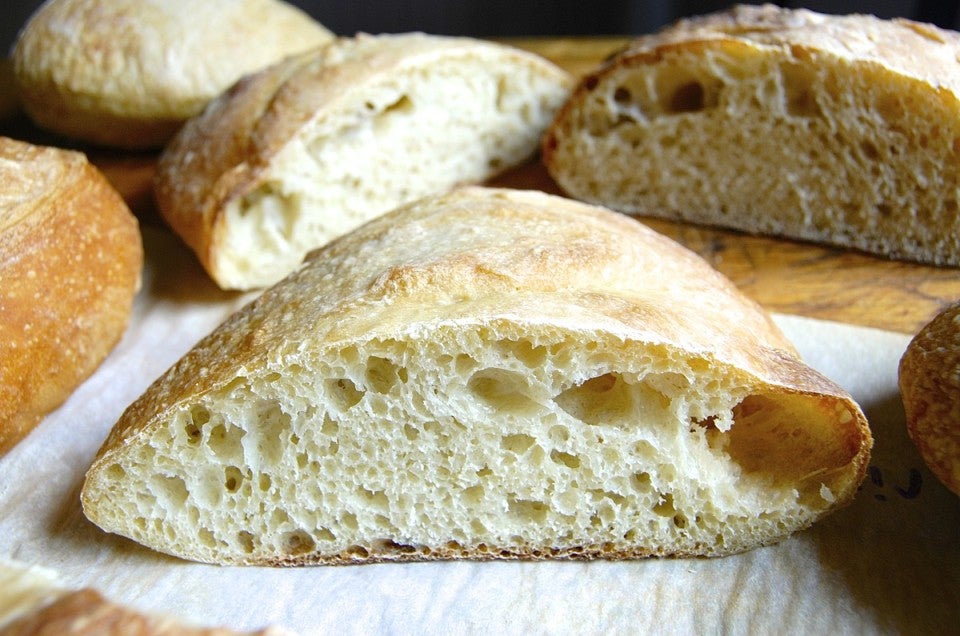


No-Knead Crusty White Bread, our 2016 recipe of the year, brings three special benefits to the table:
Let's focus on that final perk for a moment. The dough for no-knead bread is stirred together, rises for a couple of hours, then retires to the refrigerator, where it happily rests for a week or more, just waiting for you to pull off a hunk and shape and bake a loaf.
Now, you can't get any more flexible than that, can you? Make the dough, then 2 days (or 5 days, or 7 days) later — whenever you want fresh bread and have the time — bake up a loaf.
Still, there are those of you who've asked, "What about freezing no-knead bread dough? Is that a possibility?"
Since I invariably use up my no-knead dough rather quickly on hard rolls or baguettes or focaccia, I'd never thought to freeze it for later. But it's a reasonable question: is freezing no-knead bread dough a good idea?
Let's try it out.
You can stir this up using a bowl and spoon, or mix it in a stand mixer. Remember, there's no need to knead; simply mix together flour, water, yeast, and salt. See our No-Knead Crusty White Bread recipe for the details.
Place the dough in a lightly greased large bucket or bowl. Cover, and let it rise for 2 hours.
Your choice. If you freeze the dough at this point your final loaves will be a bit more golden brown than if you freeze them later, after the dough has been refrigerated for a couple of days. But those extra 2 days in the fridge don't inhibit its rise, and also enhance the bread's flavor. So as I said — your choice.
Gently deflate the dough by plunging your hand into it and briefly stirring it around. Look at the significant gluten development that happened in just those couple of hours!
If you have a scale, each piece should be about 14 ounces. Round the pieces into balls as best you can; the dough will be quite sticky and slack.

Wrap, label, and bag the dough pieces, then place the bag in the freezer.
What if you decide to freeze the dough after it's been in the fridge for a couple of days (or longer)? Follow the same process. Divide, wrap, freeze.
When freezing no-knead bread dough, how long can you keep it in the freezer?
We've found, in previous experiments, that anything over 2 weeks starts leading to deterioration in its rise. So best to bake frozen loaves within a couple of weeks.

About 4 hours before you want to bake bread, take a piece (or two) of frozen dough out of the freezer.
Note: You can save yourself at least a couple of hours' rising time by transferring dough from freezer to refrigerator the night before you want to bake bread.

Unwrap, and place it on a parchment-lined (or lightly greased) baking sheet.
Notice the different doughs I'm testing: zero rise before baking, and 2-hour rise before baking. I also tested dough that had been refrigerated overnight; for 48 hours, and for 7 days. In the end, all of the loaves worked OK; though the dough at each end of the experiment (no rise at all; 7 days in the fridge) produced lower-rising or less-browned loaves than the other options.

Cover the pan, and let the dough thaw and then rise. This will take 4 to 5 hours, perhaps even longer if your house is cold. It won't rise so much as spread.
Towards the end of the rising time, preheat your oven to 450°F.

Spray the loaf with warm water. Give it three diagonal slashes using a lame, or the sharpest knife you have; or if you doubt your slashing ability, use a pair of scissors.
Quickly put the bread into the hot oven. It may deflate a bit when you slash it; no worries, it'll pick itself up once it hits the hot oven.

Bake the bread for 20 to 30 minutes, until it's a deep golden brown. If it's still pale after 25 minutes, take its internal temperature; if it's over 200°F, the bread is done and you can take it out of the oven, brown or not. Leaving it in past about 205°F may result in a drier loaf than you like.
So at the end of the day, is freezing no-knead bread dough a good option?

Yes, freezing no-knead bread dough is definitely an option. If you're departing on a trip with some of your no-knead dough still left in the fridge, or supremely busy — go for it. The bread you make will be crusty and delicious, albeit denser and not as tall. Caveat emptor: dough that's been refrigerated 7 days or longer before being frozen will bake into a loaf that's only about 1 1/2" high. Tasty, but quite heavy.
Got some no-knead bread dough in the fridge right now, with no prospects for baking bread in the near future? Freeze it! You'll thank yourself a couple of weeks from now.
What else can you do with your no-knead bread dough? Turn it into pizza crust, for one. And if you’re looking for other tasty transitions, check out our suggestions for savory (and sweet) add-ins.


