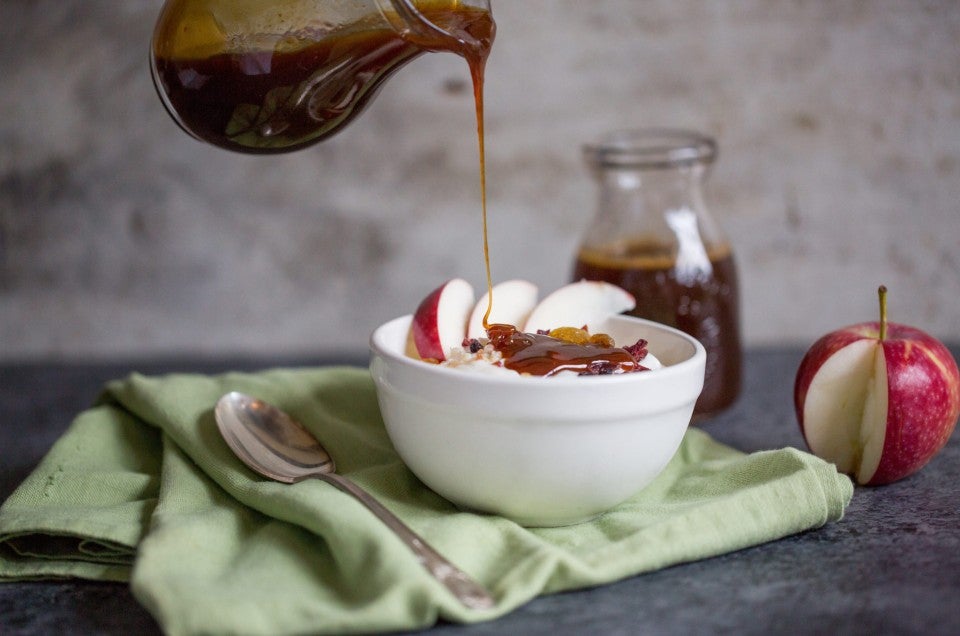


Boiled cider: a thick, syrupy, apple-scented secret ingredient that brings your favorite apple desserts from good to "how on earth did you make this?!"
Wood's Cider Mill creates this pantry staple here in New England. But what happens when you finish the last drop and have a hankering for pie or Apple Cider Caramels?
In a pinch, you can make homemade boiled cider. All you need is fresh apple cider, a pot, and time.
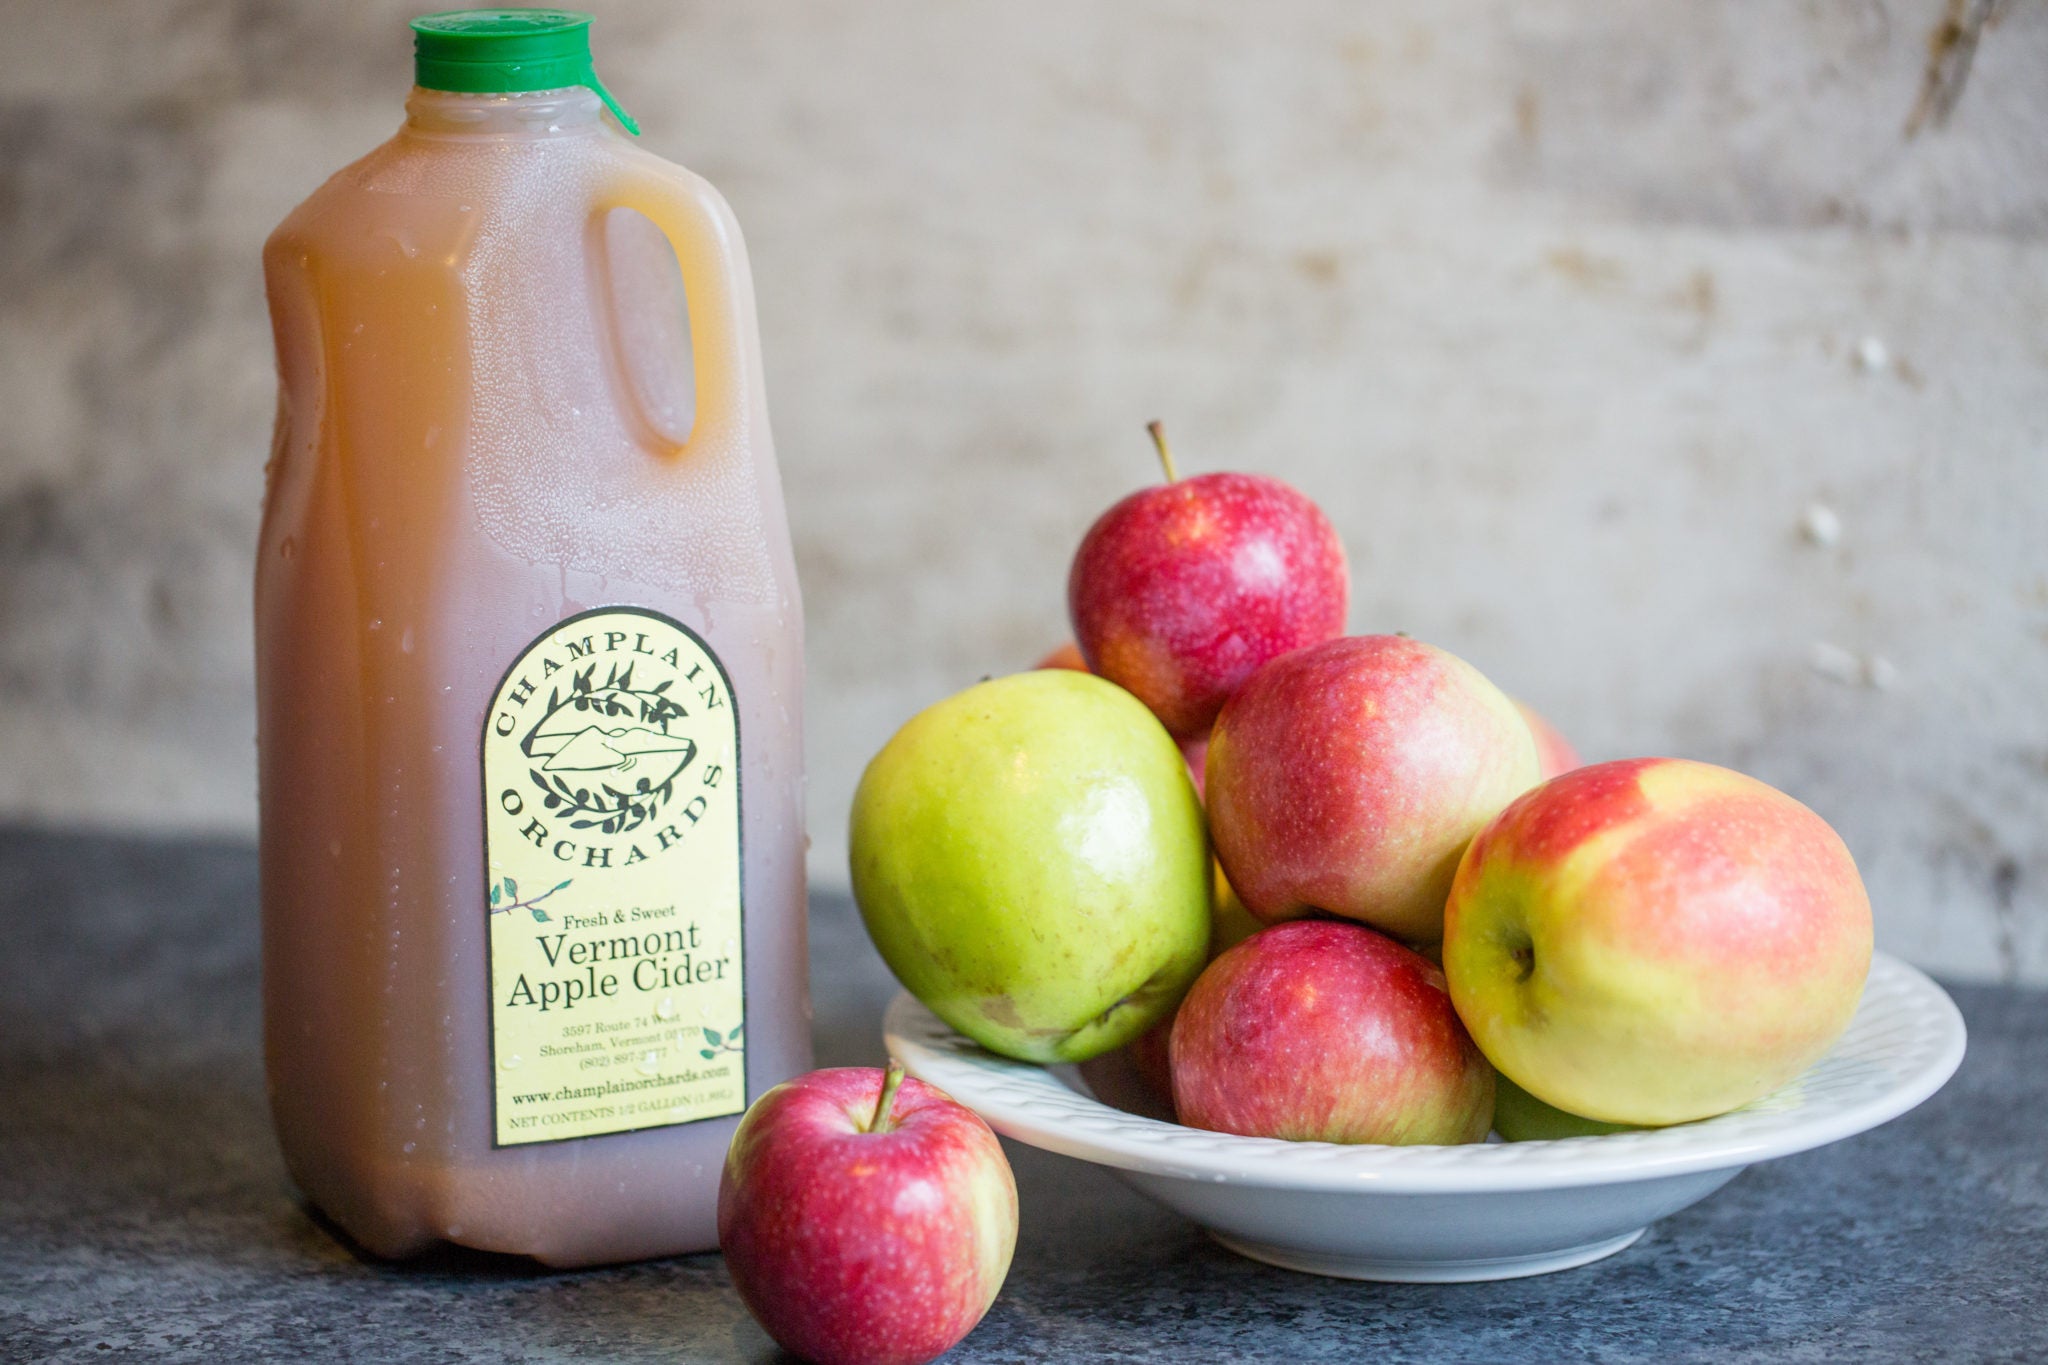
So, how much apple cider do you need? A gallon (3,969g) of fresh cider will reduce down to about 2 cups (690g). Since the cider takes up to 6 hours to boil down, I'd recommend starting with at least a gallon to make it more worth your time.
Select a large, sturdy pot designed for long-term stovetop cooking, such as a cast iron pot or Dutch oven. For a gallon of cider, I use a pot that holds at least 5 quarts.
Bring the cider to a boil over medium heat. Once boiling, turn the heat to low and let it simmer for 5 to 6 hours, giving a couple of quick stirs twice every hour. Starting around hour five, stir more frequently — every 15 minutes or so.
Note that cook time will vary depending on your stove and which pot you choose. In testing, the boiled cider I made in a metal pot took five hours; in a cast iron pot, six.


After the kitchen has been filled with apple-scented steam all day, I feel a little impatient waiting for my boiled cider to be ready. There are a few ways to test if it's done.
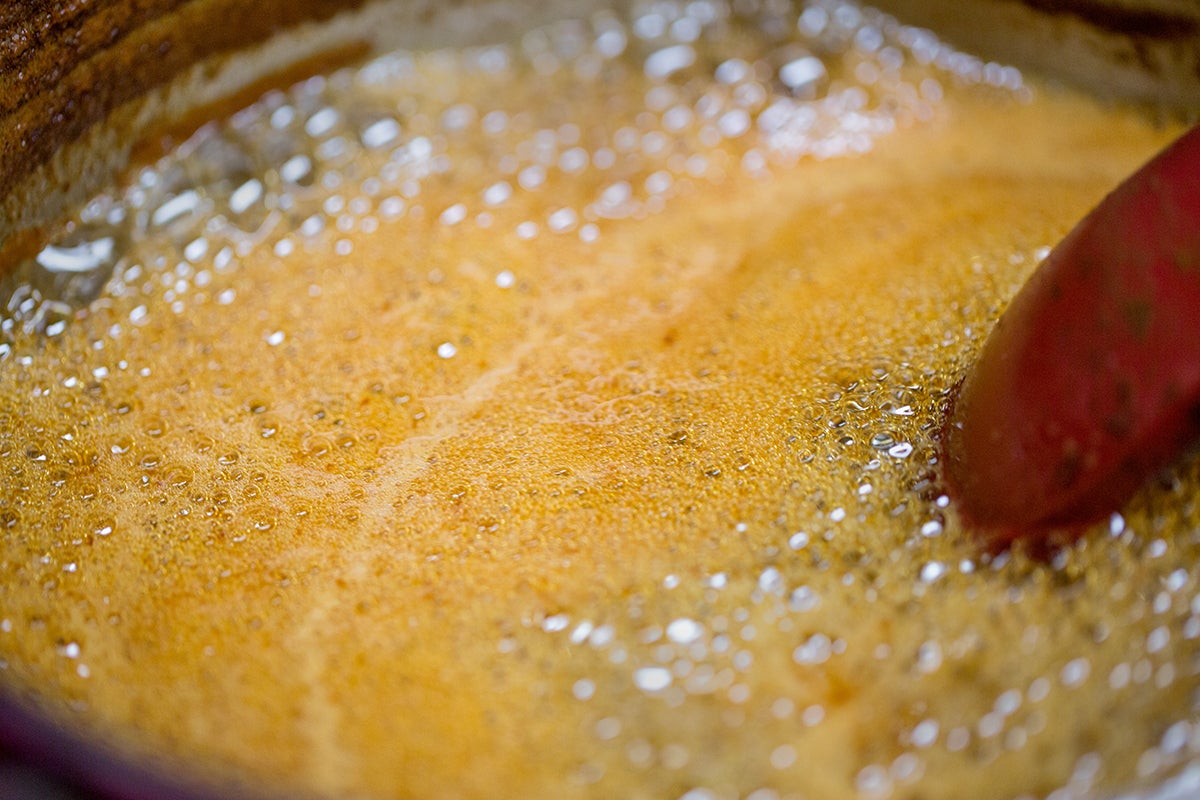
Bubble color: I know it's done when I stir it and dark copper-colored bubbles form, covering the entire surface.
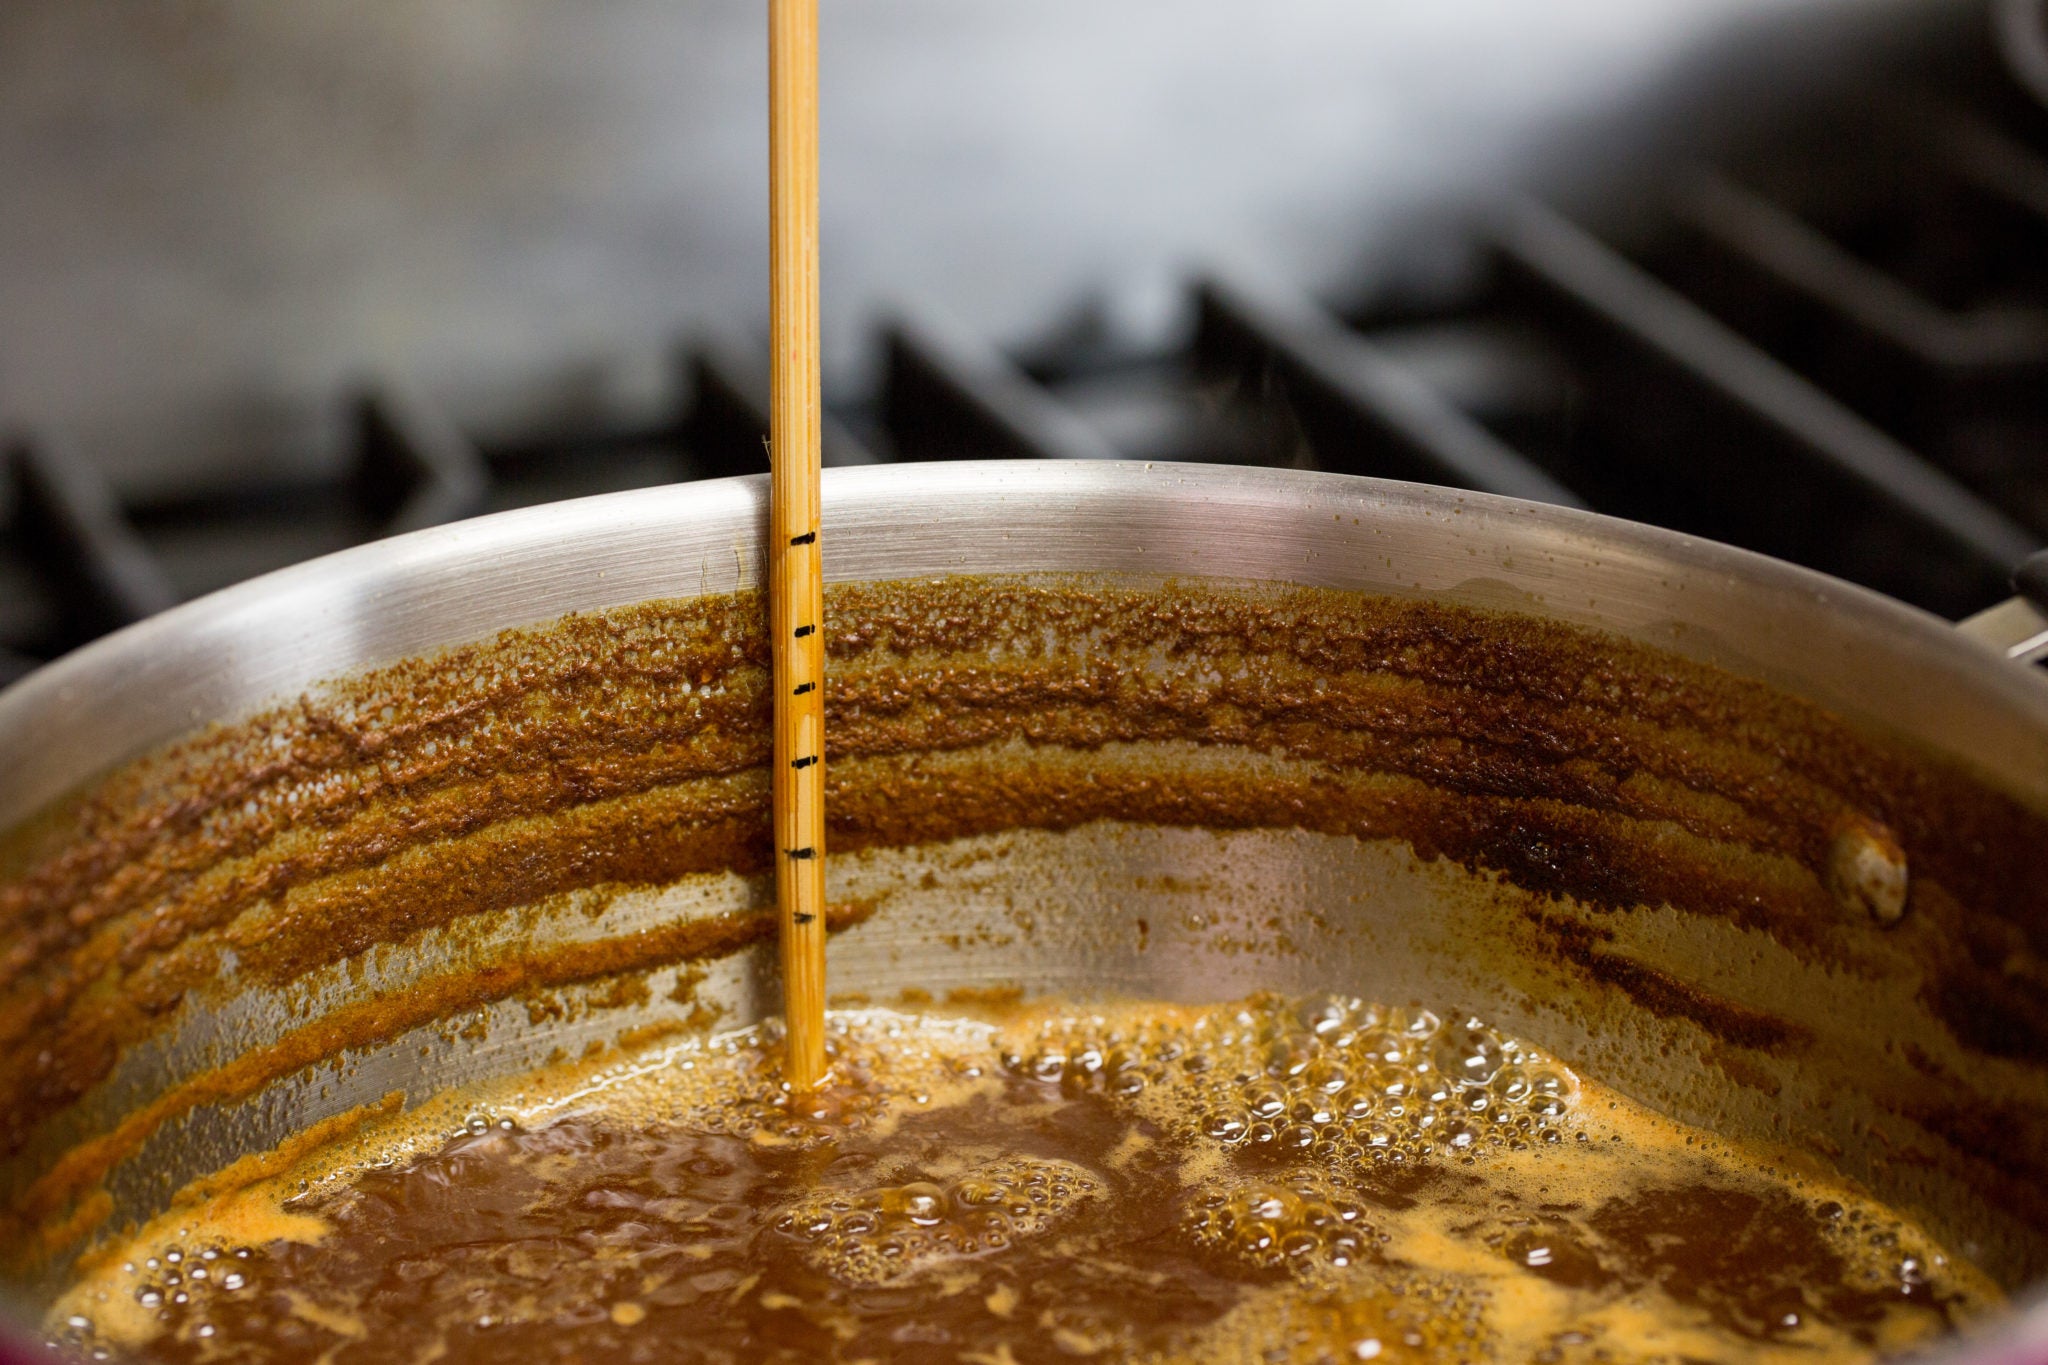
The chopstick test: The cider will boil down to about 1/8 of its original volume. The easiest way to track this is to place a skewer or chopstick into the cider before turning on the heat. Mark the height of the cider on the chopstick before you start boiling it. Repeat once every hour, marking the new height until it's about 1/8 the original height.
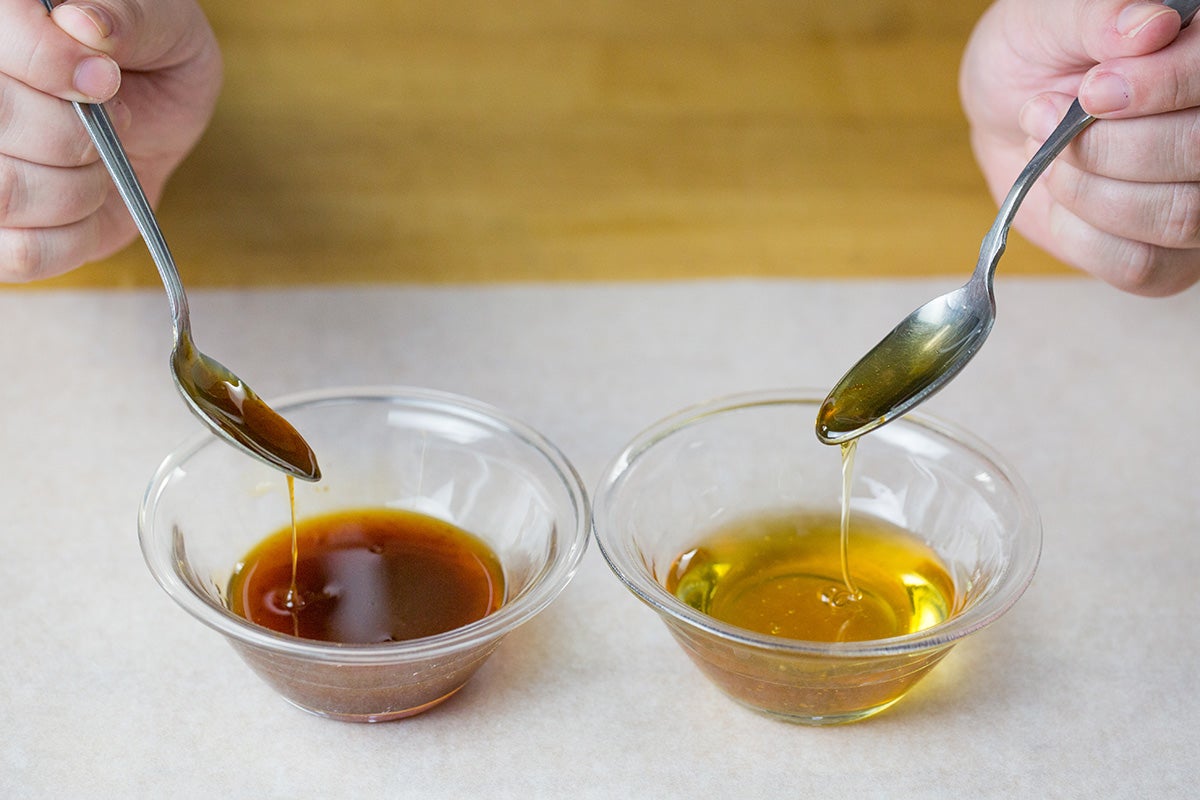
Consistency: Boiled cider has a similar viscosity to honey; when hot it behaves like hot, runny honey. Once cooled, it mimics thick, room-temperature honey.
What about temperature? Just as water does, apple cider has a boiling point: 219°F. The temperature won't change once it begins to boil. Because of this, the temperature isn't a good indicator of doneness.
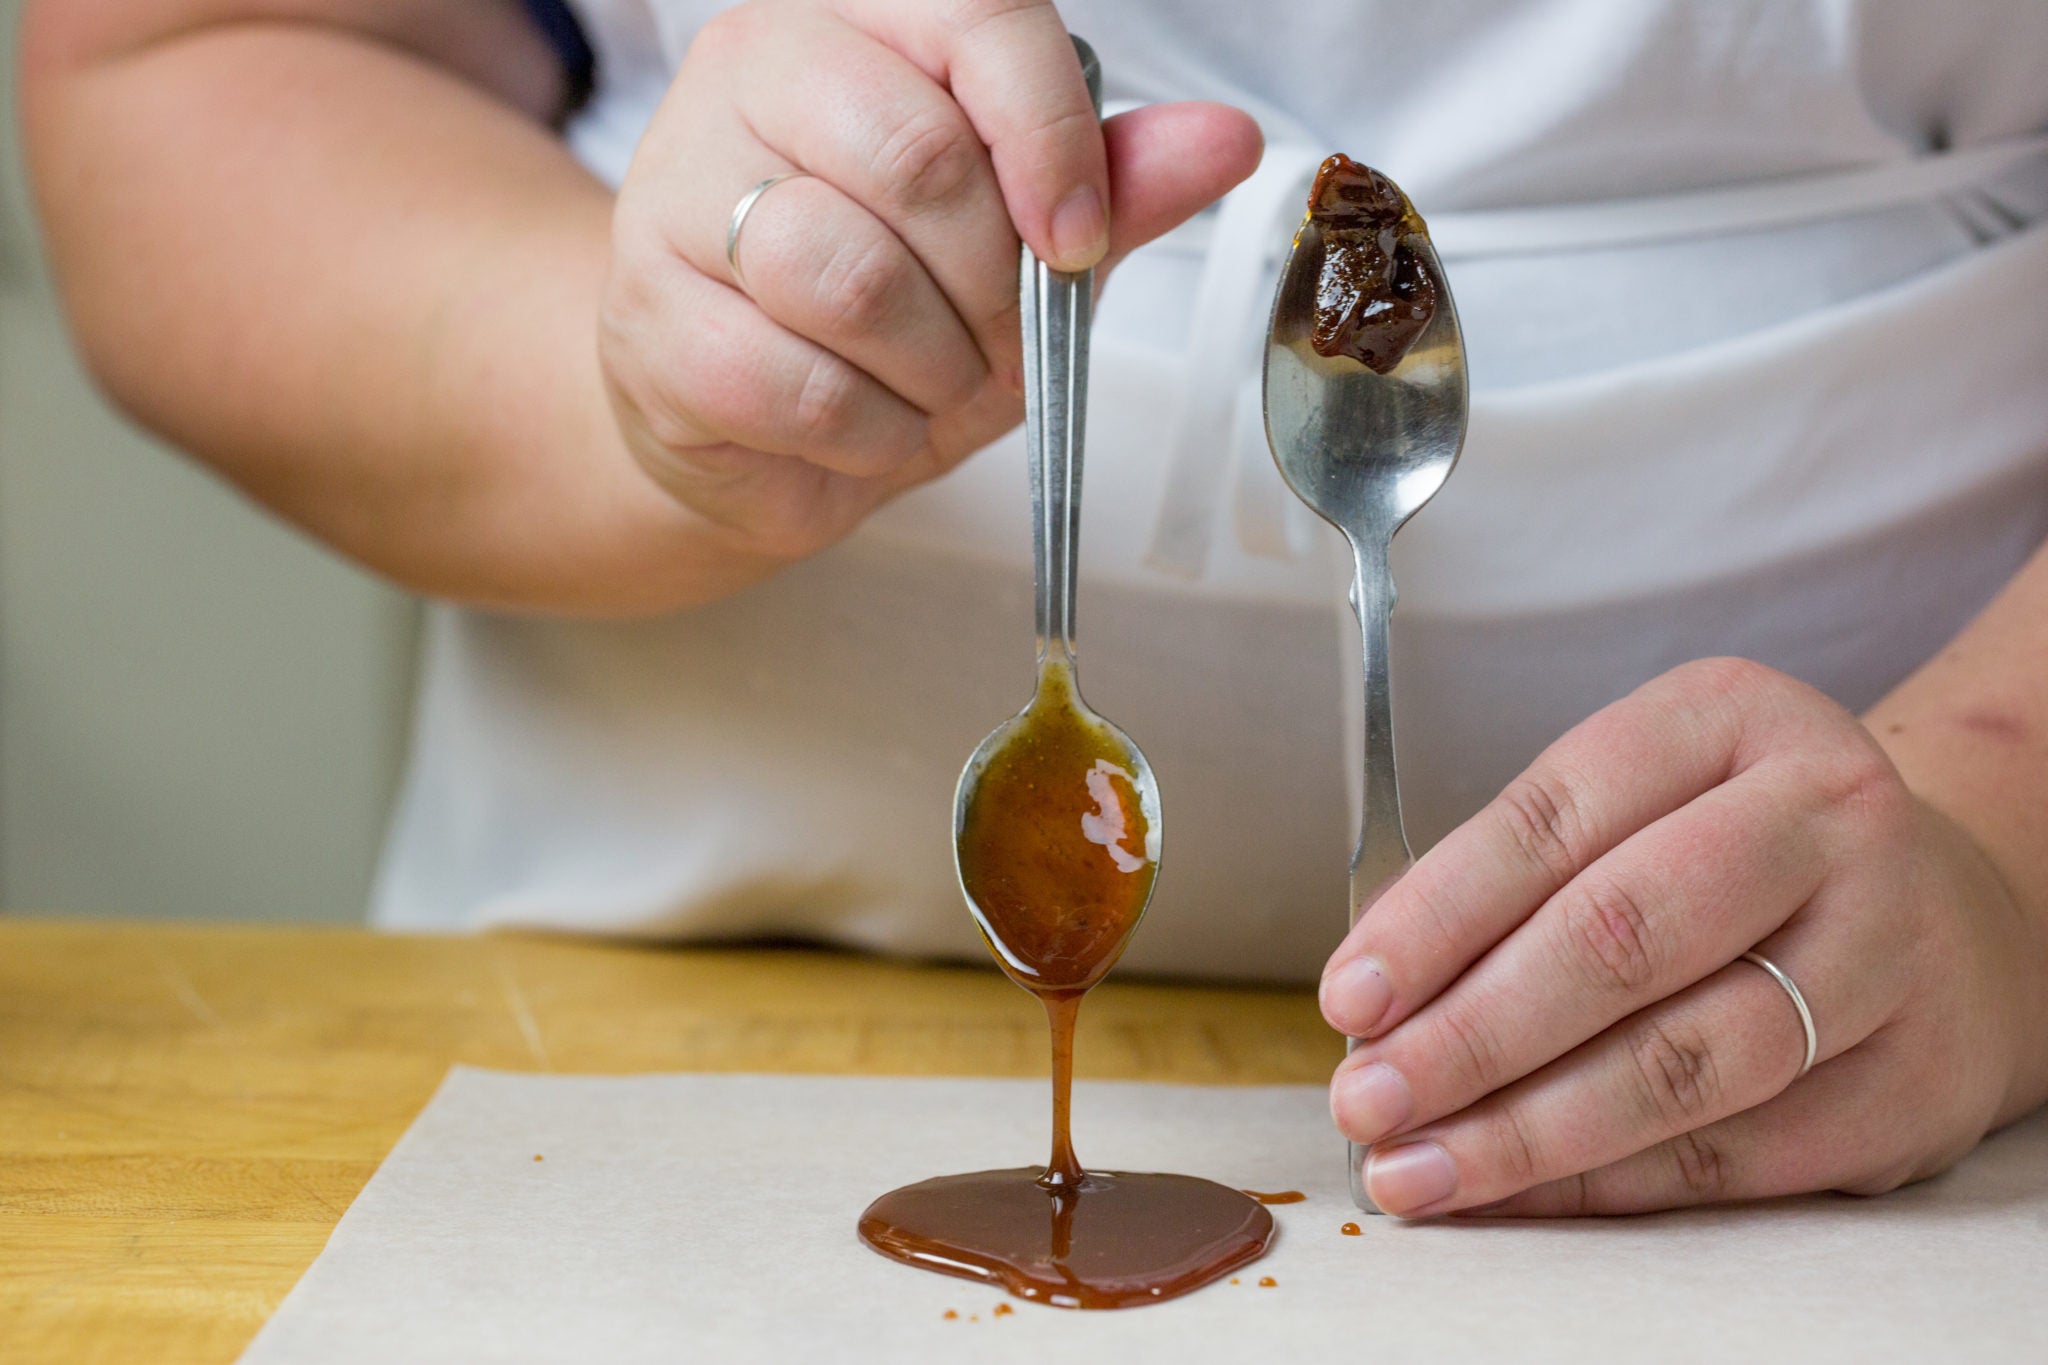
Be careful of overcooking boiled cider beyond that copper-bubble stage. It'll become too thick to easily pour or bake with. It also becomes unpleasantly bitter and sour.
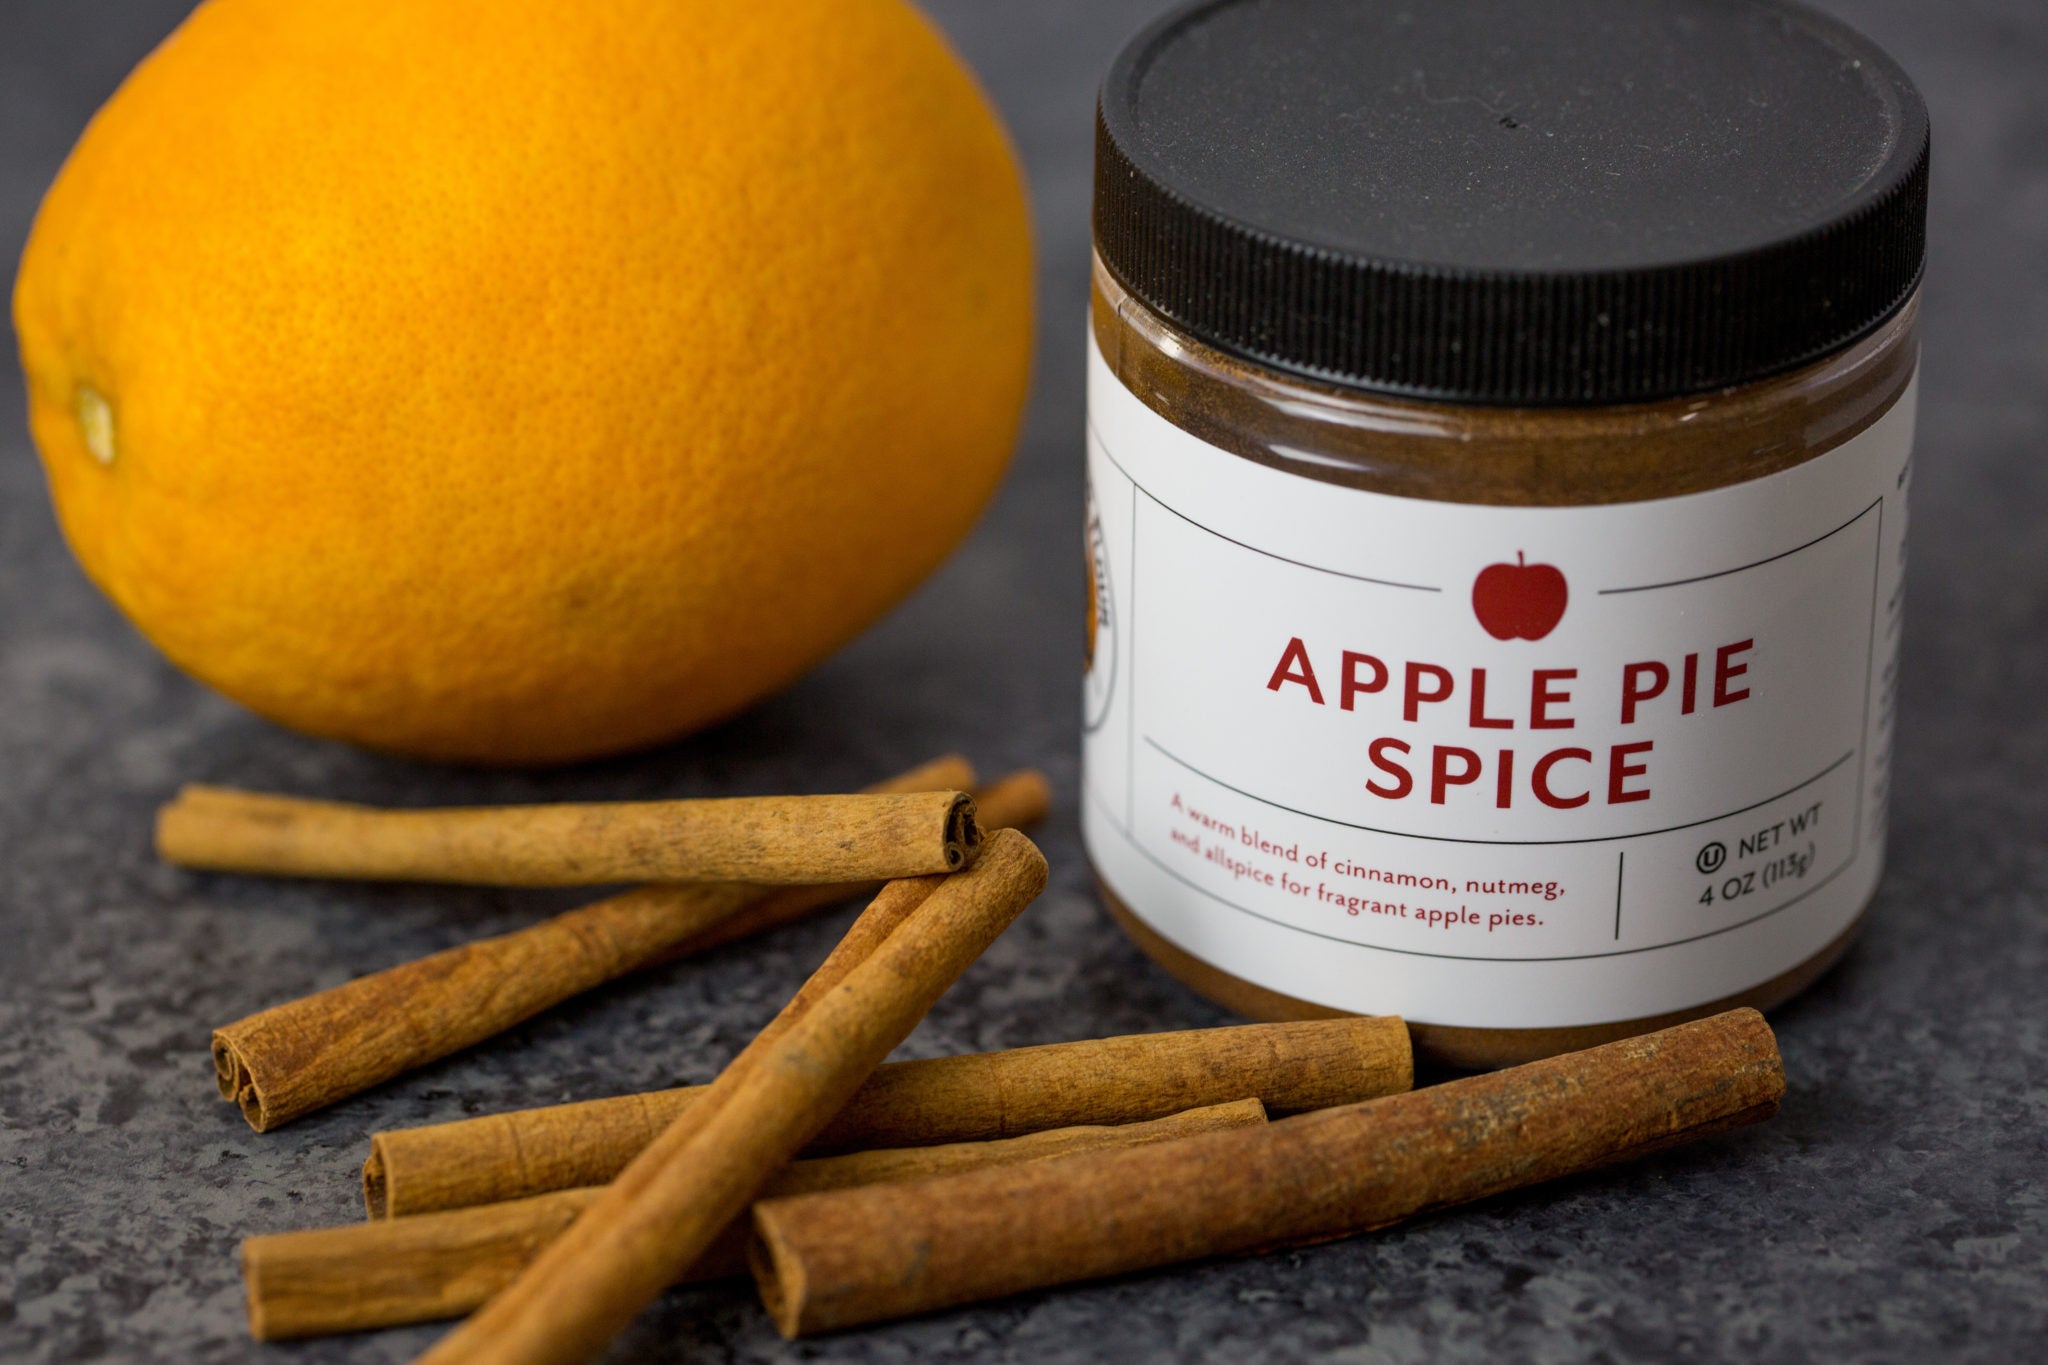
To make your batch truly one of a kind, infuse your cider with other flavors. Simmering on the stove for several hours gives you the perfect opportunity to add a little something special. Cinnamon sticks, your favorite spice blend, a sliced vanilla bean, a splash of rum, or orange peels will make your homemade boiled cider extra special.
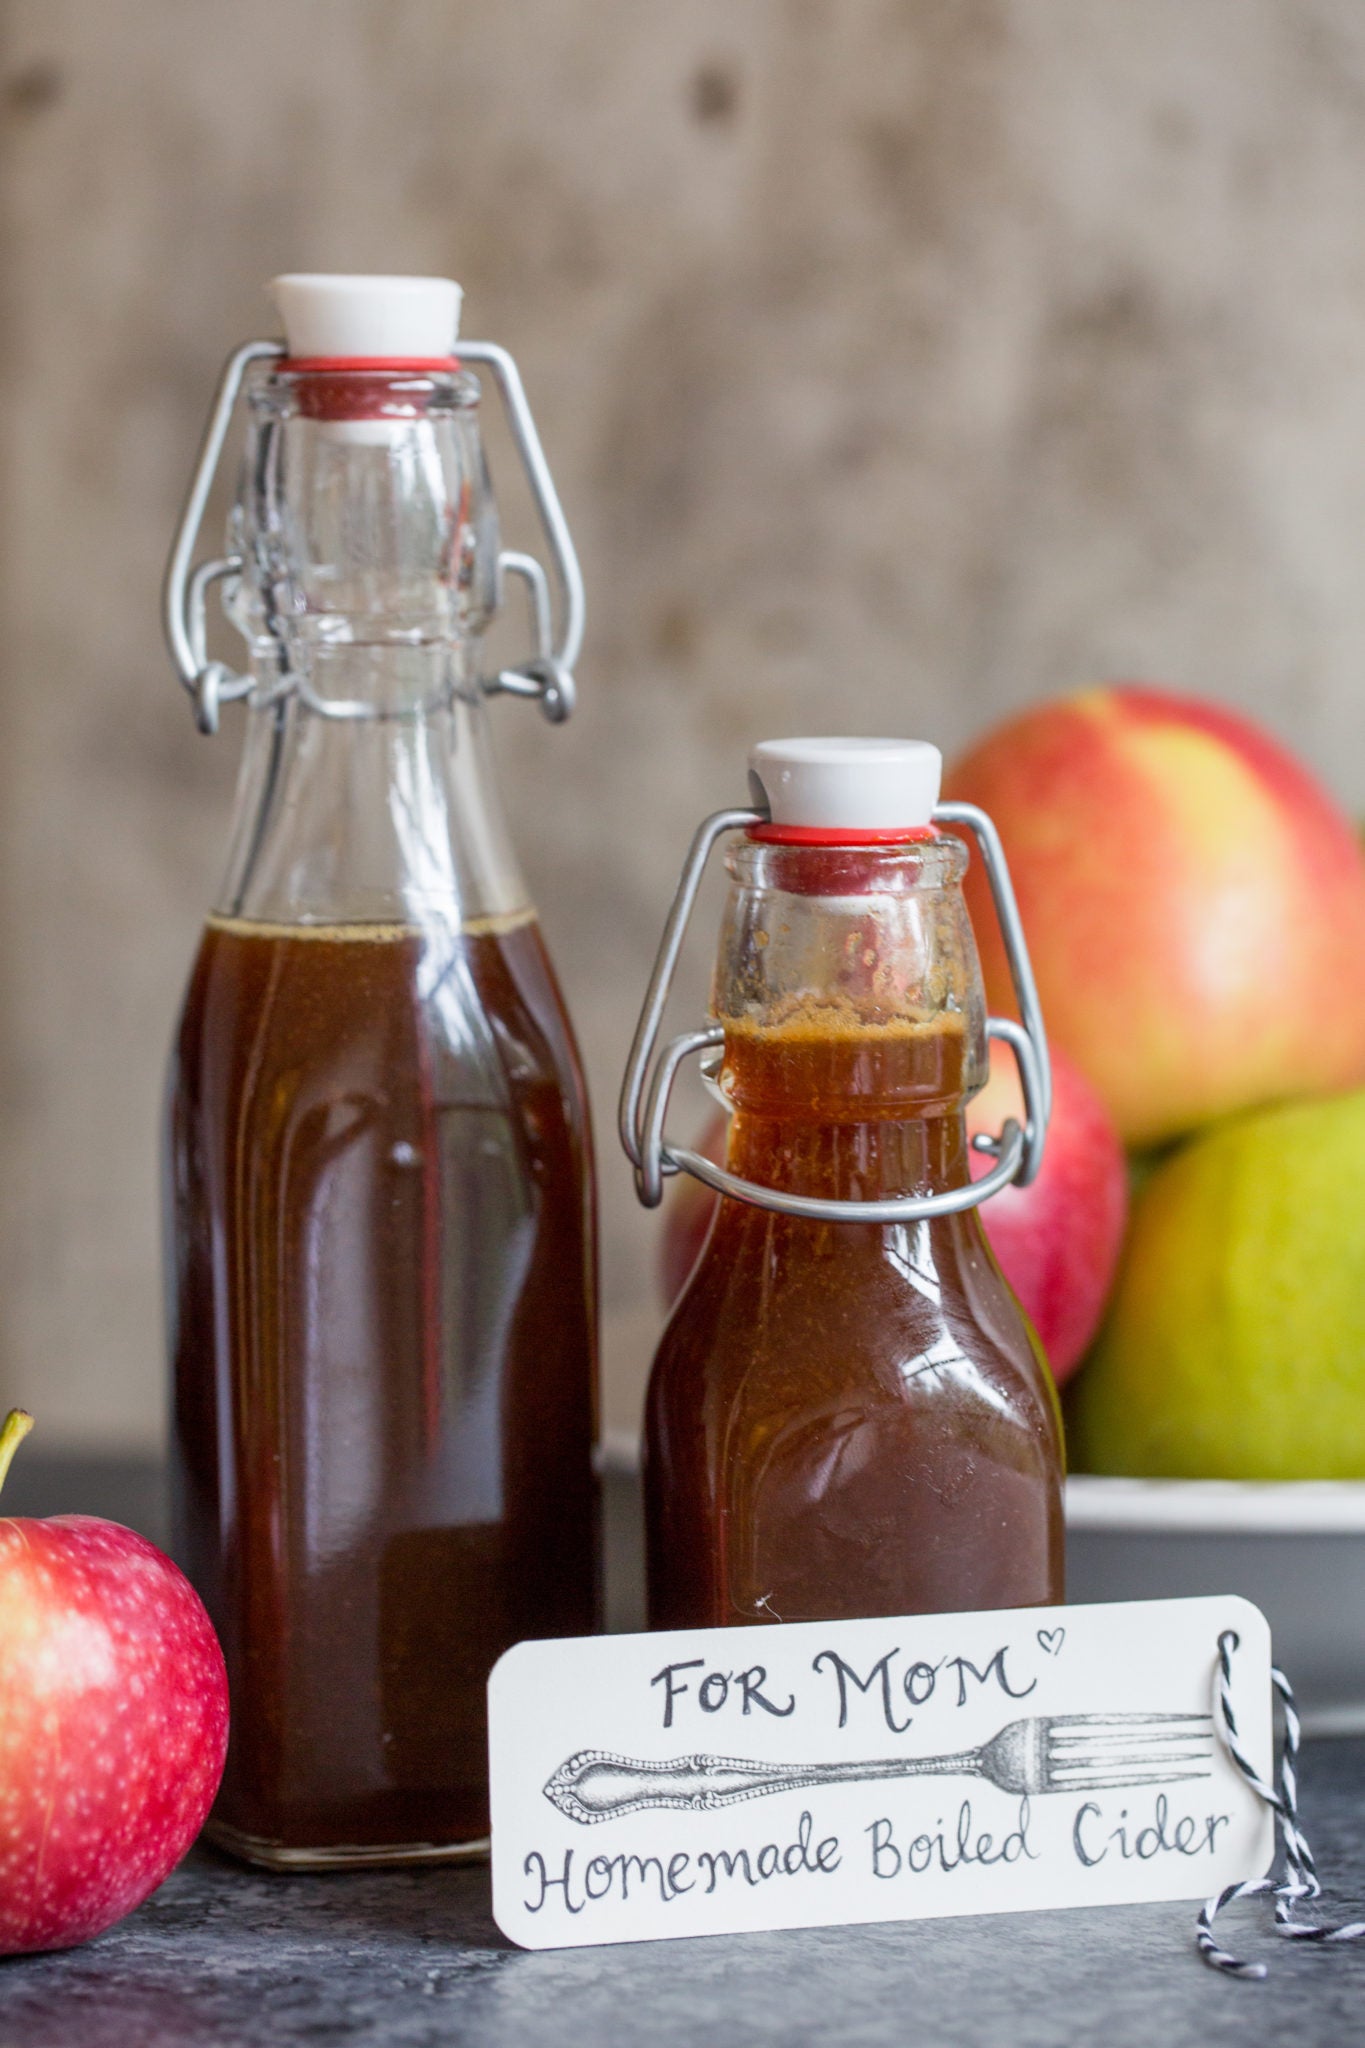
Run the finished cider through a coffee filter or cheesecloth to remove any impurities, if desired. Store your finished homemade boiled cider in the refrigerator.
Boiled cider-fanatics have told me it will keep indefinitely in the fridge, but mine never sticks around long enough to test that theory.
So, if you run out of this favorite ingredient, can't wait for shipping, and have a day to spend in a gloriously apple-perfumed kitchen, have no fear! You can make your own boiled cider at home.
If this seems like a present you might like to give to friends and family, include a note with a few ways to use homemade boiled cider every day, or even your favorite recipes calling for it.
What's your favorite way to use boiled cider? If you've never tried it, what will you make first? Let us know in the comments below.
Thanks to Anne Mientka for taking the photos for this post.

