

This fall, my family and I had the good fortune to host a student from France for several days. It was a last-minute decision, and one of the best things we've ever done. Let me tell you a little bit about the experience – and YES, it involves CAKE!
Long story short, my Spanish-speaking daughter said that the French class was low on hosts, and could we volunteer to help them out for 10 days. After some quick rearranging of furniture, work schedules and such, Jean-Loup arrived with bag in hand, and the adventure began.
Luckily his English was much better than our French, and we quickly realized that he and Shannon were the equivalent of long-lost twins separated at birth. They read the same books, watch the same movies, eat the same foods. In the course of 10 days, there were only two things we discovered they didn't agree on. Shannon likes dark chocolate, Jean-Loup prefers milk chocolate; and Jean-Loup doesn't color his hair purple.
( I know, I know, I'm getting to the cake part!)
One of the things they immediately bonded over was a puzzle-based video game called Portal. The catch phrase for the game? "The cake is a lie."
Basically, you perform dangerous tasks for an evil artificial entity who keeps promising you cake. Will you succeed? Will she really give you cake? Is the cake a lie? And most of all, what kind of cake?
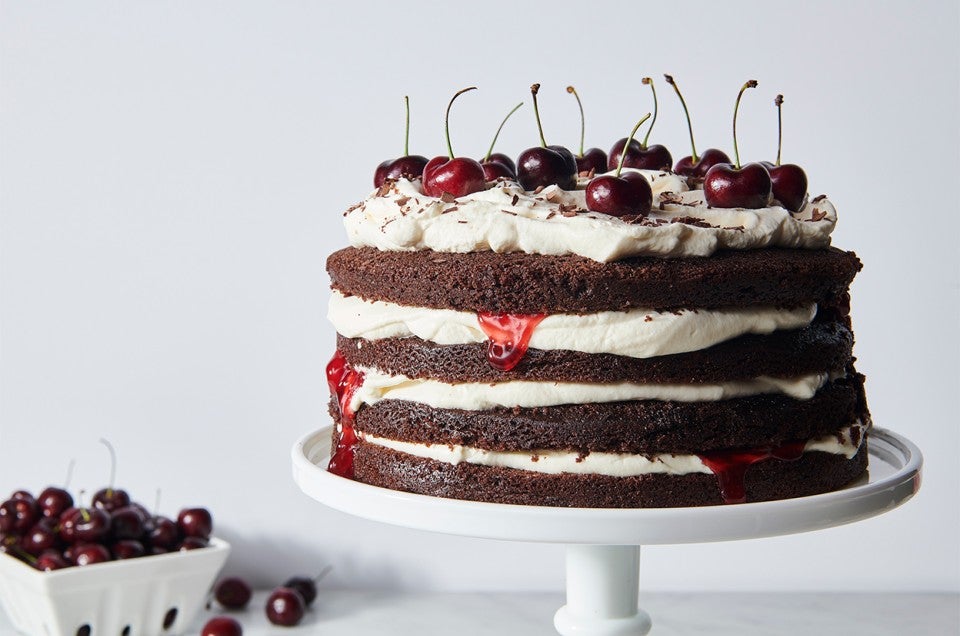
Lo and behold, after long hours bonding, they found cake. Tall, chocolate, and cherry goodness, the bakery case bombshell, Black Forest Cake.
The Portal cake phenomenon has been going strong for 4 years now, spawning T-shirts, coffee mugs, and bumper stickers. "The cake is a lie" is part of the urban lexicon, and has come to indicate that your promised reward for hard work isn't going to pay out after all.
Of course, we are bakers here and would never, ever lie about cake. EVER. It's just wrong. I promised you cake, and cake you shall have. Onward, to Black Forest Cake!

Preheat your oven to 350°F.
In the bowl of your stand mixer, whisk together:
Add:
*Or replace the buttermilk powder and water with 2 cups liquid buttermilk.

Using your paddle attachment, beat in 4 eggs, one at a time. The batter will be thin but not watery.
Divide equally between two 9" round cake pans, greased and lined with parchment paper. Bake the cakes until a tester comes out clean, about 25 to 30 minutes.

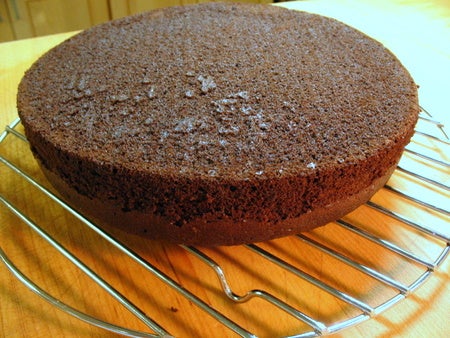
Cool the cakes in the pans for 15 minutes, then turn them out onto a rack to cool completely.

While the cakes are cooling, drain a jar of sour cherry pie filling, reserving both the syrup and the cherries. You can use canned pie filling, too, without the draining step; but we just really love the quality and great taste of this jarred filling.
Could you use frozen cherries? Sure, but you'll need some type of syrup to soak the cakes, such as classic simple syrup.

To layer the cakes, use a sharp serrated knife that is longer than your cake. Instead of slicing through the cake one side to the other, you'll actually be slicing the cake, then turning, going a little deeper into the cake with each time around.
Think of it like slicing through a record on a record player, inch by inch as it goes around. This is easily done on a revolving cake stand or lazy susan, if you have one.

See how the longer knife helps you know where you're cutting? Keeping the blade level will keep your layers level.
Once the cakes are sliced, whip together:
Now we're ready to begin layering. There is no pretty (read "non-messy") way to do this, so have a nice wet towel handy and be prepared to go with the flow.

Place the bottom layer of cake on your serving platter and spread about 2 tablespoons of the syrup over the layer, spreading right to the edges.

Top with a layer of cream about 1/2" thick; and about 1/3 of the reserved cherries. Repeat twice more, then top with the last layer of cake.

You can completely cover the cake with whipped cream, or you can leave the layers open sided. I rather like the look of seeing all the layers. If it looks a bit messy, take a little time to fill in some of the gaps with whipped cream, smoothing it out for a neater look.

I had some syrup left over, so I poured it into a disposable pastry bag and snipped off the end. A few squeezes and drizzles later and the cake looks fantastic!
*At this point Frank, our resident pastry chef, assures me you'll all be clamoring for my beheading, as I didn't use shaved chocolate on my cake. Well, I've always been the black sheep, so I beg you to love me for my flaws. :)
Chill the cake for at least a couple of hours, or overnight to allow the flavors to marry and blend.

My oh my, what more could you ask for? Tender cake, moist with cherry flavor, cool cream to cut the richness, and bursts of cherry in each bite.
As I'm sure you've guessed, this cake is very rich; and a small slice will go a long way. Le gâteau n'est pas un mensonge! (The cake is not a lie!).
With a very tall cake like this, I like to cut slices rather than wedges. There are tons of different cake-cutting charts online, but I just cut the cake in half (two half moons); then cut each half moon in half, and then cut slices. Awkward to describe, but try drawing it out on paper first and it will make more sense.
I'm sure one or more of the game-loving teenagers I know could use symbols and emoticons to "write" it out for us but *sigh* I'm still aflounder.
If you figure it out, let me know in the comments below!
Please bake, rate, and review our recipe for Black Forest Cake.

