Things bakers know: “Crust dust” is the secret ingredient to preventing a soggy bottom
A simple way to keep pie bottoms crisp.
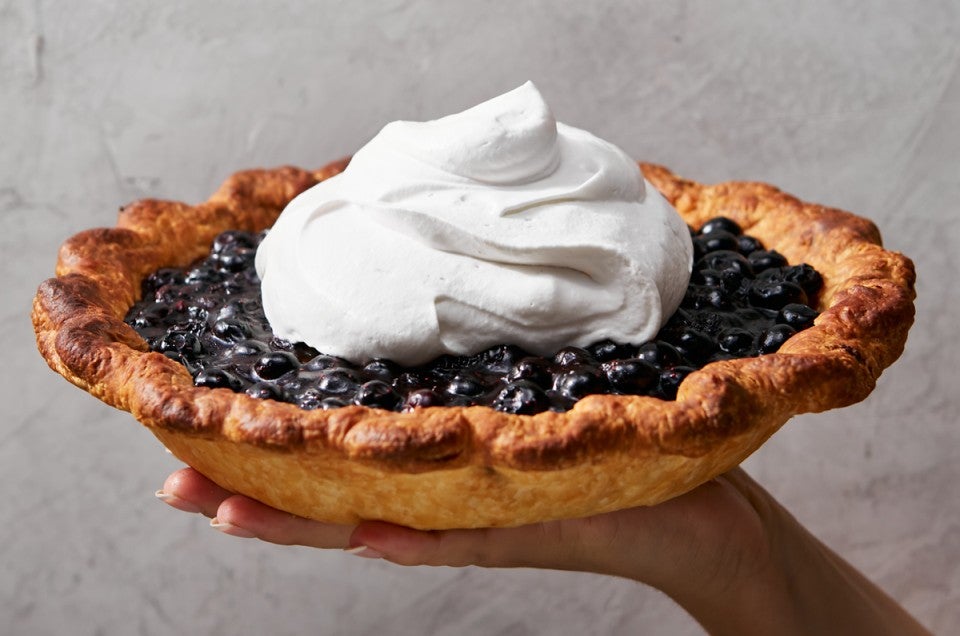

There are many ways to ensure your pie’s bottom crust is browned on the outside; but what about that bottom crust’s inner surface, where juicy filling meets unbaked pastry and there’s every potential for an unpleasantly gooey experience?
Some folks brush their pie crust’s interior with beaten egg white or coat it with melted butter to create a moisture-resistant barrier between filling and pastry. Veteran baker and author Dorie Greenspan uses bread crumbs to soak up any excess liquid.
Even more straightforward, though, is the evocatively named crust dust, an effective (and tasty) way to ensure your pie’s bottom crust is crisp and flaky — no soggy bottom! — all the way through.
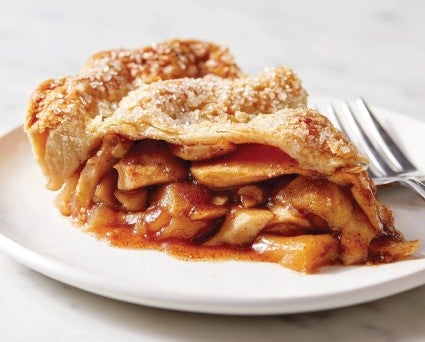
Crust dust is a 1:1 mixture of flour and granulated sugar. When baking a pie, especially a fruit pie, a couple of teaspoons of crust dust sprinkled into the bottom of the crust will help prevent the crust from becoming saturated with juicy filling as it bakes. This simple solution has stood the test of time: According to cookbook author Paula Haney, “[Crust dust] showed up in several vintage cookbooks I turned to for research” during her writing of The Hoosier Mama Book of Pie.
Acclaimed pastry chef and author Gesine Bullock-Prado is another aficionado. In her book Pie it Forward, she writes, “[Crust dust] creates a bit of absorbing action at the bottom of the crust to give your raw dough a little barrier from the wet stuff that’s weighing it down.”
Flour is absorbent, and even a thin layer creates a barrier between unbaked crust and juicy filling. As it bakes, the crust eventually sets up enough to form its own barrier; but in the interim, it’s crust dust to the rescue!
And what role does the sugar play? First, it prevents the flour from clumping as you sprinkle the mixture into the crust. Next, sugar attracts and holds liquid, so the two — flour and sugar —work in tandem to protect your crust from becoming sodden. And finally, sugar just makes the crust dust taste good.
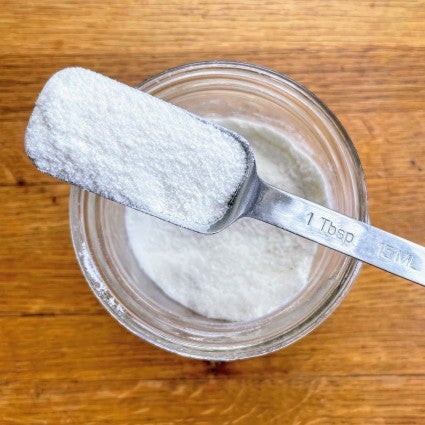
To make crust dust, mix together equal parts sugar and flour (by volume, not weight). Store the mixture in an airtight container, at room temperature, for up to a year. Note: I simply shake the sugar and flour together in a jar, which I then use for storage.
To use, sprinkle about 2 teaspoons crust dust into the bottom crust of your 9" pie before adding the filling. Tap and gently swirl your pan to distribute the dust in an even layer. Spoon in the filling and bake as directed.
If you’re baking a larger pie, use a bit more dust; a smaller pie will require less. Your goal is a thin layer that completely covers the crust’s bottom with no bare spots.
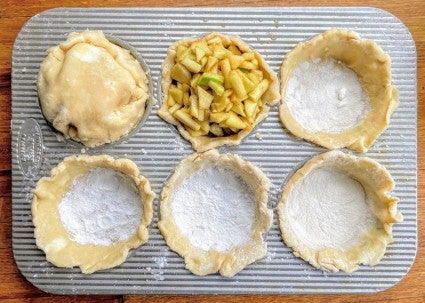
Because testing is a way of life here at King Arthur, I decided to test crust dust using all-purpose flour; higher protein (more absorptive) bread flour; and cornstarch. I also wanted to test whether using more dust would create a better barrier.
The results? Both types of flour worked equally well at preventing seepage, as did the cornstarch. However, cornstarch added a very thin sheen of jelly-like gooeyness, so I advise sticking with flour.
And what about the amount of dust used? Surprisingly (to me), using more dust doesn’t seem to yield a noticeably drier crust; instead, it just adds an unpleasant pasty layer between crust and filling. So measure your dust and don’t overdo it.
Since its presence isn’t noticeable beyond the positive effect it has on your pie’s bottom crust, go for it. Note that pies made with fruit (think strawberry-rhubarb, apple, blueberry, cherry, et al.) are especially needy; custard (including pumpkin), pecan, and pies that start with a partially prebaked crust are inherently less problematic.
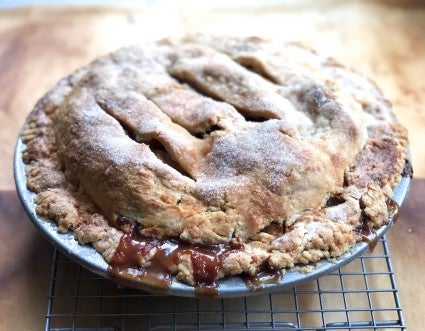
Now all of this said, crust dust alone can’t prevent a soggy crust; it’s simply the finishing touch in a process that begins as you prep your fruit. What can you do to ensure the best outcome possible?
Be sure to thicken fruit pie fillings as directed; our fruit pie thickener chart offers good guidance. Use a metal (rather than ceramic) pan; bake your pie toward the bottom of the oven; and set the pan on a stone or steel (as detailed in this post on how to avoid a soggy bottom).
Finally, be sure your fruit pie is thoroughly baked; the longer its juices bubble up through the slits in its top crust, the more liquid evaporates. I sometimes bake apple pie in a 350°F oven for up to 2 hours, simply tenting the top crust to prevent over-browning; the bottom crust becomes extra-crispy without burning, and the filling develops an enticing hint of caramel. All of these steps work with crust dust to create pie with a bottom as golden, flaky, and crispy as its top!
Are you sure you’ve got the skills you need to bake a superior pie? Check your knowledge with our Pie Baking Guide.
And for more tips to nail the perfect pie, see our own Kye Ameden walk through 4 Tips for Failproof Pie Dough:
Cover photo by Rick Holbrook.


