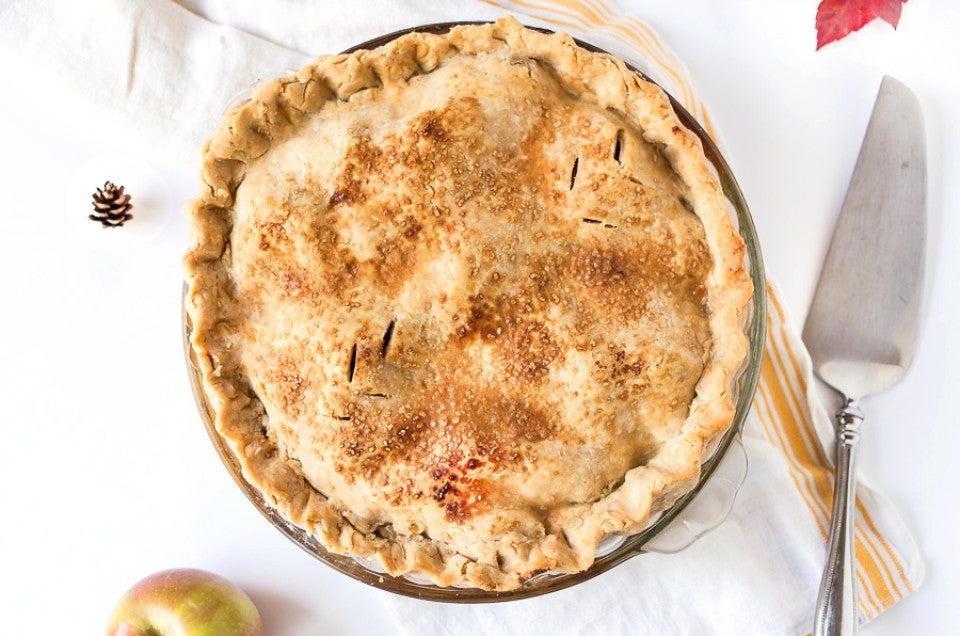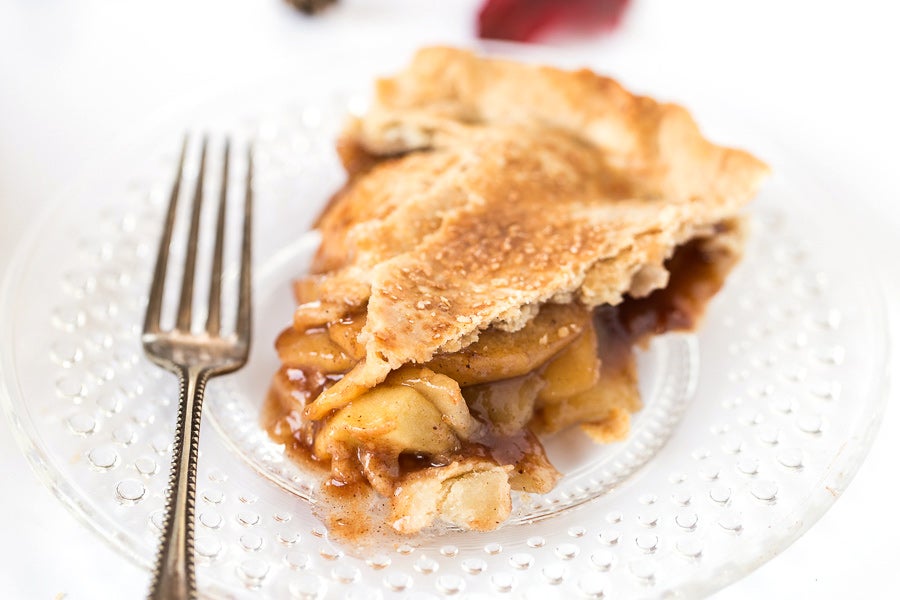


If you've been on the hunt for the perfect gluten-free double pie crust, you've come to the right place! Today we're going to show you how to quickly (and easily) make a gluten-free double pie crust everyone will love.
The secret? Our Gluten-Free Measure for Measure Flour.
We specifically developed this flour to make gluten-free baking as easy as possible. Rather than working out a funny conversion process, or constantly worrying your recipe won't turn out, you can use Measure for Measure as a 1:1 substitute for our All-Purpose Flour.
How great is that!?
Since we know how much you love your flaky pie crusts, we took special care during the development of our Measure for Measure flour to make sure it worked as the perfect double pie crust. It's rollable, it's pliable, it's flaky — and it's downright delicious!
Today we're showing you how to make a Gluten-Free Apple Pie but as with any pie, the sky's the limit.
To start, we’ll begin by whisking together 2 1/2 cups Measure for Measure Flour and 1 1/4 teaspoons salt in a large bowl.
Add 1/4 cup vegetable shortening and work it into the flour until the mixture is evenly crumbly.
Next, cut 10 tablespoons butter into small (about 1/2") cubes.
Add the butter to the flour mixture, and work it in roughly with your fingers, a pastry cutter, or a mixer. Don't be too thorough; the mixture should be very uneven, with big chunks of butter in among the smaller ones.
Add 6 tablespoons of water, and toss to combine.
Toss with enough additional water to make a chunky, fairly cohesive mixture. It should hold together when you gather it up and squeeze it in your hand.
Divide the dough into two pieces, one about twice as large as the other. (Your bottom crust has to cover both the bottom and sides of the pan, with enough left over to crimp.) Then gather each half into a rough disk. Smooth the disks; it's OK if they have a few cracks in the surface. Wrap in plastic, and chill for 30 minutes before rolling.

While the dough is chilling, we’ll make the filling. Start by putting 8 cups (964g) peeled, cored, and sliced apples into a large bowl, topped with 2 tablespoons (28g) lemon juice. Toss to combine.
In a small bowl, whisk together:
3/4 cup (149g) sugar
2 tablespoons (14g) Gluten-Free Measure for Measure Flour
2 tablespoons (14g) cornstarch
1/4 teaspoon salt
1 teaspoon cinnamon
1/4 teaspoon nutmeg
1/4 teaspoon allspice
Sprinkle this mixture over the apples, and stir to coat them. Stir in 1/4 cup (78g) boiled cider (or apple juice concentrate) and 2 teaspoons of vanilla extract (optional).
When you're ready to make the pie, lightly grease a 9" pie pan that's at least 2" deep. This will make serving the pie easier after it's baked.
Remove the crust from the refrigerator or freezer, leaving it wrapped. Allow it to warm a bit (if it's been chilled longer than 30 minutes) until it's softened enough to roll, but still feels cold to the touch.
Place the crust on a floured work surface; our silicone rolling mat and parchment paper are both fine choices. Roll the larger piece of pastry into a 13" circle. Seeing those big chunks of butter is definitely a good thing!
Transfer it to the prepared pan, and trim the edges so they overlap the rim of the pan by an inch all the way around.
Spoon the apple filling into the pan.
Roll out the remaining dough to a 9" circle. Prick the crust all over with a fork, or slice slits into it with a paring knife. This will allow steam to escape. You could also cut decorative vent holes if desired; or weave a lattice. Carefully place the pastry over the apples.
Preheat the oven to 425°F.
Roll the overhanging bottom crust up and over the top crust, pinching to seal the two.
For extra crunch and shine, brush the top crust with milk (or an egg white beaten with 1 tablespoon of water), and sprinkle with coarse sugar.
Crimp the edges of the pie, then place it in the refrigerator for 10 minutes to firm up the crust while the oven finishes heating.
Place the pie on a parchment-lined baking sheet. Bake the pie for 20 minutes, then reduce the oven temperature to 375°F and bake for 40 minutes more, until you see the filling bubbling inside the pie (and perhaps dripping onto the parchment). Check the pie after half an hour of baking time, and cover the edges with foil or a pie shield to keep them from browning too quickly, if necessary.
When the pie is done — you should see the filling bubbling vigorously, either around the edges, or via any decorative vents — remove it from the oven.
Cool the pie completely before slicing. This is really important! Cutting any fruit pie that's still warm is a messy business. The filling continues to thicken as the pie cools, and if you cut it too soon it will run out all over the place. It's better to bake the pie in advance, cool it completely, then warm each slice as needed after it's been cut.
Store any leftover pie, lightly covered, at room temperature for several days. Freeze for longer storage.

And we'd love you to try our Gluten-Free Apple Pie. Leave a review and let us know what you think!


