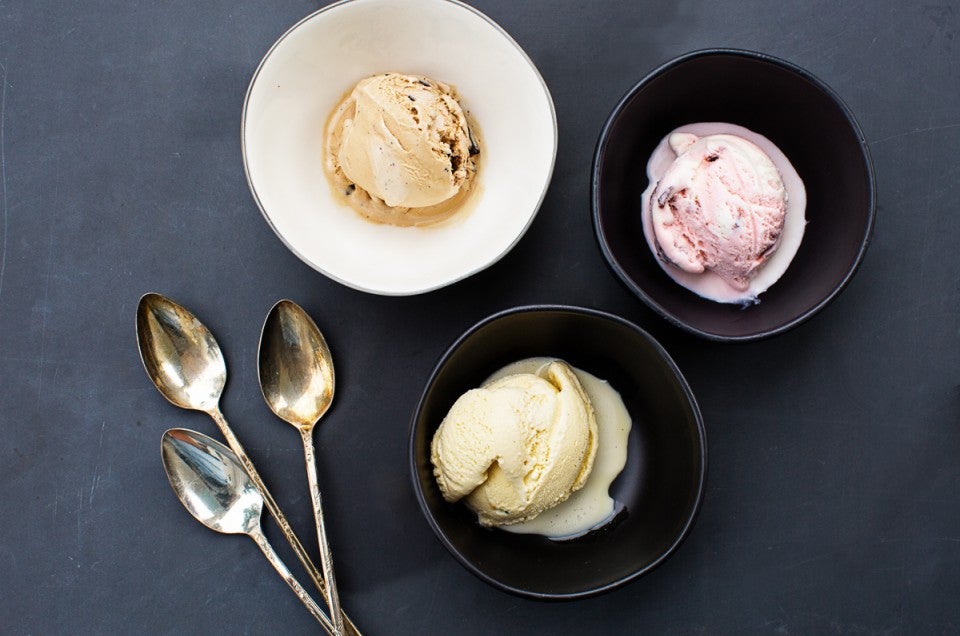


You know the story: You labor over a batch of homemade ice cream, use the best ingredients, follow the directions...but when you take that first bite, it's icy. Or maybe it's rock hard. Or it's not totally smooth; or maybe it is, but it didn't freeze all the way through. Or (my personal nemesis) it's good, but it leaves an oily film on the roof of your mouth.
What's gone wrong?
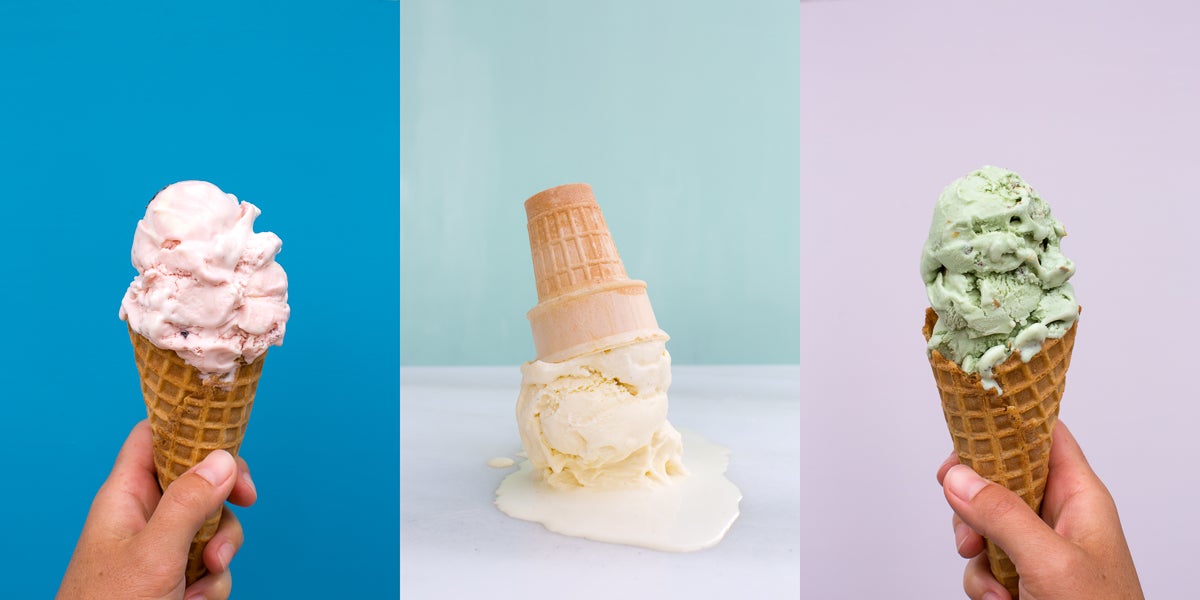
Over the years, I’ve made (and eaten) more ice cream than I’d ever admit to my doctor, and have learned quite a bit about what goes into a successful batch (mostly by making mistakes). Homemade ice cream can be the ultimate delight of summer, or it can be a sticky disappointment. This post will delve into the common problems encountered by home ice cream makers, and teach you everything you need to know to make your first batch — and every batch — a success.
What makes a truly memorable bowl of ice cream? Regardless of flavor, most people would agree that creamy texture, minimal iciness, balanced flavors, and a clean mouthfeel (i.e. no oily residue) top the list. But what goes into creating this magical combination?
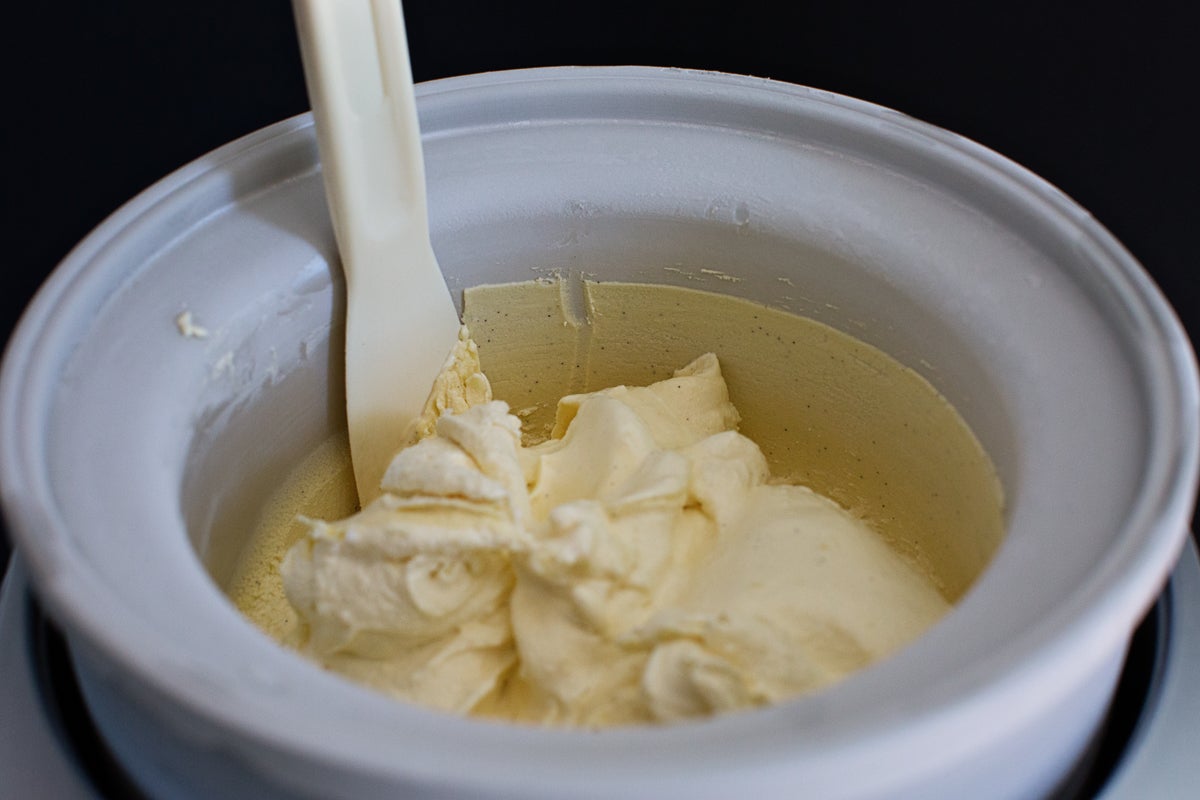
Like bread, at its core ice cream is only a few simple ingredients. The quality of those ingredients, as well as how you handle them, is the difference between “just okay” and truly exceptional results.
The texture of ice cream is determined by several factors:
Let’s examine these areas one by one.
Good homemade ice cream is high in fat.
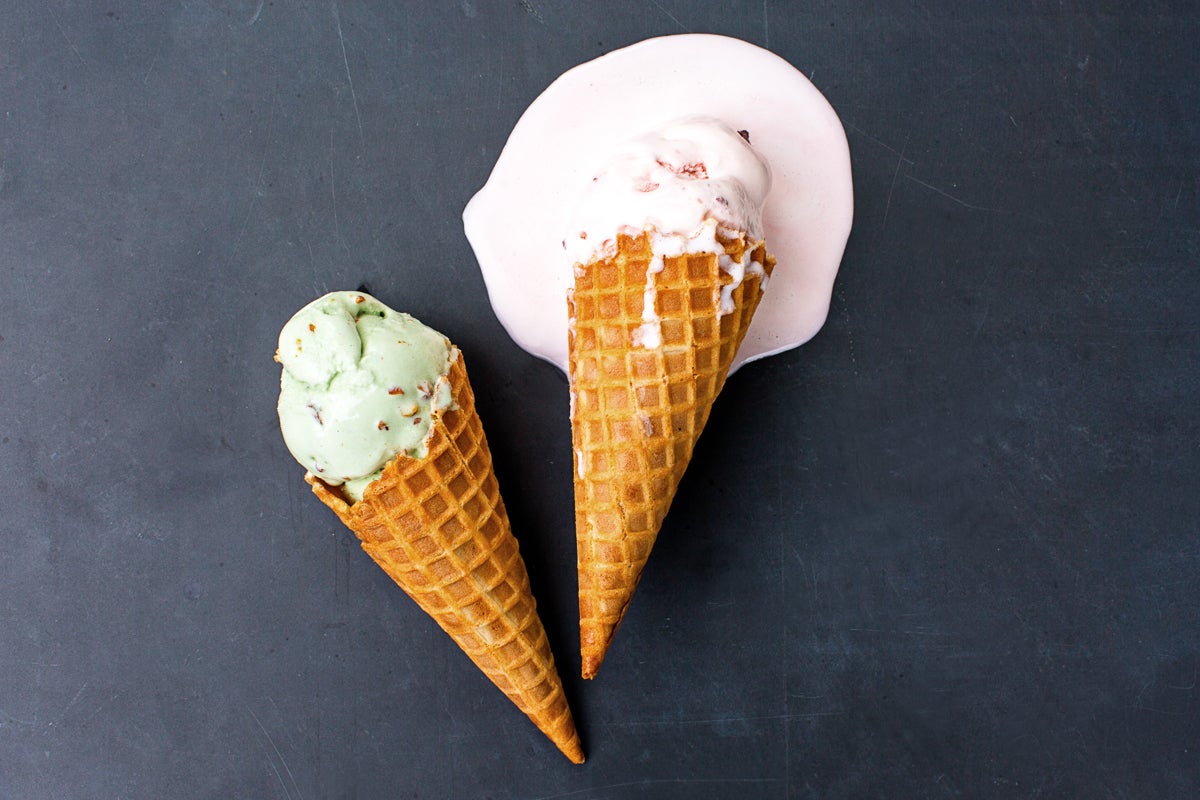
Water molecules are naturally attracted to one another and, given the chance, they'll gather together. Fat slows this process by standing in the way of those molecules. The higher the fat content of your ice cream, the more segregated the water molecules.
As you churn ice cream, individual water molecules turn into ice-crystal seeds — which is what makes cream freeze. The higher the fat content, the more time you have to churn before these ice crystals congregate, resulting in creamier final texture.
So, why can you buy low-fat ice cream?
Imagine a jar of salad dressing. When you shake it, the fat and water mix, then quickly begin to separate when the agitation stops. Think of the water and fat in ice cream similarly. When frozen quickly, commercial machines can halt the reunification of the water molecules before they can cause trouble, even when there's very little fat to help out.
The time it takes for a home machine to freeze a batch of ice cream isn't quick enough for similar results. A home machine requires about 20 minutes or so to churn and freeze a batch, while commercial manufacturers can do it in under 30 seconds.
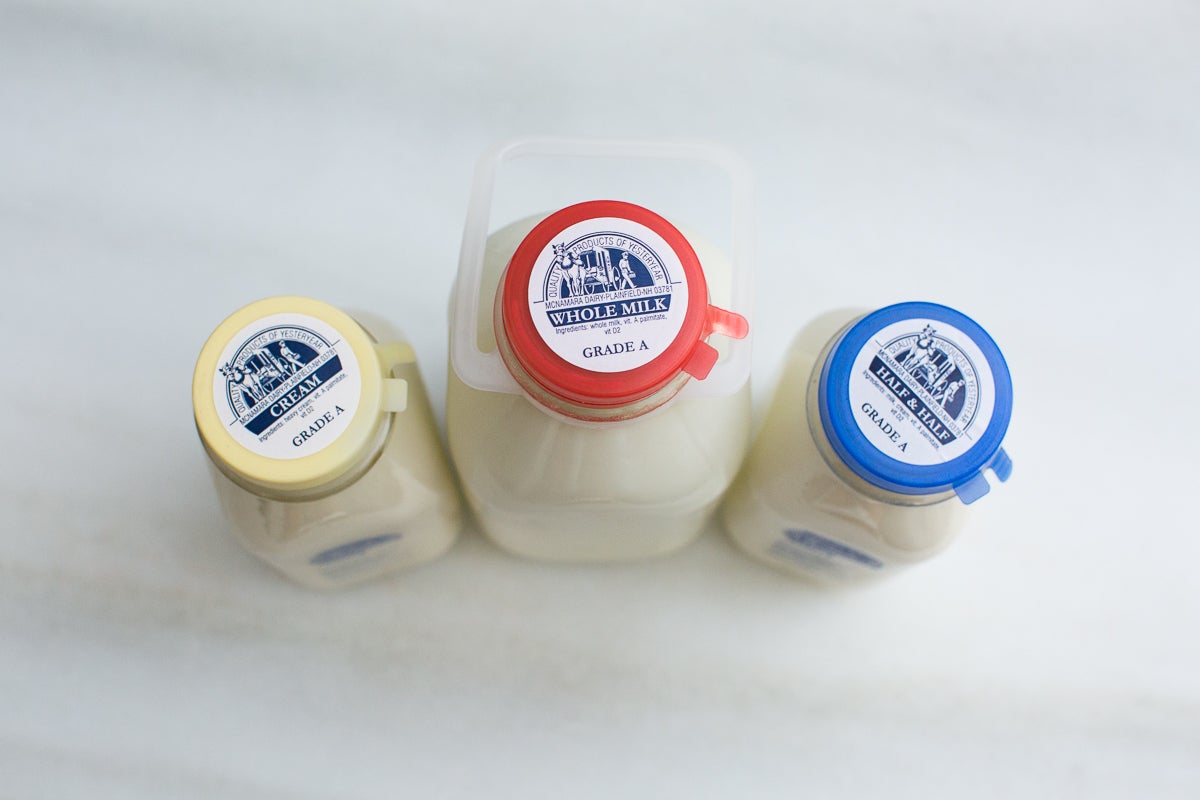
Most people agree that somewhere between 12%-20% butterfat is ideal for homemade ice cream. Less fat than this results in iciness. More than 20%, and you start to risk churning your ice cream into butter, which is made by — you guessed it — churning! If you've ever had homemade ice cream leave an oily film on the roof of your mouth, it's likely because the batch was over-churned.
TIP: Don’t use whipping cream – it has less fat (30%-36%) than regular heavy cream (36%) and contains stabilizers that aren’t necessary in ice cream. I find whipping cream over-churns easier than normal heavy cream as well, resulting in an oily mouthfeel.
And what about ultra-pasteurized cream? You'll be hard-pressed to find cream that isn't ultra-pasteurized unless you buy from smaller dairies. Some people swear it tastes more "cooked" than regular pasteurized dairy. They both work identically well in ice cream.
In addition to making your ice cream sweet, sugar affects its texture, enhancing creaminess and controlling how hard or soft it is.
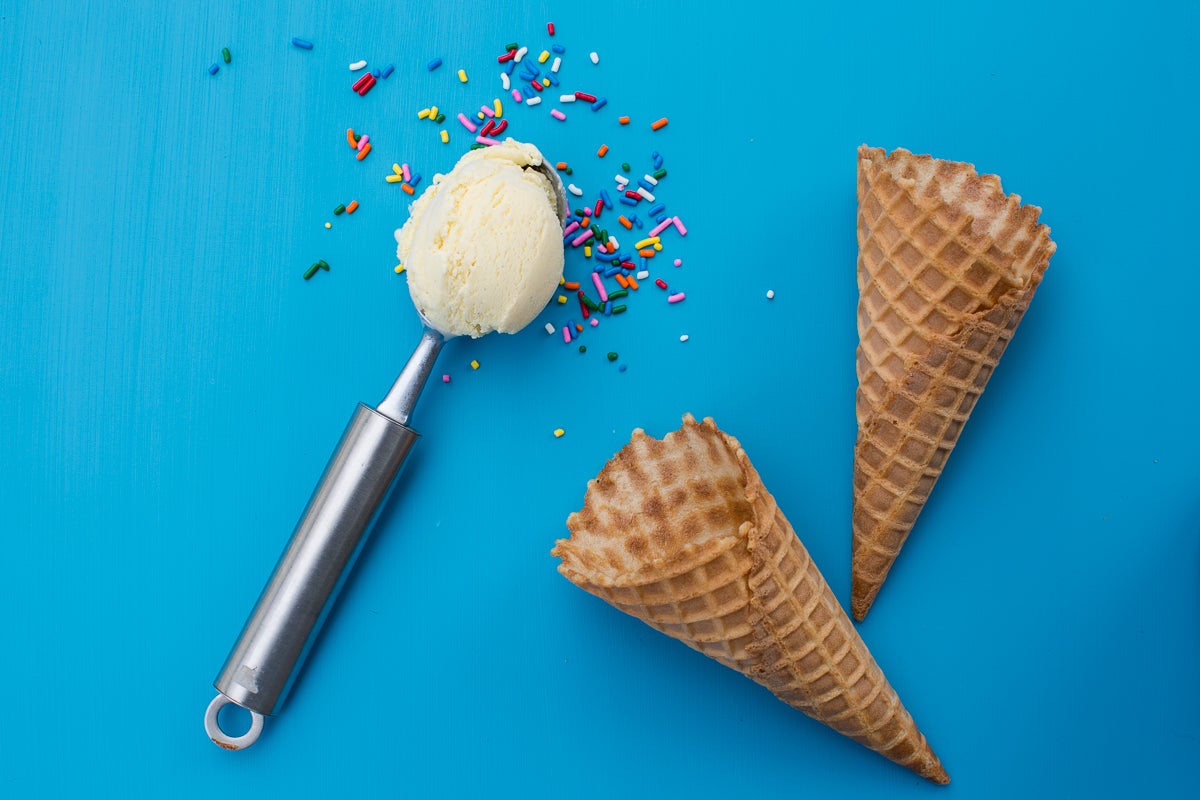
Adding too much sugar to a recipe can actually prevent your ice cream from freezing at all. This is generally more of an issue in ice creams that use tart ingredients like lemons, which require more sweetener than, say, vanilla beans.
Similarly, too little sugar in ice cream can make it rock hard. Because sugar lowers the freezing point of the water in ice cream, the right amount will keep your ice cream from freezing completely – which is to say, leaves it scoopable instead of turning it into a brick of ice.
If you want to reduce the sugar in your ice cream but keep it creamy and scoopable, add 2 tablespoons of liquor just before you finish churning. Kahlua, rum, and bourbon all give ice cream a subtle undertone of flavor; or use unflavored vodka for a more neutral result.
Air is the final component that separates your ice cream from a block of milk ice.
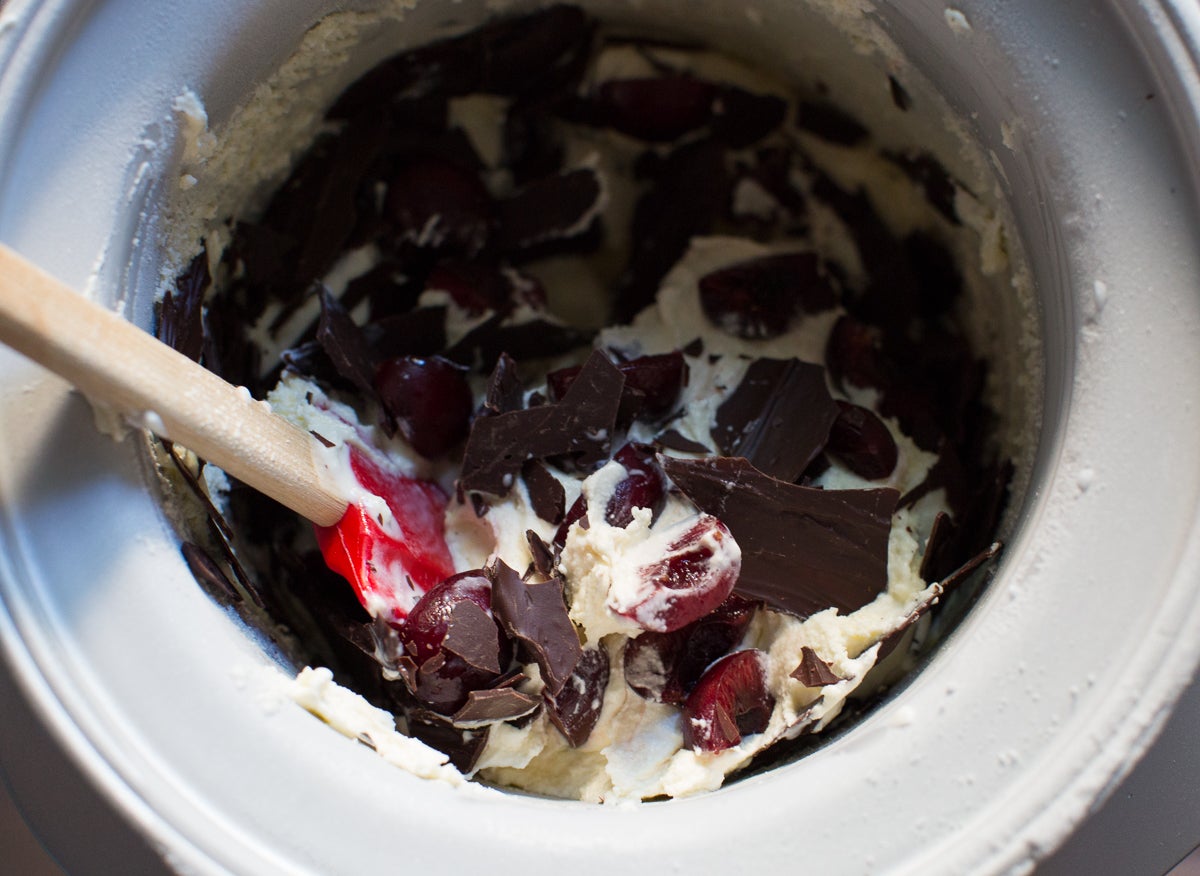
In commercial manufacturing speak, the air added to an ice cream base is called “overrun.” Premium ice creams such as Ben and Jerry’s have 22%-25% overrun, while less expensive ice creams can have nearly 100% or more!
Homemade ice cream, hand-churned or made in a typical small electric ice cream maker, will be closer to premium store-bought ice cream in terms of overrun. In general, lower overrun means a richer, creamier, and denser final product — all considered good traits in ice cream.
Fun fact: Ice cream is sold by volume, not weight. The average pint of premium ice cream can weigh two times as much as the average pint of generic low-fat ice cream!
The cream you buy from the store has a leg up in the fight against ice crystals. Its weapon? Homogenization, the mechanical process that emulsifies the fat and water in milk products, preventing them from separating into cream and skim milk while on the shelf. Technology for the win!
Using homogenized milk and cream may help your finished ice cream, but it isn't everything. Adding eggs to the mix is the most common at-home method for adding body and emulsification to an ice cream base.
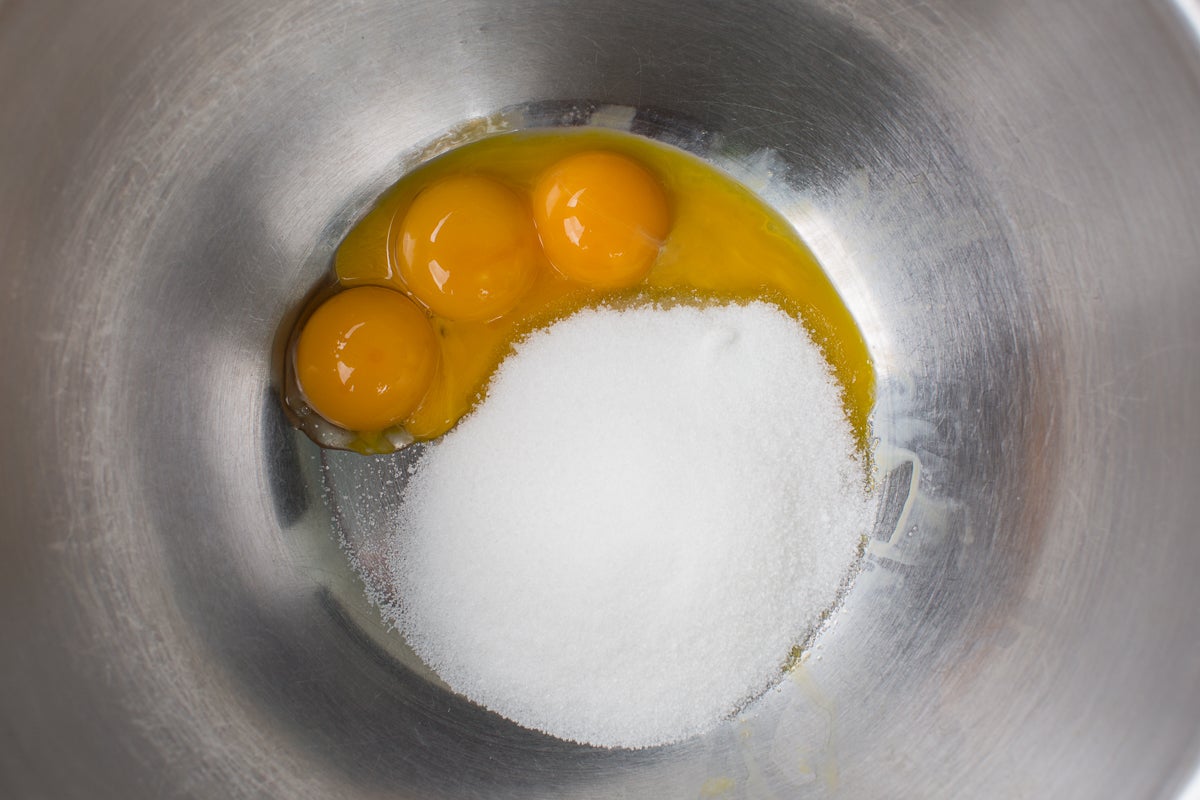
Eggs contain various proteins and acids, which do everything from capturing air when beaten to emulsifying oil and water via their lecithin. Lecithin has two sides; one side bonds with water, and the other bonds with oil. This unique property stabilizes and bonds the usually incompatible oil/water mixture.
Soy-based lecithin is often added to commercial ice cream to assist with stability, but the lecithin found in eggs is more digestible and well-tolerated by people who tolerate eggs in general.
Tip: When making an ice cream base with eggs, use the freshest eggs possible. As an egg ages the lecithin content declines, making the egg yolk less effective as an emulsifier.
In addition to being an emulsifier, egg yolks serve a second purpose: they thicken pre-churned ice cream base, which creates a creamier mouthfeel in the final product.
When the custard base of ice cream is heated, tightly wound individual protein strands in egg yolks begin to unwind. These unwound protein strands then connect with one another, creating a sturdy web that traps and holds the water, which translates to thickening.
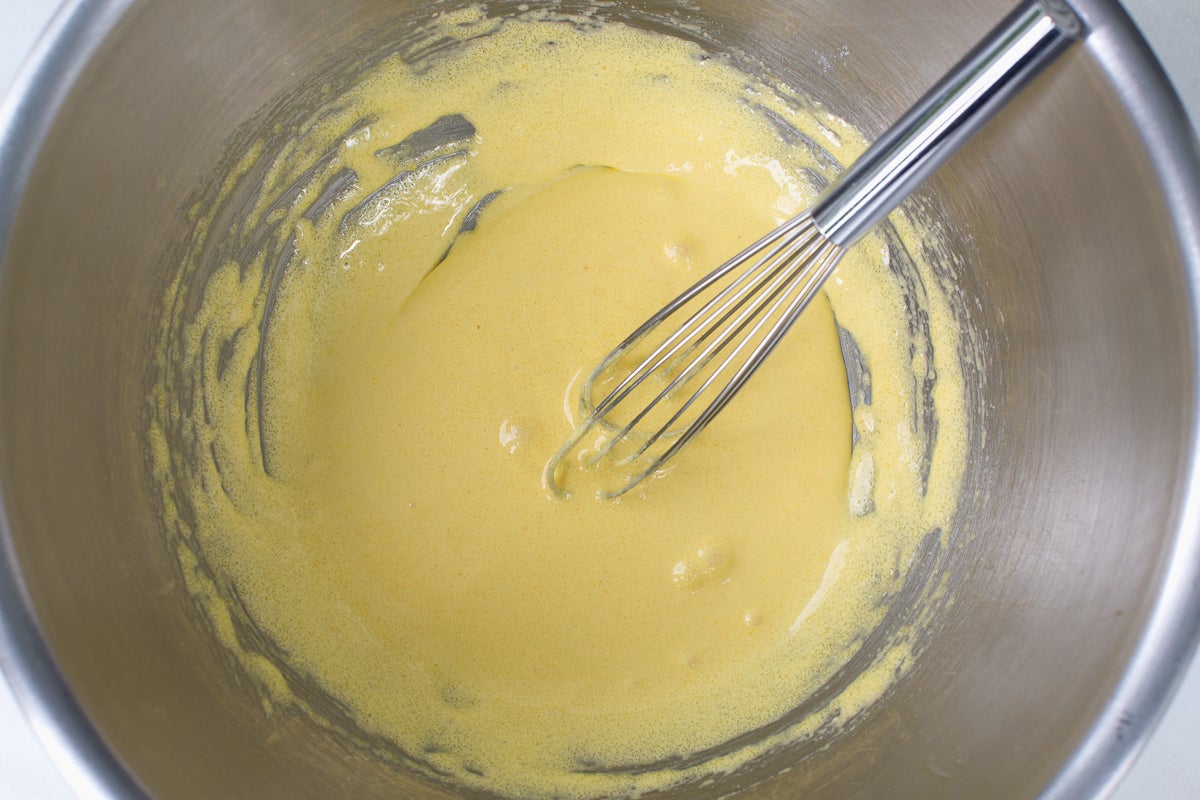
Sugar may lower freezing temperatures in water, but it increases the temperature at which the delicate proteins in egg yolks begin to unravel. For this reason, beating your egg yolks with sugar before adding hot milk during the tempering process protects the eggs and prevents curdling (i.e. those bits of scrambled egg you can get in a custard that's been heated too quickly or too hot).
Tip: Did you overheat (and scramble) your custard? Don't despair: cool it as quickly as possible to halt the cooking process. Then, strain it using cheese cloth, or use a blender to smooth it back out. It won't be quite as thick and creamy as it would have otherwise been, but it will still be perfectly delicious.
Most of you use an electric ice cream maker, rather than an old-fashioned hand-cranked churner with ice and rock salt. I use a Cuisinart 2-quart ice cream maker – but the tips above will work with any 2-quart machine.
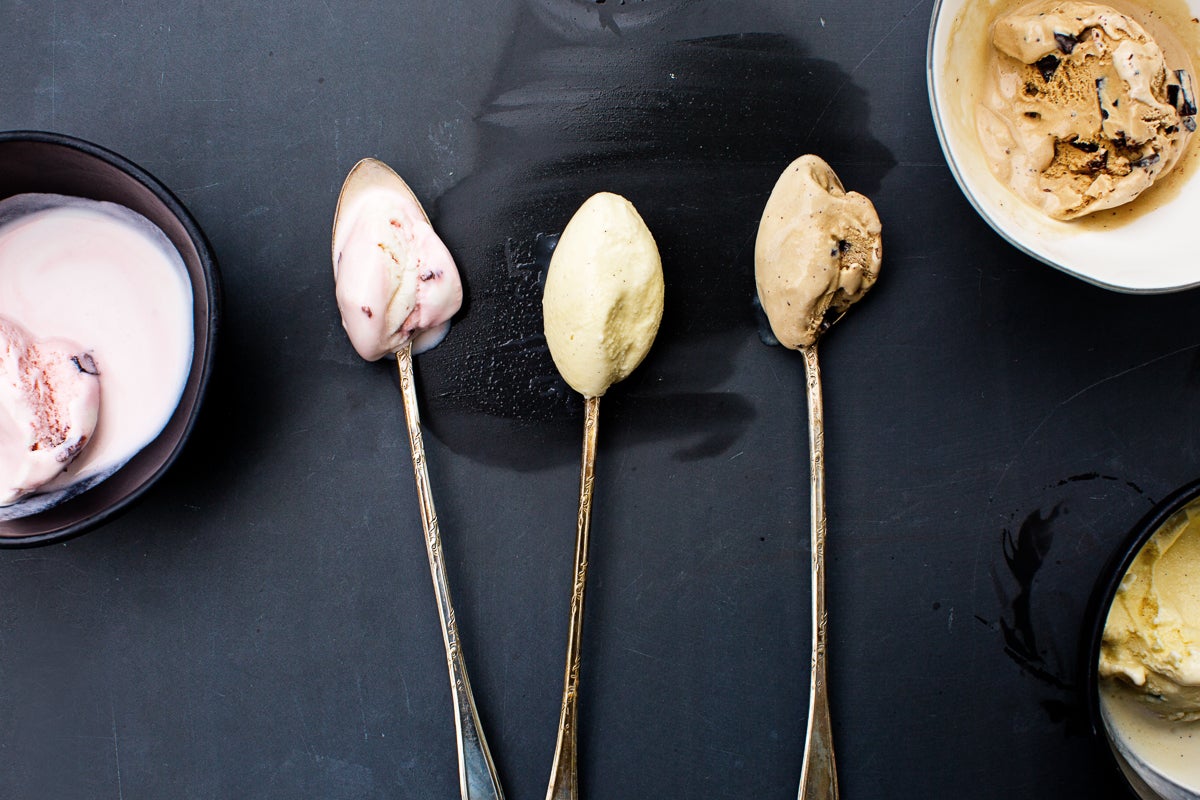
You might be surprised to learn that the speed at which you freeze your ice cream is one of the biggest determining factors in how smooth or icy your final frozen treat will be. When it comes to great ice cream, cold temperatures and speed are your friends: the faster you bring your base from liquid to solid, the creamier it’ll be. In a 2-quart unit, a typical batch of ice cream will take between 18 and 25 minutes to churn.
Want to help ensure quick freezing? Make sure your ice cream canister is completely frozen before using. Most home freezers can do this in about 24 hours, but there have been times when it has taken mine closer to 36 hours.
Shake the canister prior to use: if you hear any liquid sloshing around inside, continue freezing until completely solid — or risk slower churning times and the pitfalls that come with it.
Additionally, make sure your base is completely chilled before churning – for best results, chill for a minimum of 8 hours. Overnight is best.
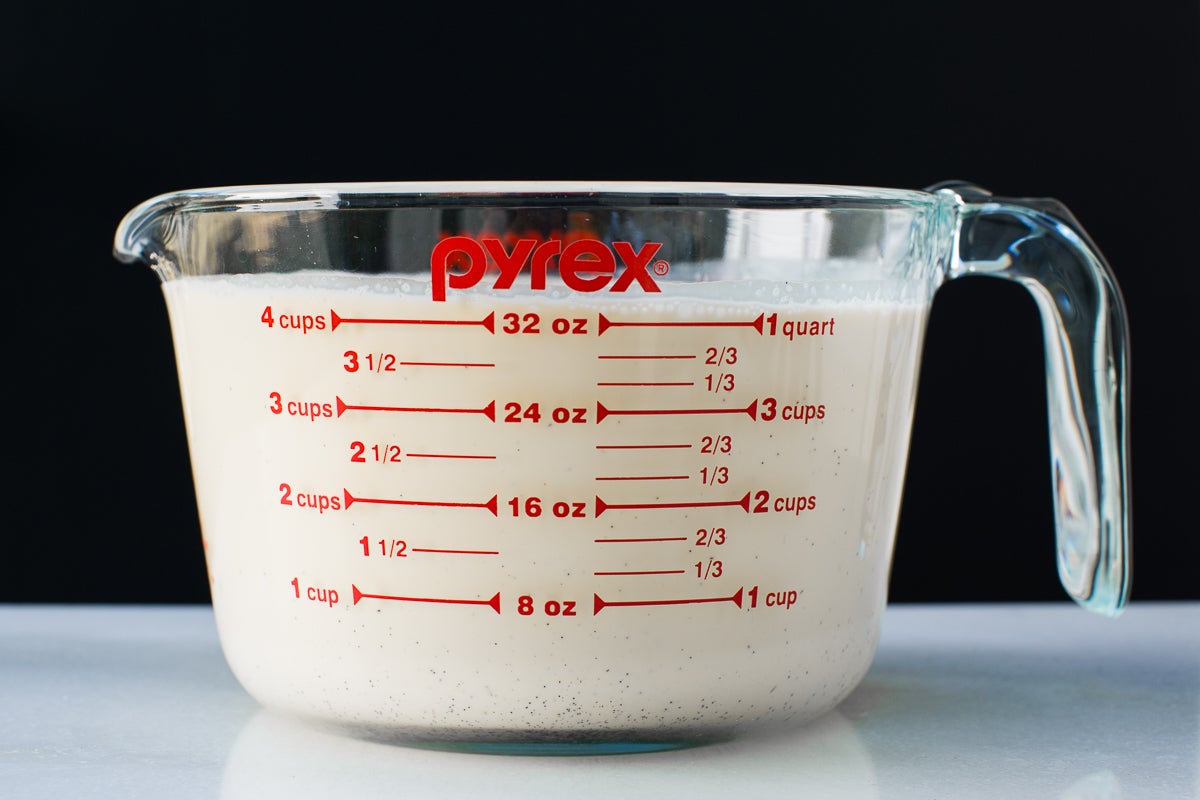
TIP: Ice cream recipes often don't specify what size churning container to use. Churning a 2-quart batch in a 1.5-quart bowl will lead to slower freezing times and icier finished ice cream. Sometimes it leads to over-churning, which creates an oily mouthfeel as some of the cream turns into butter. In general, 4 cups of liquid in a recipe require a 2-quart or larger freezer bowl. If your bowl is smaller, churn the ice cream in two batches, or cut the batch in half.
Now that you understand the science behind ice cream — and how following certain best practices can lead to great results — go out and apply them to your favorite ice cream recipes. Our next ice cream post will explore two delicious styles of vanilla ice cream: frozen custard, and cream-based “Philadelphia-style.”
Happy ice cream making!
For more of an ice cream deep dive, see our posts on Ice cream two ways and Creative ice cream sandwiches.