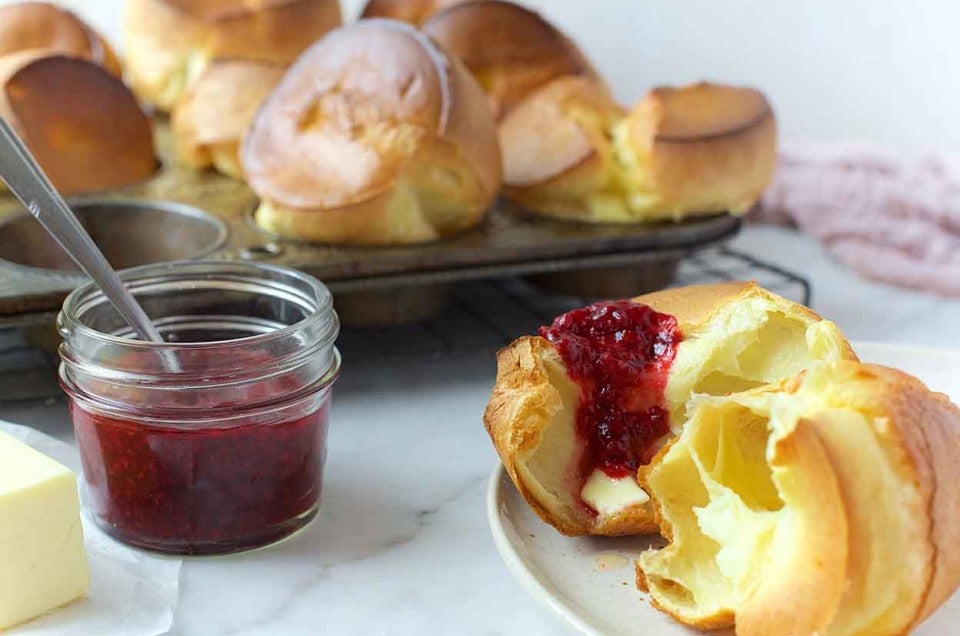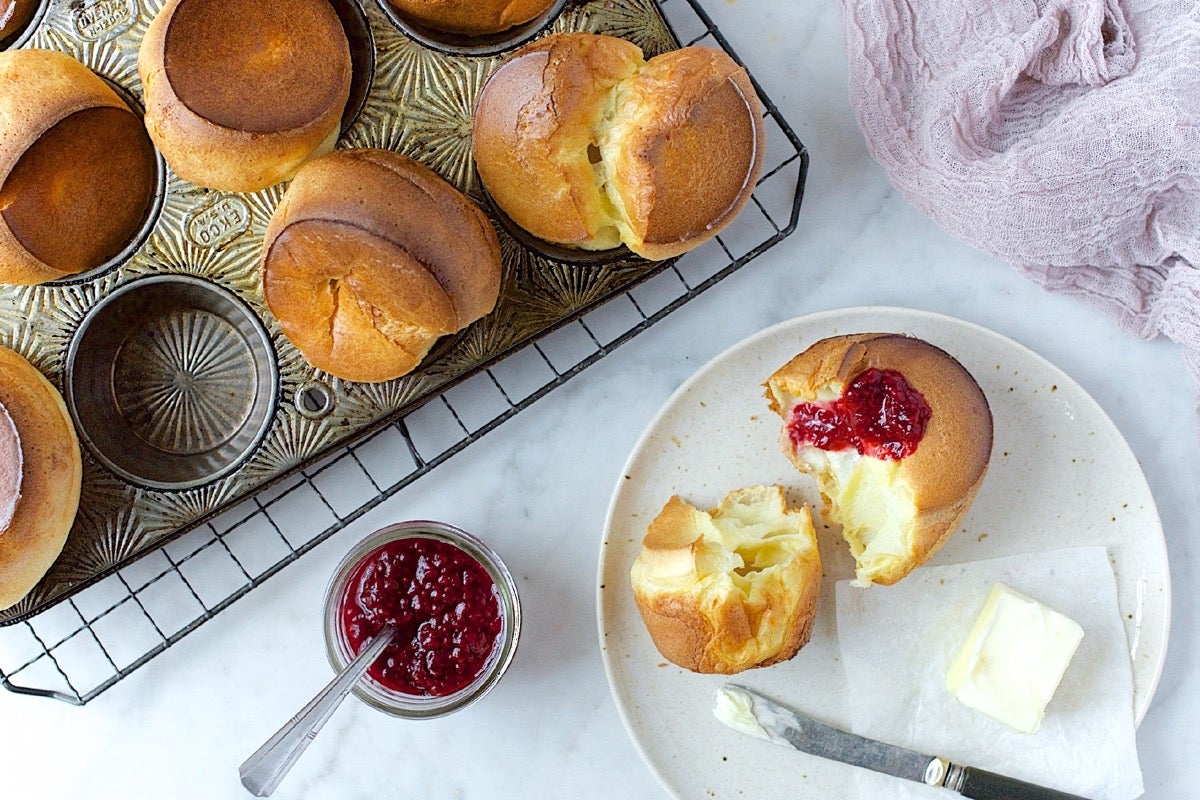


Is there anything so majestic, so amazing, as a popover? Just five simple ingredients – flour, salt, milk, butter, and eggs – create a steam-filled wonder that magically bakes up to nearly triple its original size.
POP. You can actually see it happening before your eyes – if your oven has a window and you're patient enough to stand and watch for 5 minutes or so.
Now, you may think something as simple-looking as a popover would be simple to prepare. A straightforward process. 1, 2, 3, Bob's your uncle – popovers!
Not so fast. Popovers are sneaky-simple; they LOOK like there's nothing to them, but oh, the side paths you can go down...
Make the batter in a blender; make it with a whisk. Beat till smooth and frothy; leave some lumps.
Everything should be at room temperature. Everything should be lukewarm. C'mon, it really doesn't matter what temperature the ingredients are.
Butter the pan. Grease the pan with shortening. Grease with vegetable oil. Or bacon grease. Non-stick spray is fine.
Put the pan in a cold oven. Put it in a hot oven.
DON'T PEEK!
And that, my friends, is probably the only hard-and-fast rule for popovers – once you put them into the oven, DON'T OPEN THE DOOR until they're nearly done; it lets in deflating drafts.
Over the years, I've made popovers using all the techniques above in various combinations. And, maybe I'm just lucky, but my popovers always seem to come out pretty well. They pop; they're light/crisp outside, nicely eggy inside.

Sometimes they're darker than I like, but in this latest go-around I found a solution to that – baking towards the bottom of the oven, and sliding a cookie sheet onto the highest oven shelf to shield their vulnerable tops.
So I'm convinced. This simple creation is, indeed, simple at heart – despite the way we try to complicate it.
Popovers are a wonderful vehicle for carrying other flavors, be it strawberry jam, lemon curd, or butter. Speaking of, let's start by making some flavored butters.
Maple butter is wonderful with plain popovers. Nothing rivals the pure, strong flavor of Vermont Grade B maple syrup, a.k.a. “cooking maple.”
Mix 1/2 cup softened butter (1 standard stick) with 2 tablespoons maple syrup, and 1/8 teaspoon salt. If you use salted butter, you can omit the added salt.
How about honey butter? Substitute honey for the maple syrup.
Scoop the soft butter into a serving bowl.

The folks at our retail store mix Vermont cheese powder with butter to make an incredibly easy, delicious spread.
Mix 1/2 cup softened unsalted butter with 2 tablespoons Vermont cheese powder. Stir till smooth; place in a serving bowl.
Before we get started: all of your ingredients should be at warm room temperature. To warm ice-cold eggs from the fridge, place them in a cup of hot tap water for about 10 minutes.

At last - let's get this show on the road.
First, start preheating your oven to 450°F. Position a rack on a lower shelf. The top of the fully risen popovers should be about midway up the oven. What you don't want is for the tops of the popping popovers to be too close to the top of the oven, as they'll burn.
To make a dozen popovers, use a standard 12-cup metal muffin tin, one whose cups are close to 2 1/2” wide x 1 1/2” deep. Grease the pan thoroughly, covering the area between the cups as well as the cups themselves; Everbake pan spray is easy to use, and won't leave any dark/sticky film on your pan.
Make sure the oven is up to temperature before you begin to make the popover batter.
Put the following in a bowl:
4 large eggs; if they’re straight from the fridge, warm them in a cup of hot tap water for 10 minutes before cracking
1 1/2 cups (340g) skim or low-fat milk
1/2 teaspoon salt
1 1/2 cups (177g) King Arthur Unbleached All-Purpose Flour
3 tablespoons (43g) melted butter
1/4 cup (28g) Vermont Cheese Powder, optional, for cheese popovers
Whisk to combine.
Note: Our online recipe calls for you to whisk together the eggs and milk, then add the flour, then the butter. When making the popovers for this blog, I simply whisked everything together. Either way is fine.
Scrape the bottom and sides of the bowl, and whisk at high speed till frothy, about 30 seconds using an electric mixer.

Can you do this in a blender? Yes. Can you do this by hand? Yes. Just make sure the batter is light and bubbly, as pictured above.
Want to make herbed popovers, or herbed cheese popovers? Add 1 1/2 teaspoons Pizza Seasoning or your favorite dried herbs.
Pour the batter into the muffin cups, filling them about 2/3 to 3/4 full.

Notice I added Pizza Seasoning to only half the batter; testing, testing...
Make absolutely certain your oven is at 450°F. Place the pan on a lower shelf of the oven .
Bake the popovers for 20 minutes without opening the oven door. Reduce the heat to 350°F (again without opening the door), and bake for an additional 10 to 15 minutes, until they're a deep, golden brown.

If your popovers seem to be browning too quickly consistently, place a rack with a cookie sheet above the rack where you'll place your popover pan, leaving plenty of room between the two racks. The cookie sheet will shield popovers' tops from direct heat.
If you plan on serving the popovers immediately, remove them from the oven, and stick the tip of a knife into the top of each, to release steam and help prevent sogginess. Slip them out of the pan, and serve.

Ah, perfectly browned.
Notice how the popovers will start to deflate fairly quickly. This isn't an issue, if you're bringing them right from the oven to the table.
But if you want the popovers to hold their shape longer without deflating and settling quite as much, bake them for an additional 5 minutes (for a total of 40 minutes) IF you can do so without them becoming too dark. This will make them a bit sturdier, and able to hold their “popped” shape a bit longer.
The soft, eggy interior is perfect for melting butter. Or cheese butter. Or honey butter, or maple butter.
You can also use our mini popover pan; it'll make about 18 popovers from this recipe. Our standard popover pan will make six big popovers, using this recipe.
Why use a popover pan?

Note the open spaces between the wells; this allows each popover to expand without crowding into its neighbor. The result? Slightly greater “pop,” and a more uniform shape.
Read, rate, and review (please) our recipe for Popovers.

