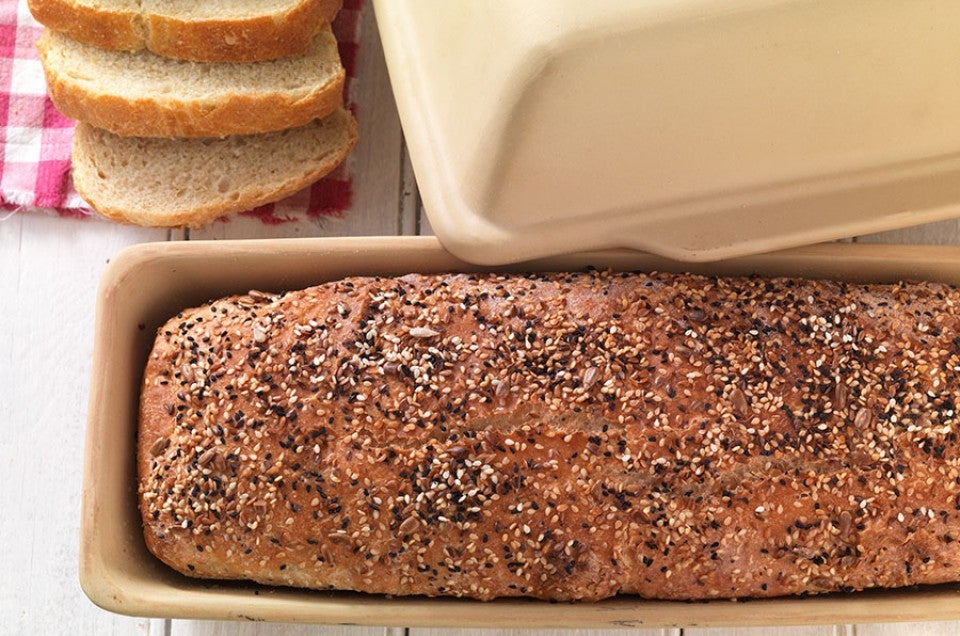


Our long covered baker has been a test kitchen and customer favorite for many years. Those looking for a good crusty Italian or French-style loaf rely on this pan to produce excellent results.
If you've been with King Arthur Flour for more than a year or two, you'll recognize this beauty from our catalogue pages; but also realize it's been through some changes, too. The original long covered baker we sold had a very domed lid with a handle on top, and indeed my baker at home is this style. It's an old friend and prized companion in my kitchen.
Over time, several versions have been tested out, with our newer long covered baker shown below. The upper lid is now flatter, with a wide rim that makes for easy lifting and moving. In fact, we've found you can bake in both baker and lid if you need two loaves fast.
To begin, choose a recipe that's more rustic and hearty rather than sweet and buttery. Breads with keywords like "artisan," "hearth," "hearty," and "crusty" are all good candidates, as are loaves that use the no-knead method.
Shoot for a recipe using 3 1/2 to 4 1/2 cups of flour. If the recipe uses more flour, you'll want no more than 2 pounds of dough in the baker; so weigh your total batch and divide as needed.
Want five delicious choices for your pan? Here goes: No-Knead Crusty White Bread, Three-Cheese Semolina Bread, The Easiest Rye Bread Ever, Baker's Grain Sourdough Bread, and Light-as-Air Seed Bread.
Now, all of this said, using the pan can take a bit of time to get used to, and there are definitely things to keep in mind that will bring your results from "good" to "OH MY GOODNESS!" Let's check out the key things you need to know for covered baker success –
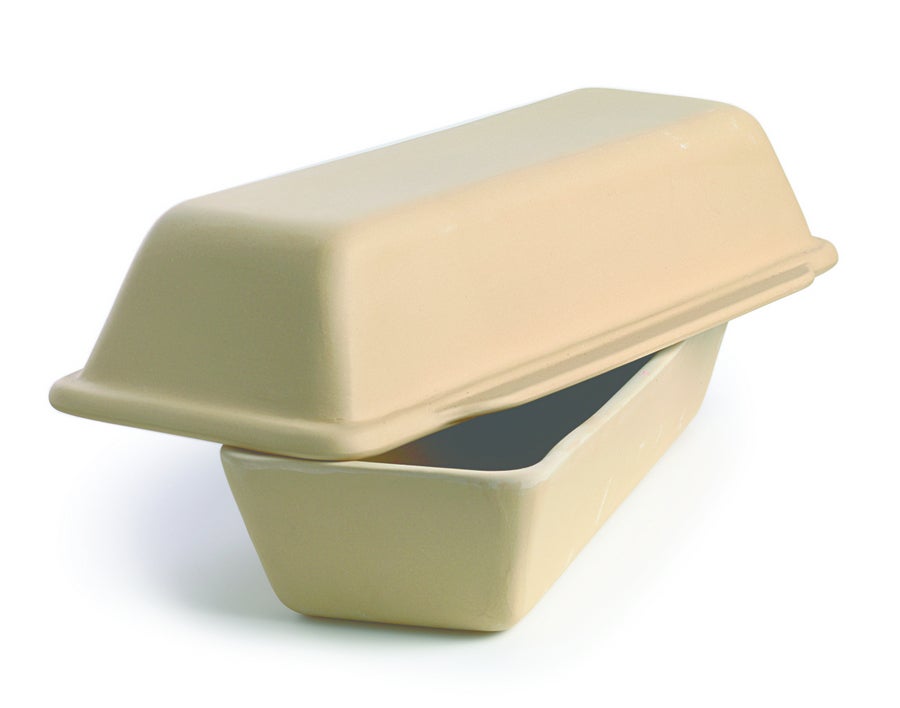
Unlike terracotta bakers, you don't want to soak this long covered baker in water before use. The unglazed porous stoneware will trap the steam given off by the baking bread and create the crackly crust, so there's no need to soak. Nor do you need to add a separate pan of water to the oven; the pan takes care of it for you.
While you could use a damp cloth to wipe down your long covered baker, we don't recommend washing it with soap. The porous surface can absorb the scent and flavor of soap, which doesn't always pair well with garlic and cheese!
Don't fret about stains and spots, though; those are signs of a well-seasoned pan, and something a professional baker (or your Nonna) would seek out.

Definitely grease. Or oil. You want a barrier between the bread and the stoneware. I prefer a solid shortening like Crisco, which you can paint on with a pastry brush like Picasso, or smear on with a paper towel. Olive oil is a good choice, too. Be aware that butter may not give you the results you seek, as it melts quickly and burns more easily.
You can add another layer of protection and flavor by sprinkling the interior of the pan with semolina flour or durum flour. Cornmeal will do in a pinch; but again, like butter, it'll burn more easily.
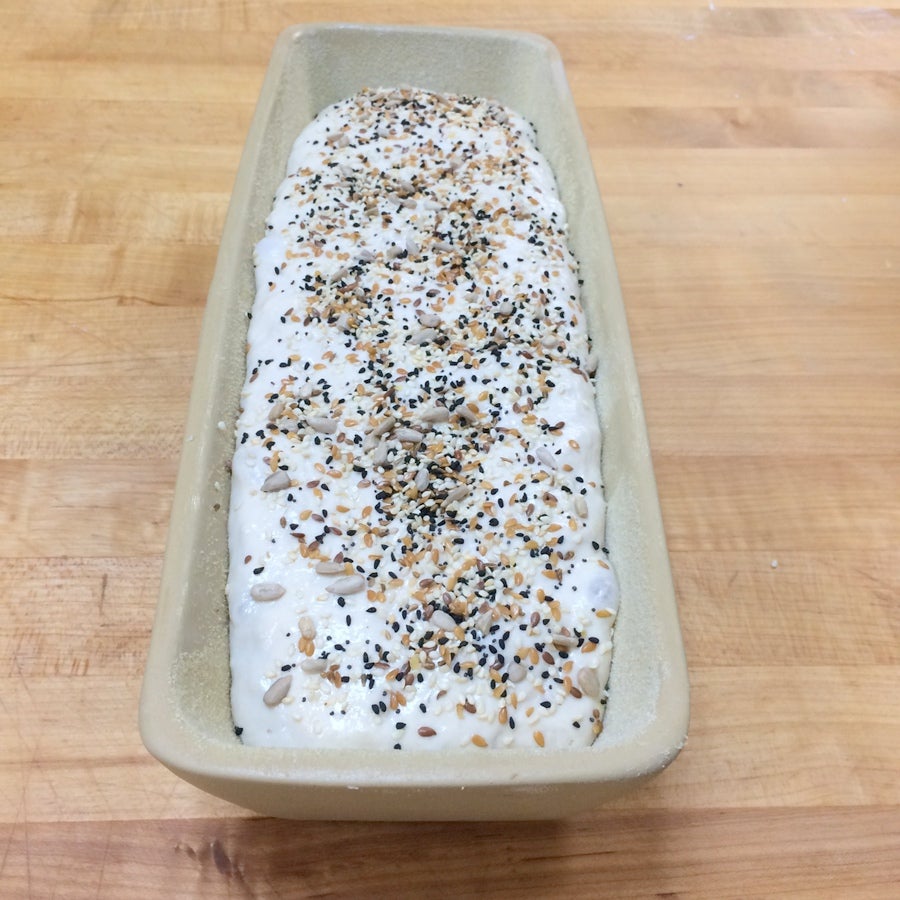
While topping with seeds or a seed blend is completely bakers' choice, slashing the bread is highly recommended.
Slashing or scoring your loaf with a very sharp knife or blade gives the steam generated inside your loaf a good place to escape. If you don't slash (or slash poorly), the steam is going to escape from the weakest point in the crust, be it on the top, end, or side. Even with the covered pan, cutting the surface of the loaf before baking is good practice.

As with all stoneware, the long covered baker won't tolerate extreme changes in heat. While some pans state they go from freezer to oven to table, this pan is meant to be taken from room temperature to a cool or preheated oven.
For a cold oven start, place your nearly-risen bread into a cold oven, then turn it on to the temperature called for in the recipe. Keep in mind that 450°F is the maximum recommended temperature for this pan.
If your recipe calls for starting in a cold oven, here's how you time it: once your oven reaches temperature, set the timer for the time recommended in the recipe.
Checking on your bread is a bit like voting. Do it early and do it often, until you have a good feel for how long a typical recipe will take in your personal oven.
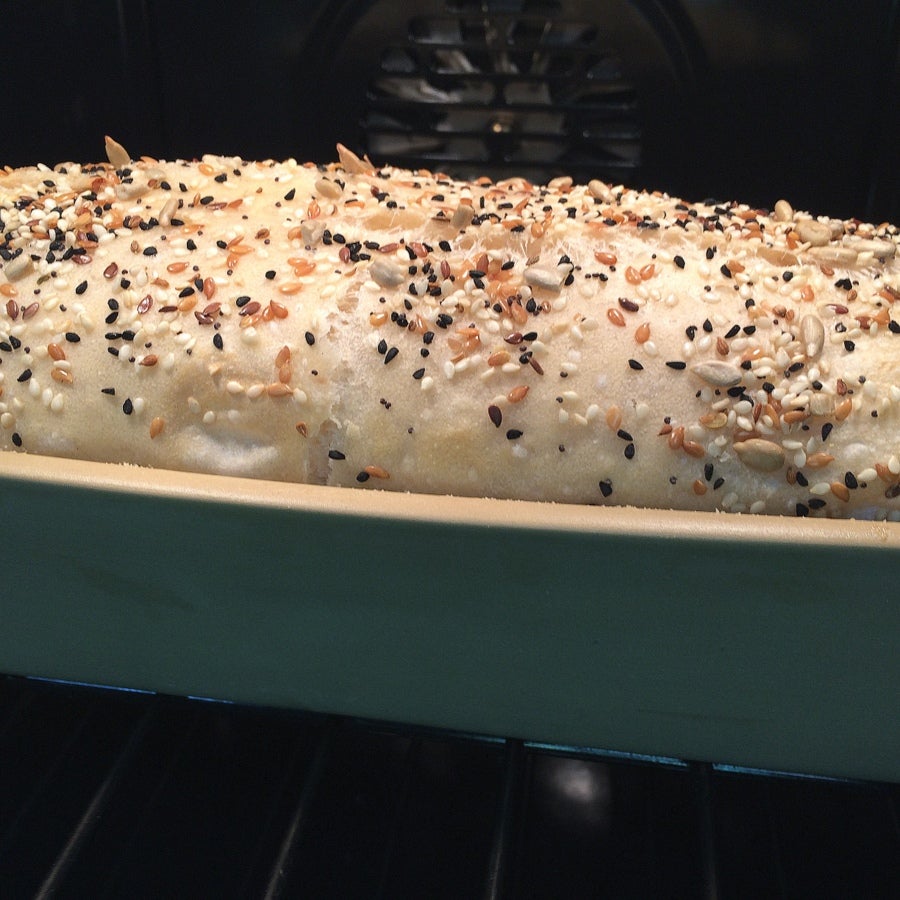
In short, the answer is yes. To get the benefits from trapped steam, you want to start the bake with the lid on the long covered baker. The lid should be loose-fitting, with a little wiggle room – plenty to keep in the steam, but not a tight seal.
When the bread is well set and beginning to brown, about 15 minutes before it's set to be done, go ahead and remove the lid. Your bread will brown and crisp on top to a bakery-worthy loaf.

Well, to be honest, the bread's crust will soften to some degree over time, no matter what you do. What I'm driving at is how to slow that process.
As you can see, greasing and coating the pan prevented any sticking. The bread has pulled away from the pan and has a lovely crust. At this point you could just un-pan the bread and place it on a rack to cool.
But if you'd like that crunch to last a little longer, turn the bread out of the pan and place it back in the turned-off oven, laying it right on the rack. Crack the oven door and allow the bread to cool in the oven. Any residual moisture from the bread will be wicked away by the hot oven, resulting in mega-crunchy crust.
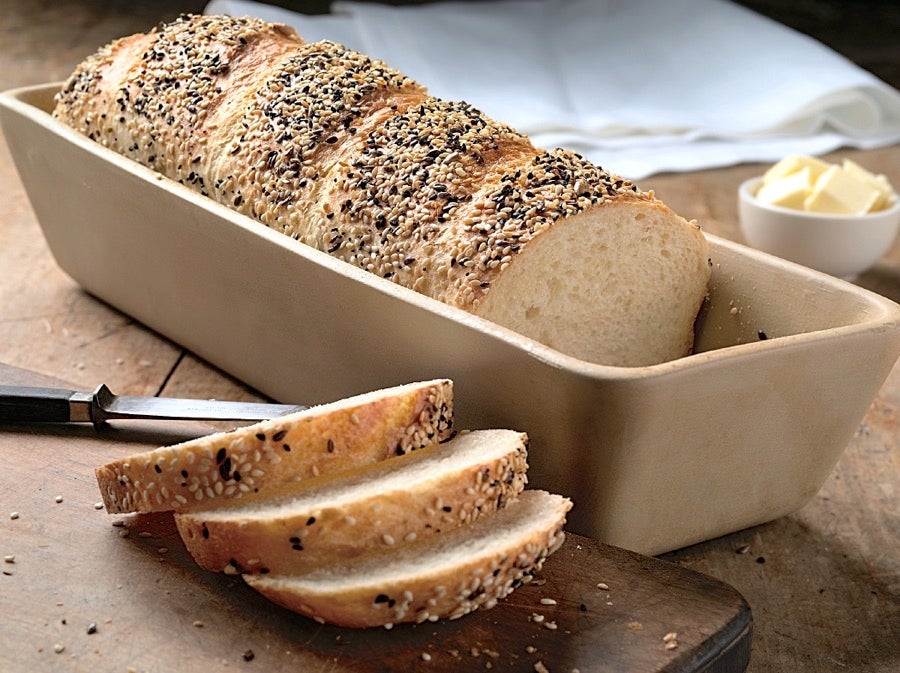
I think we all know the answer to this one. Go ahead, brag away. That's one killer loaf you've made there, and you're now best friends with your long covered baker. Bravo, and a toast to you both.
Please do leave us a comment below with your tips, tricks, and favorite recipes for our long covered baker.

