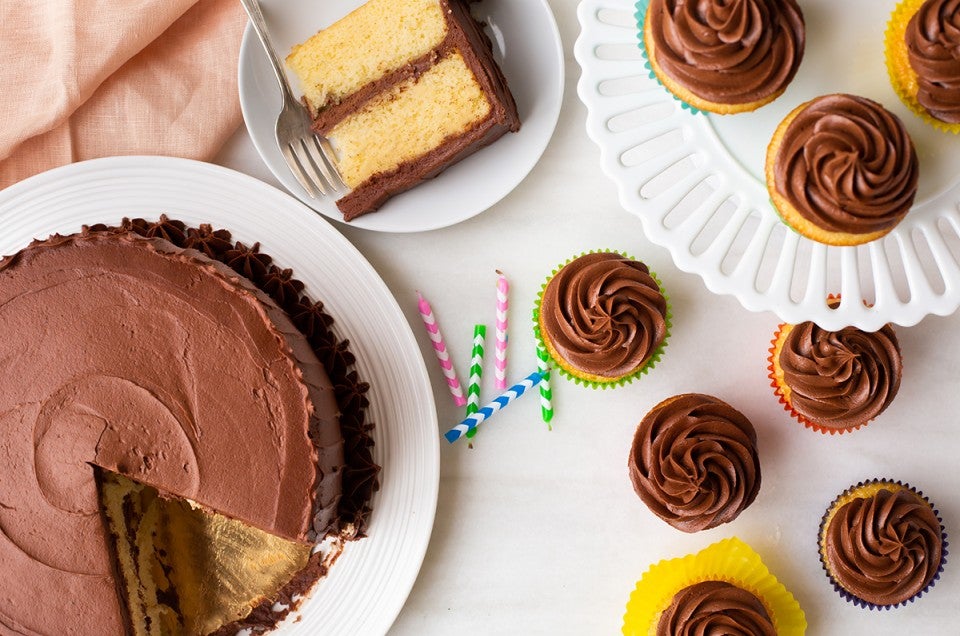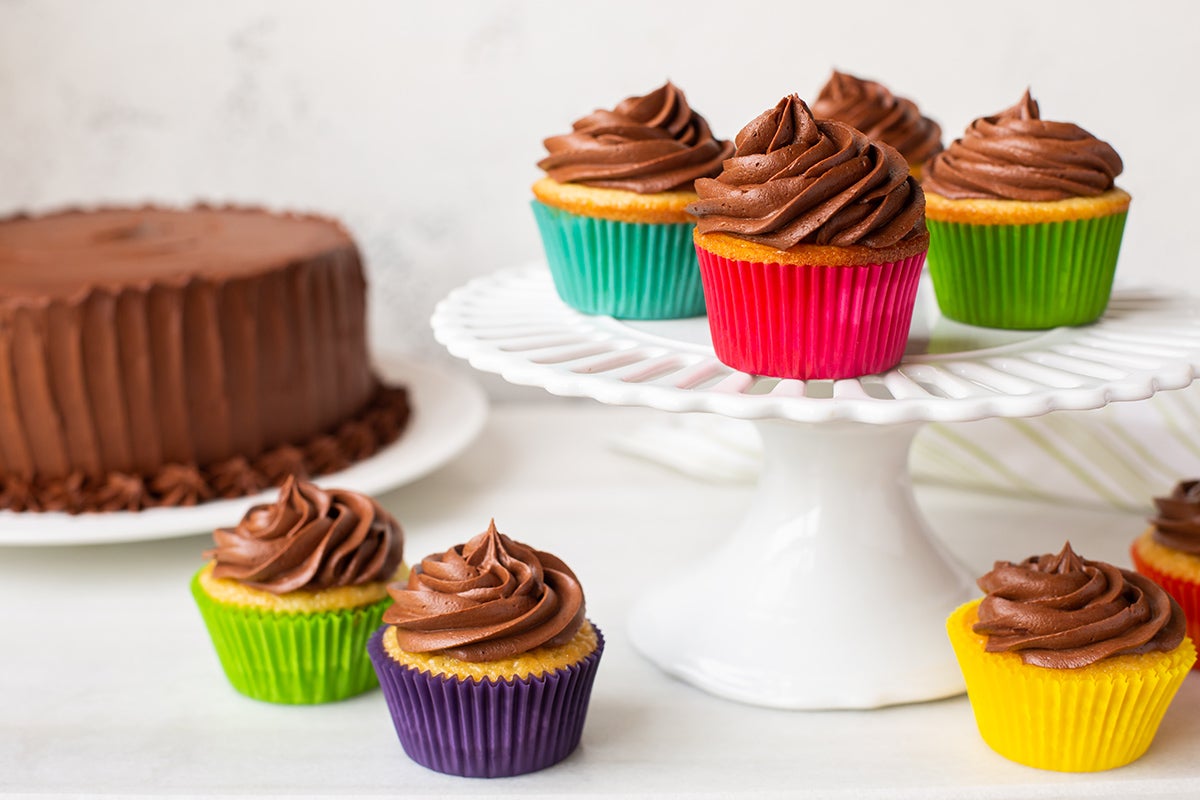


Cupcakes are blissfully convenient. No forks, knives, or hassle are needed to enjoy one. But sometimes, you have your heart set on the perfect (full-sized) cake recipe you love. This is when it pays to be nimble in the kitchen — with our easy tips you can convert cake to cupcakes so you always bake the right dessert for the occasion.
From cake to cupcakes, you’ll be able to take almost any cake recipe and make it into easy-to-enjoy cupcakes. Here’s how.

When choosing a recipe to convert from cake to cupcakes, set yourself up for success by starting with a “standard” cake. These are recipes that use classic mixing techniques. Think creamed cakes, blended (paste-method) cakes, hot milk cakes, and oil-based cakes.

Some recipes to carefully consider before turning into cupcakes:

We find ourselves craving our Recipe of the Year, Classic Birthday Cake, day after day. (Trust us: It’s delicious every day, not just on birthdays.)
This golden vanilla cake with satiny chocolate frosting is impressive as a tall, two-layer cake. But it also works delightfully well in a smaller format. We're going to show you how to transform this cake into cupcakes in five easy steps.

Once you learn the method, you can transform your other favorite cake recipes into cupcakes, too!
The first thing to consider when converting cake to cupcakes is the baking temperature. Choose your temperature first so you can preheat the oven while you prepare the batter.
Most cupcakes bake well between 325°F and 375°F. Conveniently, these are the same temperatures that cakes are usually baked at too. You can probably use the temperature the cake recipe calls for, or you can adjust it if you’re looking for specific results.

Bake your cupcakes at a low temperature (325°F) if you’re looking for cupcakes with relatively flat tops. These cupcakes are perfect for garnishing with lots of elegantly piped frosting.

See those golden edges? That's because sugar liquefies during baking and starts to caramelize during a long, slow bake. This is especially noticeable where the batter touches the pan.
So if you bake your cupcakes at 325°F, they'll likely end up with slightly crisp edges. It’s not unpleasant to have a little bit of texture to your cupcake; just know it’s coming!

If you’d like to make cupcakes that have a little dome, try increasing the temperature by 25°F or 50°F.
The higher heat activates the leavener (baking powder and/or baking soda) more readily. As a result, the cupcakes rise higher. You'll also end up with a softer, more homogenous crumb as a result of less time in the oven.
If for some reason the cake recipe you’re using calls for a temperature outside of the standard range (325°F to 375°F), change it accordingly.

Decide on your baking temperature and preheat the oven.
This next step of converting cake to cupcakes really doesn’t require any conversion at all — simply make the batter as directed in the recipe.
We mix up the batter for our Classic Birthday Cake using the hot milk technique — a mixing method outlined in the step-by-step directions in our blog post: Introducing our Recipe of the Year.

The batter looks thin; that’s exactly how hot milk cake is supposed to look at this stage.
Once the batter is mixed, it's time to deviate from the cake recipe. We’re going to make cupcakes!

Next, ready your pans for baking. Choose standard, jumbo, or mini muffin pans based on how large you want the final cupcakes to be.
Then, figure out roughly how many cupcakes your recipe is going to make. Here are some guidelines:
If you’re using a jumbo pan, expect about half as many cupcakes. A mini pan yields slightly more than two times as many cupcakes.
The Classic Birthday Cake makes about 6 cups of batter, and that yields between 24 and 30 cupcakes, depending on how full you fill the wells.

Once you know about how many cupcakes to expect, line your pan with papers or grease it lightly. (If you need help deciding about whether you should use papers, start here: How to use muffin and cupcake papers.)

Regardless of the pan size, fill each well about 4/5 of the way full. (You can also use a muffin scoop to help you portion out the batter.)
Using this much batter should result in cupcakes that fill the papers nicely without overflowing during baking.
The exception? If you know the batter you’re preparing is a low riser or you’re using a lower baking temperature (325°F), feel free to fill them a little fuller: almost all the way to the top of the wells.

If you make our Classic Birthday Cake into cupcakes and bake them at 325°F, you can fill the wells quite full. If you opt for a higher temperature, leave a little more room for the cupcakes to rise as they bake.

Cupcakes will always require less time in the oven than their cake counterparts. Each well is like a pan of its own containing a small amount of batter, so they'll cook through faster than full-size cakes.
How much faster? There are some general rules you can use to help estimate the bake time for cupcakes. For example, when converting from 9" pans to cupcakes, you'll likely only need to reduce the time by about 5% to 10% if you use the same baking temperature.
If you're going from a 9" x 13" cake to cupcakes (using the same temperature), the baking time will be reduced quite a bit. Sometimes it'll be as much as 40% to 50% shorter for cupcakes.
While these rules of thumb can be helpful, exact bake times will vary based on the recipe, your oven, and how full you’ve filled each well. You’re better off if you don’t try to calculate the precise bake time and instead hone your ability to tell when cupcakes are perfectly baked.

It can be difficult to tell when cupcakes are done just by looking at them — yes, they should have a golden edge but what if you’re baking chocolate cupcakes? Look for these signs:

The last (and perhaps the most fun) step in converting cake to cupcakes is getting to decide how to top your cupcakes. I’m a fan of classic buttercream-frosted cupcakes, but you’re the baker so you get to decide!
If your cake recipe includes frosting, feel free to use it. Alternately, you can mix and match cake and frosting flavors using our collection of frosting recipes.
Once you’ve chosen your frosting, decide if you need to adjust the yield.

The frosting for our Classic Birthday Cake (which we think is the perfect chocolate frosting) makes a generous 4 cups (857g). This is a relatively large amount of frosting; there’s enough to fill the cake layers and then style the cake in different ways.

Four cups of frosting is enough to spread about 2 to 2 1/2 tablespoons (30g to 35g) of frosting on each cupcake. Your cupcakes will have a simple, rustic look, and the chocolate and vanilla flavors will be nicely balanced.

If you want to be able to pipe a professional-looking swirl atop each cupcake, increase the frosting by half. Six cups of frosting is enough to generously top 24 cupcakes, using a heaping 3 to 4 tablespoons (45g to 55g) of frosting on each cupcake.

The next time you need a perfect treat for a bake sale, birthday party, or summer celebration, turn your favorite cake recipe into cupcakes. They'll turn out beautifully if you follow these easy steps.

And if you haven't already tried it, bake our Recipe of the Year! Make it for your birthday, a family member’s birthday, or for a friend down the street. Make it as a cake or make it as cupcakes — whatever works best for you.
Thanks to Jenn Bakos for taking the photographs for this post.
June 21, 2024 at 6:23am
Hello. How long to cool the cupcakes before removing from the pan? Thanks!
June 22, 2024 at 9:44am
In reply to Hello. How long to cool the… by Dee (not verified)
Hi Dee, in general, you can remove the cupcakes from the pan and allow them to cool on a rack after about 5 minutes.
August 8, 2023 at 10:31am
This was SO helpful - thanks for the clear and detailed information!
June 13, 2023 at 4:30pm
Thank you for the awesome article. I wanted to turn your carrot cake recipe into muffins. Do you think the consistency of that cake would be suitable? I tried it and really like it
June 13, 2023 at 7:54pm
In reply to Thank you for the awesome… by Irene (not verified)
This would certainly work, Irene, sounds delicious. Happy baking!
May 9, 2023 at 5:10pm
I am hoping to convert an apple cake recipe from a cake to cupcakes. I know it may not be the ideal option, as the cake typically has hefty apple chunks in the batter. It's typically baked in a tube pan at 325 for an hour and fifteen minutes - do you think it could be pulled off, and if so, are there any special considerations?
May 13, 2023 at 10:49am
In reply to I am hoping to convert an… by Lydia (not verified)
Hi Lydia, this should certainly be possible, but it may take a little tweaking to get the recipe to work perfectly in cupcake form. It sounds like your recipe might be similar to this Chunky Apple Muffin recipe, so you could try dividing the batter and baking according to this recipe and see how it goes. You can adjust the baking temperature and time according to how domed you want the cup cakes, but I think for your moist and chunky apple cake this might be a good place to start.
July 12, 2022 at 9:56pm
You mention the different oven temperatures, which I’d helpful. What would the baking times be then for the 3 different oven temperatures. Thank you for the helpful tips.
July 14, 2022 at 4:55pm
In reply to You mention the different… by Barb (not verified)
Hi Barb, step 5 of this blog post shows how to adjust the bake time depending on the cake recipe you are converting. Happy Baking!
June 17, 2022 at 2:07pm
Hi There
I have a carrot cake recipe that I bake in 6, 1 cup mini bundt pan (nordicware). Original recipe makes a 12 cup bundt but I halved the recipe and made the minis.
18 minutes @ 350º is perfect in my oven.
Now I want to make 12 standard sized muffins, using the same recipe I use for the mini bundts.
Reading other carrot cake muffin recipes, baking time @ 350º is usually 20-25 minutes, longer than my mini bundts!
And advise on how long muffins should be in and when I should start checking?
Thanks
Pagination