5 surprising tips from our new Essential Cookie Companion
Expert advice for your holiday baking.


As you head into holiday cookie season, what’s the most important thing you can do to ensure successful cookies and a seamless baking experience?
Get help from the experts!
Back in 2003, fresh off the success of our James Beard award-winning Baker’s Companion Cookbook, we jumped into another book project: The King Arthur Flour Cookie Companion. Its hundreds of pages, packed with recipes, illustrated tips, and detailed techniques, have made it a treasured guide for cookie bakers ever since.
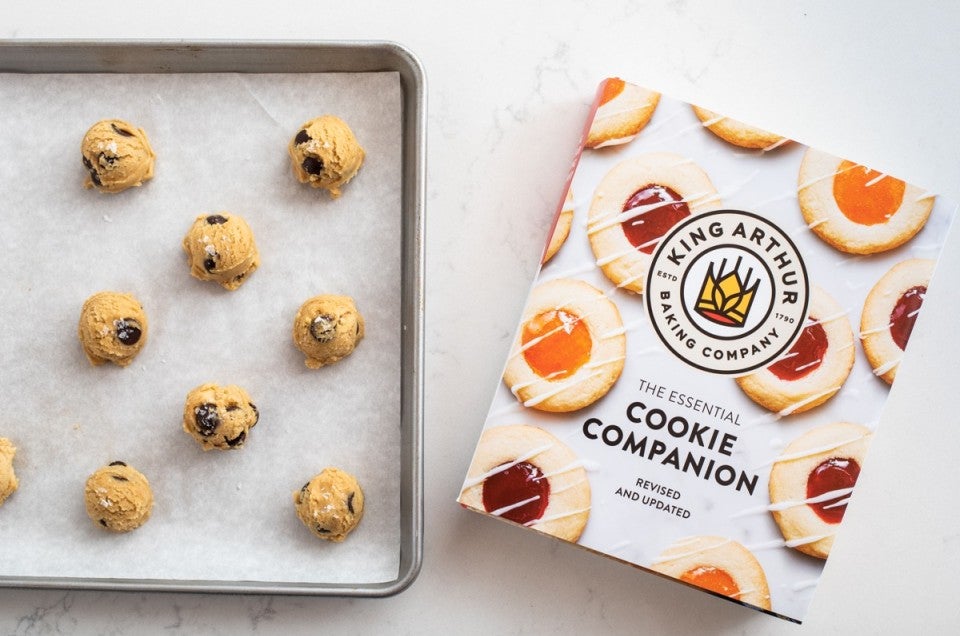
Now, nearly 18 years after its initial 2004 publication, the Cookie Companion is out in a brand-new edition. The Essential Cookie Companion, with the addition of new recipes, photos, and (most exciting to many of us) gram weights for ingredients throughout, transforms that original book into a guide that’s more useful than ever.
In addition to its 400+ recipes, this book is chock-full of tips: small nuggets of wisdom that can help you take your baking from pretty good to really accomplished. Our test kitchen bakers have collectively spent decades making cookies, and the following tips — a small selection of the many you’ll find in the book — are the result of their hard-earned experience.

Both drop and shaped cookies (e.g., Vanilla Dreams, Gingerbread Cookies, Fruitcake Drops) are holiday mainstays. To avoid wasting both ingredients and time, you need to become a good judge of whether or not those cookies are fully baked. Because who wants a soggy gingerbread man?

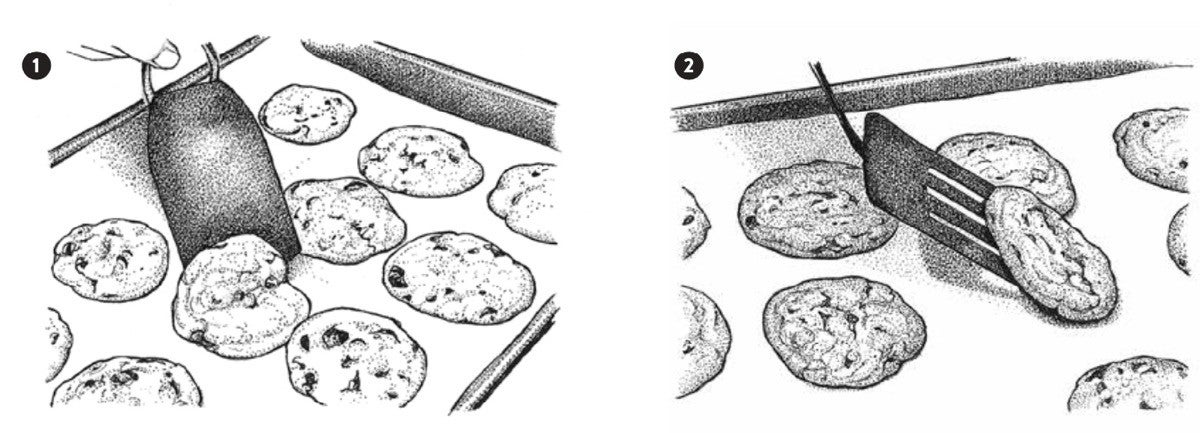
Here’s the technique savvy bakers use: Open the oven door and insert a turner or spatula under the edge of one cookie. Lift gently. If the cookie bends in the middle, it’s not done. But if it stays flat across the bottom and doesn’t bend or break in the middle, it’s ready to come out of the oven.

With the number of cookie gift plates you’re assembling, you clearly have dozens and dozens of cookies to bake. So time is of the essence — and you only have two baking sheets! But don’t let impatience get in the way of quality. Plopping balls of cookie dough onto still-hot-from-the-last-batch baking sheets will cause cookies to spread or lose their shape before they even get into the oven — increasing the risk of flat, misshapen cookies with burned edges.
The solution? Streamline your process by scooping or cutting out the next batch of cookies while your first pan is baking. How? Place balls of cookie dough (or cookie cutouts) onto sheets of parchment. When the first batch of baked cookies comes out of the oven, transfer them to a cooling rack. Lift the unbaked cookies — parchment and all — onto the pan and place them in the oven immediately; they won’t have time to spread or melt before they start baking. Meanwhile, get going scooping your third batch!

OK, you’ve made these great cookies and think they’d be over the top if you sandwiched them around, say, some chocolate ganache or vanilla cream filling. But how do you know how much filling to make?
First, count your cookies, then divide by two; remember, it takes two to make a sandwich. Then assess how much filling you want to use in each. A half-teaspoon of filling, on a typical 2” to 2 1/2” diameter cookie, is probably the minimum you want; 1 teaspoon is average, 1 1/2 teaspoons is generous — and more than that is overstuffed! To help in deciding, make a sample sandwich cookie using peanut butter as filling, measuring the amount that seems right to you.
Next, multiply what you’ve decided on (1/2 teaspoon, 1 teaspoon, 2 teaspoons … ) by the number of sandwiches you’re making. Finally, look at the yield for the filling recipe and adjust it accordingly to match what you need.
Here’s an example: You’ve made 48 cookies. You want to create 24 sandwich cookies, each stuffed with 1 1/2 teaspoons of filling. Multiply 24 times 1 1/2 teaspoons to get 36 teaspoons (which is 12 tablespoons). Twelve tablespoons = 3/4 cup, and that’s how much filling you need (unless, of course, you need to make a little extra for “sampling”).

Most cookies spread as they bake; that’s a fact of life. It’s important to leave room between cookies on the baking sheet, so they can spread without turning into one big disappointing blob. But how much room should you leave? And what’s the best way to place your cookies on the sheet to optimize space?
Drop cookies portioned out with a tablespoon cookie scoop (approximately 4 teaspoons of dough, 1 1/4” diameter) will usually spread into cookies with a 2” to 2 3/4” diameter. To be safe, leave about 2 1/4” to 2 1/2” between unbaked cookies of this size.
Cookies made with a teaspoon cookie scoop (about 1 3/4 teaspoons of dough, or about 1” diameter) will make cookies 1 1/2” to 1 3/4” in size. Leave 1 3/4” to 2” between unbaked cookies of this size. Some cookies spread more, while some barely spread at all, but use these measurements as a guide.

If you’re very concerned with making perfectly round cookies (ones that don’t run into each other as they bake), measure the diameter of two balls of unbaked dough, place them on the baking sheet, bake, then measure them again; you can then figure out how much clearance space that recipe needs. (You can do this with just one ball of dough, but two makes the exercise more visual, and less mathematical.)

You’ve decided to make snowmen, reindeer, intricate stars, or other rollout cookies. This kind of cookie is usually butter-based and sometimes rolled quite thin. The resulting dough can easily tear, fold upon itself, stretch, or otherwise become misshapen as you try to move the just-cut cookies from rolling surface to baking sheet.
What’s the best way to keep your beautiful cutouts in perfect shape? Roll and cut the dough directly on parchment. Then, instead of trying to pick up and move the cookies, carefully remove any excess dough between them, using a small offset spatula or your fingers. (If cookies are cut particularly close together, a skewer or toothpick can be helpful.) Transfer the shaped cookies, parchment and all, to your prepared pan for baking.
If you expect the cookies to spread or puff noticeably during baking, be sure to leave room between them on the parchment as you cut. And don’t discard that excess dough you’ve picked off the parchment; press it together, re-roll, and cut more cookies.
For more expert tips (and hundreds of inviting recipes), pick up your copy of the newly revised Essential Cookie Companion today!
Cover photo by Jenn Bakos.

