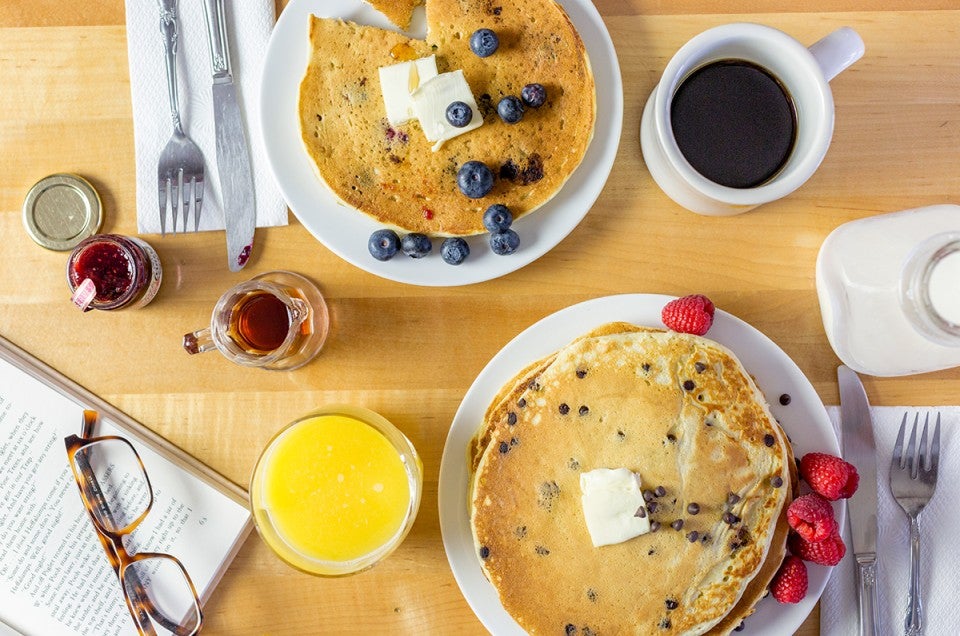


Is there anything better than diving into a still-warm stack of pancakes at your favorite diner? There just might be something even better!
Imagine sinking your fork into those same beautiful, golden pancakes in the comfort of your own home. Now THAT is the best thing ever.
You don’t need to change out of your pajamas or slippers to enjoy quintessential diner pancakes anymore. We’re going to teach you how to make the best diner-style pancakes at home using your favorite pancake recipe. Just a few simple tweaks and you'll be serving up the best pancakes around!

Turn your home kitchen into the best diner in town with these tips for making diner-style pancakes.
If you’ve been reading along with our recent pancake blog posts, you’ll know this isn’t the first time we’re setting out to make a certain style of pancakes. We believe pancakes are personal, and you should be able to adjust any base recipe to make them just right for your taste buds.
Today, we’re catering to those who dream about diner-style pancakes — those ones that are evenly golden, slightly malty in flavor, and typically as big as your face — but that certainly doesn’t mean we don’t recognize and appreciate other styles of pancakes too.

Our first lesson was for the fluffy pancake-lovers — those who want their pancakes to be light and cakey.

Next, inspired by my fellow blogger PJ’s love of buttery and moist pancakes, we explored how to make decadent pancakes that are rich with flavor. Learn how to make buttery pancakes in our second lesson.
Now we’re aiming to make pancakes that are cozy, comforting, and ultimately delicious. We’re going to recreate pancakes that are exactly like those you’d find at a classic diner on a weekend morning.

As with the other posts in our personalized pancakes series, we begin with our Buttermilk Pancakes recipe.
We turn to this recipe again because it serves as the perfect base for personalization. It’s basic enough to welcome some small adjustments but is also delicious as is.
Bottom line: It’s a recipe that’s easy to love and is worth adding to your arsenal of go-to recipes. As a review from Cassandra in North Carolina puts it, this recipe will make you look like a "pancake rockstar!"

There’s something about the flavor of diner pancakes that’s hard to put your finger on. It’s slightly sweet and complex. It reminds you of an old-fashioned milkshake.
That elusive flavor? It’s malt. Or more precisely, it’s malted milk powder. It’s the secret ingredient that will bring you right back to childhood.
To capture the essence of diner pancakes, omit the sugar in your pancake recipe and add between 2 and 3 tablespoons of malted milk powder for every cup of flour in your recipe. Opt for the higher amount if you're looking for a more noticeable malted milk flavor.
I, for one, love malted milk anything — chocolate, milkshakes, pancakes — so I use 3 tablespoons (26g) of malted milk powder per cup of flour. For our Buttermilk Pancakes recipe, that means adding 6 tablespoons (which is a generous 1/3 cup or 52g) of malted milk powder to the dry ingredients.
No malted milk powder? Replace the sugar in your recipe with 1 tablespoon of brown sugar for every cup of flour in your recipe. Dark brown sugar will give you the most flavor, so use this as opposed to light brown sugar if possible.

This simple swap will take the flavor of your pancakes to new heights.
If you were ever lucky enough to sit at the counter in an old-school diner with an open kitchen, you might have seen a master pancake-maker in action. Usually, the chef has a big pitcher of pancake batter in one hand and expertly pours the batter in a thin stream onto the hot, sizzling griddle.

The pourable consistency of the batter is key here. In order for the pancakes to look and taste like true diner pancakes, the batter should be relatively thin. This ensures it will spread into giant pancakes on the griddle.

If you’re using King Arthur Unbleached All-Purpose Flour (which has exactly the right protein content for diner pancakes), you should use about 1 1/4 cups (283g) of liquid for every cup of flour (120g) in your recipe.
Our Buttermilk Pancakes batter is slightly thicker than the ideal diner pancake's, so we increase the total amount of buttermilk* to 2 1/2 cups (567g) to go along with the recipe's 2 cups (240g) of flour.
*If you don't regularly have buttermilk on hand, check out this blog post on how to substitute for buttermilk using ingredients that are likely in your pantry.
Once your batter is mixed, it should be easily pourable and fall off your spoon or whisk in a thin, quickly flowing ribbon.

Once your batter is a perfect, pourable consistency, it’s time to get cooking. And now is not the time to be shy. Be generous with the amount of batter you use for each pancake.
If you’re truly trying to replicate the diner pancake experience at home, shoot for pancakes that are about 8” to 10” in size (about 1/3 to 1/2 cup of batter per pancake).

Yes, those are massive pancakes, I know! They aren't too daunting though because they’re relatively thin. (Remember that extra liquid we added to the batter? It’ll help here.)
Plus, diners often offer a single pancake (or two) as a full serving; don’t feel pressured to stack them up too tall if that’s not what you’re looking for. Build your plate as you would imagine it’d look at your dream diner.

Do you remember perusing the diner menu as a kid, looking at all of the fun additions you could choose for your pancakes? I remember weighing my options heavily: chocolate chips or blueberries? Raspberries or strawberries? Or both?!
Embrace your inner child sidling on up to the diner counter, and pull out some decadent ingredients when you make diner pancakes at home. Be whimsical and fun with your combinations. Bananas and butterscotch chips? Yes.

Don’t add the mix-ins directly to the batter. Wait until the batter is poured onto the griddle and then immediately sprinkle the ingredients on top. This approach allows each person to add exactly what they wish and have their own “order” of diner pancakes.
Plus, sprinkling your berries or chips on top of the batter prevents them from sinking through the thin batter to the bottom of the bowl. You don't want to go fishing for blueberries when your griddle is hot and you're hungry for pancakes!

I’ll be adding chocolate and a handful of berries to my diner pancakes, that’s for sure.
Turns out that the pan (or griddle) you use to cook the batter, as well as how you prepare it, is key to the final appearance of your pancakes.
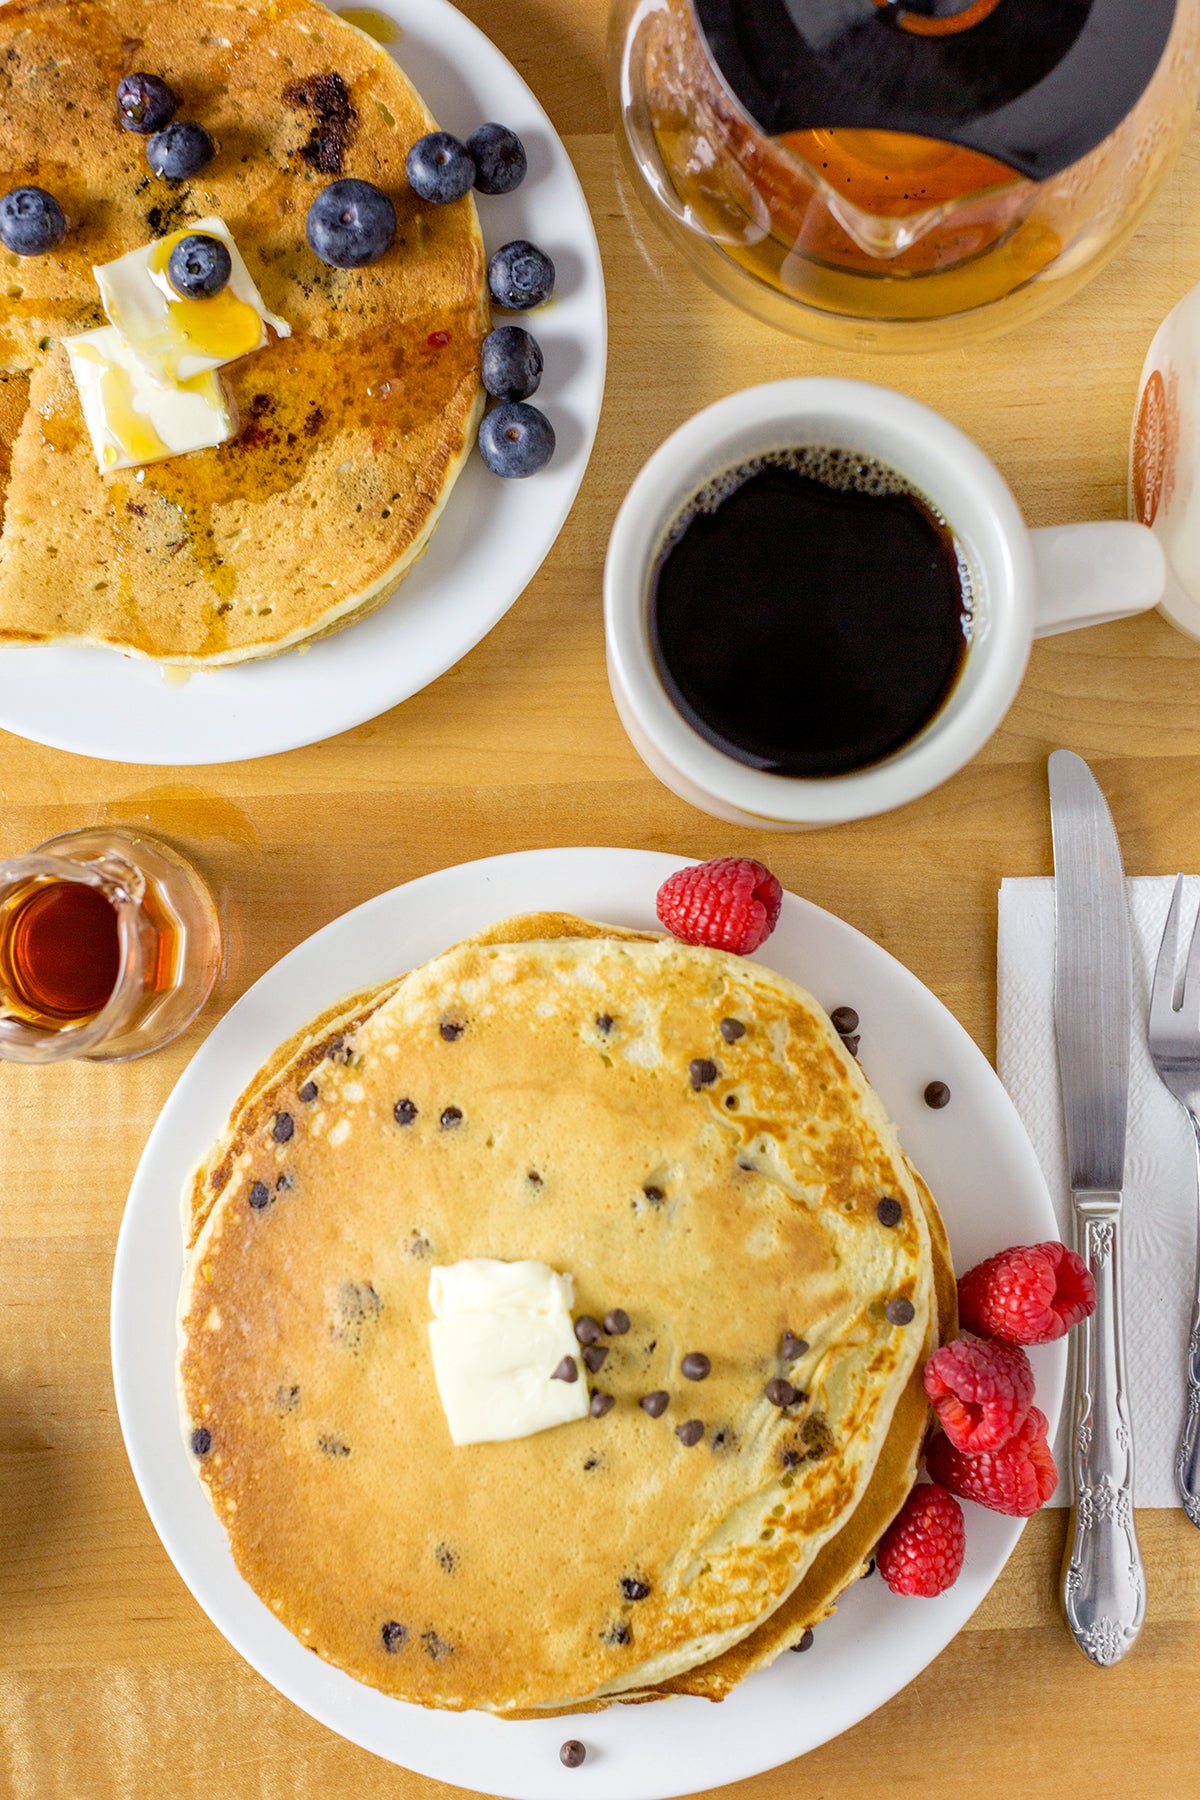
The cooked surface of pancakes sometimes turns out a bit splotchy, with rings of color and a pale base peeking through. While those pancakes usually still taste delicious, we’re looking to make pancakes just like the best diners in town. That means your pancakes should be perfectly (evenly!) golden brown from edge to edge.
So how do you avoid those rings of color and uneven splotches? It starts with how you prepare the pan. At diners, the griddle is usually so well-seasoned that the pancake-makers don’t even need to add extra fat to the surface.
Take a page out of their book and skip applying butter or oil to the surface of the pan before adding the pancake batter. Instead, use a pan that’s naturally non-stick, like a well-seasoned cast iron pan or electric griddle.

If you don’t have much confidence in the patina of your pan or you’re worried about the pancakes sticking, you can add an additional 1 to 2 tablespoons of oil to the batter. This will also make the pancakes extra tender, so feel free to include this step even if you own a well-loved cast iron pan.
Cook the pancakes over medium heat the entire time (about 325°F if you’re using an electric griddle). This will brown the undersides of the pancakes without drying them out.

Feel free to taste a pancake or two along the way to make sure they’re just right. Baker’s treat!
Now that you’ve done all the hard work to make pancakes that look and taste like they came from the diner downtown, be sure to give your pancakes the final flourishes they deserve. That means butter, maple syrup, and anything else you think might be delicious.

I grew up going to the Fairlee Diner on weekend mornings, and they always served their massive pancakes with a ramekin of whipped butter. The syrup was warm and always from Vermont, and there was never a shortage of that liquid amber gold.

After Sunday morning basketball practice, I’d go so far to gild the lily and order diner pancakes served with a generous serving of whipped cream on top. Feel free to top yours with a squirt straight from the can (we love Cabot!). Alternately, whip up your own if you have a few extra minutes to spare.
And don’t stop here! These are the ways my childhood diner served their pancakes. I encourage you to recreate the magic of your favorite diner by following their lead. Serve your pancakes with style.

With these six solid tips under your belt (or under your apron), you’ll be rivaling the best diners around with your golden, malted pancakes.
Remember these takeaways the next time you whip up a batch of pancakes — you can also find them at the bottom of our Buttermilk Pancakes recipe in the baker's tips.
Read the other posts in our personalized pancake series, then try a few versions at home to find out what you like best. Let us know which kind of pancake is the winner in your home in the comments, below.
Thanks to Anne Mientka for taking the photos for this post.