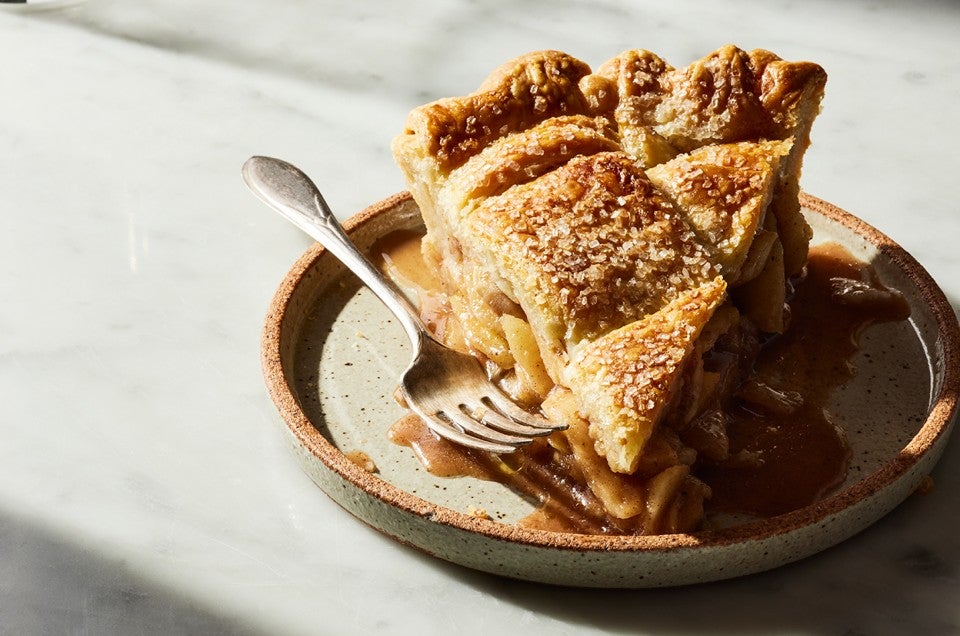


Apple pie: everyone's favorite fall dessert. You've mixed and rolled, peeled and sliced, filled and chilled, baked and cooled and cut and... AAARGGHHH! The filling has shrunk to a shadow of its former towering self, while the crust has stubbornly held its ground, yielding apple pie with a large and unsightly chasm between apples and crust. What's a baker to do? Fear not; these five simple tips will help you eliminate that irritating gap in pie that sometimes appears.
Now, the first order of business here is to create the gap in pie that occasionally plagues all of us. I have some ideas for forcing this "error" as I make one of my favorite apple pie recipes; let's see what happens.
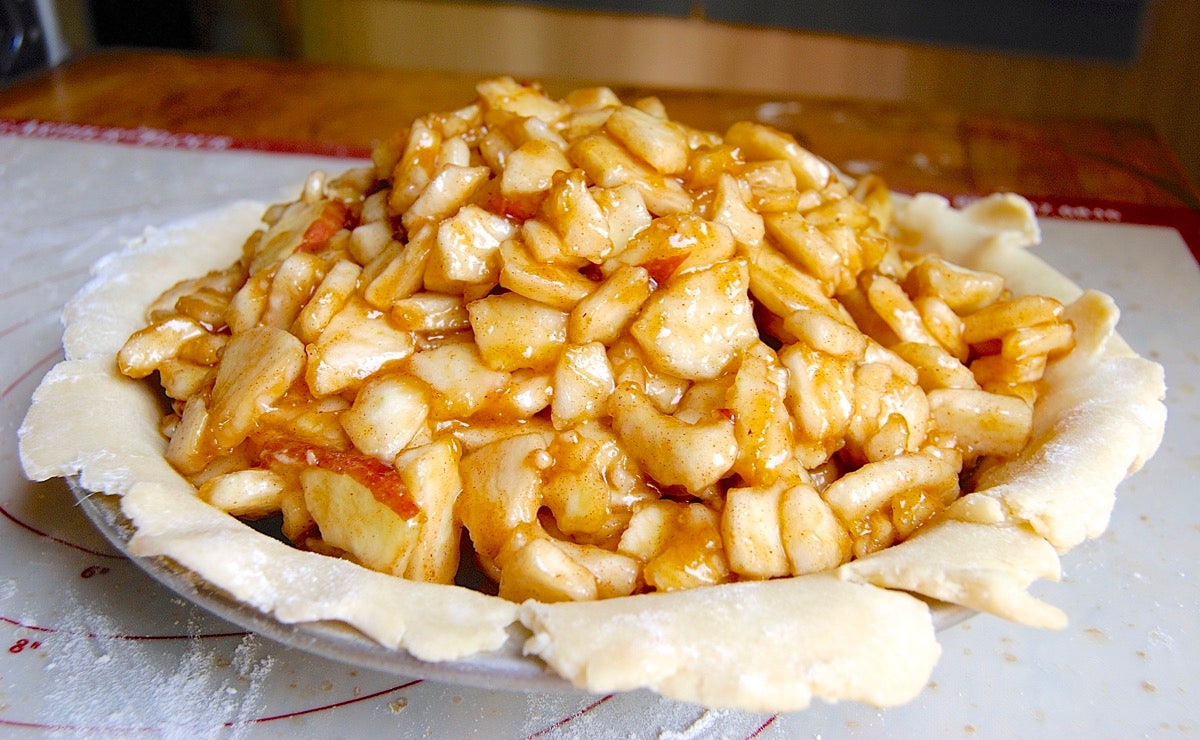
First, I'm going to really heap McIntosh apples in my pie crust. Macs are notorious for shrinking as they bake; so if I really pile them high before covering with pastry, there's every chance they'll cook down — while the crust retains its original loft.
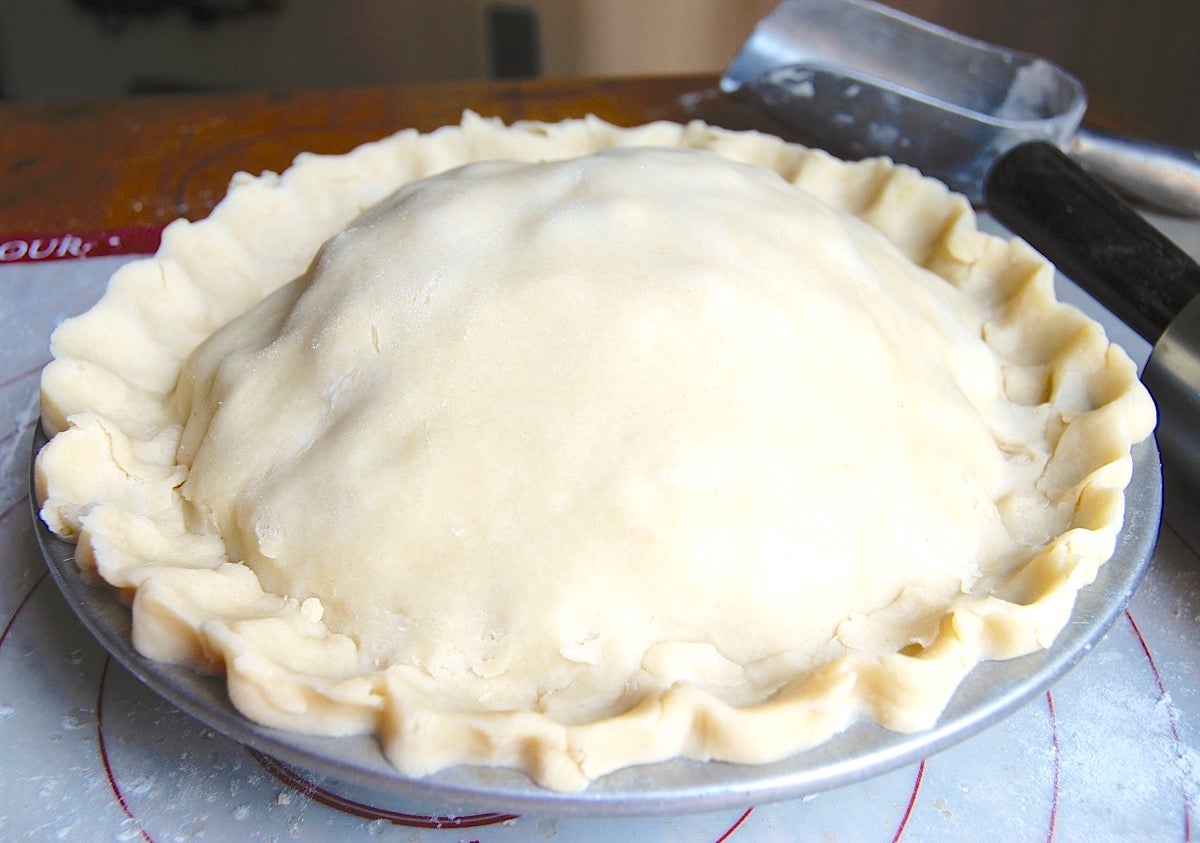
Next, I make it easy for the crust to puff up as it bakes (rather than settle down) by not venting it anywhere. With no place for the apples' steam to go, the top crust will expand like a balloon.
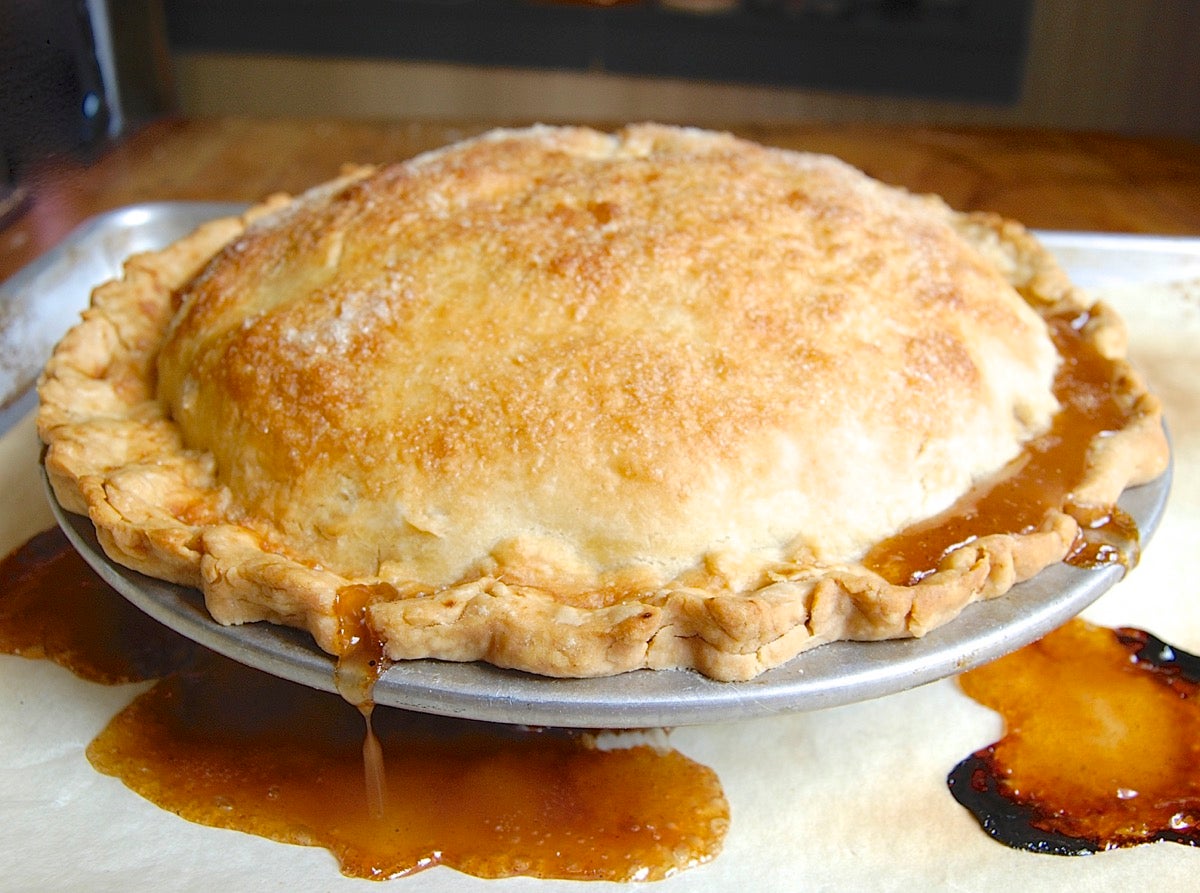
Here's the baked pie. Bubbling juice managed to seep out around the edge, but it looks like the crust is pretty much intact — and in basically the same position as when I put the pie into the oven.
Once the pie cools, I warily cut it in half.
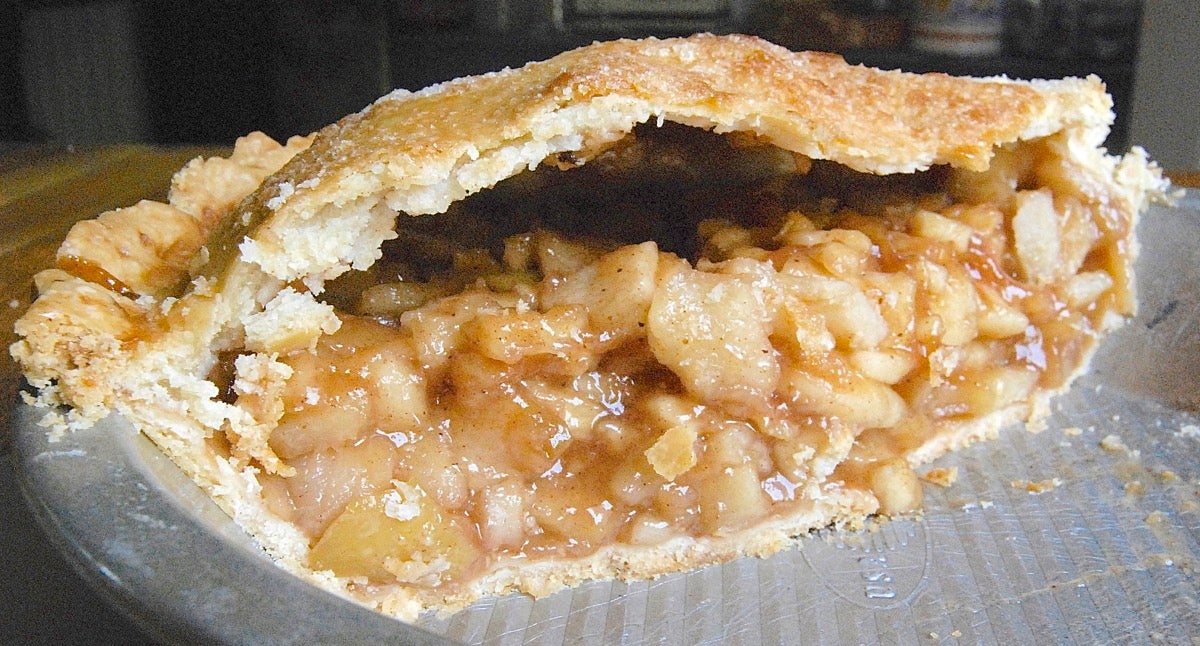
Score! I've never been so happy to see a failure. This is exactly the result I was hoping for: the gap in pie we all try to avoid.
Now let's see how to prevent it.
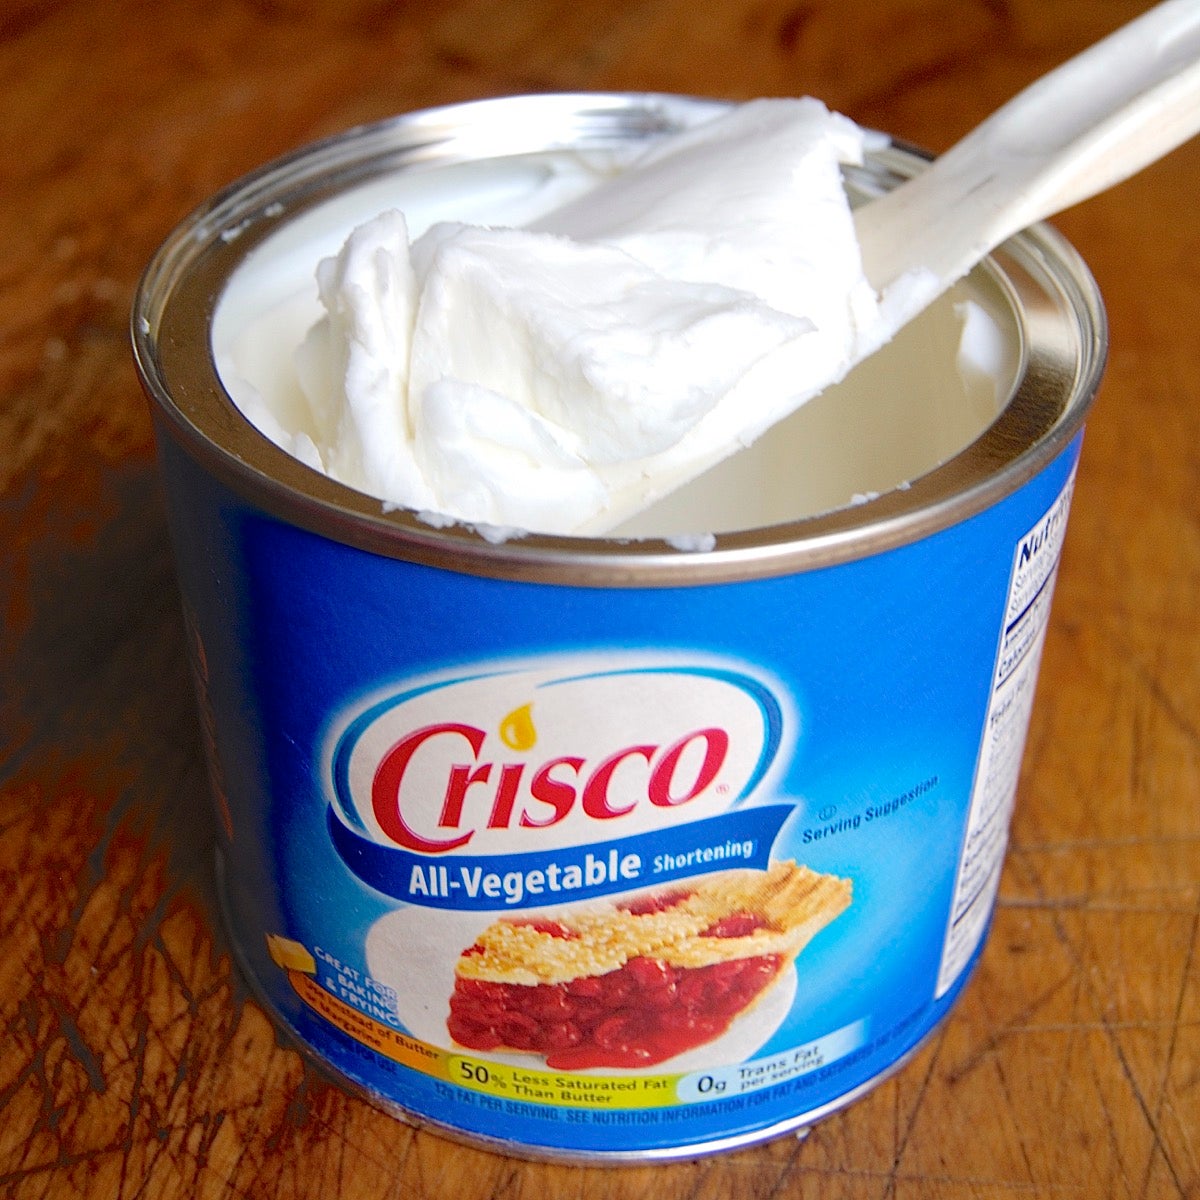
The solidity of unmelted fat is part of what helps pie crust hold its shape as it bakes. Shortening has a higher melting point than butter; thus pastry made with shortening will hold its shape longer than one made with butter. The result? Pie crust made entirely with shortening will produce pie with a wonderfully crisp crimped edge, but also — potentially — a gap beneath the top crust.
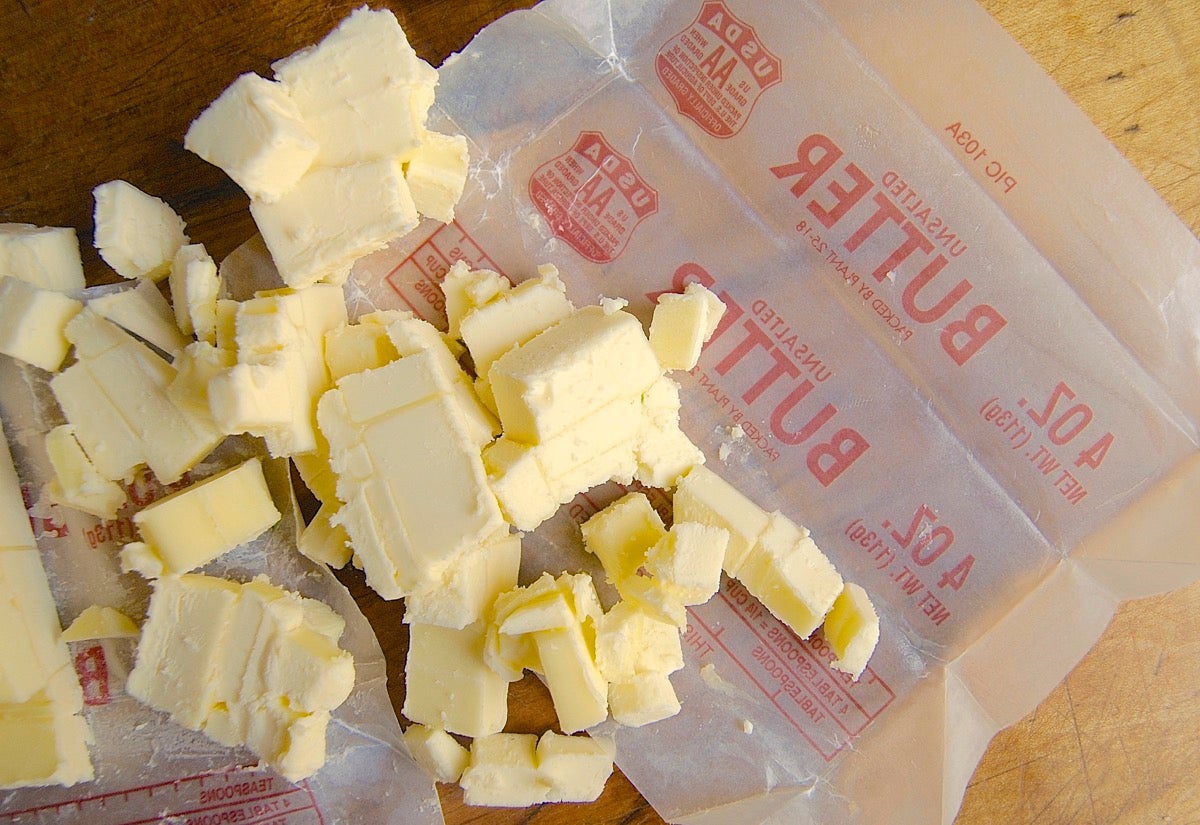
A pie crust based on butter is less likely to make a gap in pie than one made with shortening.
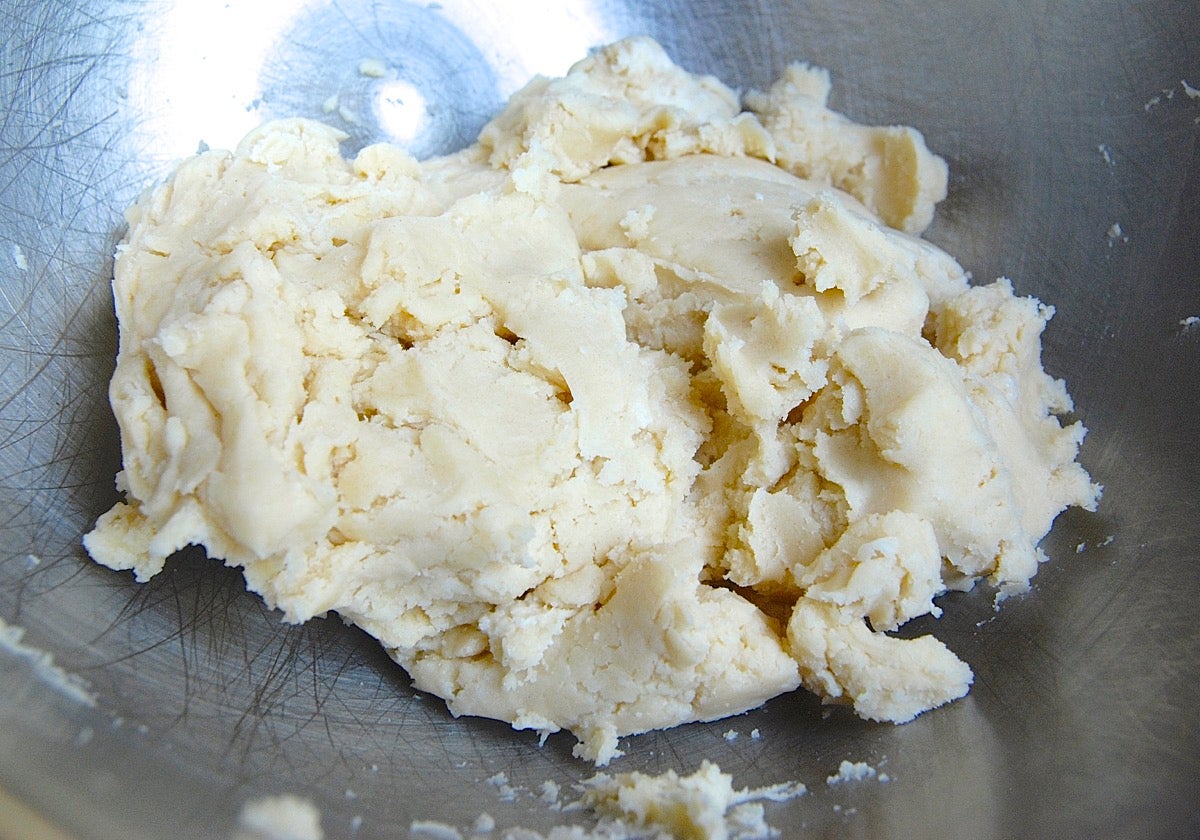
This pie pastry looks good, doesn't it? Cohesive, soft, ready to roll.
But wait — a wetter pastry makes a tougher crust. Why? Water activates and strengthens the gluten in flour: good for a crusty baguette, not so good for tender pie crust.
And a tougher crust translates to crust that holds its shape. Which is NOT what you want as the apples underneath that rigid crust slowly settle into the bottom of the pan as they bake.
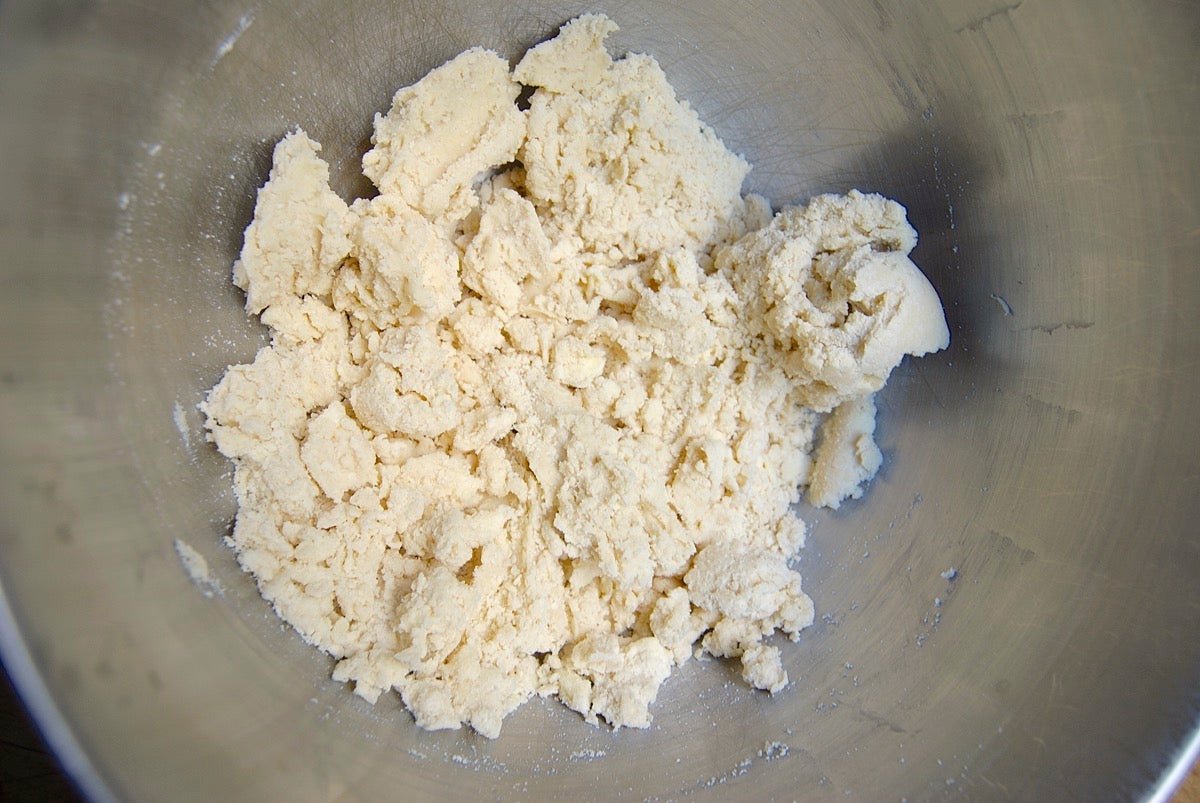
For tender crust, use less water. See how dry this butter pastry looks?
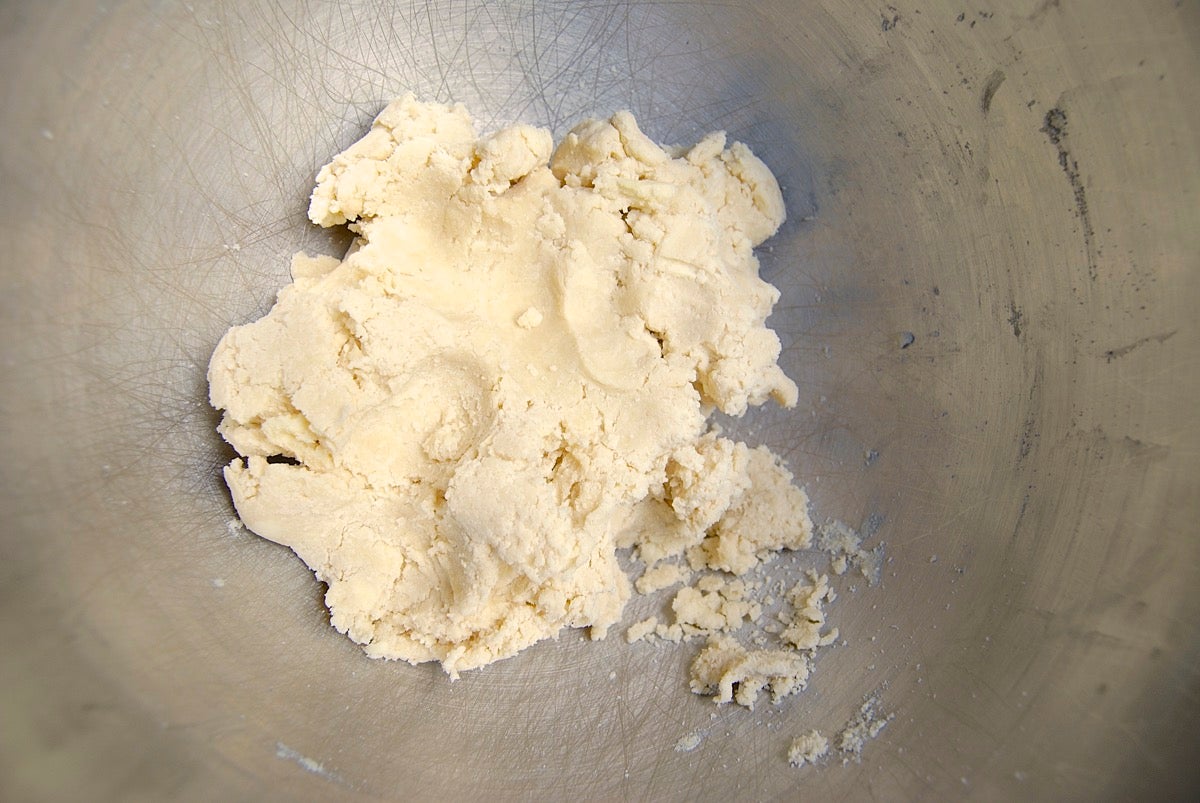
Squeeze it together, it still looks fairly dry; see the crumbs in the bottom of the bowl? But after 30 minutes in the fridge — which gives the water a chance to fully hydrate the flour — the pastry rolls out beautifully. And produces a pie crust that's tender, flaky... and won't contribute to that gap in pie you're trying to avoid.
Good rule of thumb: for a tender, flaky pie crust, use more fat than water (by weight). If your recipe calls for, say, 6 tablespoons (3 ounces) butter and 1/2 cup (4 ounces) water, beware: a tougher crust is in the offing. Two of my favorite more-fat-than-water crusts are Classic Double Pie Crust, and All-Butter Pie Crust.
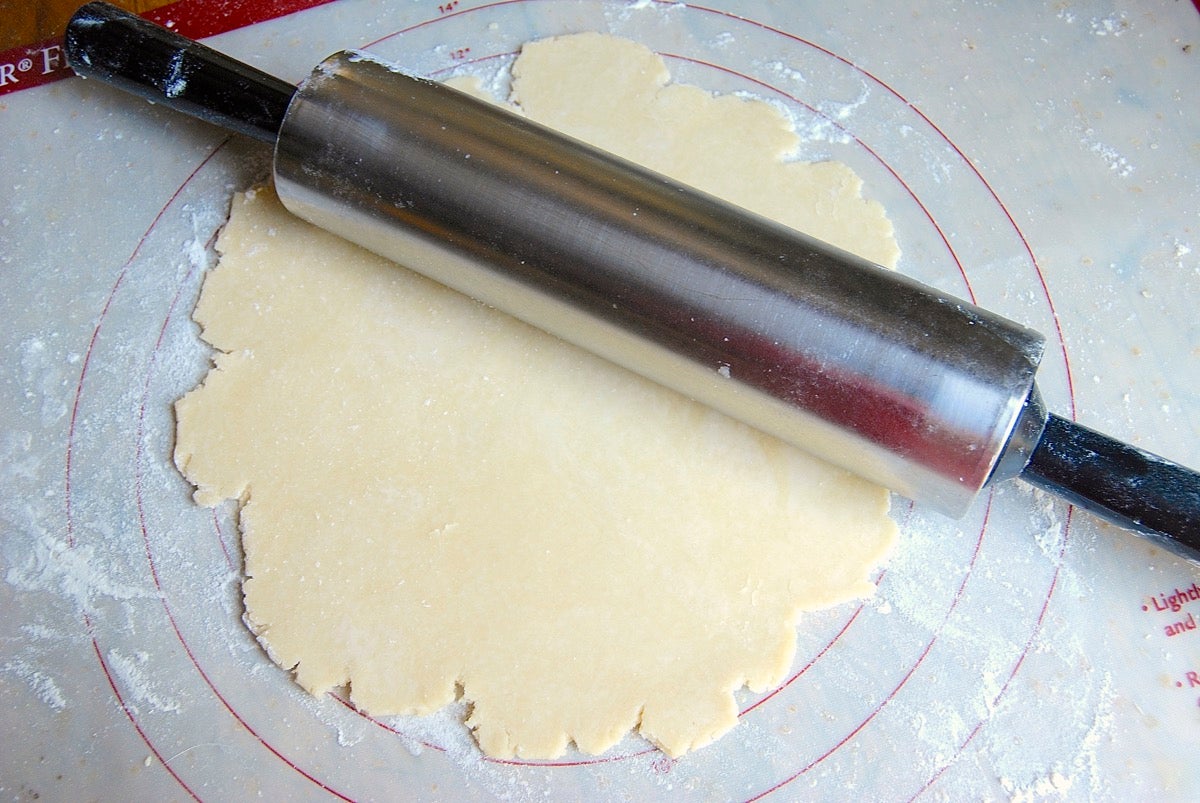
Back and forth, back and forth, rolling out pie pastry, back and forth... stop. The more you roll the pastry, the more you strengthen its gluten, the tougher the resulting crust.
Tips for effective pie-pastry rolling: Use a heavy rolling pin. Start in the center and roll outward, like the rays of the sun. Press down hard, and use as few strokes as possible to roll the pastry into the requisite-size circle.
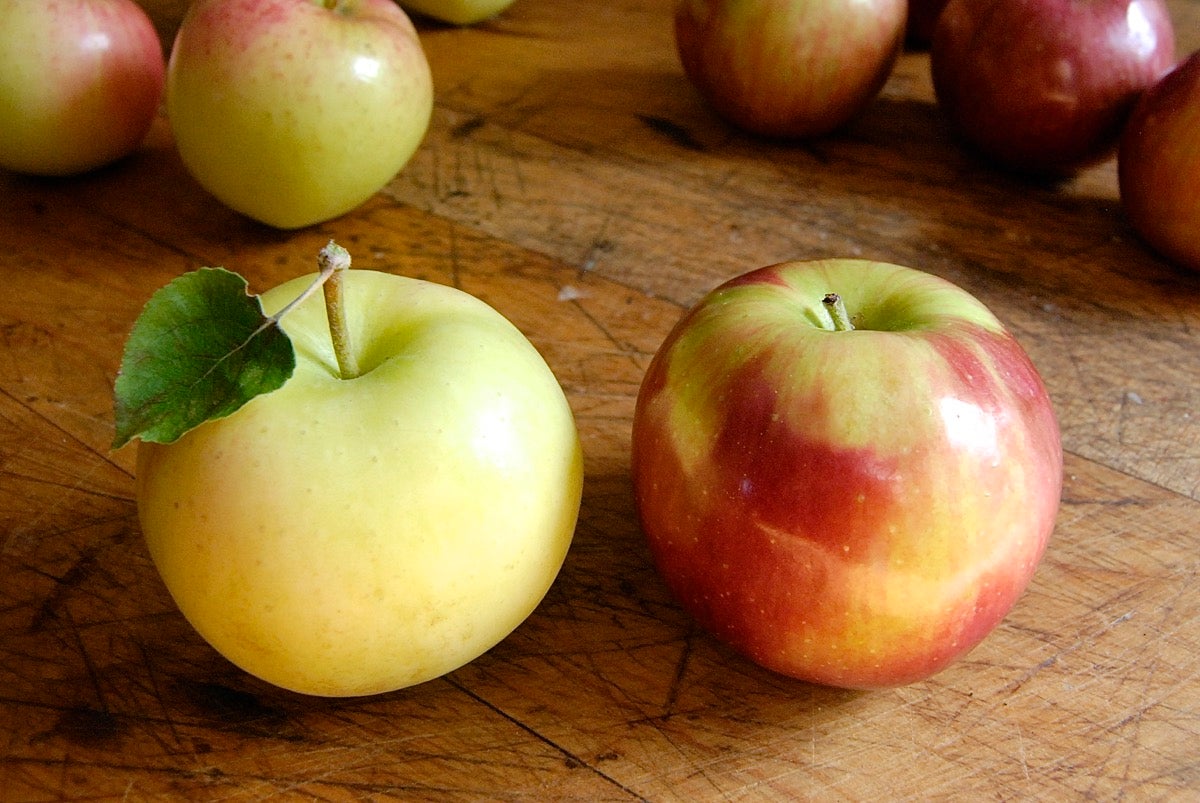
Here's a Ginger Gold apple on the left; a McIntosh on the right. McIntosh apples make delicious pie, but boy, do they shrink as they bake! If you can't bear giving up on your Macs, at least mix them with apples that hold their shape better. For further advice on apple selection, read The very best pie apples: how to choose.
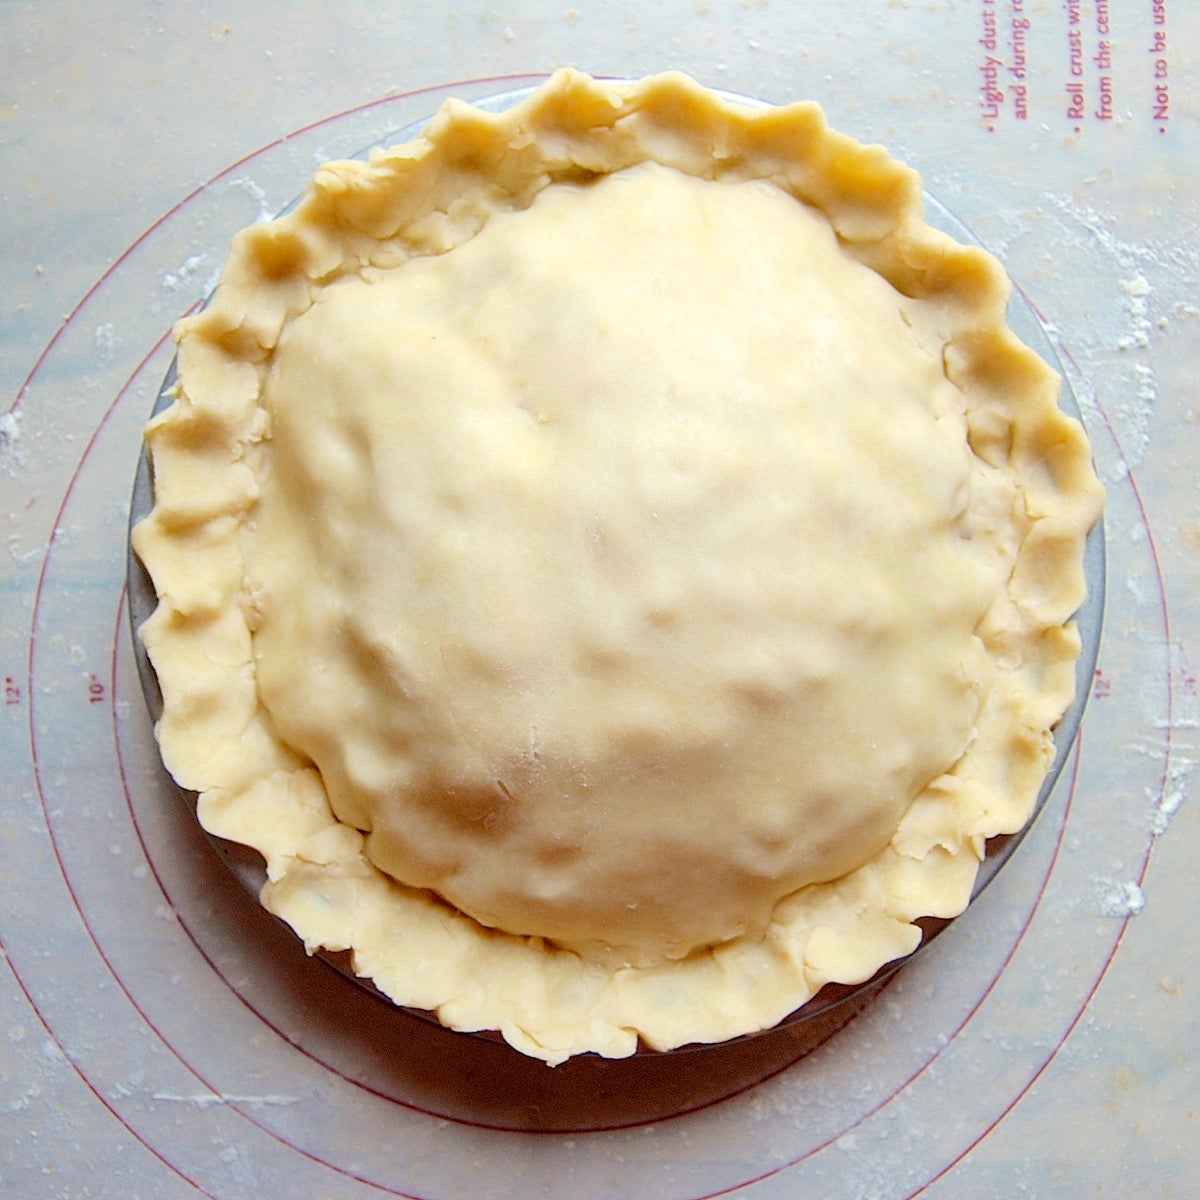
Doesn't this top crust look gorgeous! But wait — something's missing. Remember the steam from the baking apples, and how it'll blow the top crust up like a balloon if it has nowhere to go?
Prick the crust all over with a fork, like you would shortbread; or cut some slashes or crosses. Make a lattice, if you like. But whatever you do, don't bake your fruit pie with a solid, sealed-down top crust: you're just asking for the that "gap in pie" result.
Now that we've learned our lessons, let's make an apple pie whose crust snuggles up to its filling: no gap in this pie.
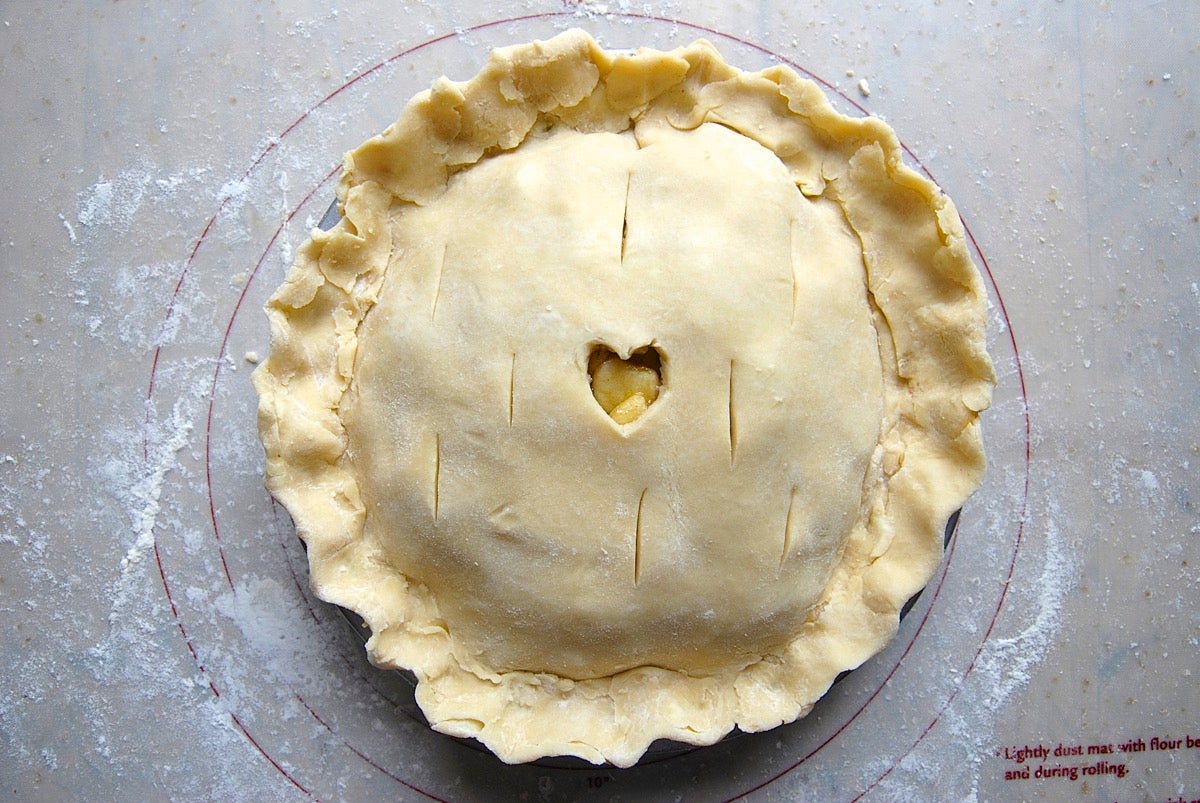
This is an all-butter pie crust, made with a minimal amount of water. The filling is Ginger Gold and Granny Smith apples. Notice how well-vented the top crust is.
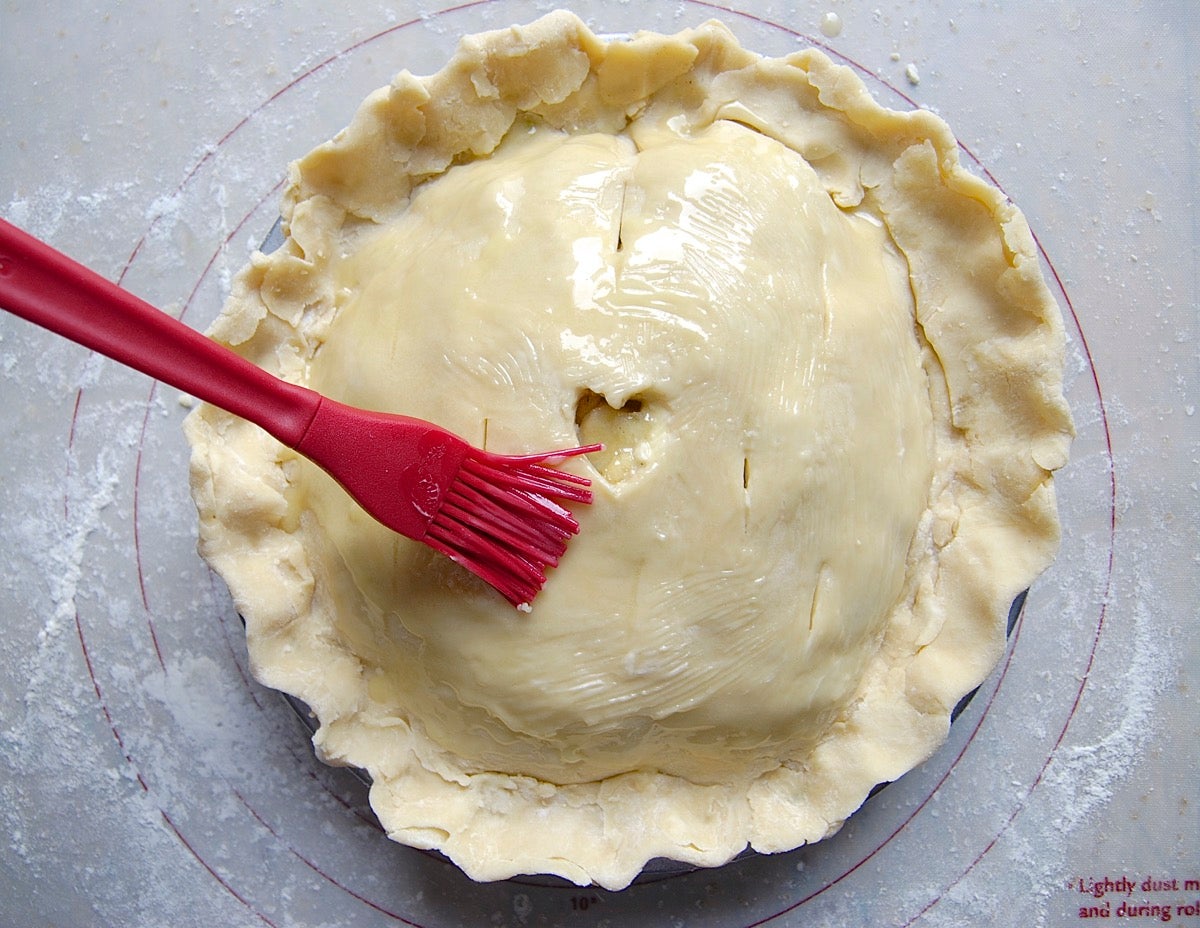
I brush the top crust with melted butter. It probably doesn't make any difference as to whether the gap will appear, but it tastes good, and helps with browning.
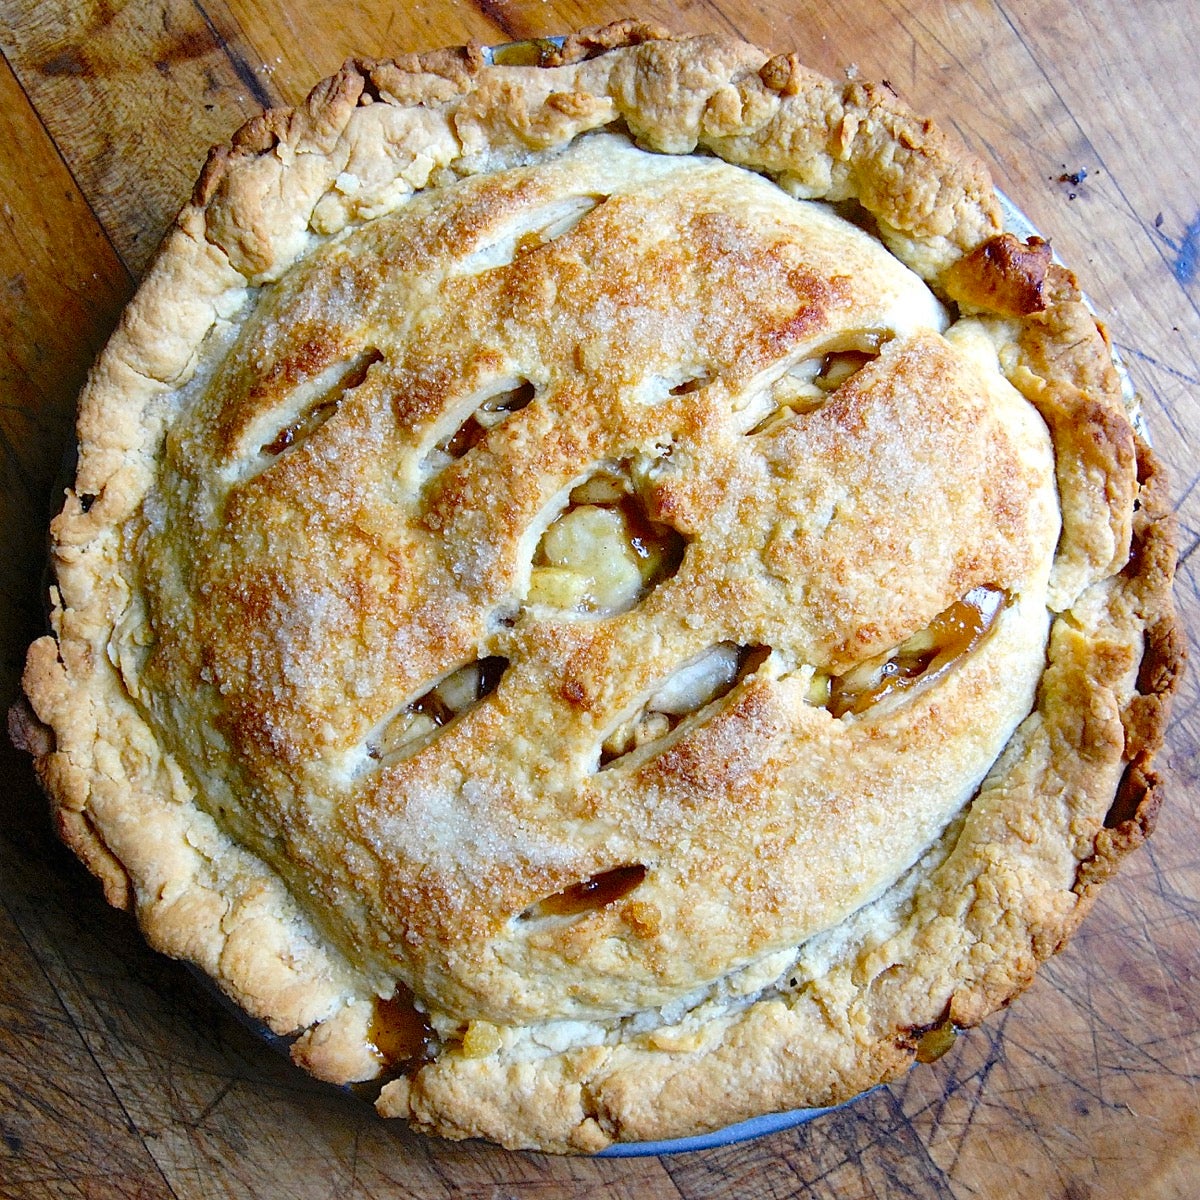
Here's the baked pie. See how those apples inside are nearly flush with the crust? Looks like a winner.
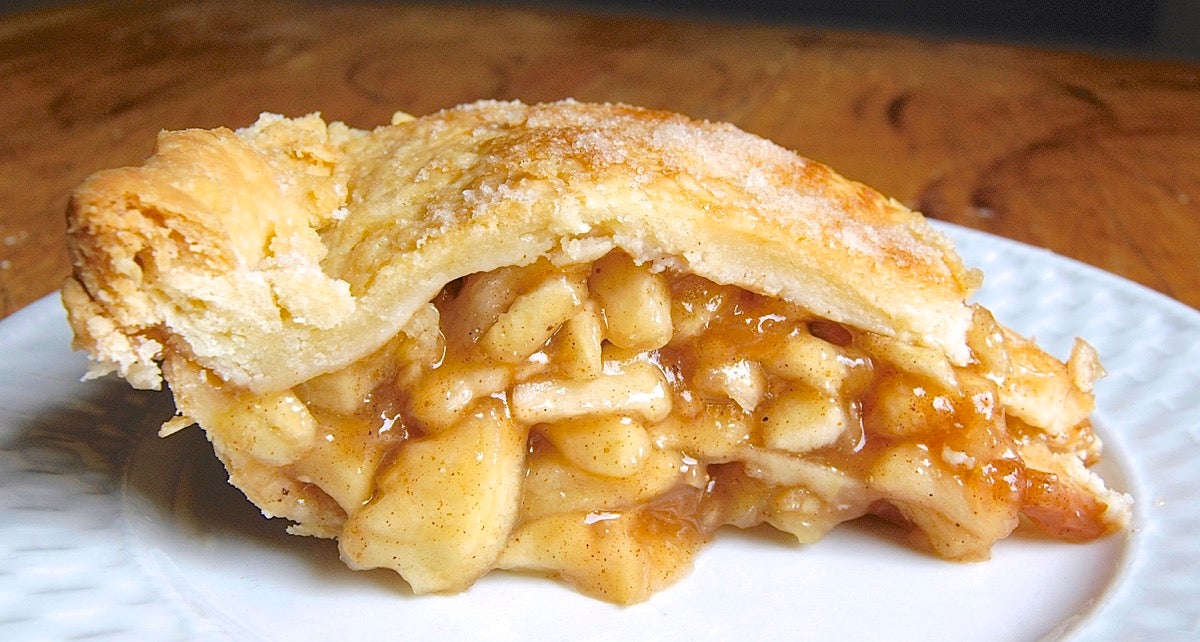
Indeed. The crust follows the contour of the apples very nicely.
But what if you really, REALLY want to make your favorite McIntosh apple pie?
Let's try it, using all of our tips for non-rigid crust.

A butter pie crust, made with a minimal amount of water, fully vented.
Let's bake it.
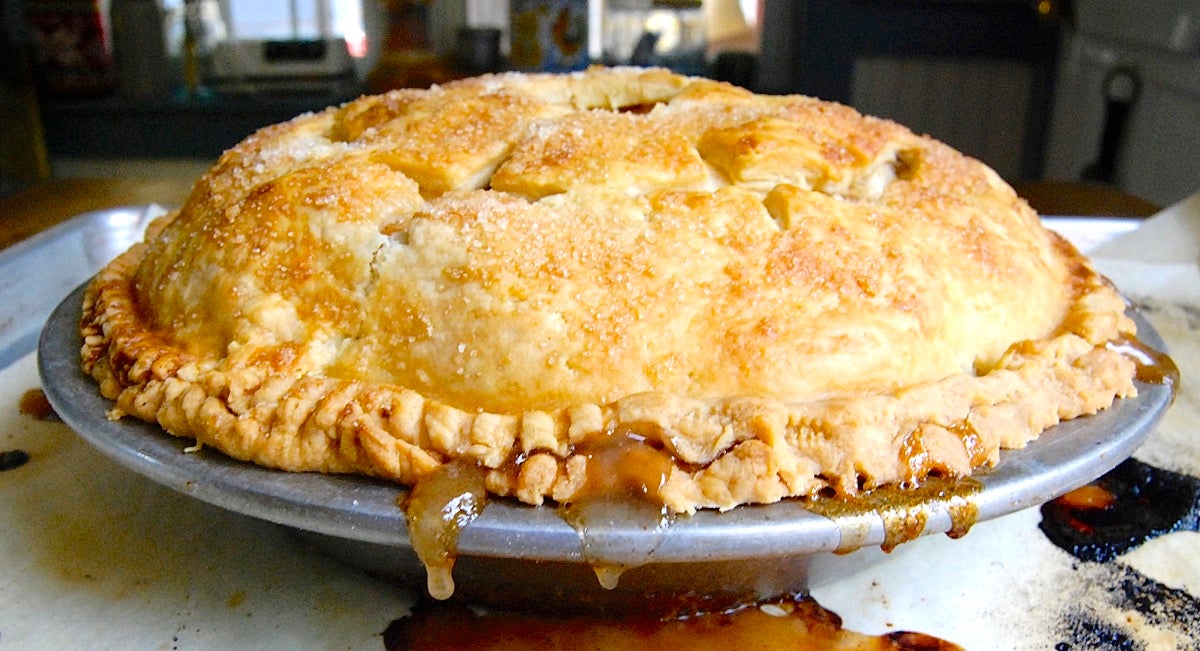
You can see the crust sank some; was it enough to prevent a gap?
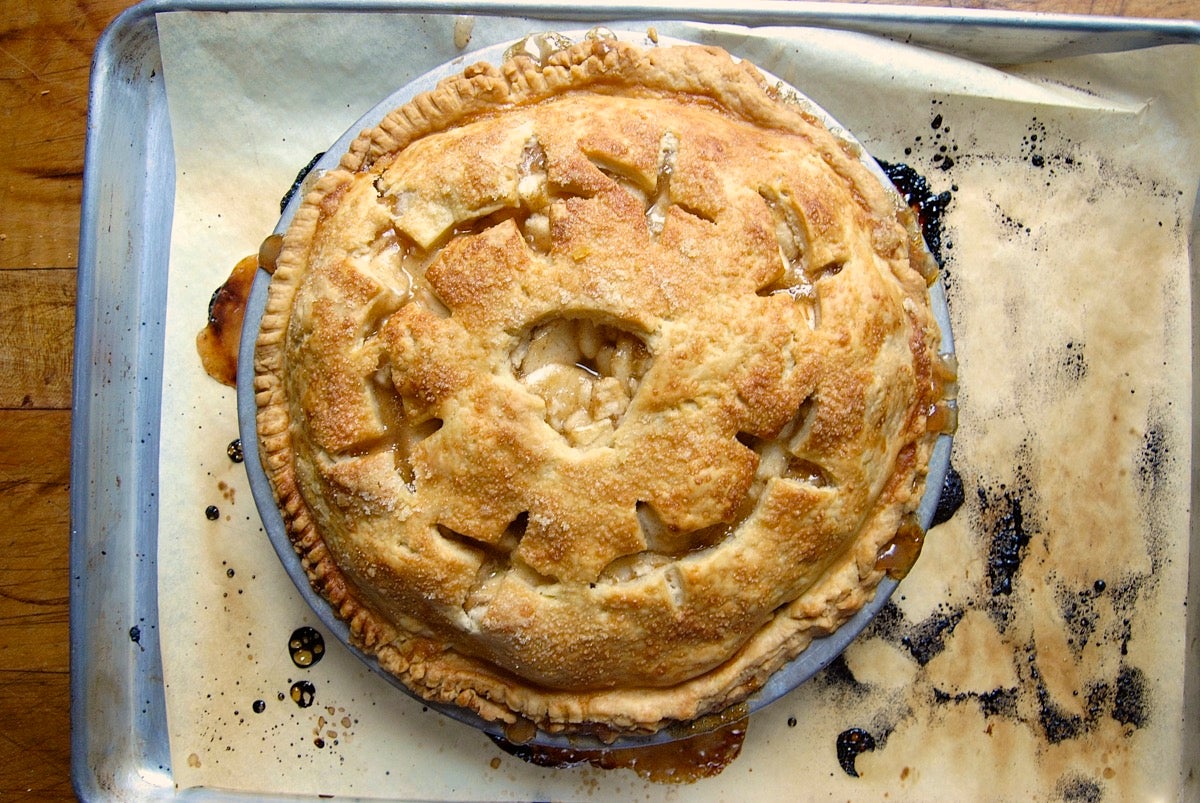
Good sign: I can see the apples.
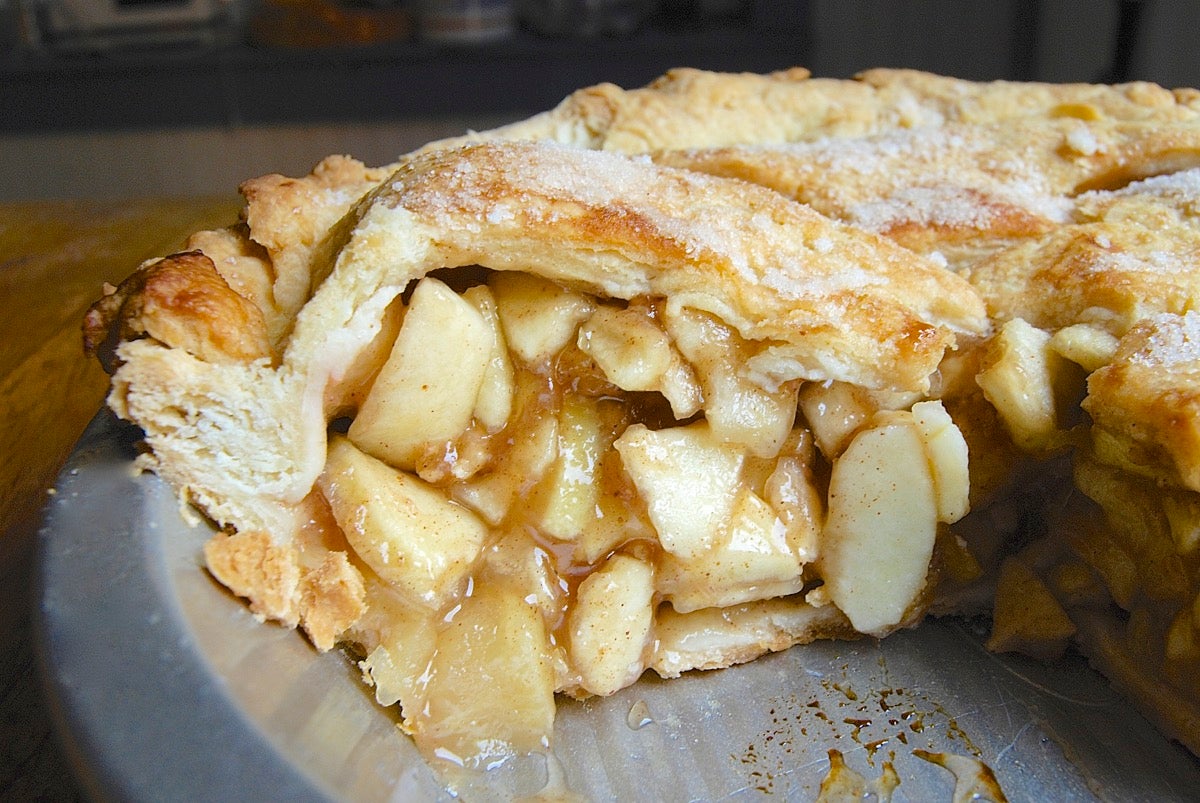
Success! The McIntosh apples shrank as they baked, but the steps I took ensured that the crust would settle down with them.
Mind the gap! For your best shot at a beautifully-baked pie, remember the following:
Here's one more trick to try, especially if you're devoted to your shortening-based crust and McIntosh or Cortland apples: Toss the apples with sugar and thickener until they release some juice, then place in a saucepan.
Cook over medium heat until the apples have released more juice and begun to lose their shape and shrink a little. Spoon the filling into the bottom crust, add the top crust (remember to vent the top) and bake. Hopefully the apples will have settled enough during their time on the stovetop to prevent much further shrinkage — and the resulting gap.
Apple pie season's here! Do you have any special pie tips? Please share in comments, below.

