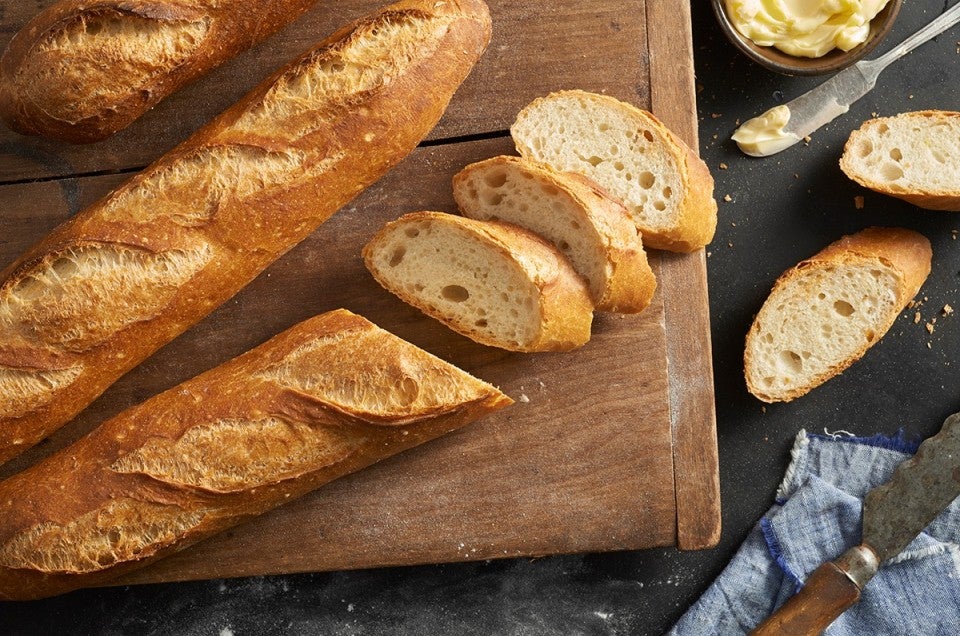


You're at your local bakery, and you have the good fortune to nab a fresh, hot baguette. Feeling its warmth in your hands, you simply can't wait to get home to rip into it. Crisp shards of crust litter the car seat; you don't care. A just-baked baguette is so worth it.
What if you could skip the bakery, and re-create that experience at home? Pulling a fresh baguette from your oven, ripping it open, a wisp of steam slipping from its holey interior...
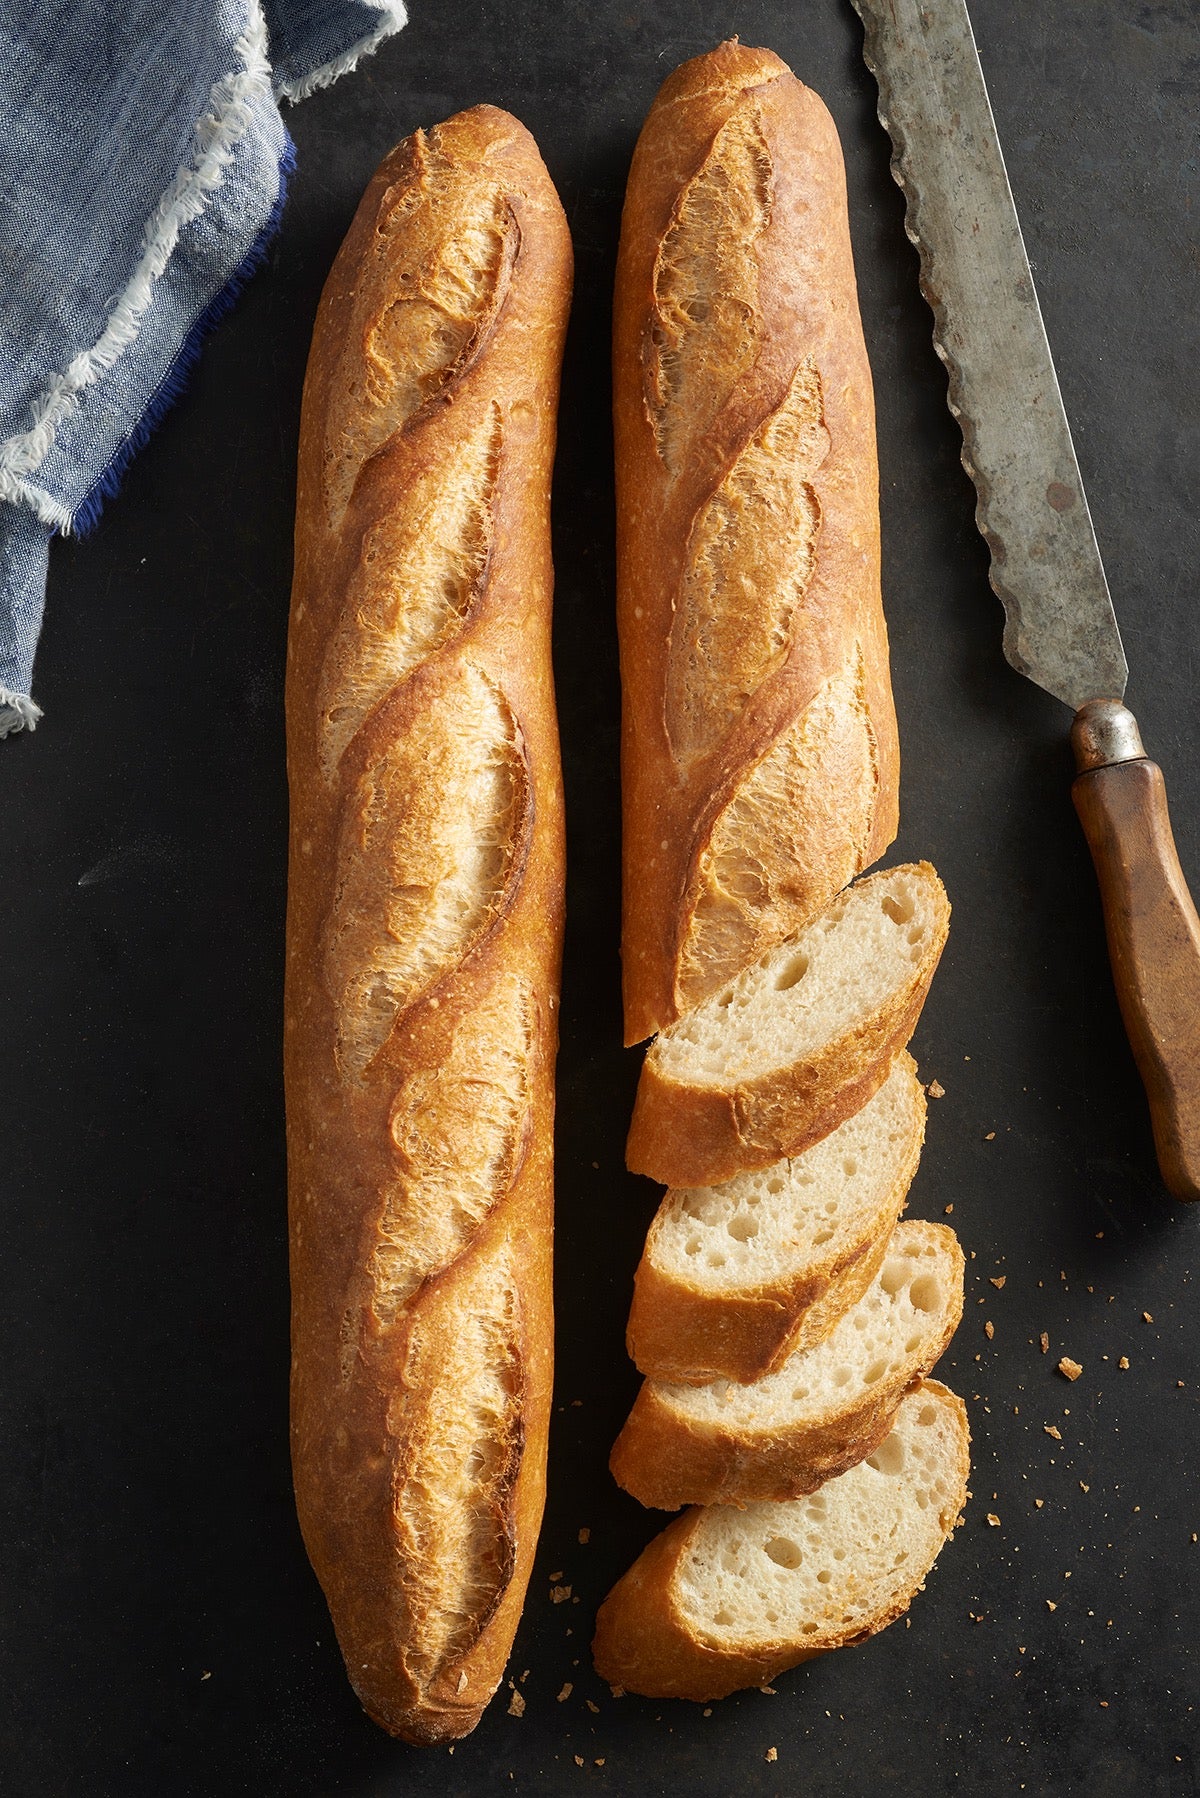
And there's a bonus: When you bake baguettes at home, you can hear them "sing:" the properly baked baguette makes a distinctive crackling sound during its first 15 seconds or so out of the oven. This elusive song alone is reason enough to join our Classic Baguettes bakealong challenge.
Call it DIY to die for.
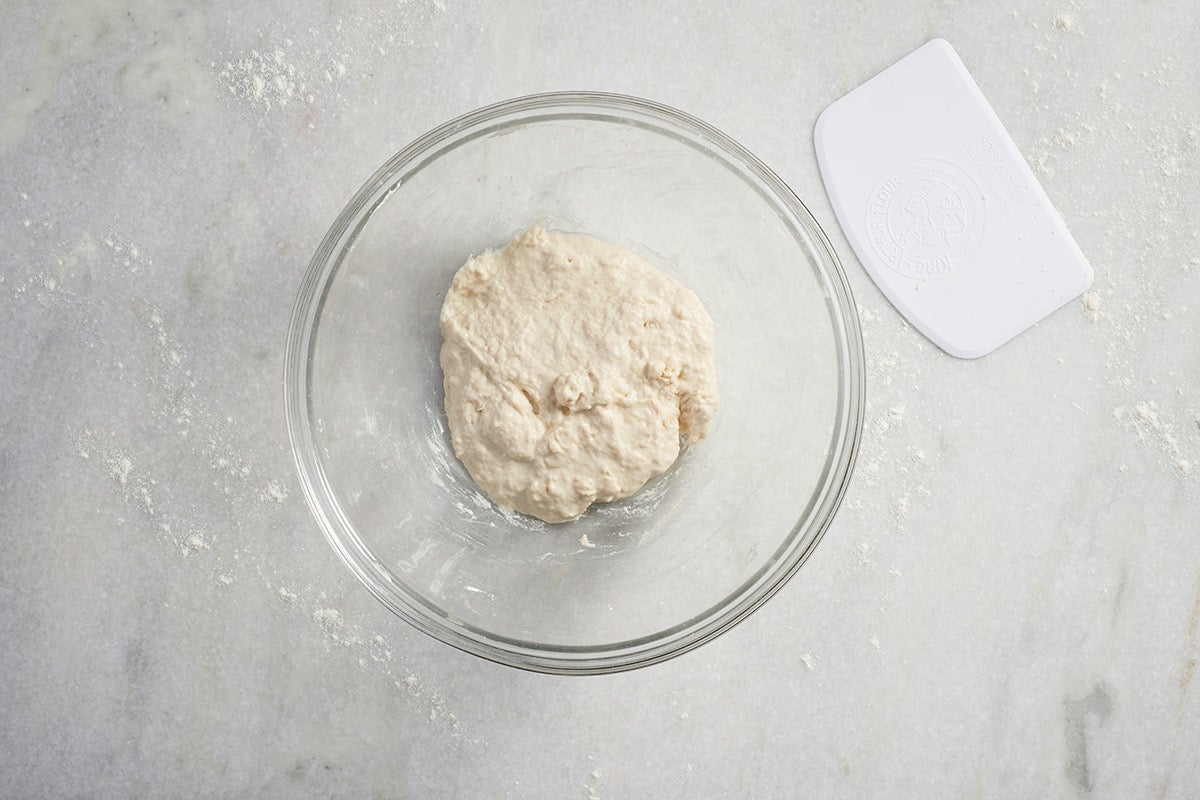
Mix the following in a medium-sized bowl:
1/2 cup cool water
1/16 teaspoon active dry yeast or instant yeast
1 cup King Arthur Unbleached All-Purpose Flour*
*We recommend our unbleached all-purpose flour for this recipe (both starter and dough), as its protein level and other attributes closely mimic the flour used by French bread bakers. But feel free to use unbleached bread flour, if you like; there's no need to adjust the amount of liquid, the dough will simply be a bit stiffer.
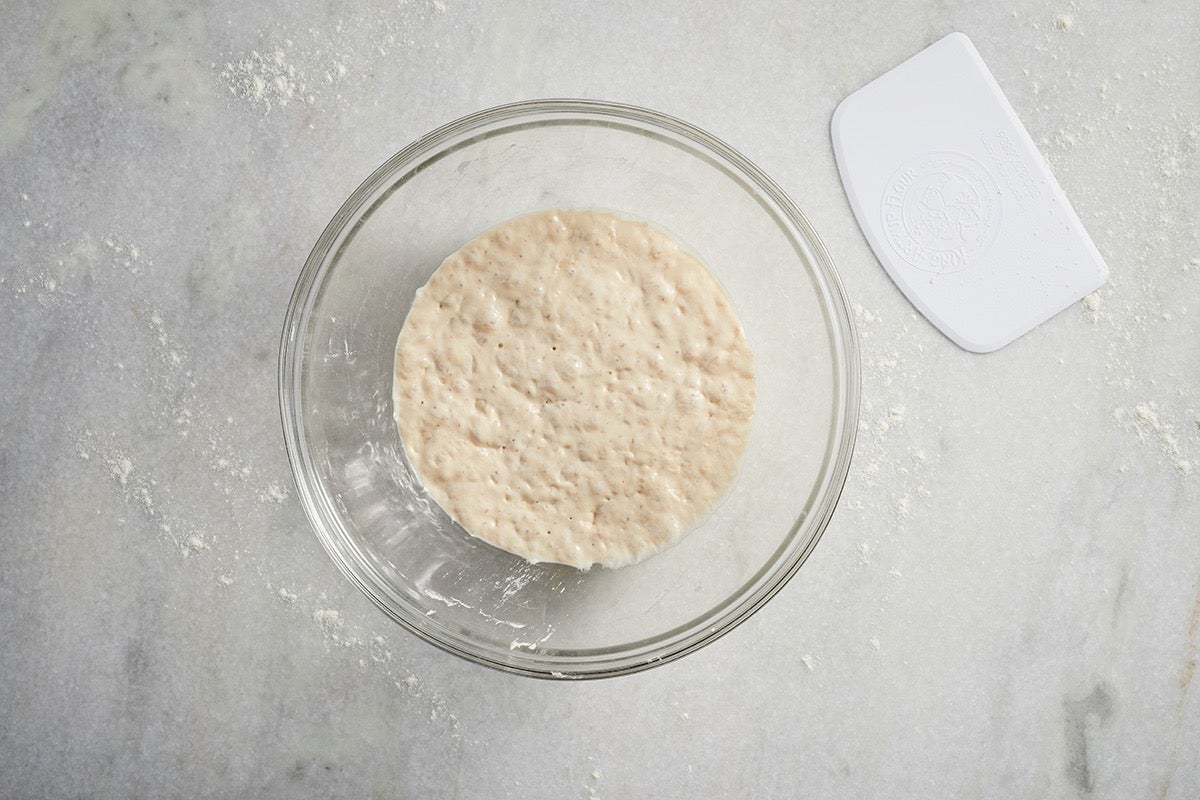
Cover this starter and let it rest at room temperature for about 14 hours; overnight works well. The starter should have expanded and become bubbly.
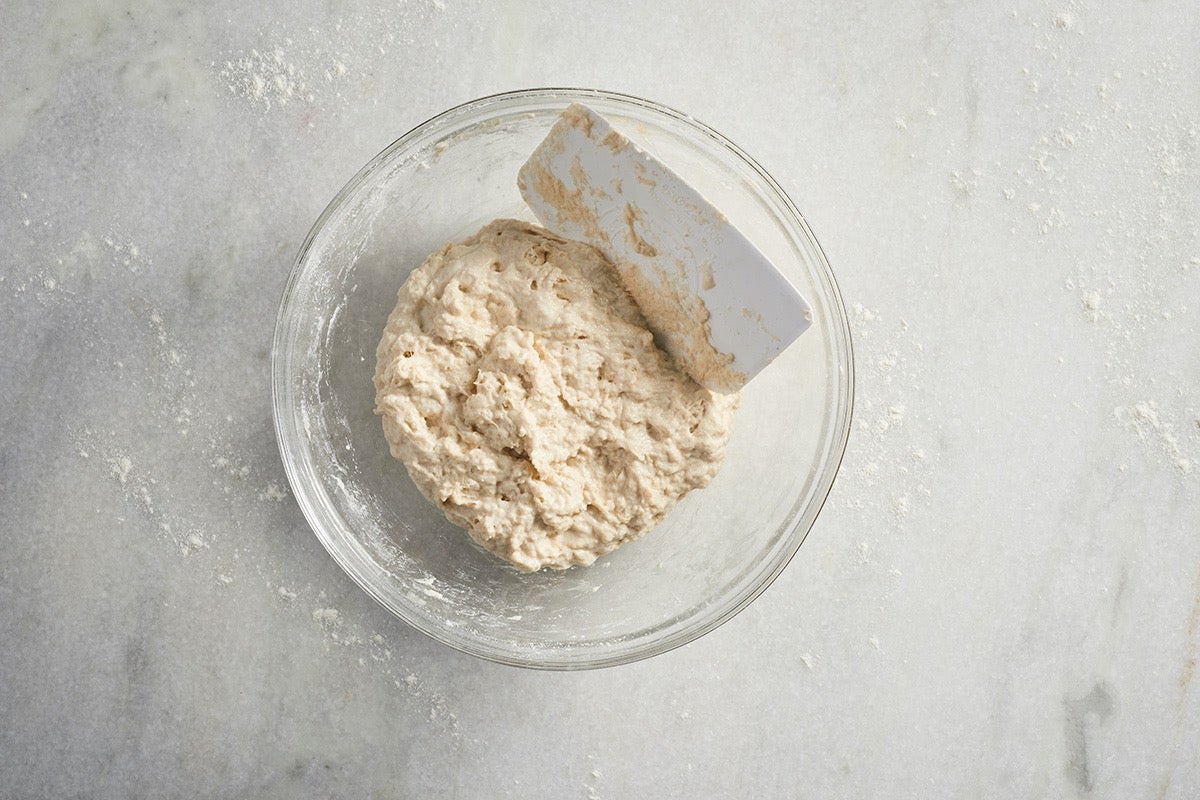
Mix the following together to make a rough dough:
1 1/2 teaspoons active dry yeast or instant yeast
1 cup + 2 tablespoons lukewarm water
all of the starter
3 1/2 cups King Arthur Unbleached All-Purpose Flour
2 teaspoons salt
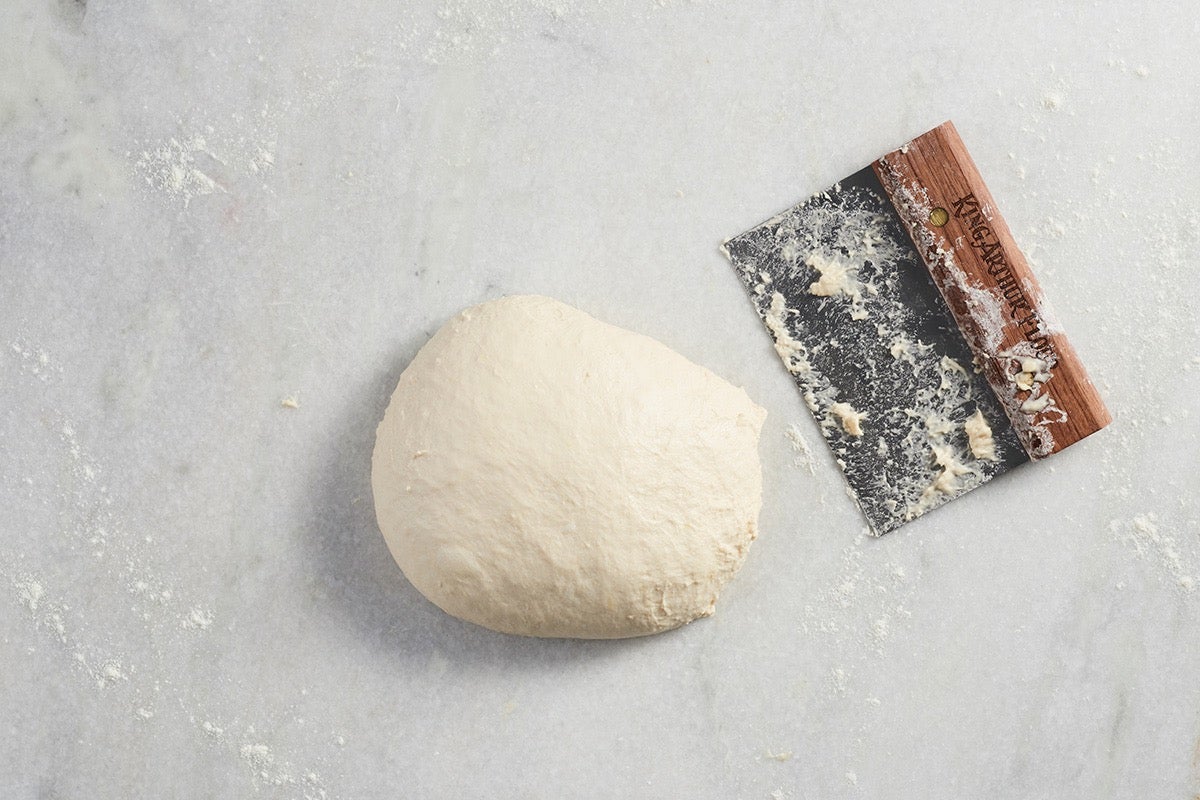
Knead the dough — by hand, mixer, or bread machine set on the dough cycle — until it's soft and fairly smooth. It should be cohesive, but the surface may still be a bit rough.
If you're using a KitchenAid stand mixer, knead for about 4 minutes on speed 2 (medium-low speed); the finished dough will stick a bit at the bottom of the bowl.
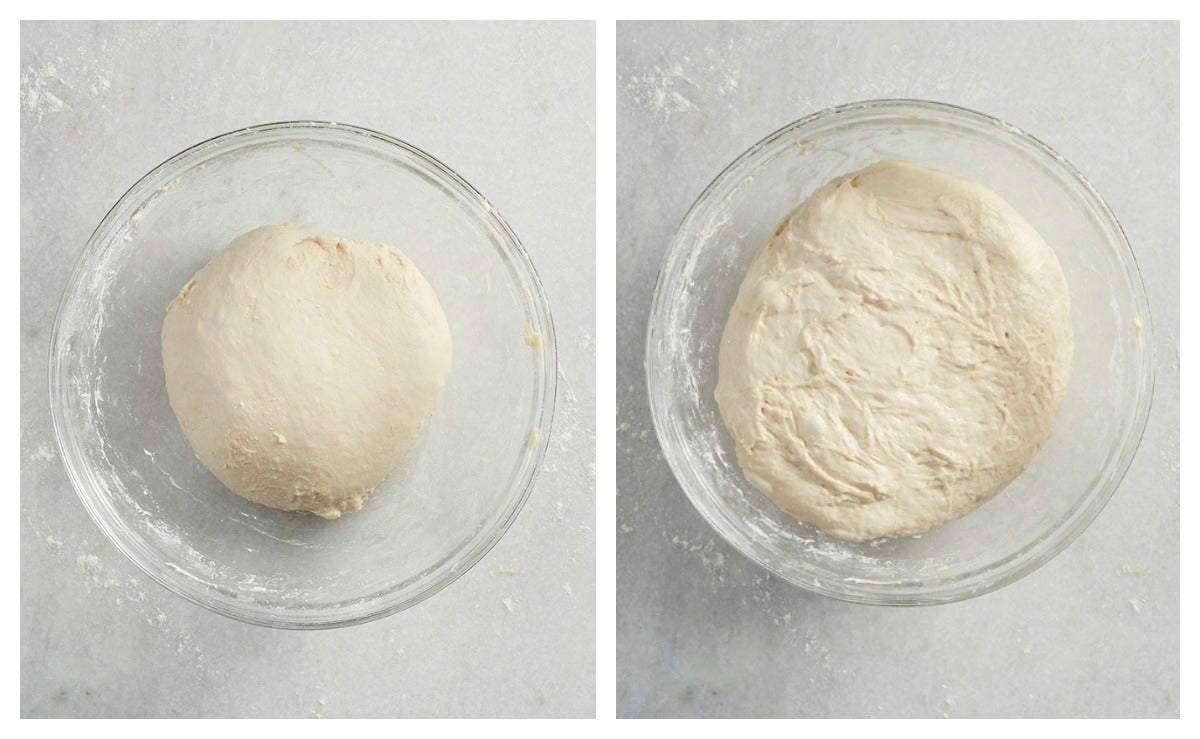
Place the dough in a lightly greased medium-sized bowl, cover the bowl, and let the dough rise for 90 minutes, gently deflating it, pulling the edges into the center, and turning it over after 45 minutes. Deflating the dough redistributes and aerates the yeast, which helps it grow.
Note: A long, slow rise is an excellent way to develop flavor in simple breads like this baguette. As yeast grows, it releases organic acids and alcohol, both of which are flavor carriers. If desired, reduce the yeast in the dough to 1 teaspoon and allow the dough to rise for three hours (rather than 90 minutes) at cool room temperature (around 68°F). Deflate it twice — once at the one-hour mark, and again at two hours.
Turn the dough out onto a lightly greased work surface. Divide it into three equal pieces.
 Shape the baguettes
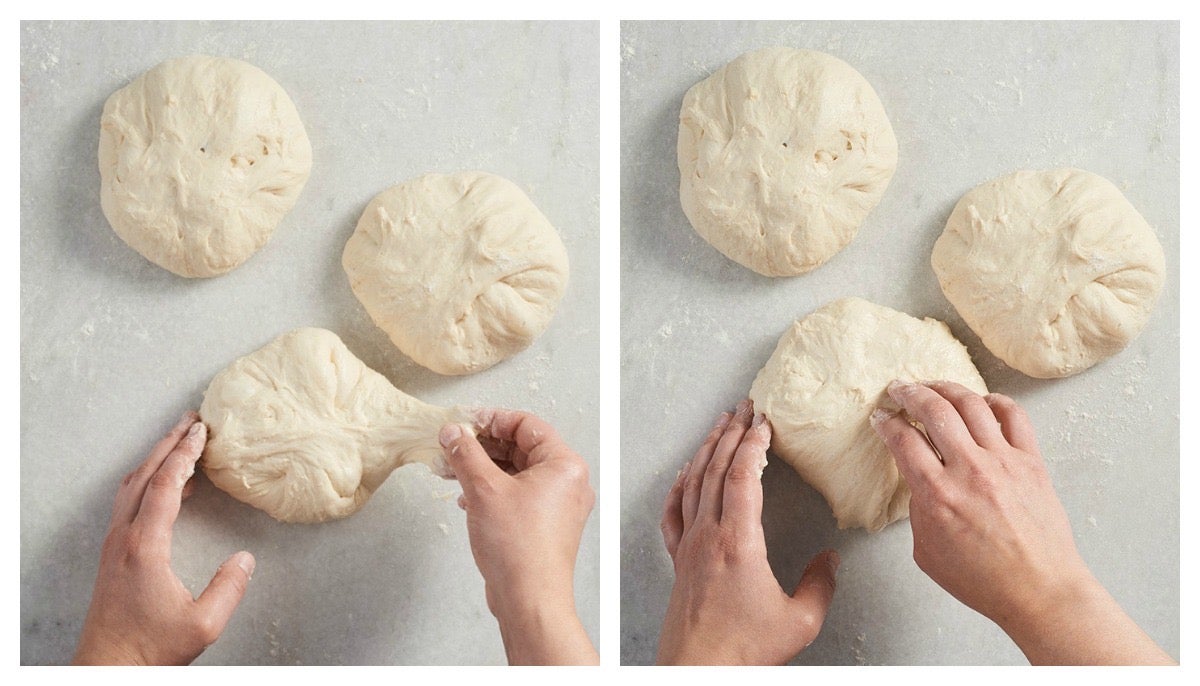
Round each piece of dough into a rough ball by pulling the edges into the center. Cover with greased plastic wrap, and let rest for 15 minutes (or for up to 1 hour, if that works better with your schedule).
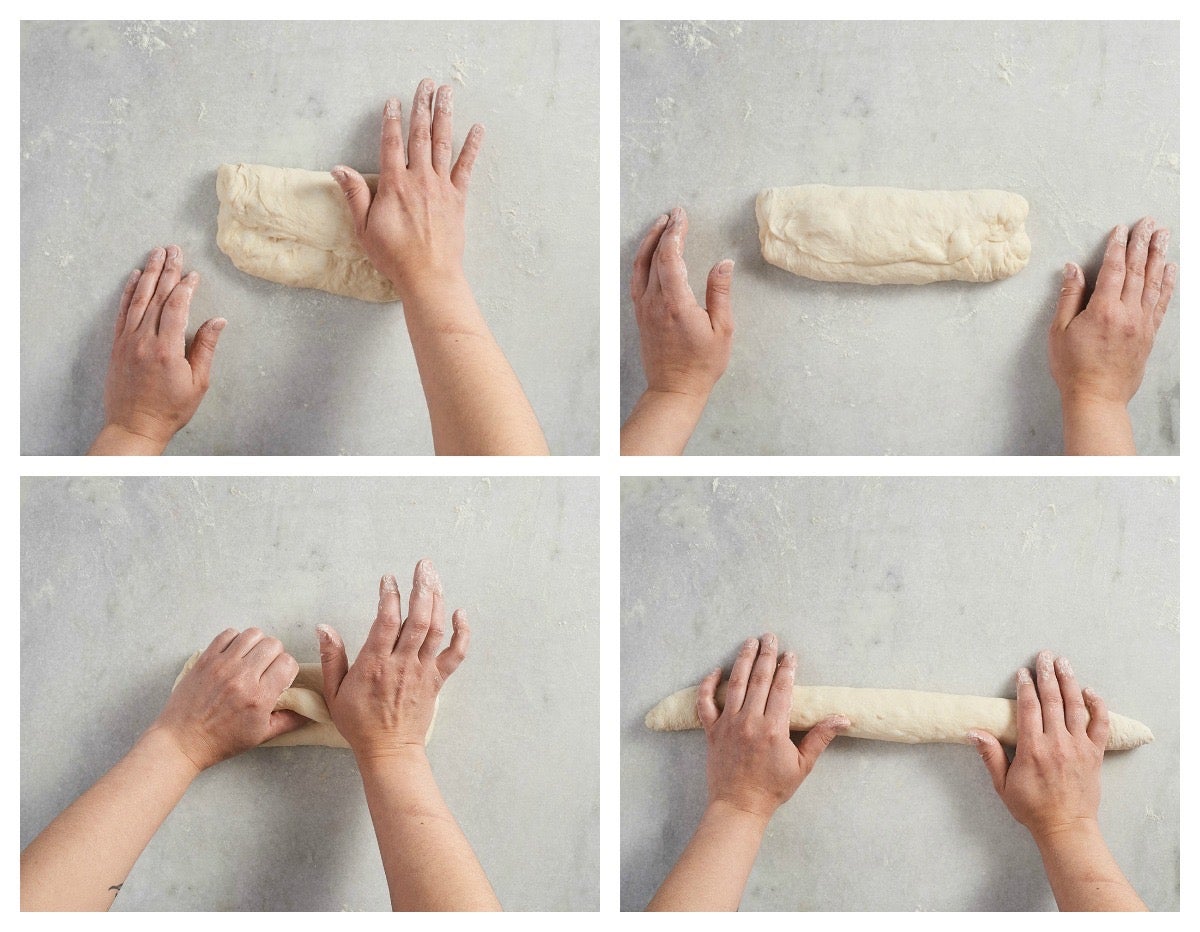 Working with one piece at a time, flatten the dough slightly then fold it nearly (but not quite) in half, sealing the edges with the heel of your hand. Turn the dough around, and repeat: fold, then flatten. Repeat this whole process again; the dough should have started to elongate itself.
With the seam side down, cup your fingers and gently roll the dough into a 16" log. Your goal is a 15" baguette, so 16" allows for the slight shrinkage you'll see once you're done rolling.
Taper each end of the log slightly to create the baguette's typical "pointy" end.
For a great visual of all this see our video, how to shape a baguette.
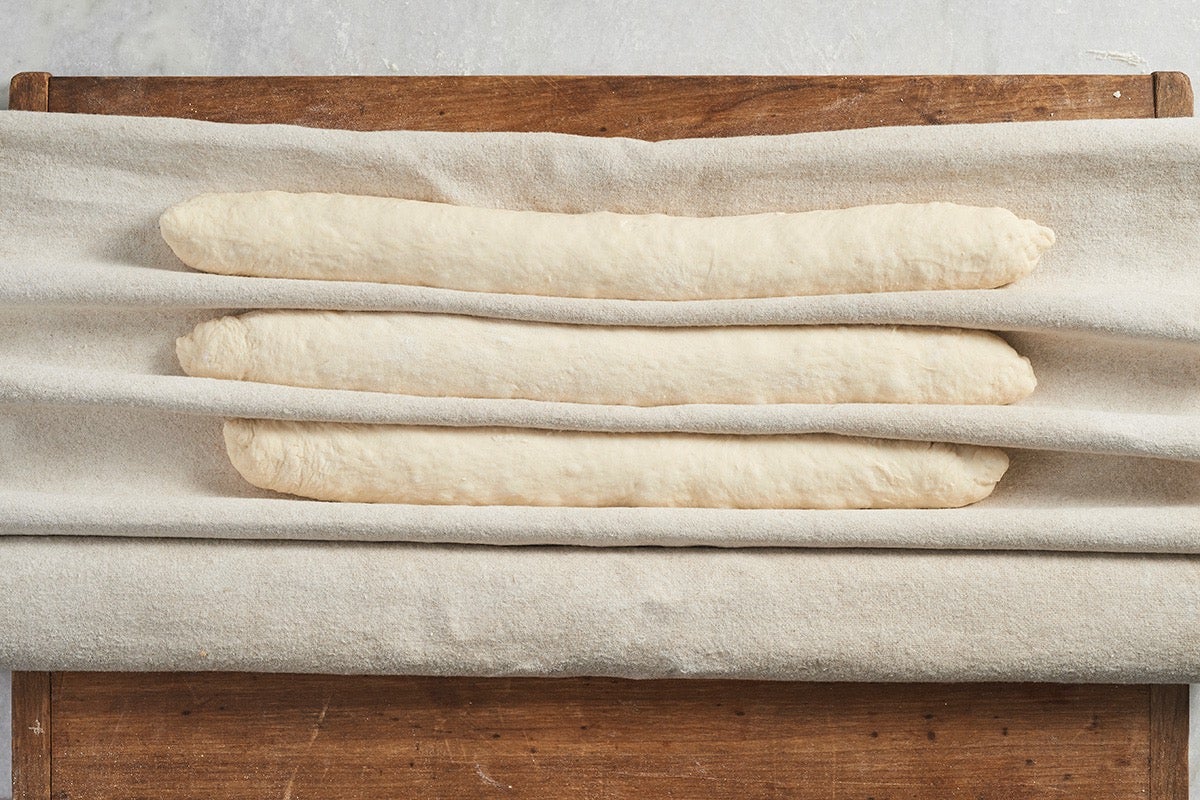
Place the logs seam-side down onto a lightly greased or parchment-lined baking sheet; or into the folds of a heavily floured cotton dish towel (or couche).
Cover them loosely with lightly greased plastic wrap, and allow the loaves to rise until they're slightly puffy ("marshmallow-y" is the term we use in our baking school). The loaves should certainly look lighter and less dense than when you first shaped them, but won't be anywhere near doubled in bulk. This should take about 45 minutes to an hour at room temperature (about 68°F).
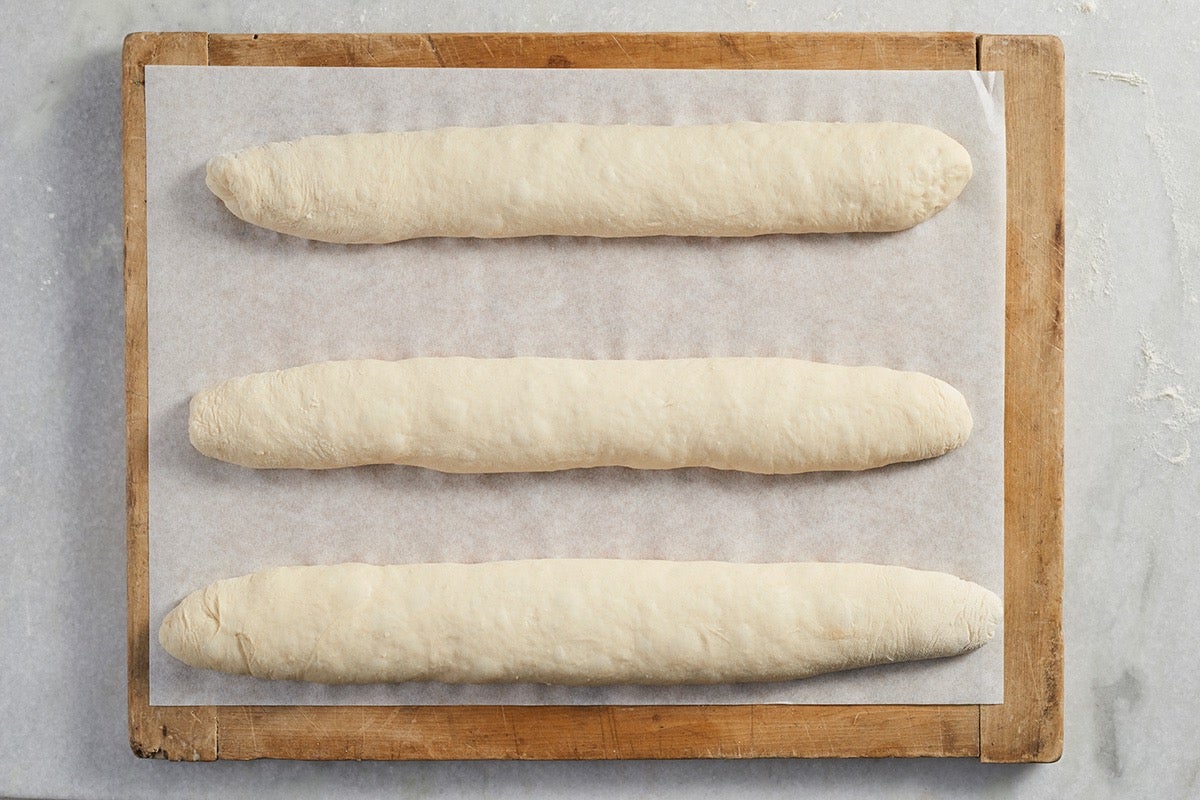
Why not let your loaves double in size, as is often the case with pan breads?
When you're baking baguettes, which usually aren't supported by a pan, you need to be very careful they don't rise too long and become fragile. An under-risen loaf will expand nicely in the oven, while one that's risen too long will deflate. So better to let your loaves under-rise than over-rise.
While the loaves are rising, preheat your oven to 450°F with a cast iron pan (preferably enameled) on the floor of the oven, or on the lowest rack.
If you're using a baking stone, place it on a middle rack. For best results, stone and cast iron pan should preheat for a full hour.
If you don't have a cast iron pan, use any metal pan capable of being heated without anything in it; even an inexpensive aluminum pan should do. But don't put the pan into the oven until just before you add the bread.
Start to heat 1 1/2 cups water to boiling.
If your baguettes have risen in a dish towel or couche, gently roll them (seam side down) onto a lightly greased (or parchment-lined) baking sheet. If you plan on baking them on a baking stone, roll them onto a piece of parchment.
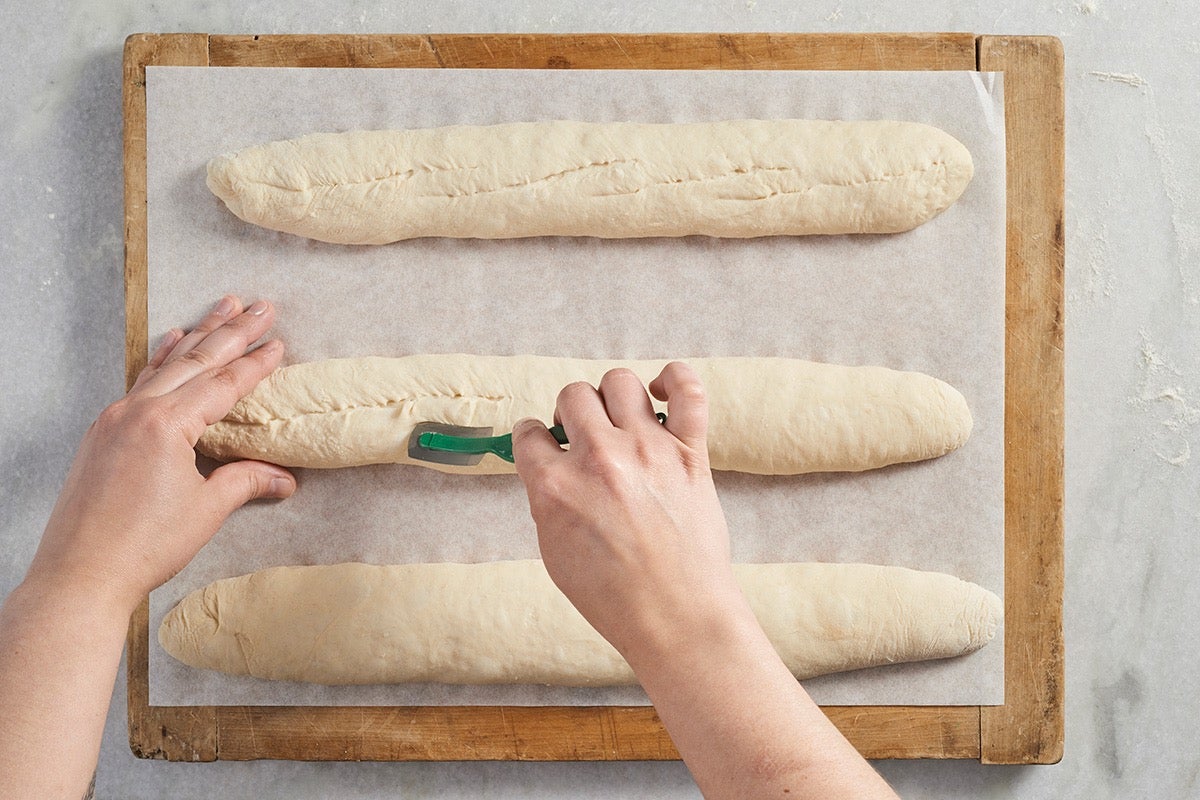
Using a baker's lame (a special curved blade) or a very sharp knife held at about a 45° angle, make three to five long lengthwise slashes in each baguette. To see this technique in action check out our video, how to slash a baguette.
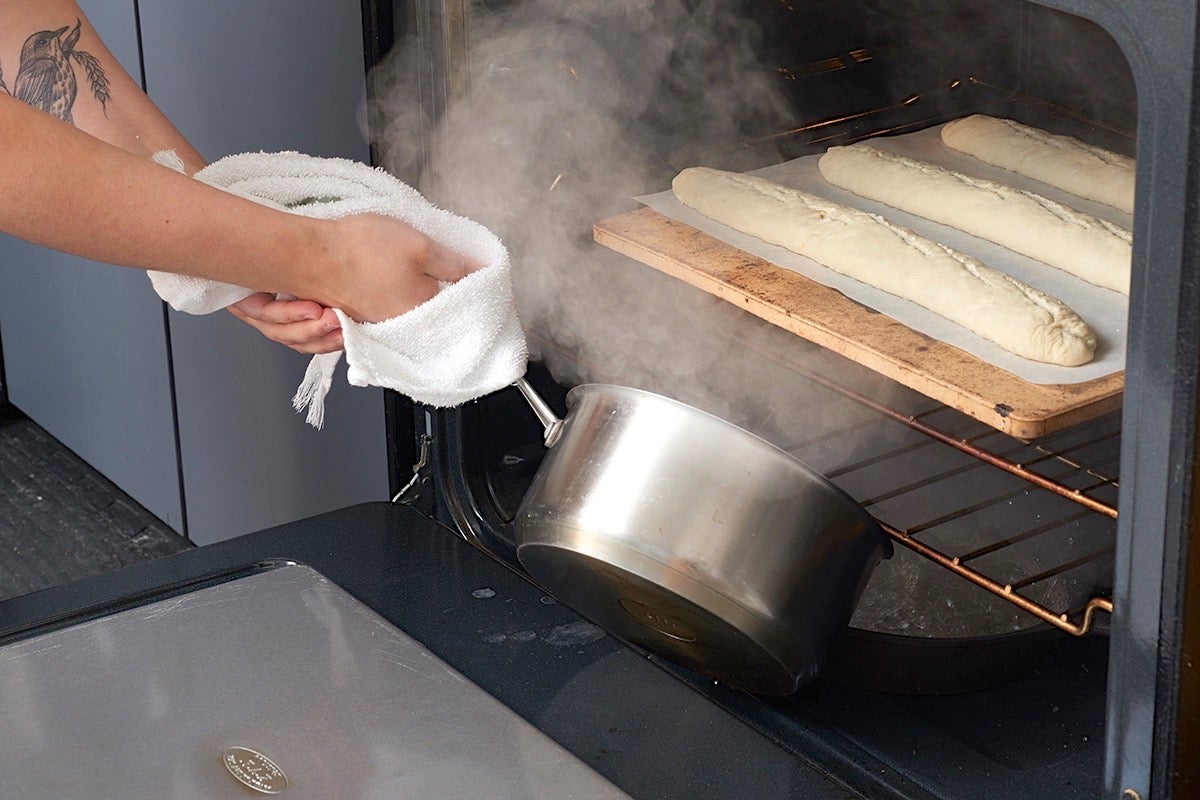
Load the baguettes into the oven. If you're baking on a stone, use a baker's peel to transfer the baguettes, parchment and all, onto the hot stone.
Carefully pour the boiling water into the cast iron pan, and quickly shut the oven door. The billowing steam created by the boiling water will help the baguettes rise, and give them a lovely, shiny crust.
Want to learn more about steam and yeast bread? See our blog post, steam in bread baking.
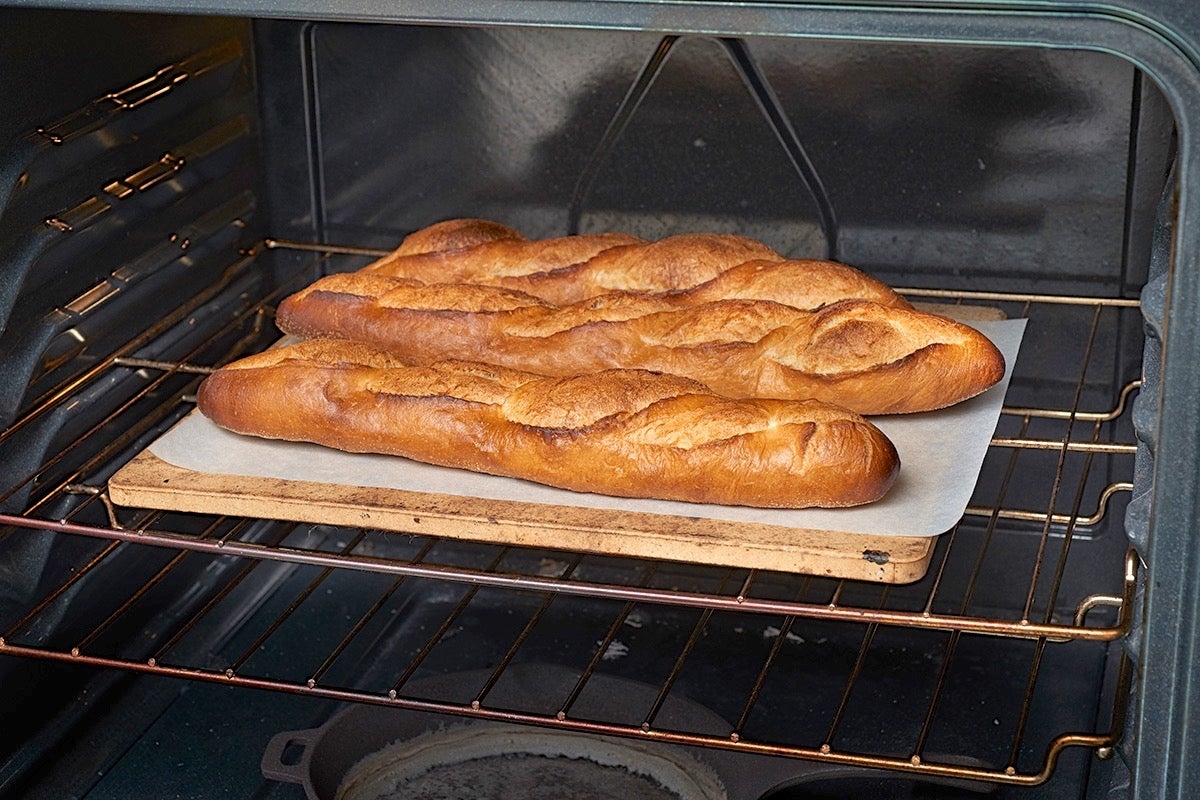
Bake the baguettes — on the pan, or on a stone — for 24 to 28 minutes, or until they're a very deep golden brown.
Remove them from the oven and cool them on a rack.
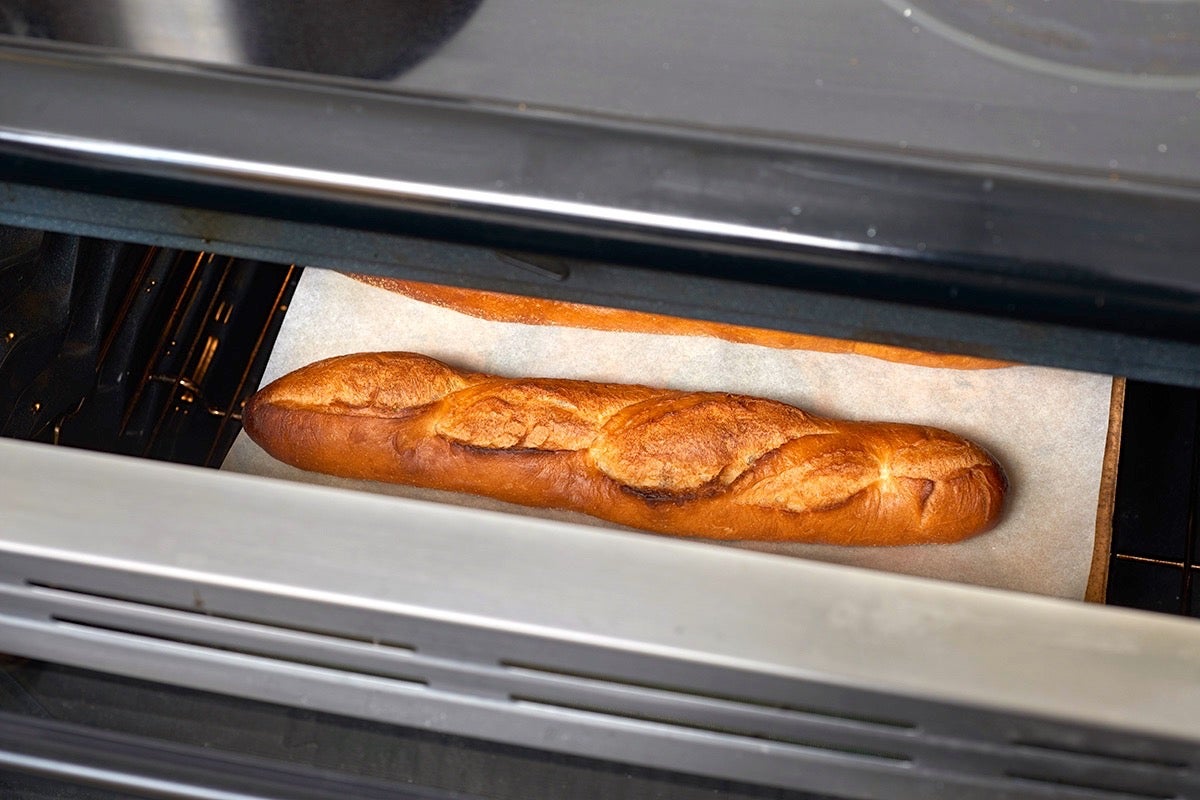
Or, for the very crispiest baguettes, turn off the oven, crack it open about 2", and allow the baguettes to cool in the oven. Leave the baguettes in the oven until both oven and baguettes are at room temperature. If the baguettes have baked on a pan, remove them from the pan and place them right on the oven rack, for best circulation.
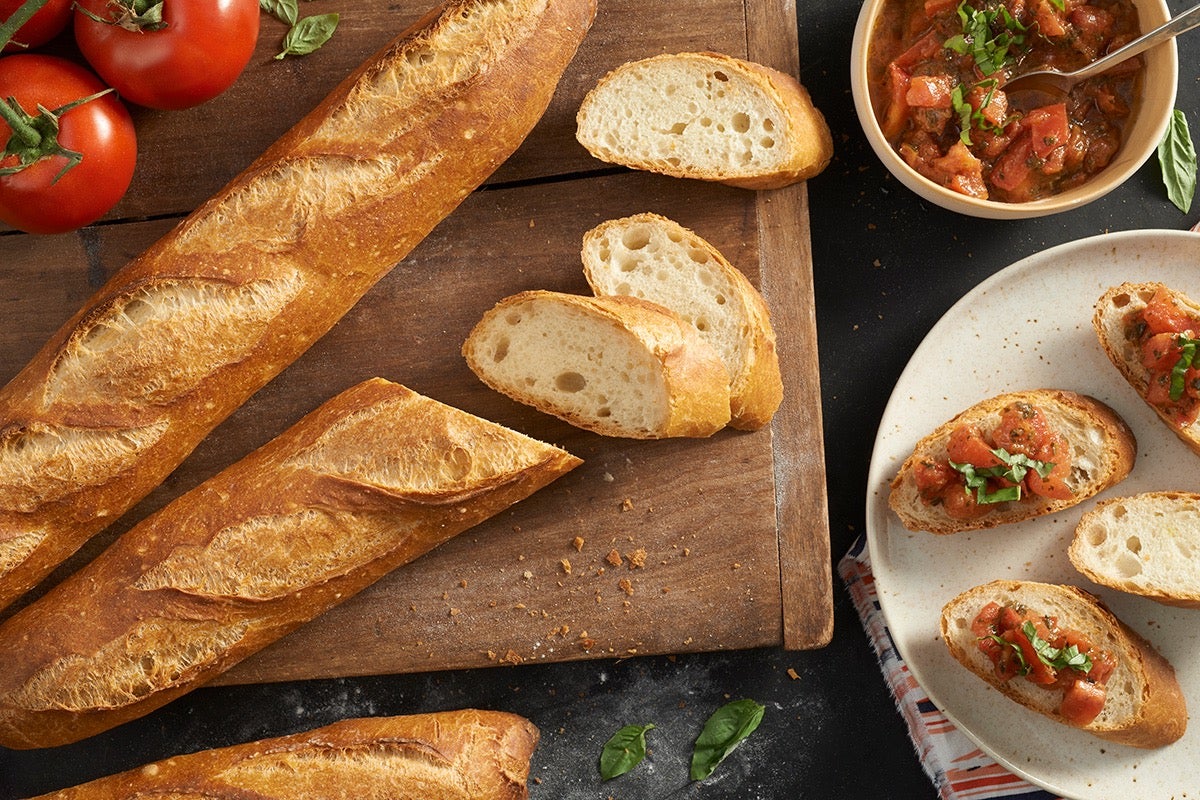
This time of year, with fresh vegetables and herbs so readily available, we like to slice baguettes and turn them into bruschetta. Nothing better!
The high-rising, light texture of baguettes doesn't easily lend itself to the absence of gluten. We don't recommend you try to bake a gluten-free baguette, but instead urge you to check out our tempting array of gluten-free yeast recipes.
Do you live high on a mountainside? Check out our high-altitude baking tips.
Interested in more? See our complete collection of Bakealong recipes.


January 30, 2021 at 4:35pm
My starter was extremely dry and stiff, not loose and wet like the starter in the image appears to be, although I used the correct measurements. It was bubbly the next day, so I used it, but my dough was also extremely dry and stiff. I kneaded as directed, speed 2 on a KitchenAid for 4 minutes (started the timer once the ingredients were mostly mixed), but the dough was stiff, so that throughout the folding, deflating and shaping processes the seams wouldn't seal. My bread came out with the swirl from shaping still clearly visible, and although I had a great crust and they "sang" once out of the oven, the inside was incredibly dense. I'd love some advice on what to do next time.
February 2, 2021 at 11:50am
In reply to My starter was extremely dry… by Abby (not verified)
We're sorry to hear that you had some trouble, Abby! It sounds like a tad too much flour snuck its way into the mixing bowl — we recommend either using a kitchen scale to weigh your ingredients or using the fluff and sprinkle technique for measuring flour in volume. We hope this helps for future baking adventures!
November 3, 2021 at 1:18pm
In reply to We're sorry to hear that you… by mmoss
Plus too much bench flour?
January 10, 2021 at 1:12pm
Hi there! This was my second attempt at following this recipe. My first ones were too pale and not crusty enough so I was determined to do it better this time around. I'm in a smaller Mexican city and don't have access to King Arthur flour. I've been using a Mexican made bread flour for my other breads so I used that as well. Everything went well until the baking. I preheated to 450 (with a thermometer to verify) in my gas oven and put the boiling water in a pan below my baking sheet. The top crust never browned even at 35 minutes. End result was too dense and the outer crust was floury colored (except the slashes) and the bottom color just right. Though the outer crust was crusty, it seemed too thick. It's hard to slice. I think I might not have waited quite long enough at the very final "marshmallow" stage rise before baking. Plus I doubled the recipe and created four long baguettes. Your thoughts?
January 13, 2021 at 12:12pm
In reply to Hi there! This was my second… by Lin K. (not verified)
We're sorry to hear that you're having some difficulties, Lin! Most often when a bread doesn't brown evenly, it's because the dough was over-proofed. This happens because the yeast cells have eaten up most of the available sugars, not leaving behind much to caramelize during the bake. Another reason the tops of your loaves may not have browned and the crust was overly thick, is that there was too much flour on the surface of the dough from the shaping process. If this sounds like it could have been part of the problem, we'd recommend lightly brushing off the excess flour, another option is to use wet hands when shaping your dough which helps prevent too much flour from being used. A thick crust can often be caused by too much steam while baking too. We'd suggest using a bit less water next time so that you're steaming the bread for a shorter period of time. We hope this helps for future baking adventures!
December 20, 2020 at 11:16am
Is the dough hook on the Kitchen Aide recommended or the paddle? The dough hook was tough and I’m afraid it’s over proofed now!
December 23, 2020 at 12:41pm
In reply to Is the dough hook on the… by Mindy (not verified)
Hi, Mindy! For bread dough, we generally recommend using the dough hook, unless otherwise specified. (Recipes like Blitz Bread are the exceptions, as they have a very wet and batter-like dough that does better with a paddle.) Happy baking!
December 9, 2020 at 1:59am
Living in sunny singapore where it's summer all year round, how should i adjust the timing for dough rise? The room temperature is around 84F.
December 9, 2020 at 9:04am
In reply to Living in sunny singapore… by ace (not verified)
Hi there! Rising times aren't really a hard and fast formula, but you should expect that your dough will rise more quickly on average, and take note of how long it typically takes where you live, for future reference. If there's a cooler place in your home where you can leave your dough to rise (a darker, more insulated space, a basement, etc), this can also help stretch out your rising times a bit. Happy baking!
October 20, 2020 at 7:02pm
Does this recipe work well with the Emile Henry baguette baker? I assume you wouldn't then use the cast iron skillet to produce steam, right?
Pagination