7 tips for the very best bread crust
Bakery-quality loaves begin here.


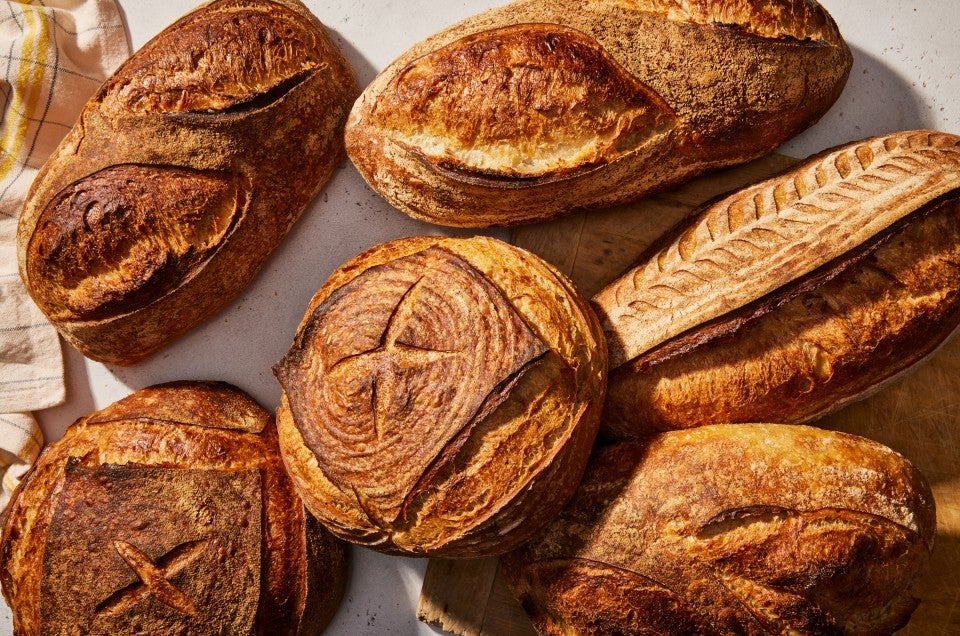
When you start baking bread at home, you may be striving for the quality of crust you find at your local bakery: shiny, blistered, burnished, and crunchy. And while there are many foundational bread baking techniques you need to nail, nothing will get you closer to that goal than steam.
First, familiarize yourself with the basics of steam. And to really ensure the shiniest, crispiest, most blistered bread crust, follow these seven tips.

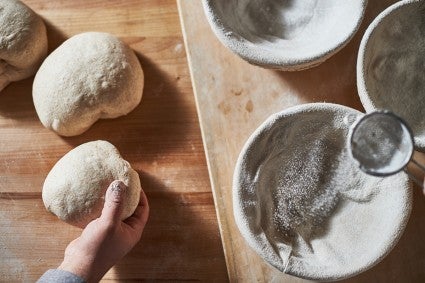
When dusting your brotforms or baker’s couche with flour (to ensure the loaf doesn’t stick after proofing), a light coating is best. Too much flour on the exterior of your loaf creates a dry, powdery surface that acts as a barrier between the dough (where the blisters form) and the steam (which enables the formation of blisters). So, use a fine-meshed sifter to lightly dust your brotform or baker’s couche, applying only enough to keep the loaf from sticking, no more.
To use as little dusting flour as possible, we recommend a blend of 50% rice flour, 25% white flour, and 25% whole wheat flour. Rice flour is naturally non-stick and releases the loaf better than anything else. Combining it with white flour and whole wheat flour balances the palatability and appearance of wheat with the more granular texture of rice flour.
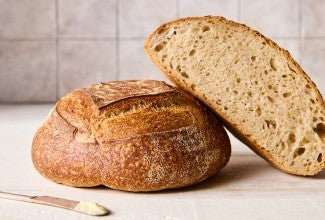
Cold fermentation (a long cold period after shaping and before baking) directly contributes to blisters on the crust of your baked loaves. During the long rise, dough gases build up as a byproduct of fermentation. Those gases find their way to the surface of the dough during baking, expanding and swelling in spots right at the surface, forming blisters. For plentiful, shiny blisters, a long cold fermentation is best. (Looking for a recipe with cold fermentation? Try our recipe for Pain au Levain, being sure to cover and chill the loaves overnight before baking.)

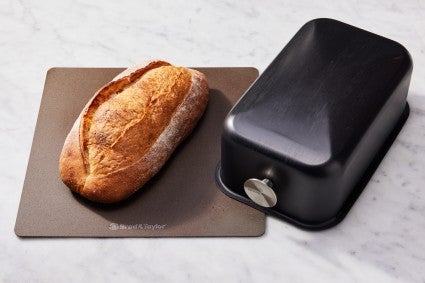
Since steam is crucial for great crust, we want to make as much as possible and keep it in place, right next to the loaf. To contain it, our best tool is a covered baker with a tight-fitting lid. From a Dutch oven to a challenger bread pan, they’re indispensable for a shiny, blistered crust.
For the best oven spring and moisture at the beginning of baking, preheat the baking vessel for 45 to 60 minutes. A warm baking environment prompts a burst of activity within the dough right at the start of baking, as temperatures rise and yeast activity increases. To further aid the process — and guarantee that the loaf is able to expand to its maximum potential — add a small amount of water or ice cubes to the baking vessel. This step produces even more steam while baking.

If you don't have a covered baker, here’s a trick that’s almost as good. Preheat your baking steel with a ovenproof metal mixing bowl that’s large enough to cover the loaf. (There may be some trial and error in choosing the right bowl.) To steam, load your loaf, add a couple ice cubes, then cover the loaf and the ice with the preheated bowl, centering it as best as you can.
With all types of covered bakers (including the metal bowl), we want to start the loaf covered (to trap the steam we’ve created). Then, during the second half of baking, we want to uncover the bread, allowing it to dry, set, and darken. So, for a loaf that bakes for 40 to 45 minutes, remove the lid or bowl after about 20 minutes of baking, then allow the loaf to bake until fully golden brown, about another 25 minutes or so.
More of a visual learner? Let’s take a look at these tips in action:
Cover photo by Rick Holbrook; food styling by Martin Philip.


