

So it happened. The annual cookie swap invitation just appeared in your inbox – and you have T-minus 24 hours to get your 100 cookies baked and decorated. EEK!
Time to shop for flour, sugar, butter, confectioners' sugar, sprinkles, edible glitter... getting as anxious as I am?? Wouldn't it be wicked awesome if there was a cookie that didn't need to be decorated? That would save hours!
...You didn't think we'd leave you hanging, did you?
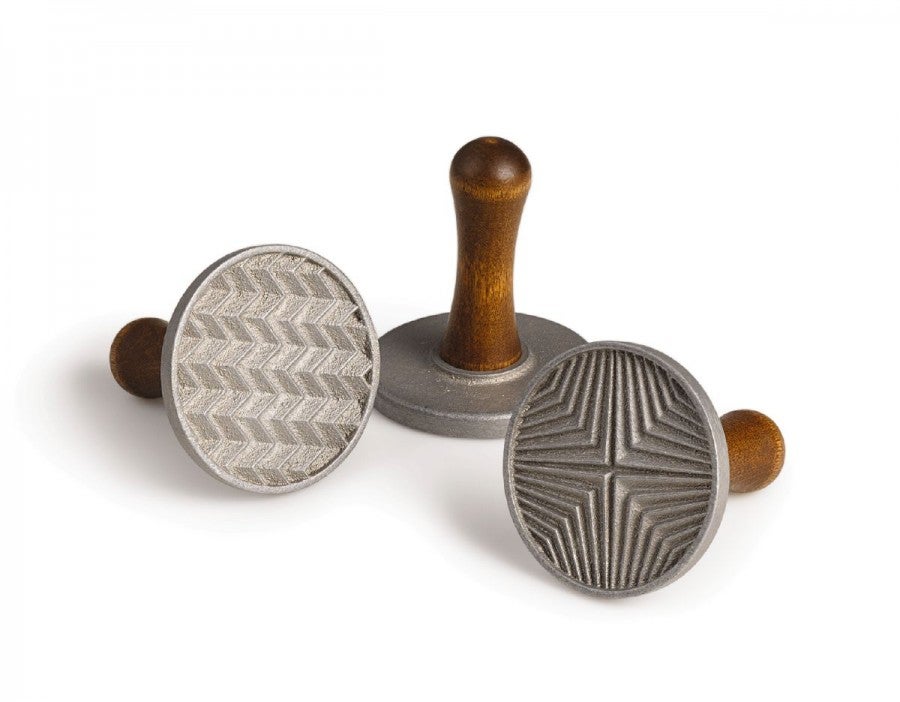
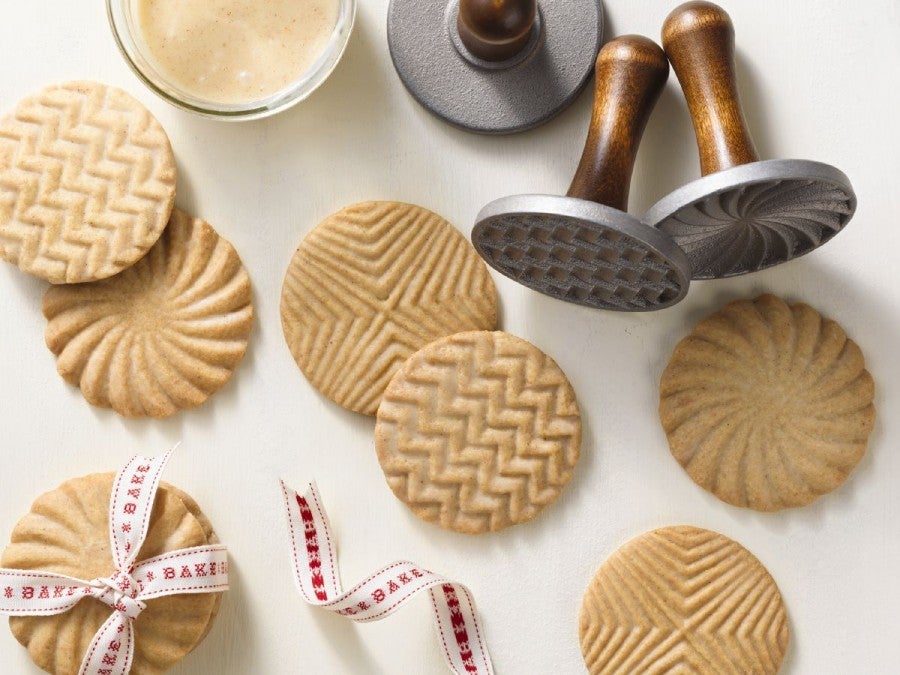
Not all cookies need be cut in shapes and covered in frosting, sprinkles, and royal icing. In fact, stamp cookies are all the more show-stopping because of their simplicity.
While the premise is straightforward – stamp, cut, and bake – we have a few tips to make it EVEN EASIER. Did that grab your attention?
We're showing the stamp cookies made with our Brown Butter Stamp Cookie recipe. Been pretty obsessed with browned butter lately, and these rich and nutty cookies are popping up in all of our cookie trays. They're the NEW classic sugar cookie, at least in my home.
Better yet? These babies don't need frosting!
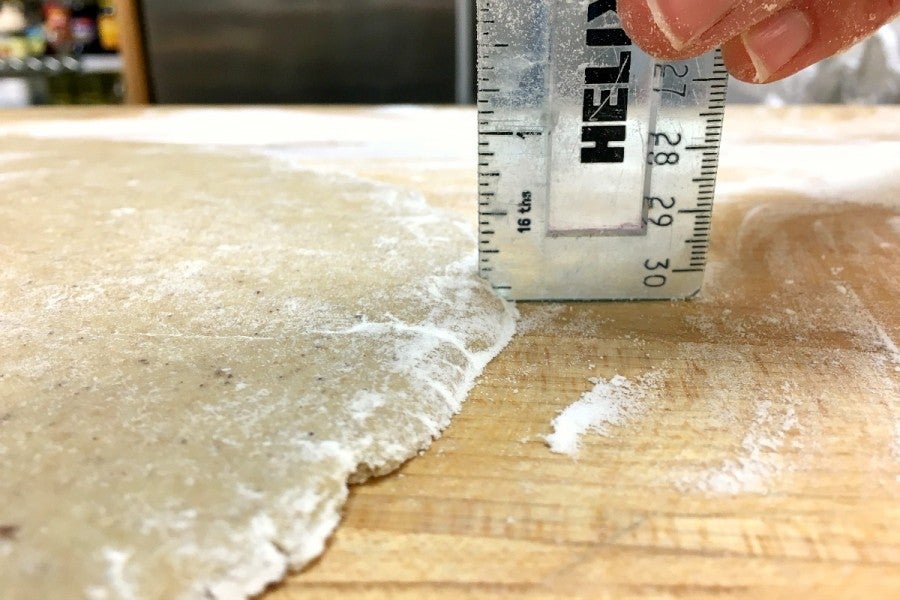
Working with one piece of chilled dough at a time, place the dough on a lightly floured surface and roll 1/8" to 1/4" thick. You don't want the dough to be too thick, because your cookie will end up soft, rather than crisp and crunchy.
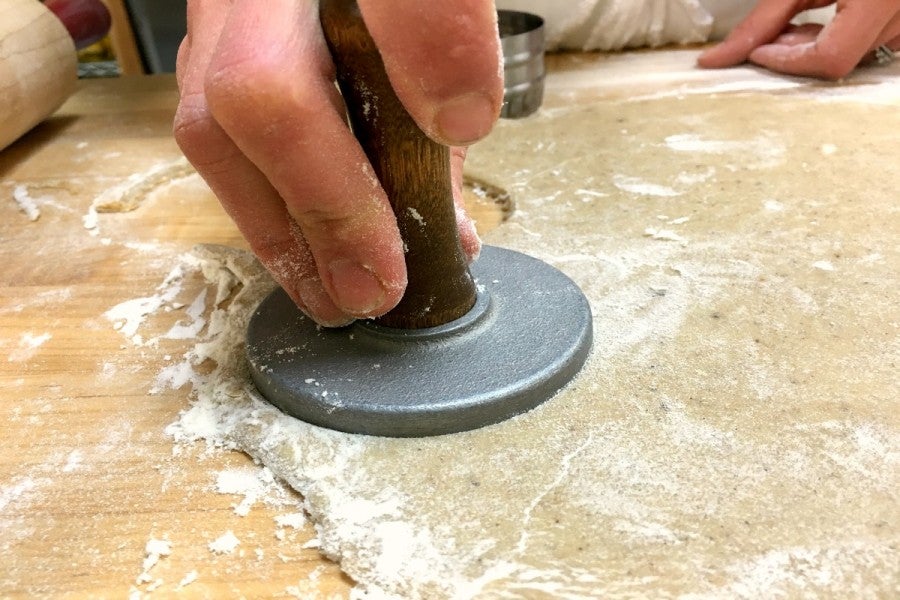
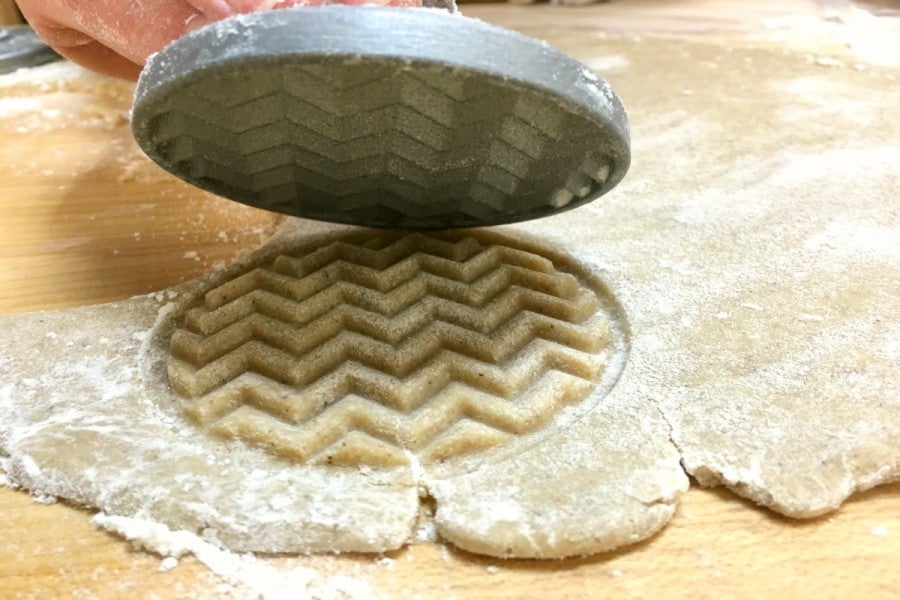
Press the stamp down evenly and firmly into the dough. That way, you won't end up with one side of your cookie thicker than the other.
Dip the cookie stamps into flour, then press them into the dough. If the stamp sticks, sprinkle extra flour over the dough before pressing down. It's easier to remove excess flour than to scrape out stuck-on dough!
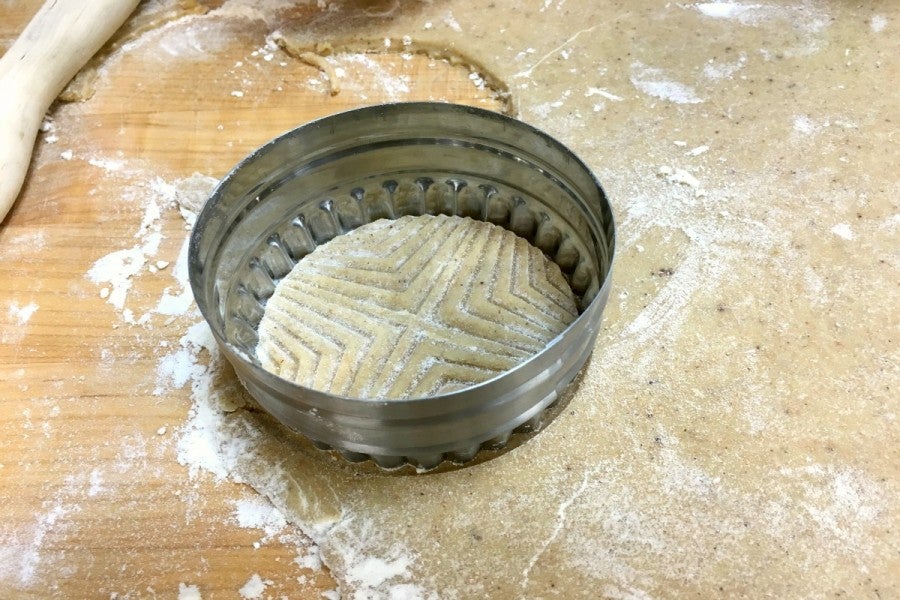
Using a 2 3/4" round cutter, cut out stamped cookies and transfer them to the prepared pans. We love this double-sided round cutter set, because we can choose whether we want the edges of our cookies to be wavy or plain.
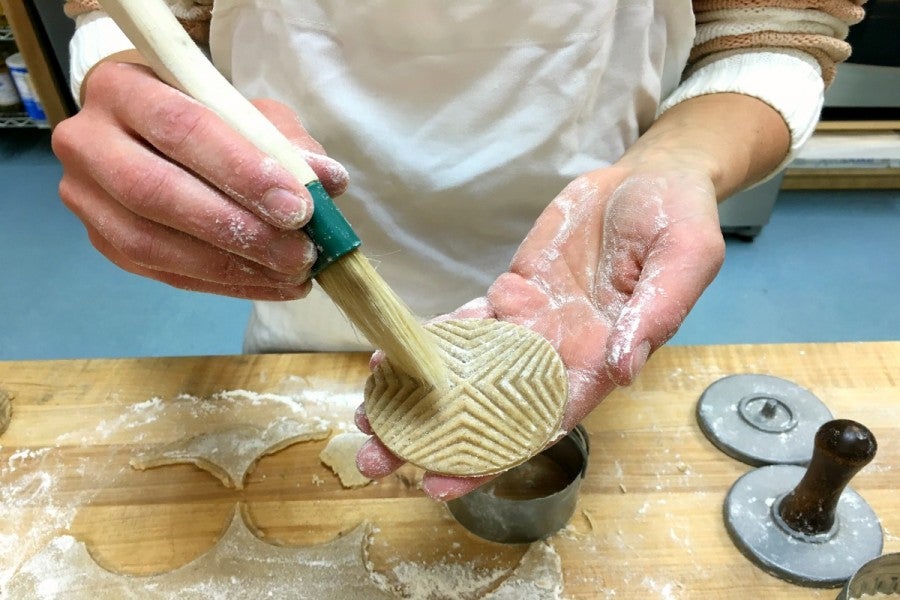
If there's flour pressed into the cookies, gently remove it with a brush. That way, you don't have unpleasant bites of raw flour.
Freezing them before baking ensures the cookies will hold their pattern better during baking. That being said, be sure to add a few minutes to the original baking time. You want to bake them until they're lightly browned.

A shiny glaze is an optional (but incredible!) finishing touch. If you’ve a mind (and some time) to do a little extra, brushing the cookies with glaze will give them a nice shine and a little bit more sweetness.
This recipe makes 2 dozen stamp cookies. So that's just about three batches of cookies to get you to your holiday swap goal. That'll give you some extras, just in case you need to taste-test a few. Totally doable, thanks to all the time saved with these simply delightful cookies.
And thanks to you, you fabulous cookie stamps, for being the answer to all of our prayers.
Tell us – do you have any easy, tried-and-true cookie recipes that you make over the holidays? Please share in comments, below!


