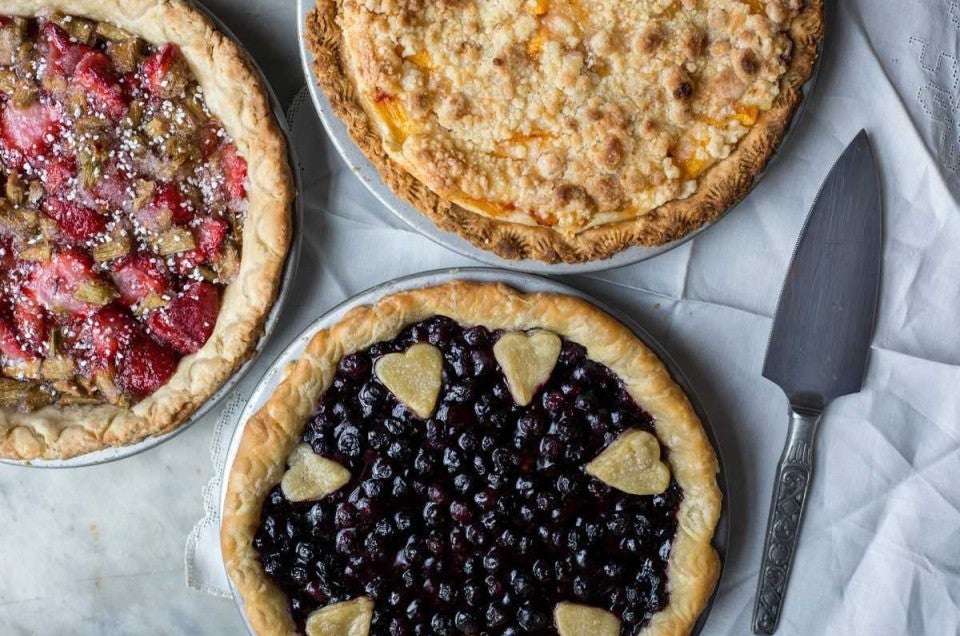


With all of the work that goes into baking a homemade pie, your masterpiece deserves to be finished with a flourish. Skip the plain fork crimping and give one of these fun ways to crimp pie crust a whirl.
After carefully selecting the freshest of fruits, gently cutting the butter into the flour, and the feat that is rolling pie dough into a near-perfect circle, the last thing you want to do is spend another half hour making the top of your pie magazine-ready.
Making a beautiful crust can be easy, fast, and done with tools you already have in your kitchen drawers. Let's get to playing!
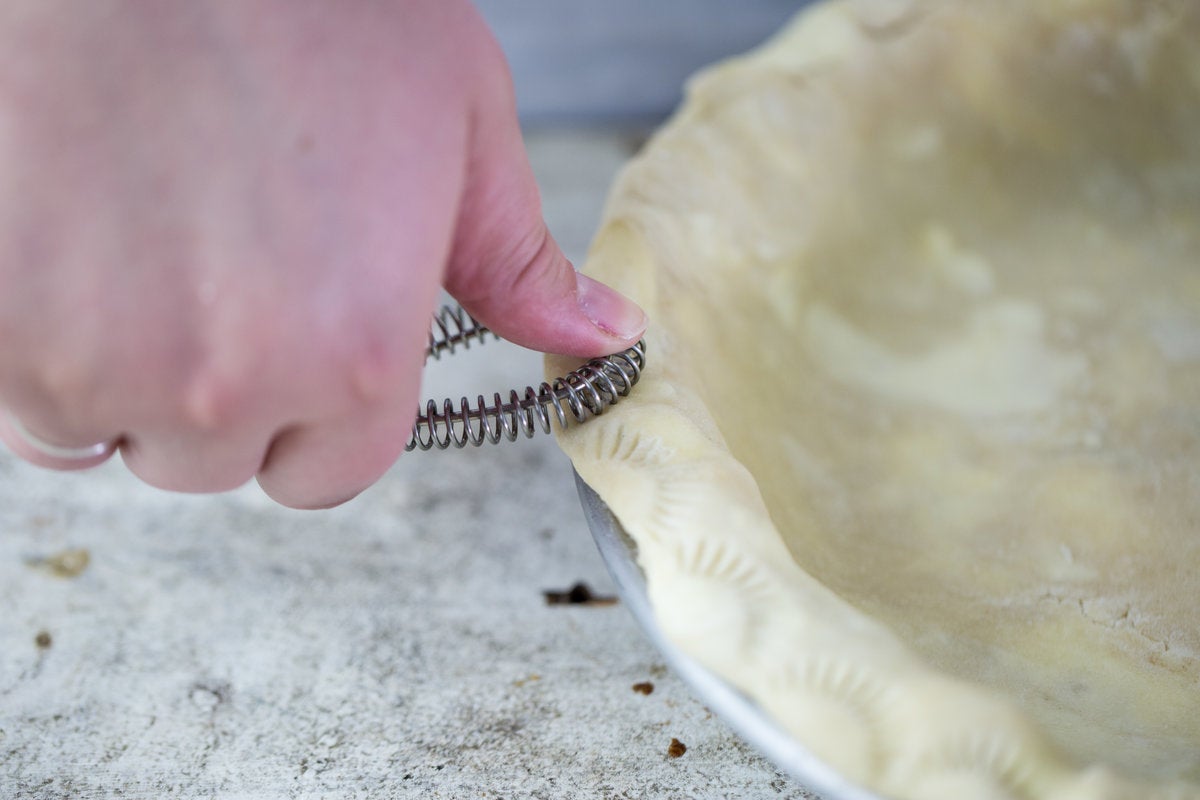
This flat, spiraled whisk, friend to gravy makers everywhere, is perhaps the simplest and quickest way to add a little fun to your crust. All you have to do is press the lightly-floured whisk tines gently into the dough around the edge. This is great for any kind of crust, including a more delicate gluten-free or oil-based crust.
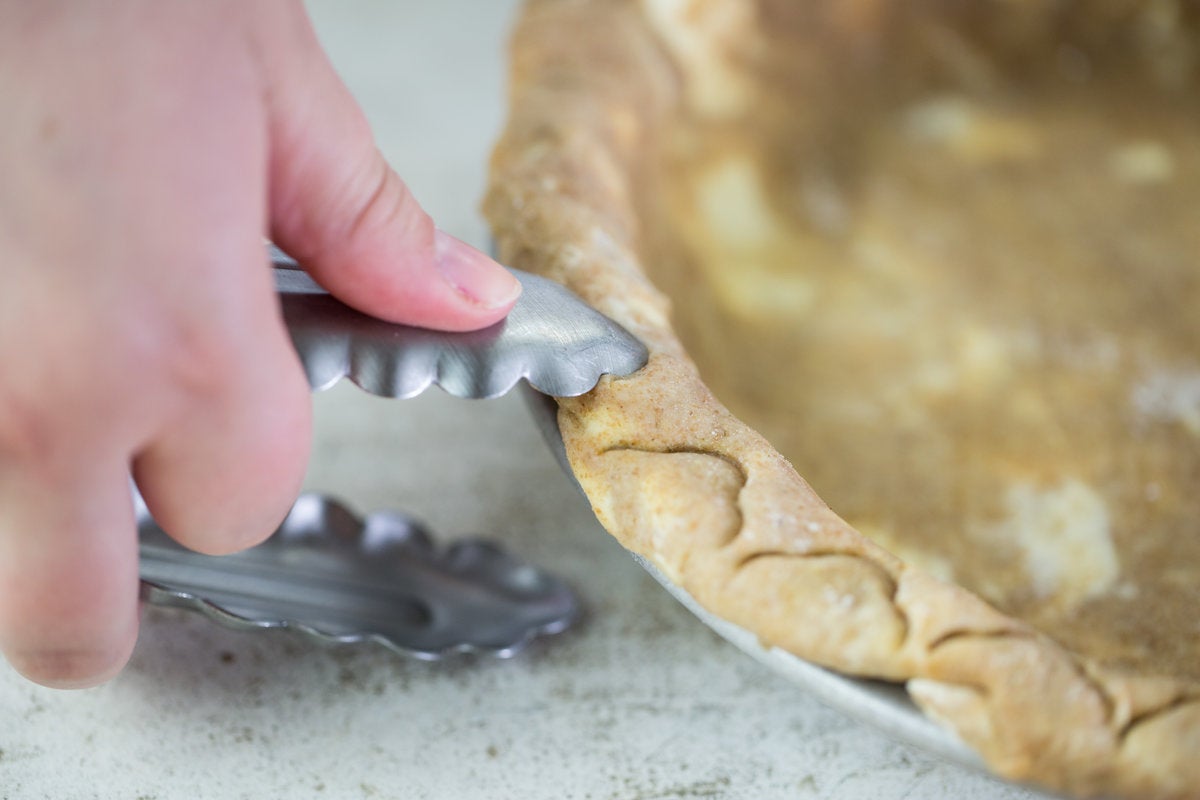
Until now, tongs have been the nemesis of my kitchen, as they liked to open up and jam the drawer closed when I wasn't looking. Who knew they had a place in pie baking? My tongs have redeemed themselves.
Most tongs have a scalloped edge to aid in gripping whatever meats or veggies you're flipping. This comes in handy when crimping a pie crust.
Once you have a smooth, trimmed crust around the edge, use one of the tongs' edges to press your design around the rim.
Measuring spoons, particularly 1/8 or pinch-sized spoons, are another great tool to use on delicate crusts. Press your crust with the rounded side of a flour-dusted 1/8 teaspoon to create circular indents around the edge of your pie.
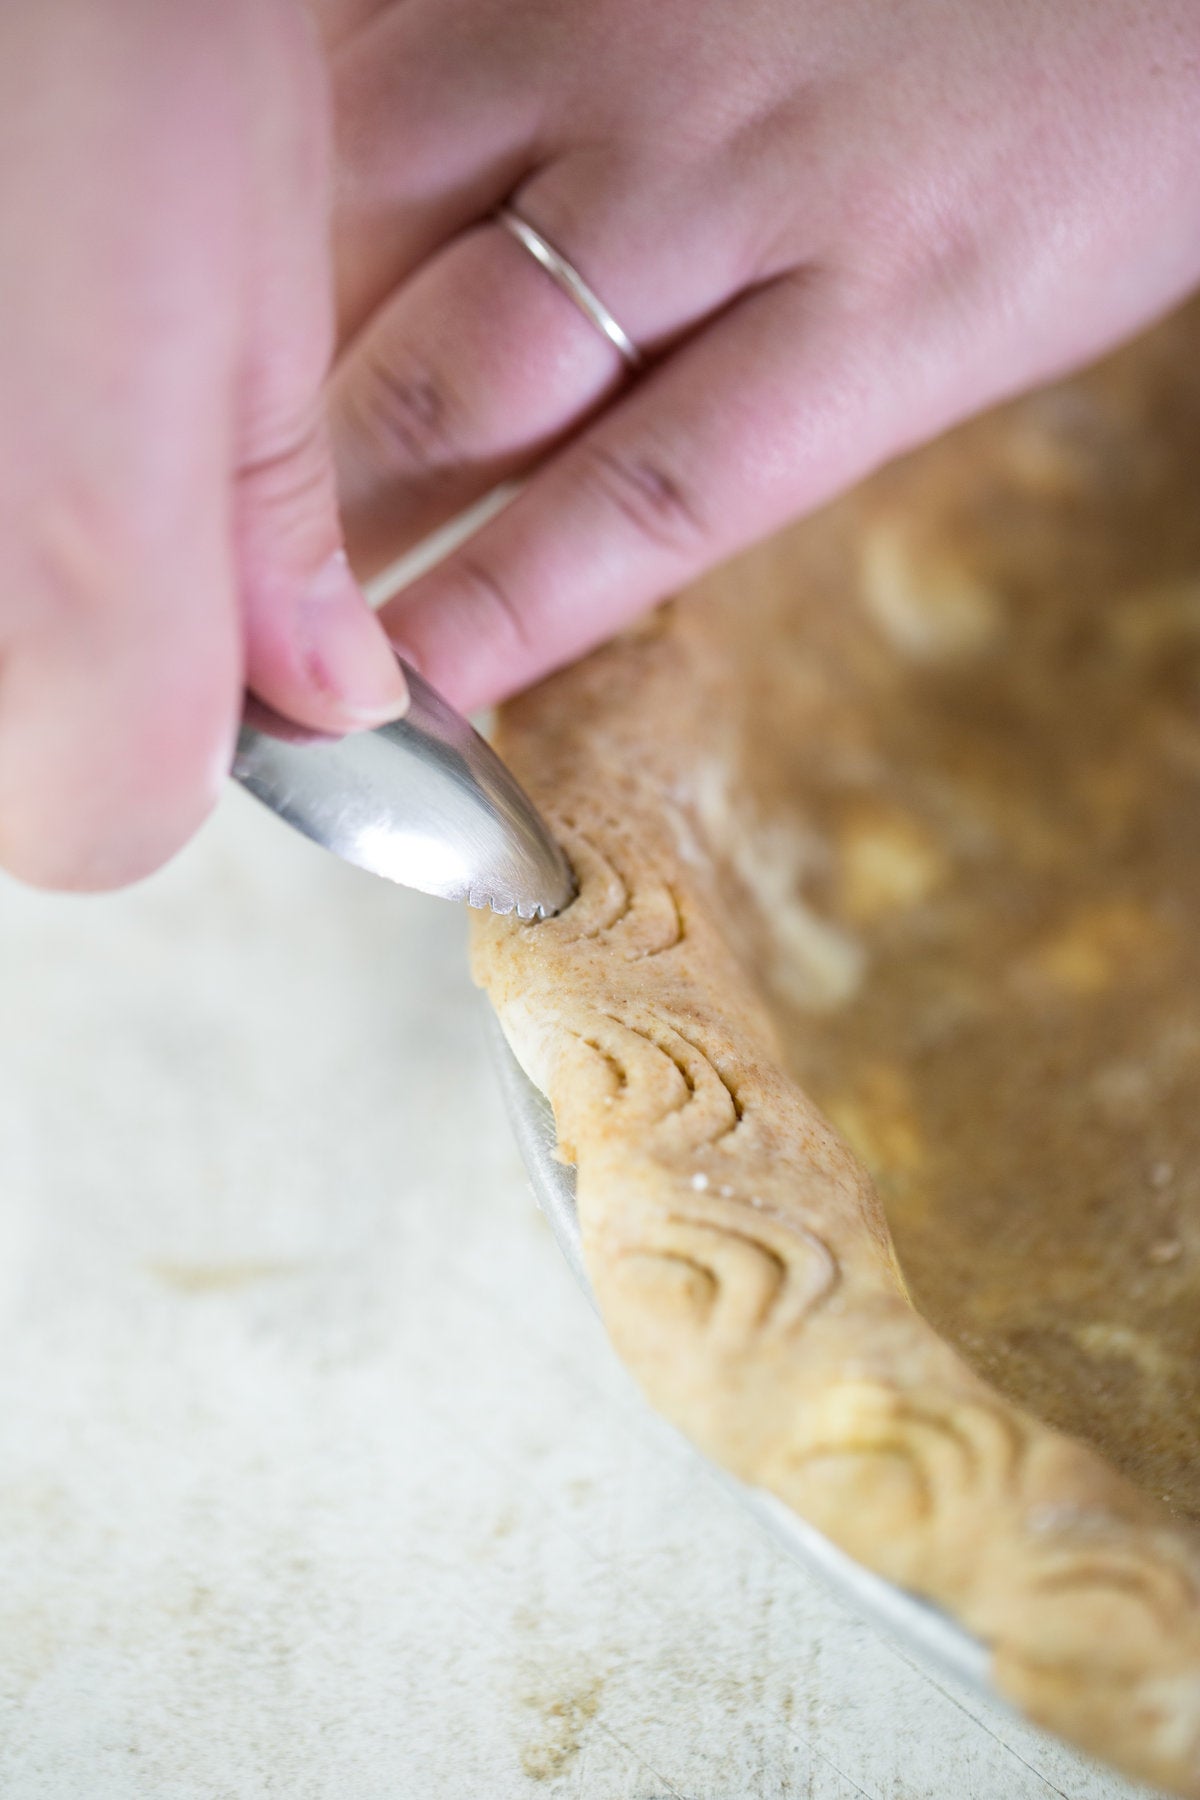
For a utensil whose name suggests it can only be used for one fruit, this little spiky spoon with its serrated tip really comes through when it's time to crimp pie crust.
Holding the spoon upside down, press the serrations into the edges of your crust. Press it several times in a line for a scalloped effect, or just once every inch or so.
This is for all of my fellow hot-handed bakers out there.
Having naturally hot hands can come in handy when working with fondant, but when it comes to cold butter? Not so much. Pie crust will produce flaky layers if your butter and dough are chilled. Hot fingers can melt the butter in the crust as you crimp, leaving your decorations looking smooshed and sad.
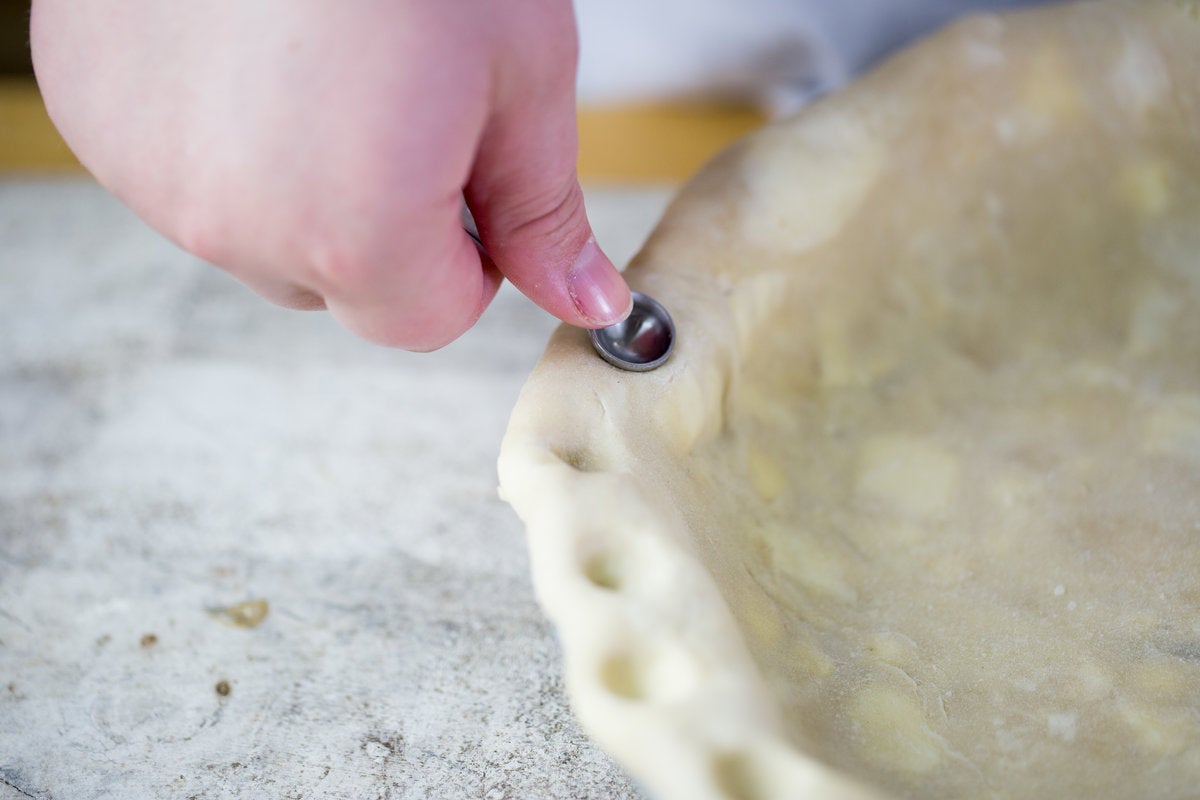
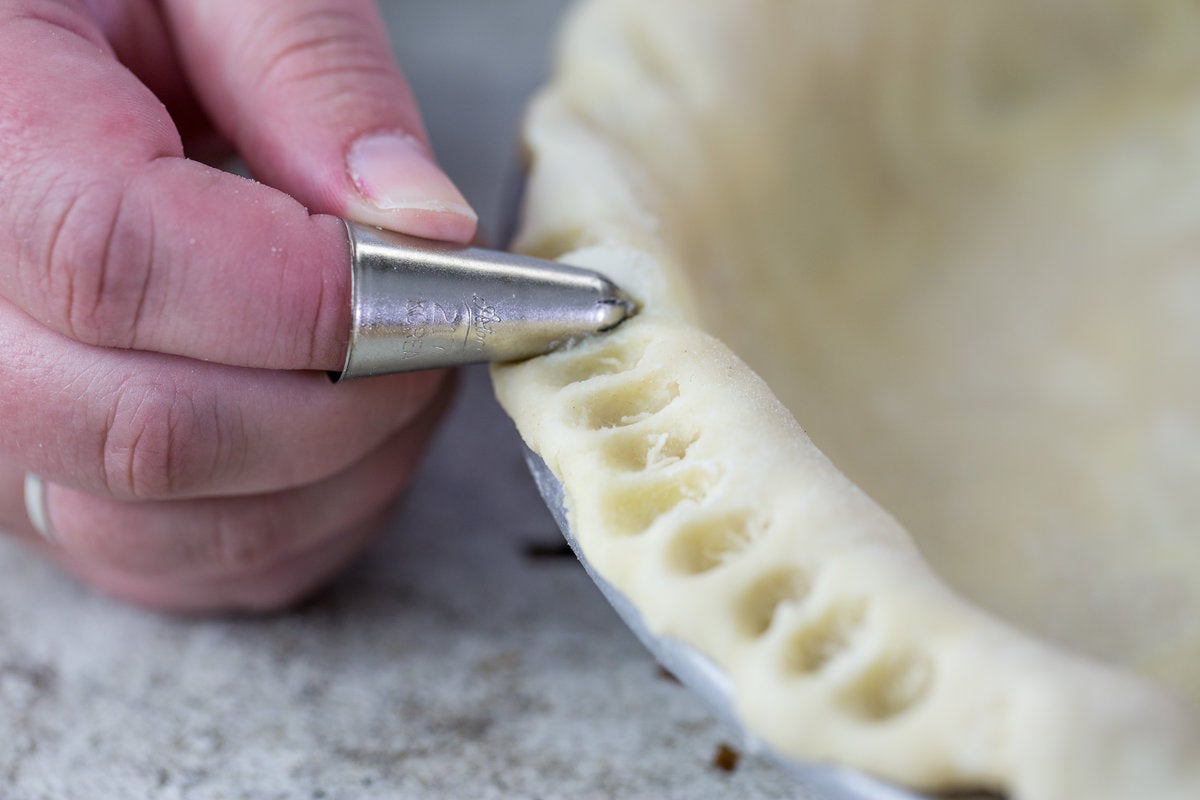
Enter piping tips! Use a piping tip to shield your hot finger from the crust as you work. You can even chill the tip in your fridge or freezer ahead of time to make it extra effective.
A piping tip on your finger isn't exactly the next fashion statement, but it gets the job done!
Press the piping tip around the rim of your pie. Depending on the style of tip you choose, it could leave a unique design or just a simple indent.
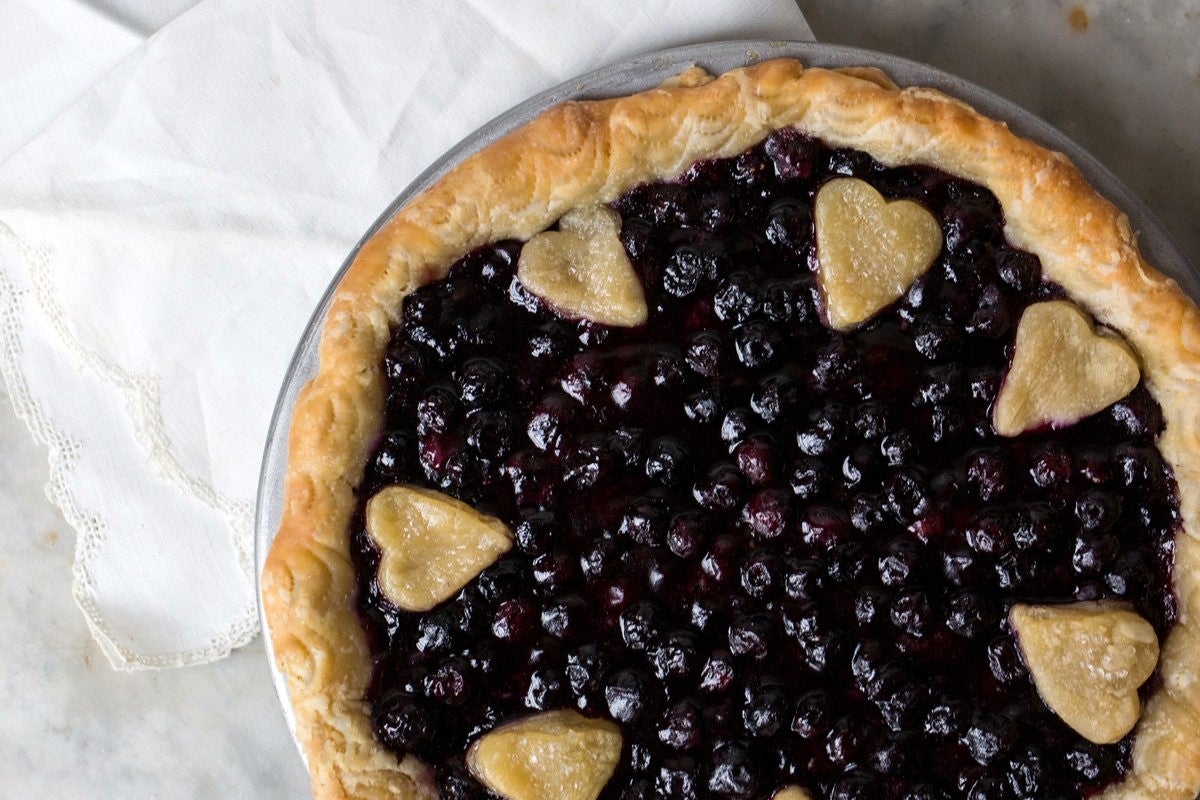
Chill, chill, chill: Have you ever made a lovely design on your pie or pastry, only to find it completely missing on your finished baked good? Chilling your pie in the fridge for 30 minutes before baking can help your designs keep their shape.
How? Because the longer it takes the fat to melt, the more time your design has to set in the oven.
Make extra dough for practicing: If you're trying out new designs, and want to see how they look before tackling your pie, plan ahead and make a 1 1/2 times batch of your dough. No one will complain if you decorate and bake a few mini pies in ramekins or muffin pans with the extra crust.
For intricate designs, use a recipe with shortening: Shortening has a higher melting point than butter, allowing more time in the oven for the design to set before it begins to melt. This results in a sharper design on your finished pie. To be both beautiful and tasty, recipes that use a combination of fats fit the bill for us, like our Classic Single Pie Crust.
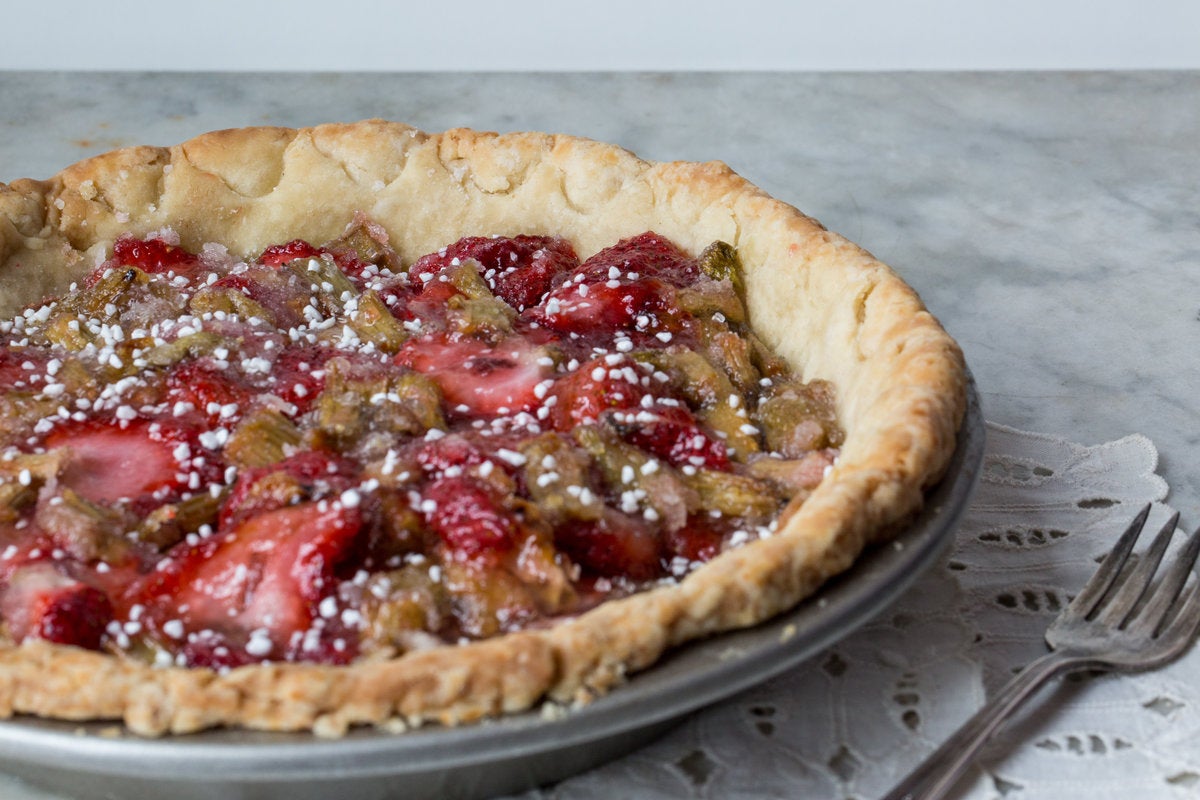
Thicken your fruit pie correctly: If a fruit pie filling doesn't have enough thickener, it bubbles a lot, usually out of the pan. This bubble-over can cover your crimp designs — not to mention make a glorious mess of your oven. (It helps to line the bottom of your oven with a pan or foil to catch any drips.)
The Pie Filling Thickener Guide in our Complete Guide to Pie Baking was one of my most-shared resources when I worked on the Baker's Hotline. Consult this little beauty to know how much thickener is needed depending on the fruit you're using.
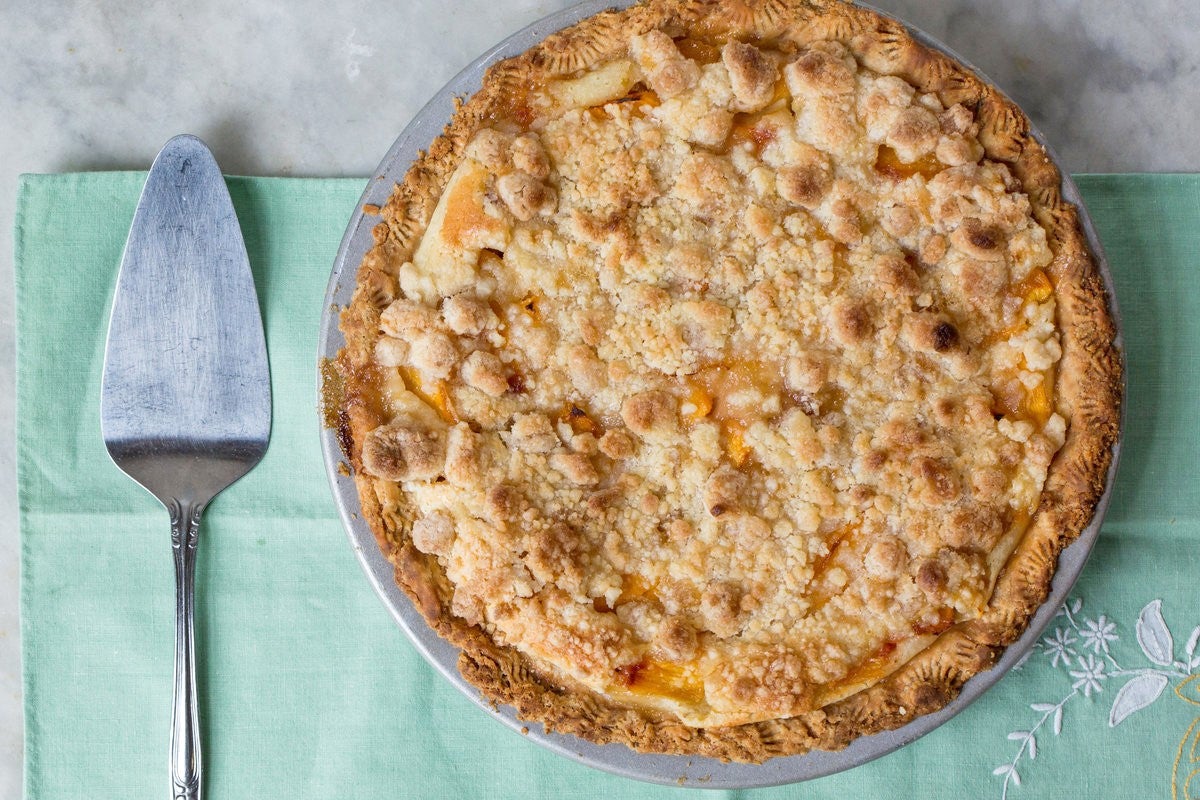
Which of your kitchen tools will you use to crimp pie crust? Look for interesting patterns on your tongs while you're grilling. Take note of the artistic shape on your corkscrew as you open a bottle of wine. You're sure to create an impressive looking design quickly and with little effort.
No problem! It's a classic for a reason. Check out our video or blog article on Pie Crust Decorating Basics for additional tips and inspiration.
Share your ideas and past experiences using everyday tools to create beautiful pie crusts in the comments below.
Thank you to Anne Mientka for taking the photos for this post.


