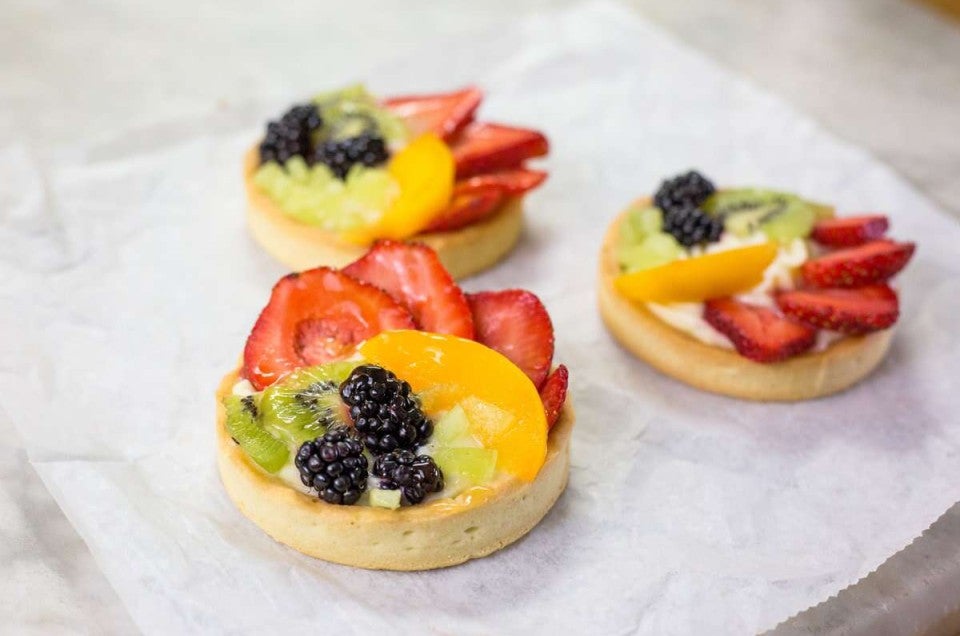


Have you ever admired the super-shiny fruit tarts you see at the supermarket bake shop?
Nestled like colorful jewels in the bakery case among the plainer sugar cookies and lemon squares, they stand out like royalty at a peasants' ball.
How do they make those strawberries and blackberries and raspberries SO shiny?
Well, supermarket bakeries often use a clear, gel-based spray or liquid coating to glaze berries. Easily applied, it sets up quickly and holds well, often for days.
But at home, there's a solution that's just as easy and, in my opinion, much tastier.
Jelly – pure, plain, and simple.
Not preserves. And no guarantees with sugar-free – I've only tested this with standard jelly.
But look what a nice job it does – those are some shiny berries, eh?
Let's put this tip into action on one of my favorite desserts, Easy Cheesecake.
A pie, tart, or cheesecake that's even slightly warm can wreak havoc with your glaze.
This will only take 20 seconds or so in the microwave. I've chosen strawberry as a nice complement to the berries. Currant jelly is the traditional choice for glazing. Use apple if you're using sliced fruit instead of berries (e.g., peaches, banana, or kiwi), and want a neutral color.
I'm using about 4 cups: blackberries, blueberries, strawberries and raspberries. This is enough to cover the surface of a 9" pie or cheesecake. Cut the strawberries into bite-sized pieces if they're large.
ONE MAJOR CAVEAT HERE: Chopped berries, even when glazed, tend to exude juice as they sit. If you use chopped berries, top just before serving, or within a few hours. If you wait longer than that, berry juice will start to seep down into the filling, creating a potentially messy presentation.
Toss the berries with the melted jelly; a tablespoon or so is enough to coat a cup of berries, so I'm using a generous 1/4 cup jelly here.
Add the raspberries at the end, stirring briefly just to combine. They're fragile, and can't stand much handling.
Don't be afraid to rearrange the berries a bit, for best presentation.
Looking for a more orderly look? Arrange individual berries atop your dessert, rather than tossing them all together. Here's how –
For a more elegant presentation, make a pretty pattern with the fruit.
Create your arrangement on "dry land" first. Here I've used an 8" parchment round to mimic the surface of the cheesecake. Looks good on paper – translates nicely to the cake.
The jelly not only looks nice, it imparts a bit of berry flavor.
Note that strawberries cut this way – in half, with their cut side facing up – won't "weep" juice and puddle onto the filling below, as chopped berries can.
Here are a couple of other options for glazing. At left, glazed berries have been ladled over unglazed. At right, glazed kiwi slices are topped with unglazed blueberries.
Talk about the perfect 4th of July dessert...
What will YOU top with glazed berries this summer? Let us know in the comments, below.


