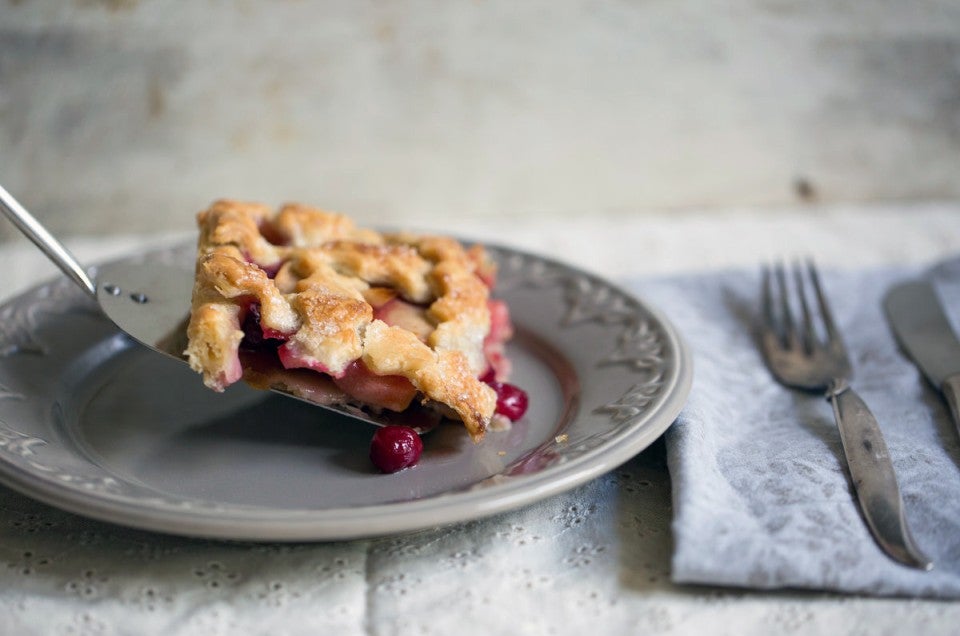


Be it blueberry, pumpkin, or bright lemon meringue, pies have been bringing families and friends to the table for generations. While delicious and filled with love, some pie recipes simply don't make enough to go around. If you need to feed a crowd, and rolling out crust after crust doesn't sound like the ideal way to spend a day, slab pie is the answer.
A slab pie baked in a 13" x 18" half sheet pan can serve upward of three dozen hungry mouths. And you can turn just about any pie crust into a slab pie with some simple multiplication.
After some experimentation, I came up with two quick conversions that should work with any pie crust recipe. Note that these conversions work whether you're measuring by weight or by volume.
To make a single crust slab pie, make 2.5x a single crust recipe. Our favorite single crust recipe: Classic Single Pie Crust.
To make a double crust slab pie, make 3x a double crust recipe. Our favorite double crust recipe: Classic Double Pie Crust.

For pies that use only a bottom crust — custard pies, pumpkin pies, pies topped with a buttery crumble, etc. — start with a single crust recipe and multiply every ingredient by 2.5.
You want to be able to roll the dough to the size of the pan (13" x 18") plus an extra inch on each side, making for a 15″ x 20″ rectangle that's about 1/8" thick.
Once the ingredients come together, form the dough into a rectangle about 3/4" thick and cover it in plastic wrap. That shape makes it easier to roll out the final shape after it chills in the refrigerator.
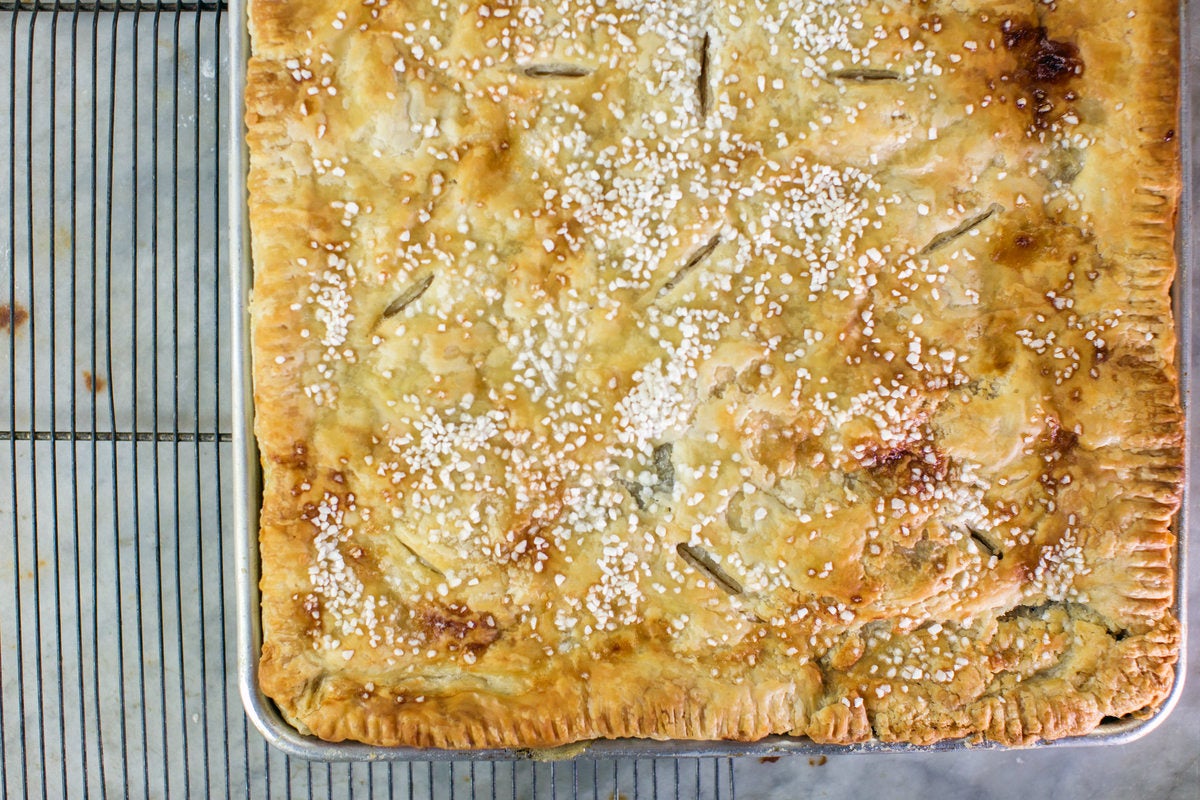
To make enough pastry for a top and bottom crust, a triple batch works wonderfully.
If you've made a traditional double pie crust before, you know that the amount of dough needed for the top and bottom crust isn't equal. This is mainly because the bottom crust needs to be large enough to cover the bottom and sides of the pie pan, plus some overhang for crimping.
Since a standard half sheet pan is much shallower than normal pie dishes — usually just 3/4" deep — the amount of dough needed for the top will be only slightly less than what's needed for the bottom. Think 55:45 instead of the usual ratio of 2:1.
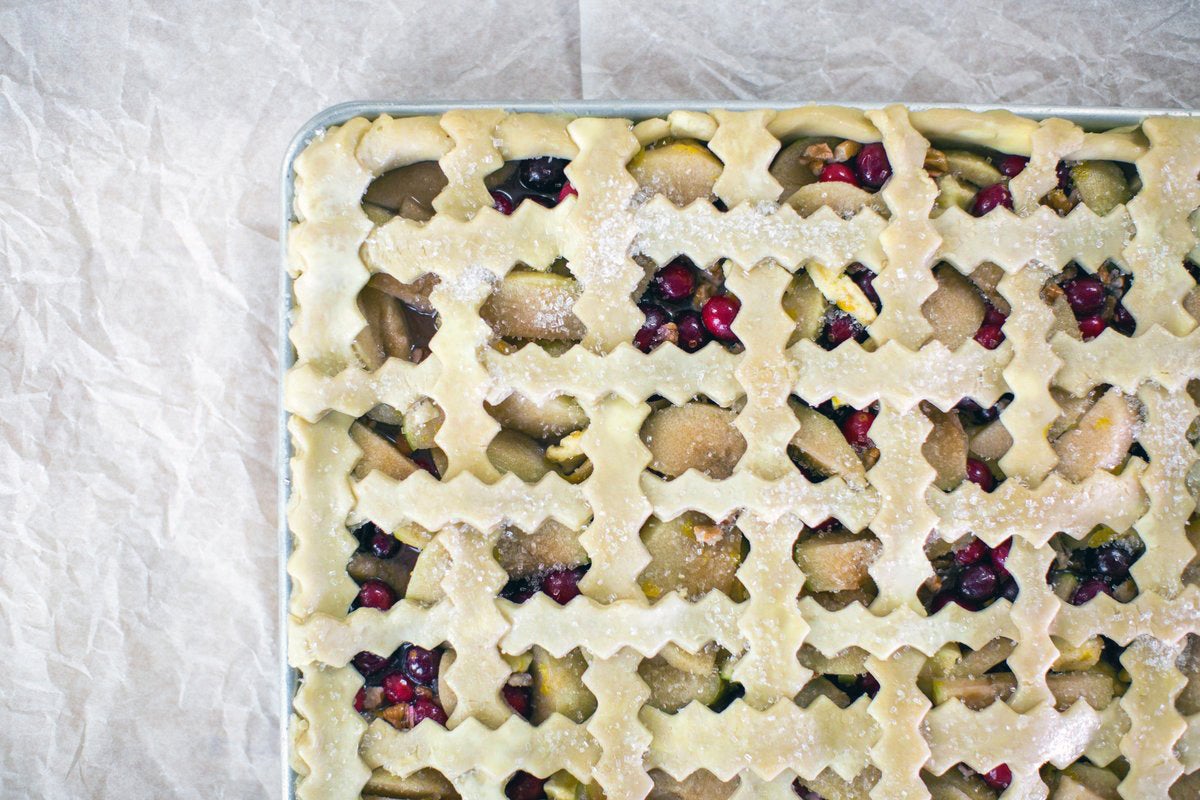
Now that we know how much crust to make, it's time for the filling. A 2x batch will work for any fruit or custard pie filling. This double batch should make enough to fill the pan level.
If you want a fuller fruit pie, make a 2.5x batch. Since fruit tends to shrink down as it bakes, feel free to pile it up.
That said, since pies tend to leak over the edges of the pan while baking, I recommend lining the bottom of your oven or bottom rack with foil, depending on what your oven manual suggests.
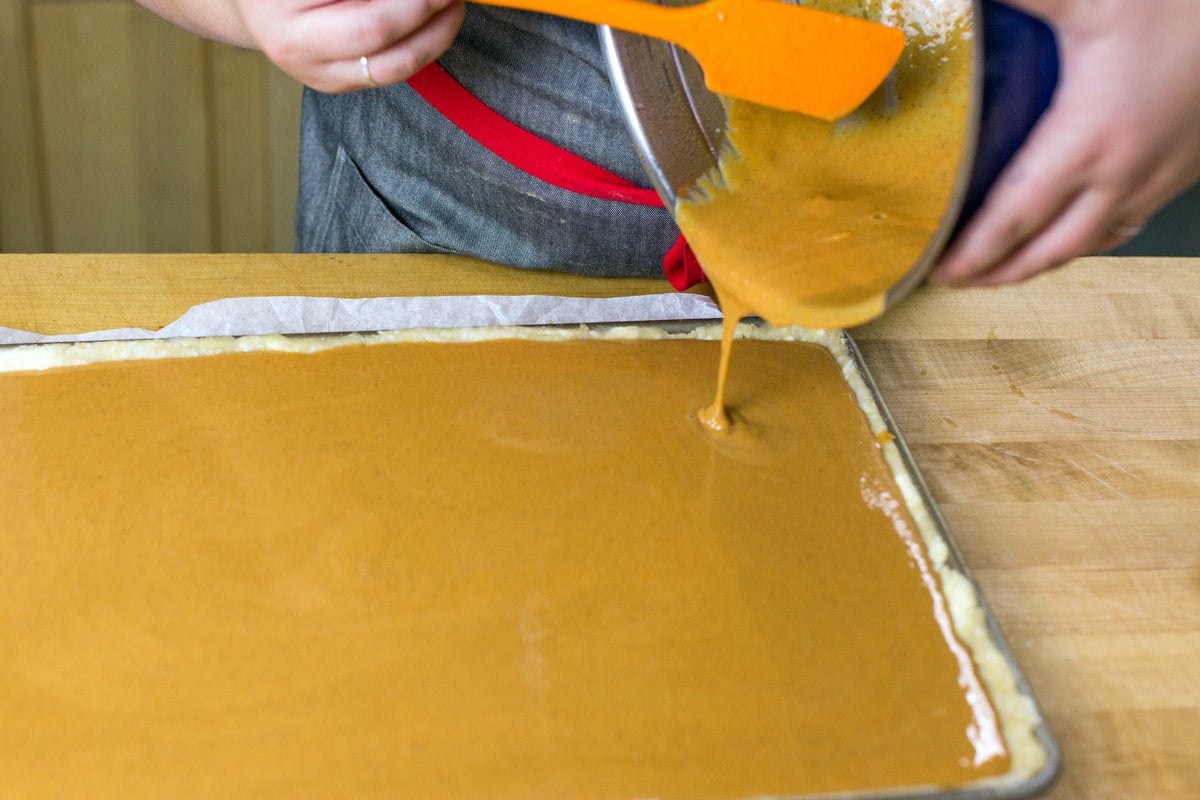
Also, don't make the same mistake I made in the photograph above! Carrying a full pan — custard and all — from the kitchen counter to the oven is just a smidge terrifying. I recommend putting the crust-filled pan on your oven rack and then slowly pouring the filling from a pitcher or measuring cup.
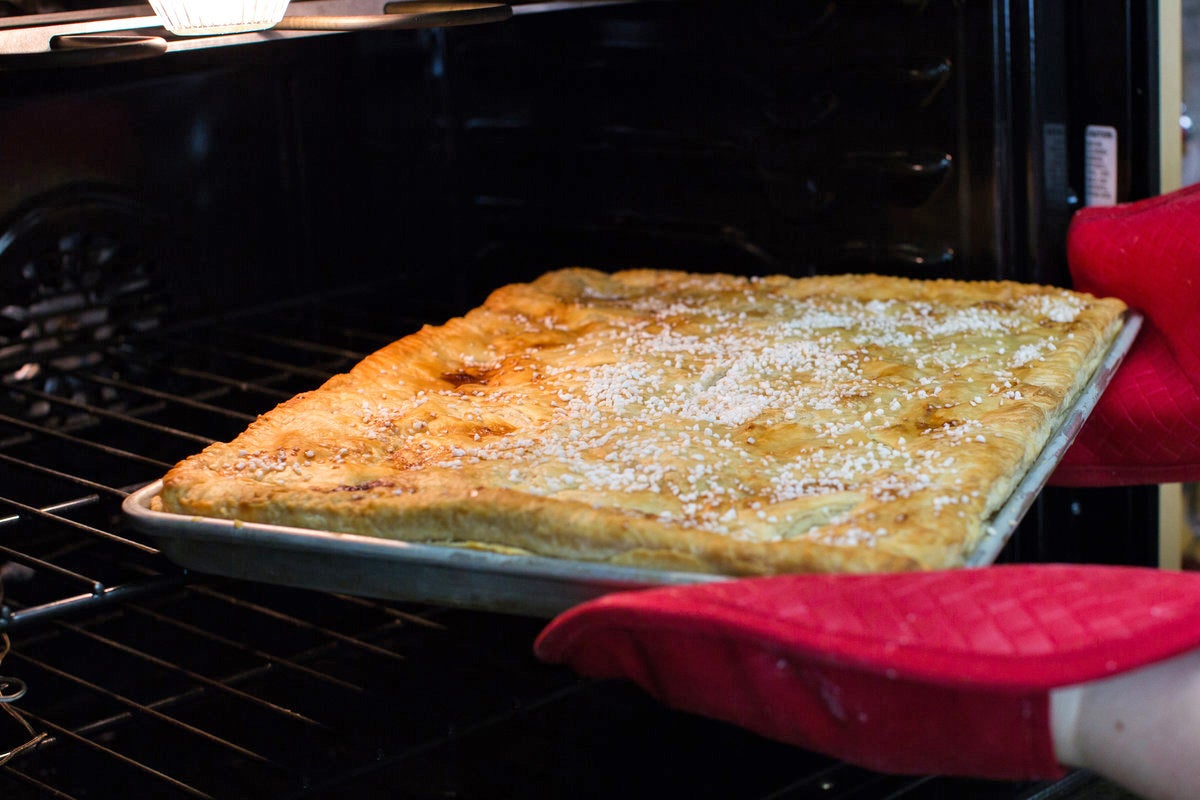
While the oven temperature shouldn't change from the original recipe, the bake times could vary. I recommend checking the pie around the 30-minute mark. Look through the window of your oven rather than opening the door, if possible.
When the crust seems fully browned, tent the pie with foil, then check for doneness at the 45-minute mark. If it's not ready at that point, continue baking and check for doneness every 5 minutes.
With fruit pies, make sure that the liquids bubble thoroughly and that the crust is golden brown. In custard pies, the center can still be somewhat wobbly, but the edges should be set. For details see our blog post, How to keep pumpkin pie from cracking.
If you prefer a crunchy bottom crust rather than soft, I recommend prebaking the bottom crust for about 15 minutes before adding your filling. Then bake as directed for the full 30 to 45 minutes, tenting with foil if needed.
In my experimentation, both of my fruit pies were done around the 50- to 55-minute mark and my pumpkin pie was perfectly done after 45 minutes. The sides were set, the custard center was a little jiggly — perfect!
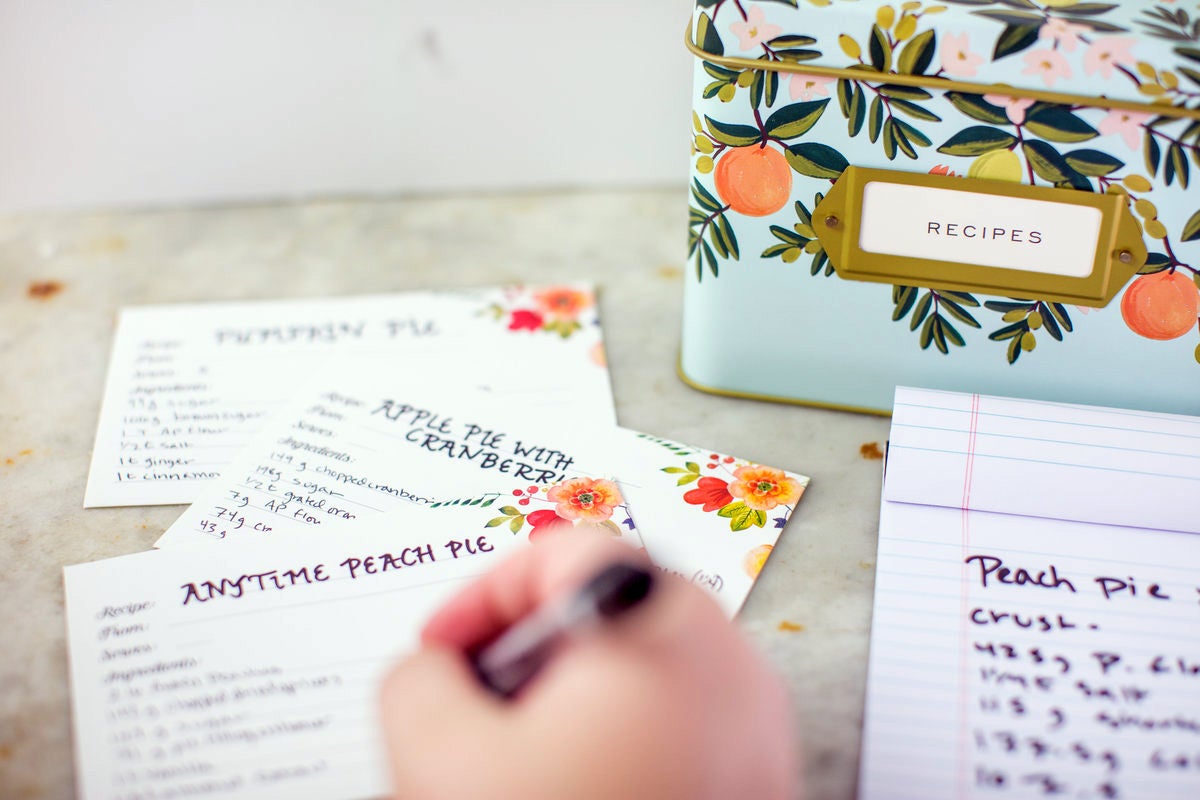
If you're turning a regular pie recipe into a slab pie for the first time, keep an eye on it. When it's done, write down the total bake time on a recipe card for next time.
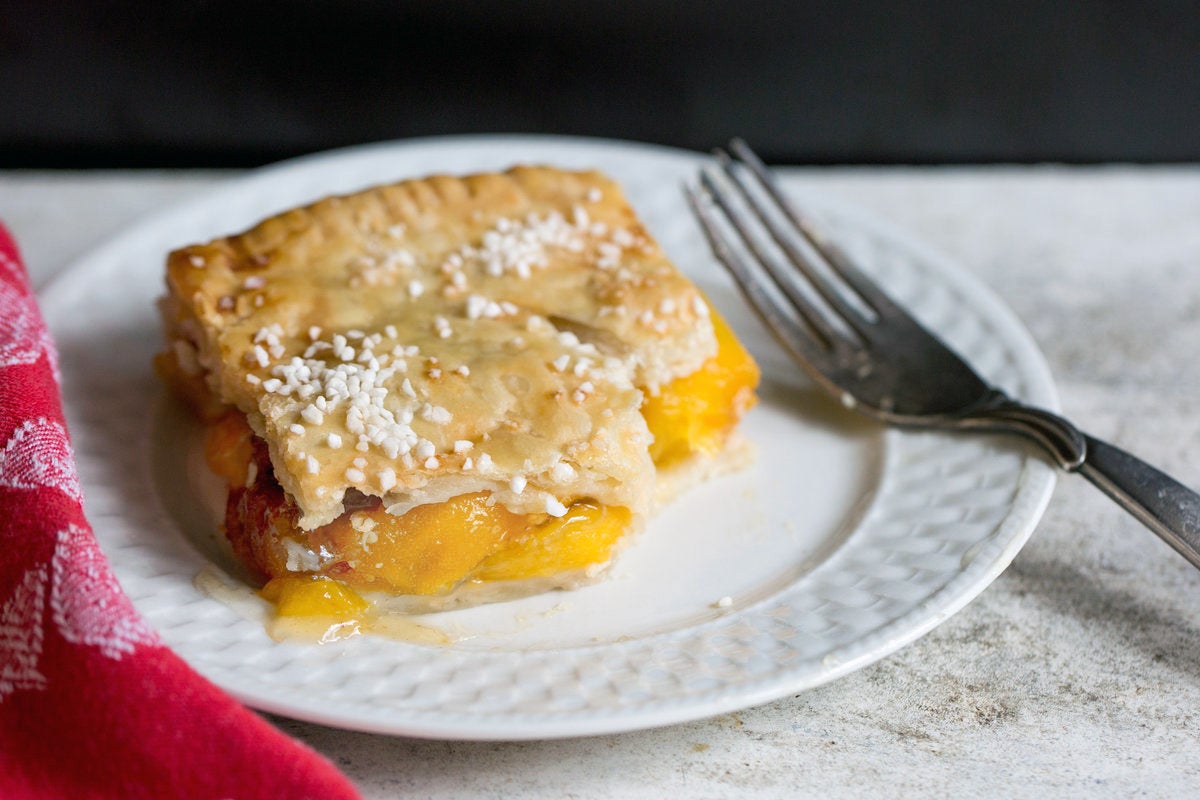
The next time you need pie for a crowd, there's no need to fret! Pull out a half sheet pan, your favorite recipe, and a pencil — you'll be passing slices around in no time.
And the most important takeaway? Experiment! Spend a weekend playing with some well-loved pie recipes. No one will complain if there's a leftover slice or two for breakfast the next day.
Which family favorites will you turn into a slab pie first? Let us know in the comments section below.
Thank you to Anne Mientka for taking the photos for this article.

