

Isn't it irritating when you're having a baking problem and, for the life of you, can't figure out what's happening? Sunken yeast bread, dull-crusted brownies, cookies that spread into a puddle... sigh. At this time of year, if you're like many of the bakers who call our Baker's Hotline, how to keep pumpkin pie from cracking is probably right up there near the top of your "GRRRRR" list.
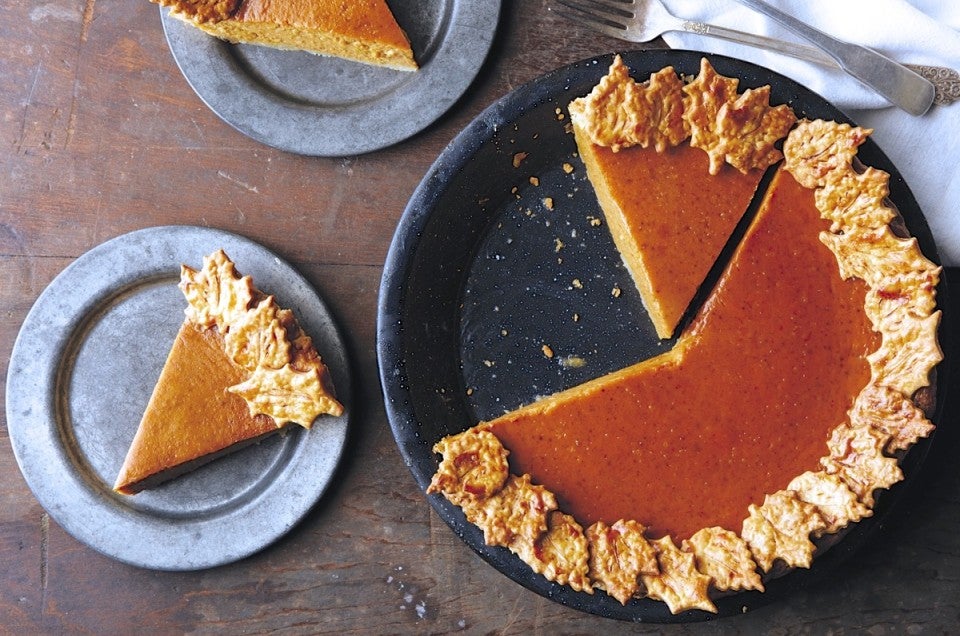
Thankfully, a pristine pumpkin pie, its top smooth as a secluded pond at daybreak, is well within your reach. Farewell, Grand Canyon-like fissures in the pie's center — or that slash at the edge, a solitary afterthought appearing as the pie cools.
The answer to your cracked pumpkin pie? Timing. Pulling your pie out of the oven within its optimum baking window — fully baked, but not overbaked — will prevent any cracks, and leave you smiling a Cheshire-cat grin of satisfaction.
How do you know when your pumpkin pie is perfectly baked?
You'll need a trusted recipe, an accurate oven thermometer, and experience.
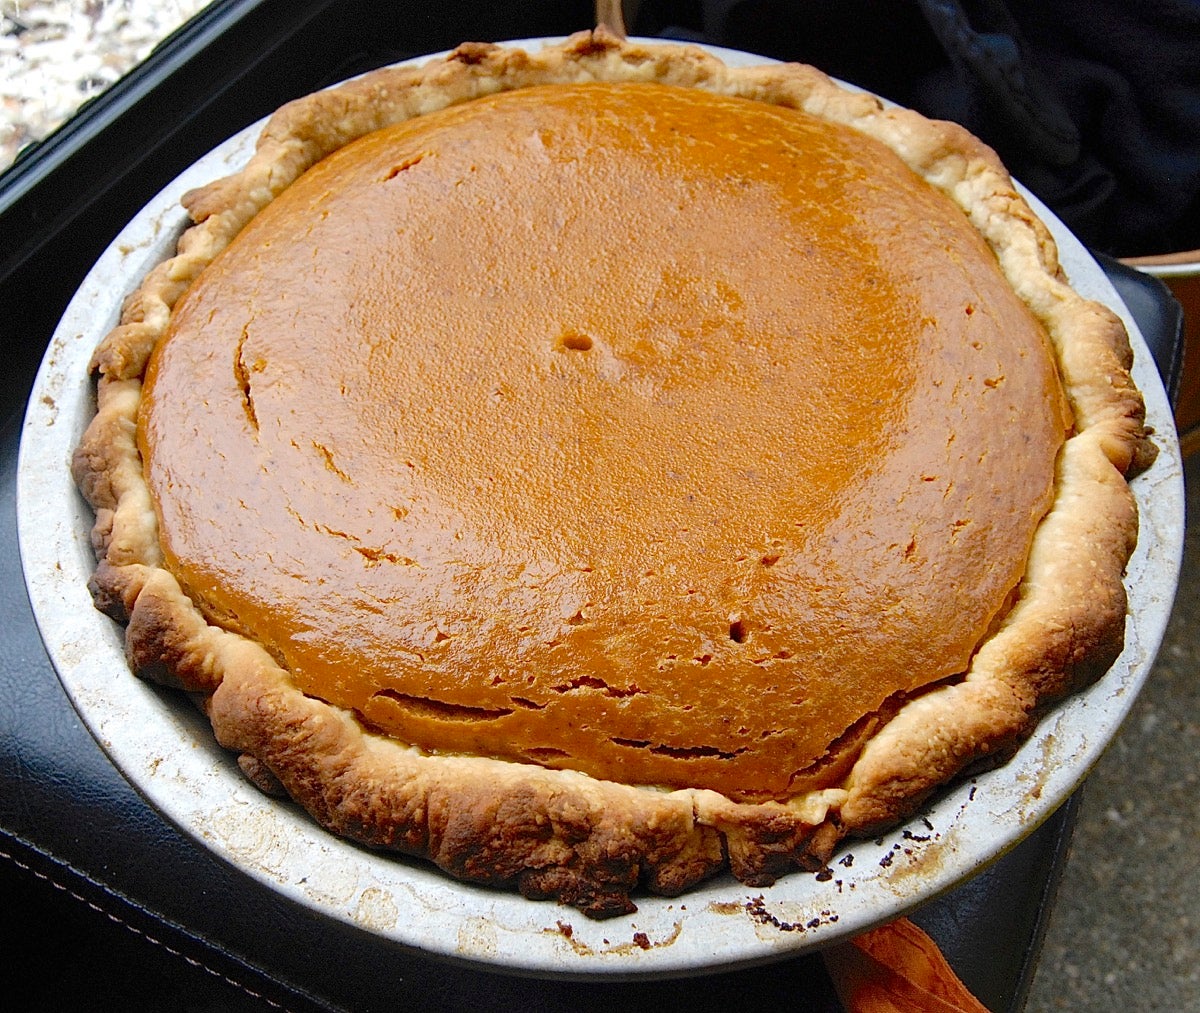
First of all, why does pumpkin pie crack? Because it's been baked too long. The eggs are what thickens the filling; as they heat up, they coagulate and turn what started out as thick liquid into a creamy, semi-solid filling.
Eggs start to coagulate (turn solid) at 160°F (which is how they thicken the filling); but the longer they cook, the more they tighten up. Those cracks you see in your pie are the result of overcooked eggs, eggs that have tightened up so much, in an uneven way, that they've created fissures in the filling. Usually you'll notice cracks around the edge of the pie first, which makes sense; the edges cook more quickly than the interior.
Sometimes you peer into the oven and see that your pie has already cracked. But sometimes you take a beautiful pie out of the oven only to see it crack as it cools. What's going on? The eggs continue to cook thanks to the filling's residual heat, and can still "crack" your pumpkin pie — even though it's no longer in the oven.
There are several precautionary measures you can take to keep pumpkin pie from cracking, all related to not overcooking the filling.
First, and this is a simple one, find a good pumpkin pie recipe and follow it. Experienced recipe developers make a recipe over and over again before putting it out there in public; if your recipe says your pie will be done after 45 minutes, take it out — even though you think it looks underdone.
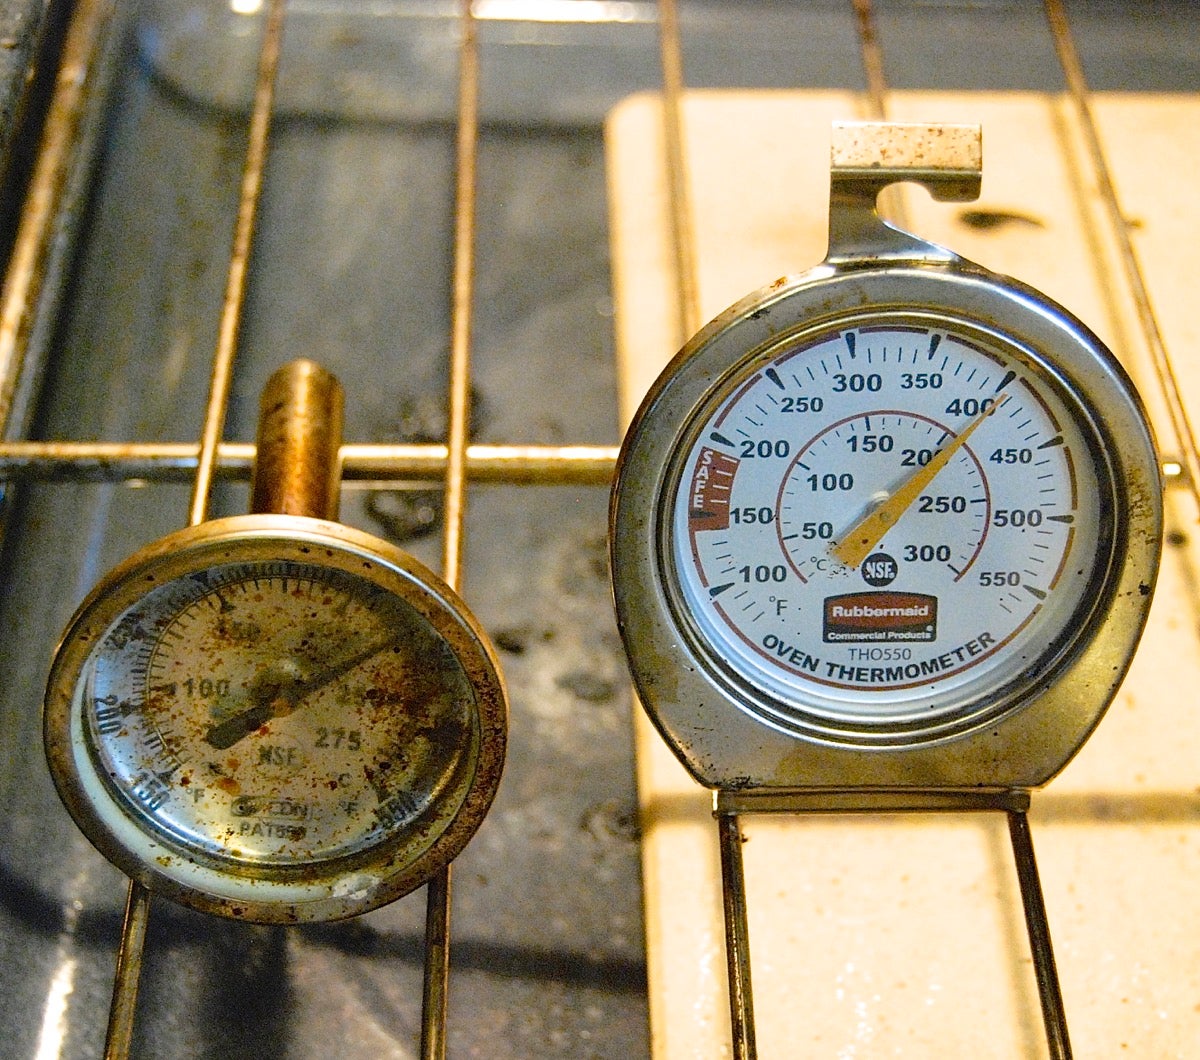
Make sure your oven is accurate and fully preheated. The best recipe in the world won't work well if your oven is 50° cooler than it should be. Most ovens tell you they're fully preheated well before they actually are, so get yourself an independent oven thermometer (or two, just to be sure), and use it.
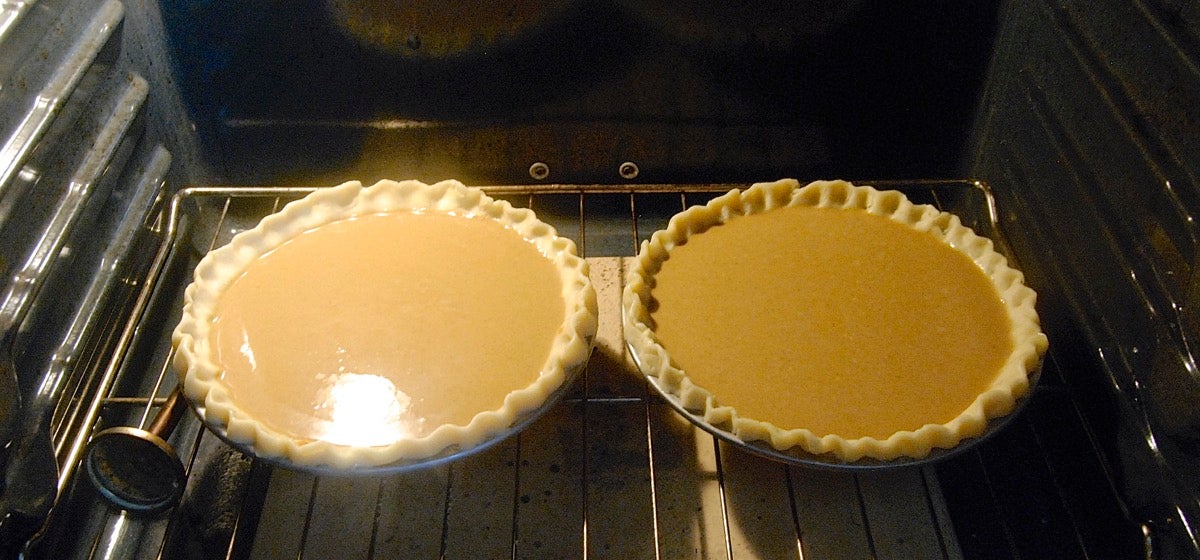
You want a fully browned bottom crust, right? Yet you don't want your filling to overcook. Placing your pies toward the bottom of the oven close to the floor, rather than in the center or up top, will help accomplish both of those goals.
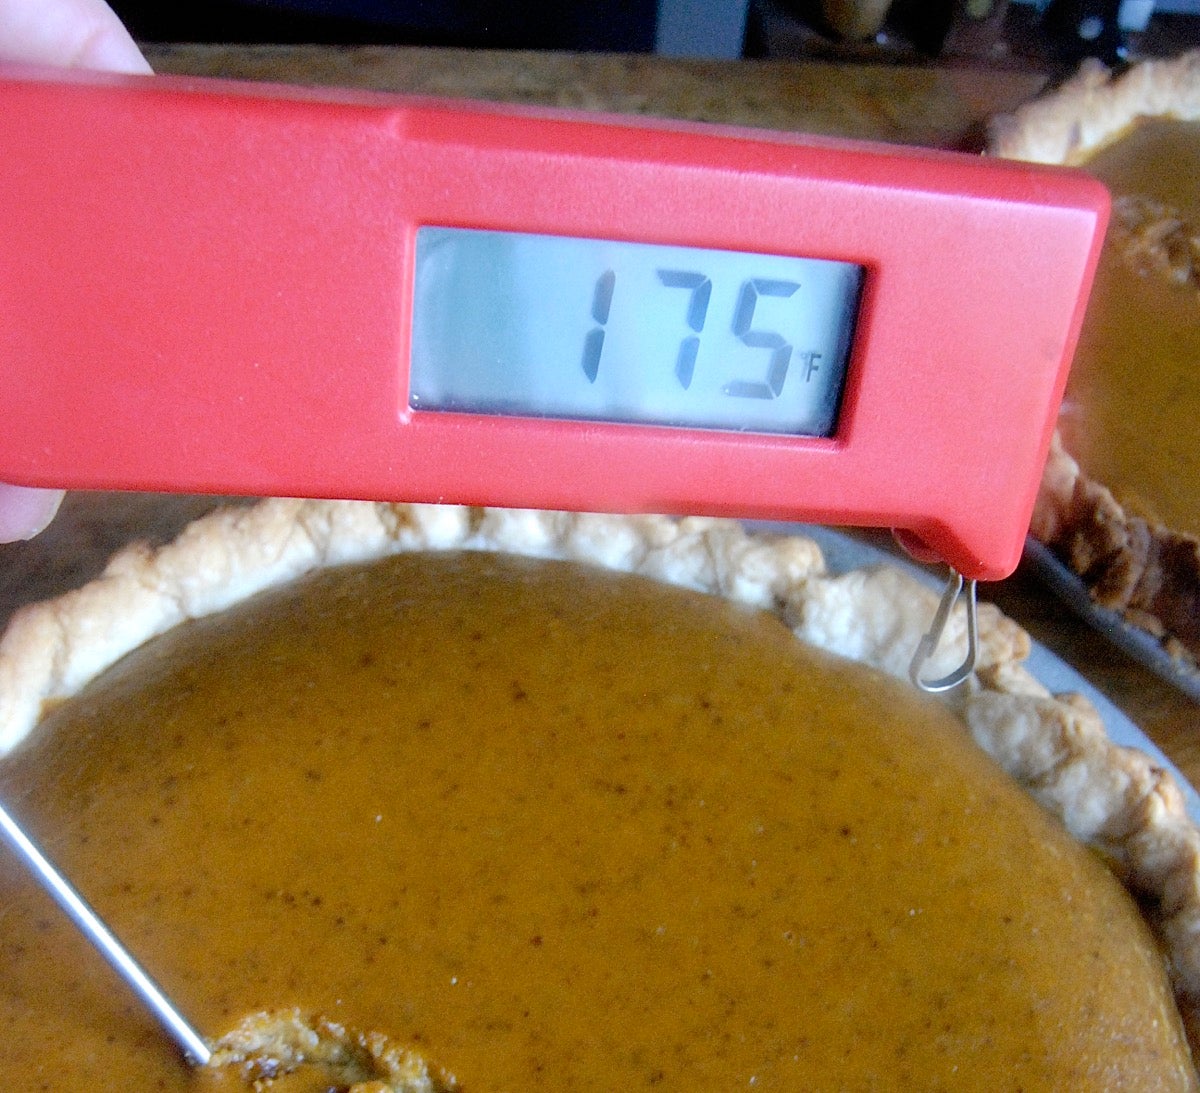
Until you're a seasoned enough pumpkin-pie baker that you can gauge doneness by sight, it helps to use a digital thermometer. Your goal is pie whose center temperature is at least 160°F. This one's a bit overbaked, though not enough to make it crack; I usually shoot for 170°F in the center.
The one problem with using a thermometer is that while you potentially prevent unsightly cracks in the pie's surface, you end up with equally unsightly holes or divots. And those holes can actually encourage cracking. So I advise using a thermometer only until you've nailed what a perfectly baked pie looks like.
In the meantime, while you're still in thermometer/learning mode, a strategically placed dollop of whipped cream works wonders on both holes and cracks.
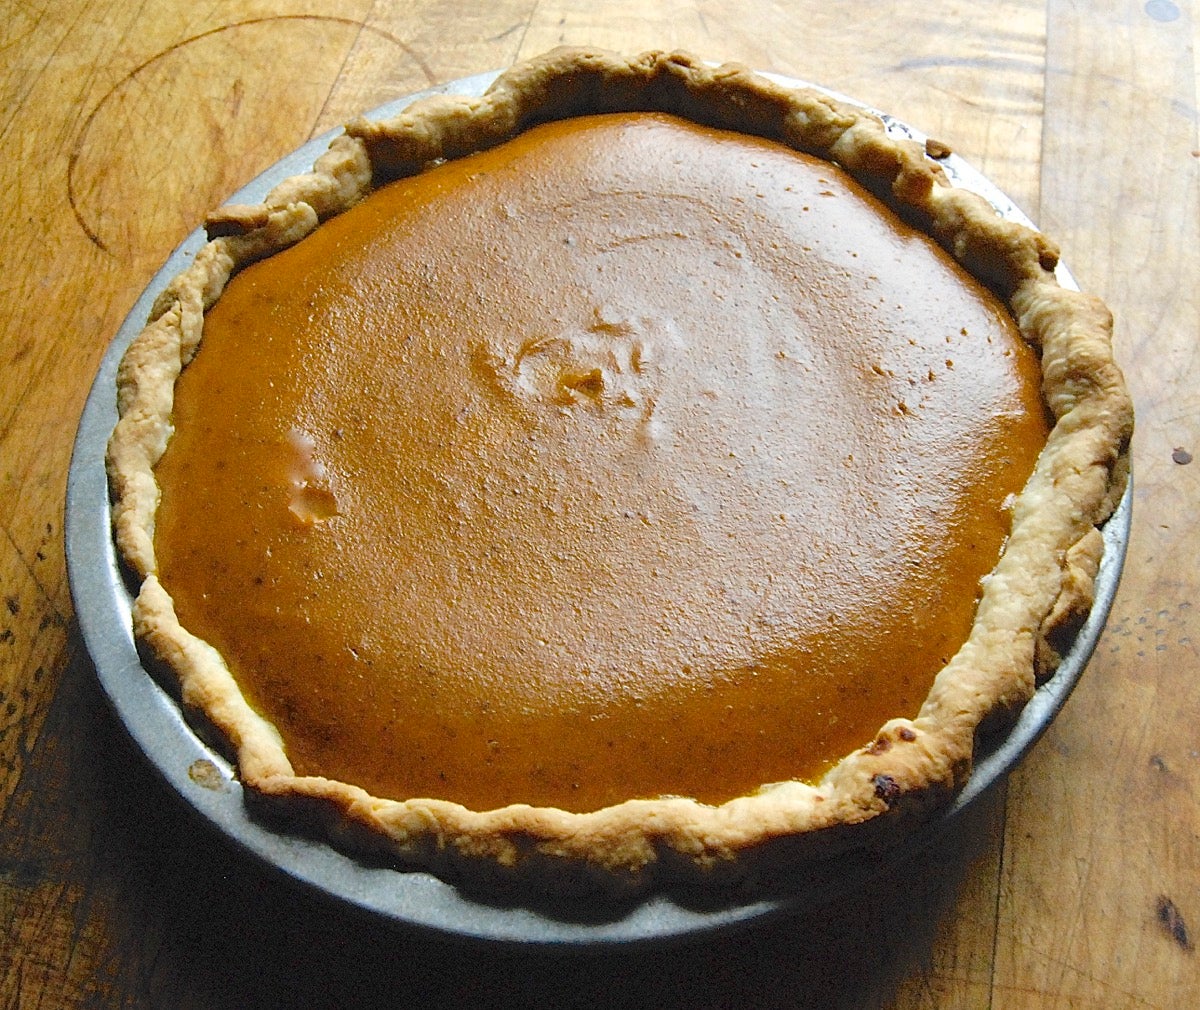
The easiest and best way to ensure pumpkin pie success is to recognize when your pie is fully baked (but not overbaked) by sight; that's where experience comes in.
Remember, your pumpkin pie will continue to bake once it's out of the oven, so you have to take it out before it looks done.
The fully baked pumpkin pie will look slightly domed and solid around the edges; and a bit sunken and soft in the center: not sloshing like liquid, but jiggling like Jell-O. And I don't mean just a nickel-sized area in the very center; I mean a good 4" center ring of what looks like not-quite-baked filling. Note: If you're baking in a stoneware/ceramic pan, which holds the heat long after the pie's out of the oven, the center ring can be slightly larger.
Trust me, at first you're going to have to force yourself, kicking and screaming, to take that pumpkin pie out of the oven when its center isn't set. Just do it; put it on the counter and walk away. Once it's fully cooled (and that takes several hours at least), the edges will have settled and the center will look firm.
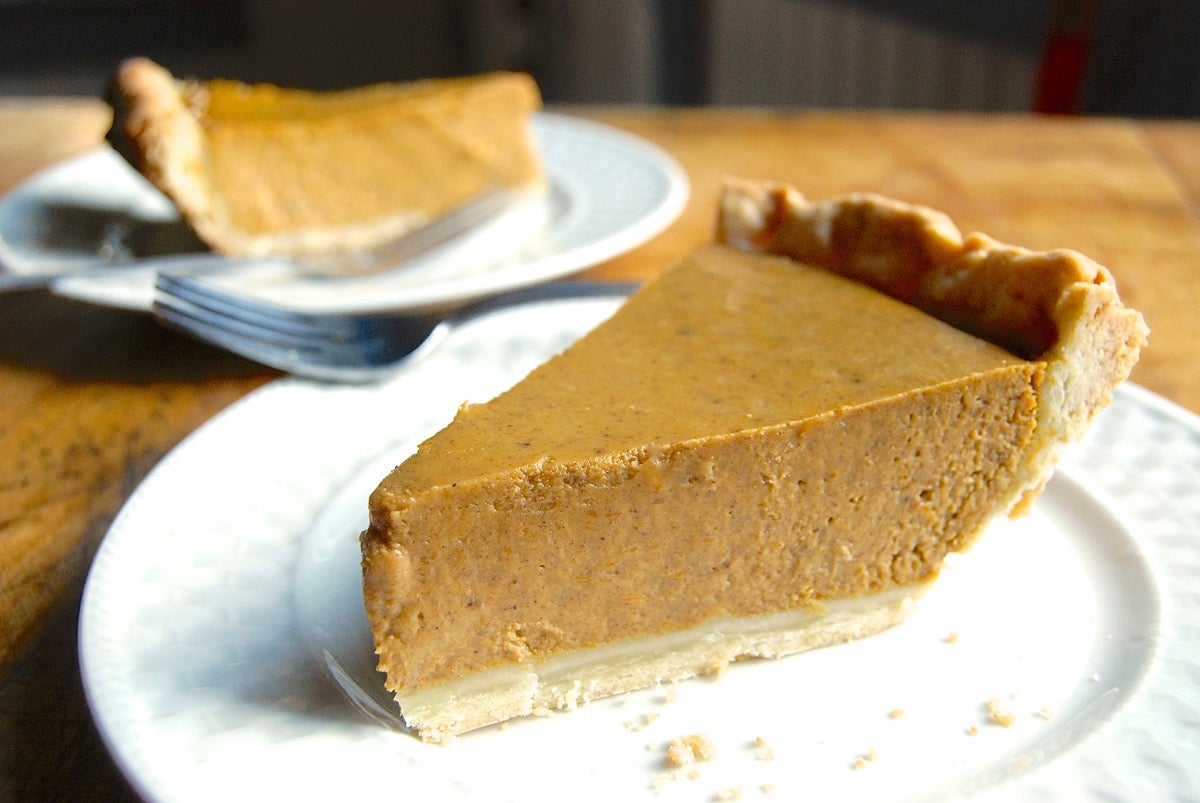
OK, it's time for dessert; your guests eagerly await your beautiful pumpkin pie. Bring it to the table amid oohs and ahs. Cut a slice; you'll see a wonderfully creamy interior. Pass the plates. Take a bite: the filling is firm, but still moist as can be. Pumpkin pie perfection!
And the whipped cream? It's strictly a garnish, not crack camouflage.
Now go forth and bake a picture-perfect pumpkin pie!
OK, since I've told you my pumpkin pie secrets how about you revealing yours? Is there some special ingredient or technique that makes your pumpkin pie special? Please share in comments, below.

