

Some things are worth making from scratch. And burger buns? They’re absolutely one of them. When properly made, homemade burger buns are soft and pillowy, yet sturdy enough to support a burger or sandwich filling of any kind.
There are 10 key tips you need to know if you want to make perfect burger buns with light (yet sturdy) texture.
The good news? These tips are easy to master.
We’ll teach you how to make burger buns that will wow a crowd. Let's start by introducing you to a fantastic recipe.
Our Hamburger or Hotdog Buns recipe is a year-round favorite of many King Arthur Flour employee-owners, and we find ourselves baking it even more frequently during cookout season.
What’s to love? Its enriching ingredients, simple instructions, and generous yield. And of course, the buns’ tender, fluffy texture, to name a few things.
And better yet — you only need this one recipe to make either homemade hamburger buns or hot dog buns. Transform it into whatever shape you please using this one base dough.

Today we’ll focus on tips and tricks to make the best homemade burger buns, but keep this recipe in your back pocket for when you want to make homemade hot dog buns too!
If you simply follow the instructions in our Hamburger and Hot Dog Buns recipe, you’ll end up with buns that you can use to build the sandwich of your dreams.

Better yet, if you’re the kind of baker who likes to take things a step further, use these 10 tips to knock this recipe out of the park.
Tangzhong is an Asian bread baking technique that involves cooking some of the flour and liquid in the recipe together before mixing up the dough. This process transforms the starches and hydrates the dough. It makes yeast breads (including buns) super tender and moist, and also helps them stay fresh longer.

You can learn more about this method from my fellow blogger, PJ, in this post: Introduction to tangzhong.
If you’d like to give this technique a try and make extra-soft burger buns, check out the second baker's tip on the Hamburger or Hotdog Buns recipe page for details. You can also try converting your favorite burger bun recipe by following the guidelines provided in our post, How to convert a bread recipe to tangzhong.
If you’re looking to boost the flavor of your homemade burger buns, consider replacing half of the all-purpose flour with whole wheat flour.
For a more pronounced whole grain flavor, opt for traditional whole wheat flour. Or, if you’re easing into baking with whole grains, choose golden wheat flour for a subtler flavor and lighter color.
I like using 2 cups (227g) of golden whole wheat in place of 2 cups (240g) of all-purpose flour in our Hamburger or Hotdog Buns recipe. This swap results in buns that are tender, slightly nutty in flavor, caramel-colored, and hard to resist.

Dividing the dough into individual buns is a critical point in any hamburger bun recipe. Shape your dough too small and your burger might fall out, or the bun might crumble. Too large and you’ll end up with a sandwich that feels like it's mostly bread.
So what’s the perfect size?
For standard-sized burger buns, use about 85g to 100g of dough per bun. (If you’re looking for a more substantial serving, opt for 100g per bun.)

At some point, you might want to make something other than a regular-sized burger bun — say, slider buns or buns that can support quarter-pound burgers. In those cases, you'll want to adjust the amount of dough you use.
Use these guidelines to help divide your dough into the right portions:

Remember that the dough will almost double in size after rising and baking, so make your dough balls smaller than you might initially think they should be. They'll end up being just right.
You have options when it comes to pans for baking your homemade burger buns.
If you want perfectly shaped buns, use our Hamburger Bun and Mini Pie Pan. This pan makes buns that are perfectly round and rise high. (Bonus: You can do a lot more with this pan than just make burger buns. See our post How to use a bun pan for inspiration.)
Don’t want to use a specialty pan? That’s OK — here are some additional options:

The way you arrange the dough in your pans will affect your final product. If you place the buns about 1” apart from each other, the edges of the buns will touch slightly after rising. This creates a tear-and-share effect, and the final buns will have soft edges.

If you want the edges to be golden brown, leave at least 3” between the buns so they don’t come together during baking. The final buns will be nice and round, as well as a bit sturdier than the soft-sided version.
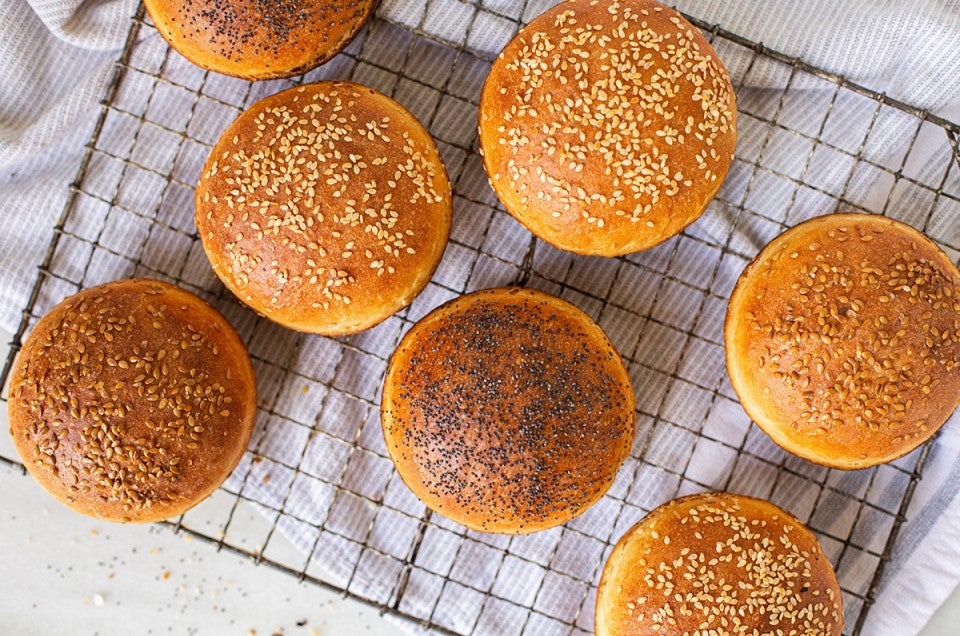
After the burger buns are shaped and proofed (fully risen), egg wash the tops of the buns right before baking. This will make the buns shiny and deep golden brown, and will help your topping stick.
To make a standard egg wash, mix 1 large egg with 1 tablespoon of water and a pinch of salt. (The salt helps break up the protein strands and makes the mixture more homogeneous.) Gently brush the tops of the risen buns with the egg wash.

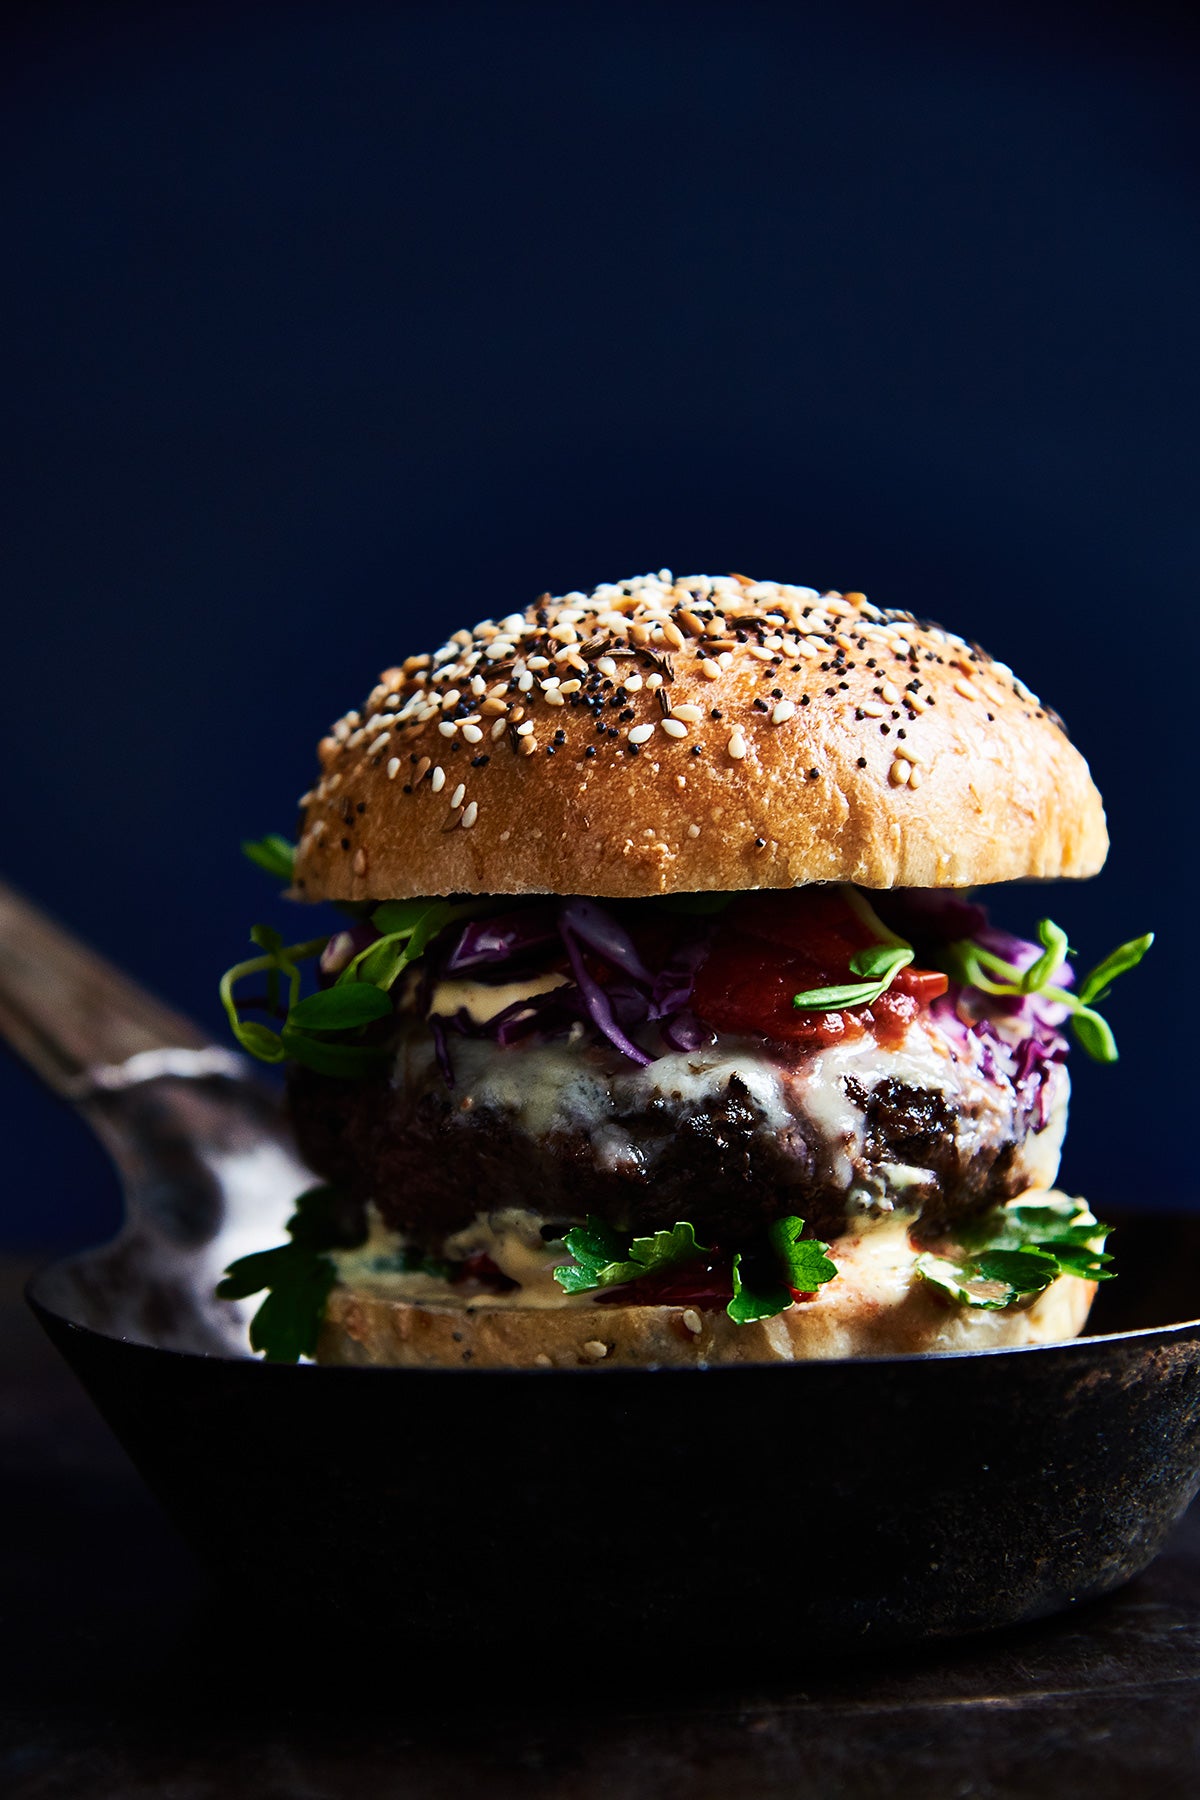
After brushing the buns with egg wash, sprinkle the topping of your choice evenly over the buns. I like using Everything Bagel Topping, but sesame seeds, poppy seeds, and flax seeds are all fantastic options too.

Without the egg wash and seedy topping, homemade burger buns look lackluster, so I encourage you to not skip this step.
The buns will come out of the oven looking beautiful and your kitchen will smell amazing — promise! Don’t get distracted by the tantalizing smell or the urge to take an Instagram picture before you remove the freshly baked buns from the pan.
If you let the hot buns sit in the pan, their bottoms will steam and become soggy. This makes for fragile burger buns that are likely to fall apart when split and filled.
Take the buns out of the pan and allow to cool completely on a rack before slicing or serving.

Speaking of slicing — hold off on cutting your burger buns in half until as close to serving as possible. Burger buns will dry out quickly as soon as the interior crumb is exposed.

Store your buns in an airtight container at room temperature to keep them soft. Cut in half with a serrated knife just before you’re ready to use them.
End up with leftover buns? You just might have some extras if you use our Hamburger or Hotdog Buns recipe, since it produces a large batch of burger buns.
You can elevate leftovers by brushing the cut halves of the burger buns with melted butter (or mayo — trust me, it works) and griddling them until toasted. The buns will be revived in a glorious, buttery form. You just might want to eat one all on its own — they’re that delicious.

This last tip is one you need to know if you like to plan (and bake) ahead. Homemade burger buns can be frozen at two points in the process to save some time later.
You can follow the instructions outlined in our blog post Freeze and bake if you'd like to freeze unbaked buns. (In short: skip the first rise and go straight to dividing and shaping the buns, then freeze.)
Or you can follow the recipe from start to finish, let the buns cool completely, and then freeze. The buns should be well-wrapped and stored in the freezer for up to a month. If you thaw and then rewarm your homemade burger buns before serving, no one will ever know they were frozen.

If you’re baking gluten-free, follow the directions in our blog post Gluten-free cookout recipes. You'll learn how to transform our Gluten-Free Dinner Rolls recipe into burger buns that everyone can enjoy.

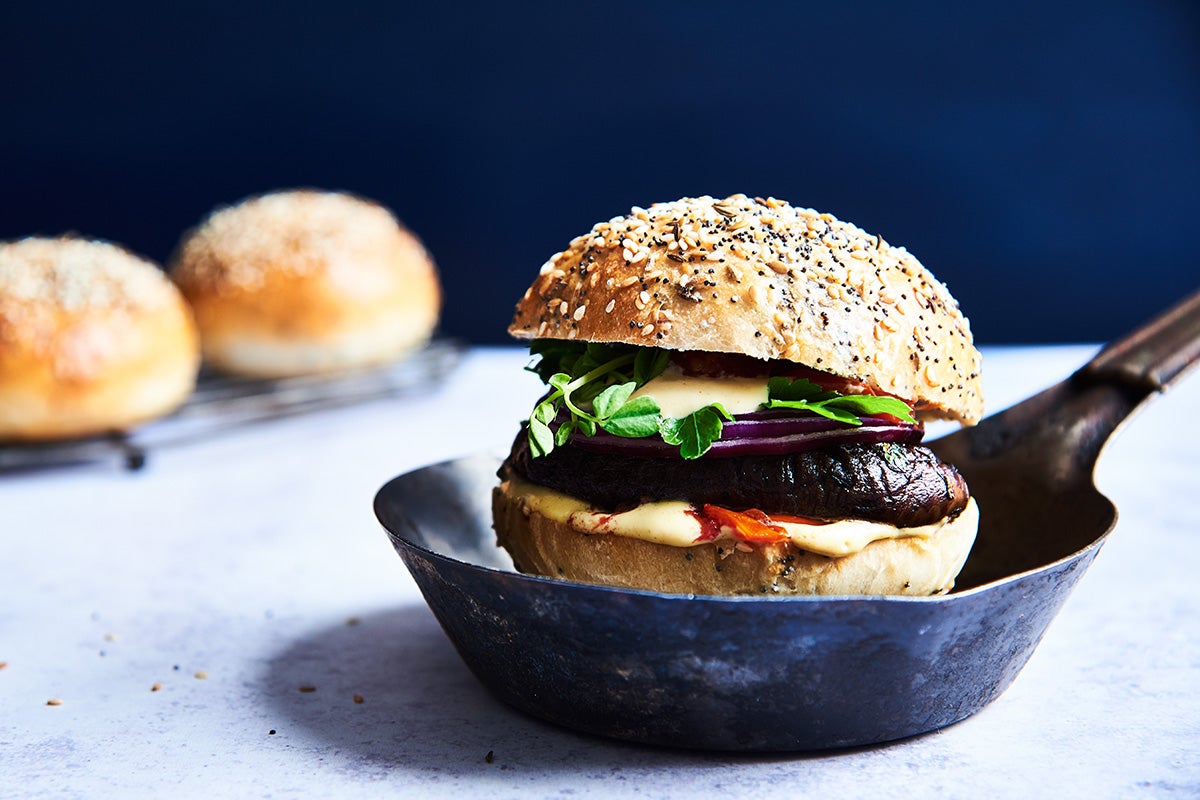
Whether you use your homemade buns for hamburgers, veggie burgers, pulled pork, portobello mushrooms, or any other filling, we’re sure your buns will set your sandwich apart.

Remember these 10 tips for making the very best homemade hamburger buns. Soon you’ll be the star of the cookout — it's true!
Use our Hamburger or Hotdog Buns recipe for your next cookout (whether it's indoors or out), and rate and review it at the bottom of the recipe page, if you like.
Want to share more? We'd love to hear about your best burger bun baking experiences in the comments, below.
Thanks to Jenn Bakos for taking the photographs for this post.
February 28, 2025 at 3:59pm
Apparently, my kitchen is a lot more humid than yours; here it is, the end of February, and it took all 900g of flour to make a soft, elastic dough. But, then again, I live in the South, and humidity is a fact of life year round here, except when the A/C is running. Only then does the house fall below 45%.
Still, my dough is rising nicely; it's about 75 degrees in the house, and it will be double in size after about 30 minutes. This is why I love baking bread. It may be a science, but it's even more an art, and minute differences make for fascinating challenges.
February 7, 2024 at 11:28am
Can you substitue melted butter for vegetable oil in the recipe?
February 8, 2024 at 3:08pm
In reply to Can you substitue melted… by Kerry (not verified)
Hi Kerry! You sure can...just replace the 2 Tablespoons of oil called for with 2 Tablespoons of melted, cooled butter. Happy Baking!
August 12, 2023 at 6:32pm
In spite of not having whole milk but using 1/2 n 1/2, adding almost 3C white whole Flour KAF (instead of reading blog first and only adding 2C :) this roll was awesome. Used 2 1/2 sheet plans + a round for 15 rolls at 91-92 grams each. These turned out perfect. Beautiful to look at the slight roundness, cushy bite that expanded right back (so fun) and a perfect chew and perfect for holding the burger and fillings - moist but tender. Really, the perfect recipe. I love the “red hot bun for dogs, but this for burgers! Thank you for the perfect blog and recipe. 6C flour plus liquids and SAF instant yeast. I will add flakey Malden Salt with the poppy seed and Sesame next time. Trying next week with just the White All Purpose KAF. Also forgot, made in the ZO bread machine but proofed in a well oiled container.
November 9, 2022 at 2:25pm
Wondering your best advice for buns that wrinkle once cooled? They come out of the oven looking amazing, but as they cool, the sides especially, get super wrinkly. Thanks!
November 13, 2022 at 2:15pm
In reply to Wondering your best advice… by shelby (not verified)
Hi Shelby, a number of factors can contribute to wrinkly buns, and this isn't something we ever consider a grave error, but it might be worth trying to put the buns in the oven a little earlier, especially if you let them rise until they were quite large before baking. Buns that are slightly overproofed may still puff up nicely in the oven, but as the buns cool and release moisture, the rolls may shrink and collapse a little, causing wrinkles. Again, a lot of factors can play into wrinkles, so it can be hard to pin this one down, but hopefully this will help.
April 22, 2022 at 1:22pm
I halved the hot dog bun recipe and they came out perfect! Half the recipe made enough to fill the hog dog bun pan and they were still a good size…thanks for the recipe!
April 24, 2022 at 4:49pm
In reply to I halved the hot dog bun… by Shana Hein (not verified)
Thanks for sharing this information, Shana!
July 22, 2021 at 9:54am
First try a bit of a disaster! Bottoms burned (greased hamburger bun pan, middle of oven), wrinkled, uneven tops (excellent rise and structure however). My thoughts were too wet a dough, and possibly the greasing of the pans. Any thoughts?
July 22, 2021 at 2:04pm
In reply to First try a bit of a… by Tom Byrne (not verified)
Hi Tom,
It sounds like the dough may have been a bit wet, combined with an oven temperature that may have been a bit too hot. That would result in the dark bottoms and the buns not baking out all of their moisture, leaving the tops wrinkled. Try reducing the temp in your oven by 25F and see if that gives you a more even bake.
Pagination