


How to make sourdough starter
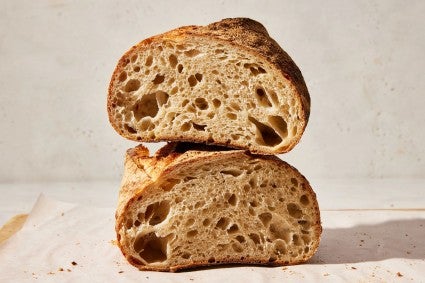
The path to great sourdough bread begins with healthy starter.
Have you ever wondered how to make sourdough starter?
Whether it conjures up a crusty loaf of bread or a bubbling crock of starter, sourdough is a treasured part of many bakers’ kitchens. But where does the path to sourdough bread begin? And how do you start?
Start in your own home kitchen, with flour and water. And begin by learning how to make your own sourdough starter.
First, a word of advice. Sourdough baking is as much art as science. This method for making sourdough starter isn't an exact match for the one you read on another site, or in a cookbook, or in your great-grandma's diary. If you have a process you've successfully followed before, feel free to stick with it. Or try this one and compare.
The following timeline assumes you can find a relatively warm place (68°F to 70°F) to grow your starter. More on that below. We also highly recommend using a scale: It will make this process much more accurate and much less messy. (But using measurement cups works, too, if necessary.)
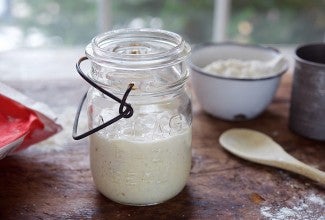
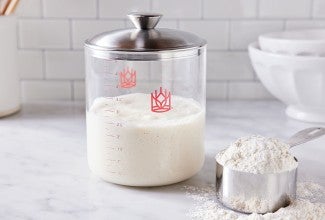
Combine 113g (1 cup) whole rye flour (pumpernickel) or whole wheat flour with 113g (1/2 cup) non-chlorinated cool water in a non-reactive container. Glass, crockery, stainless steel, or food-grade plastic all work fine for this. Stir everything together thoroughly; make sure there's no dry flour anywhere. Cover the container loosely and let the mixture sit at warm room temperature (about 70°F) for 24 hours.
A note about flour: You'll notice whole grain flour (whole wheat or rye) is used at the beginning of the process. This is because whole grains contain more nutrients and sourdough-friendly microorganisms than all-purpose flour. (Learn more in our post: Sluggish starter? Add a little whole grain flour.) After this first day, switch to using all-purpose flour.
A note about water: You also may have better results if you feed your starter with non-chlorinated cool water; from now on, we'll refer to this simply as "water."
A note about room temperature: The colder the environment, the more slowly your starter will grow. If the normal temperature in your home is below 68°F, we suggest finding a smaller, warmer spot to develop your starter. For instance, try setting the starter near a baseboard heater, or atop your water heater, refrigerator, or another appliance that might generate ambient heat. Your oven, turned off but with the light on, is another option, as is setting the container of starter on a folded dish towel laid atop a heating pad on its lowest setting. A temperature-controlled bread proofer or a sourdough home is the absolute ideal solution; if you bake lots of bread, consider investing in one of these tools.
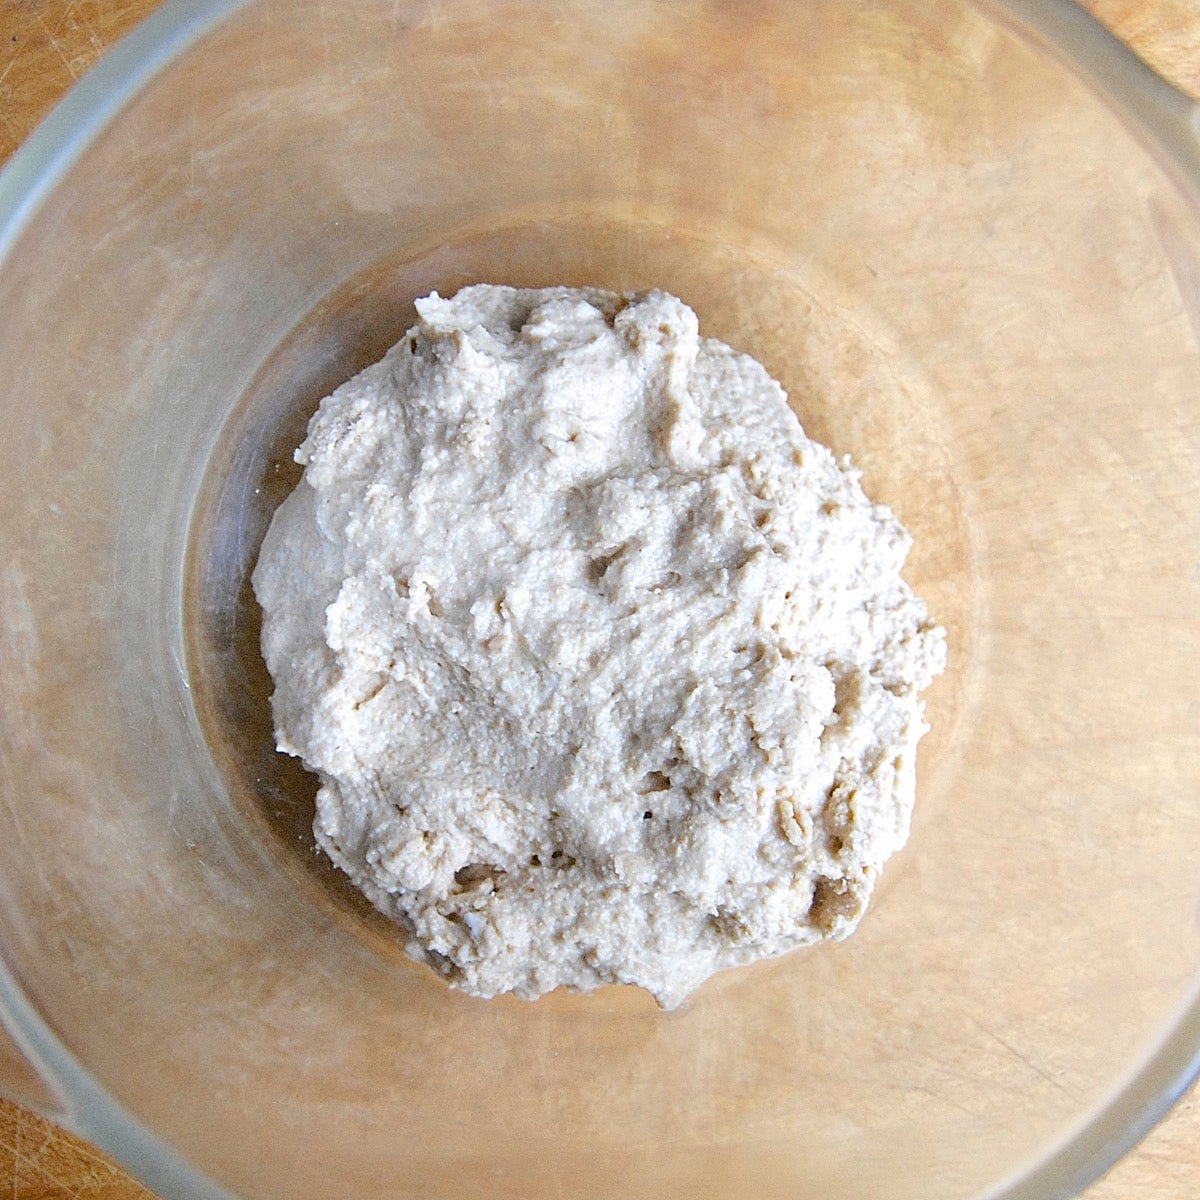
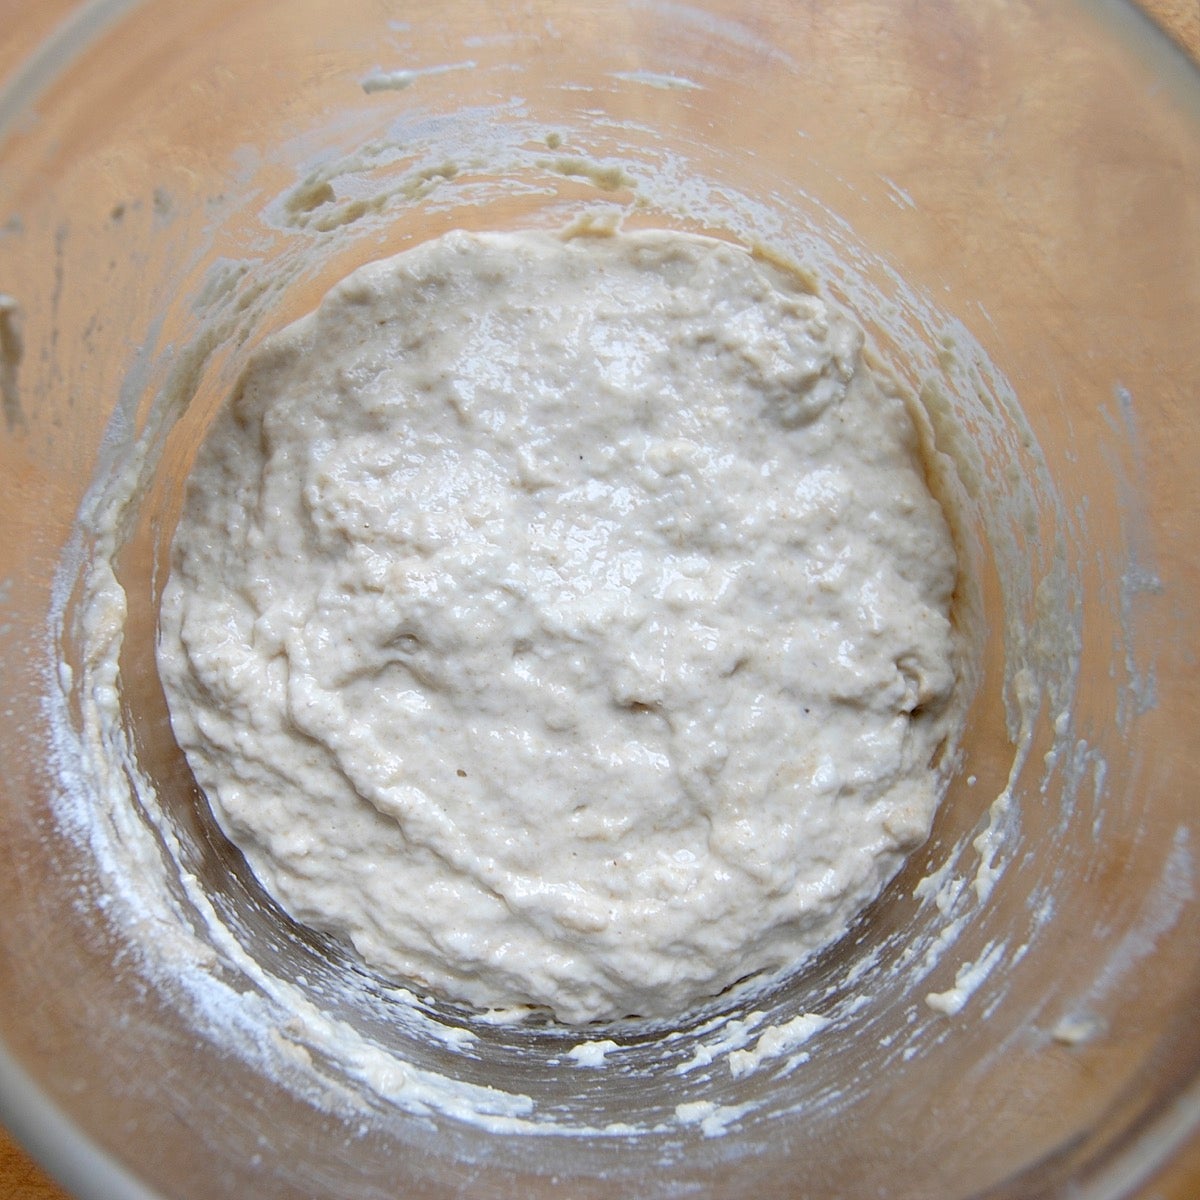
You may see no activity at all in the first 24 hours, or you may see a bit of growth or bubbling. Note that this starter looks fairly inert when viewed from up top.
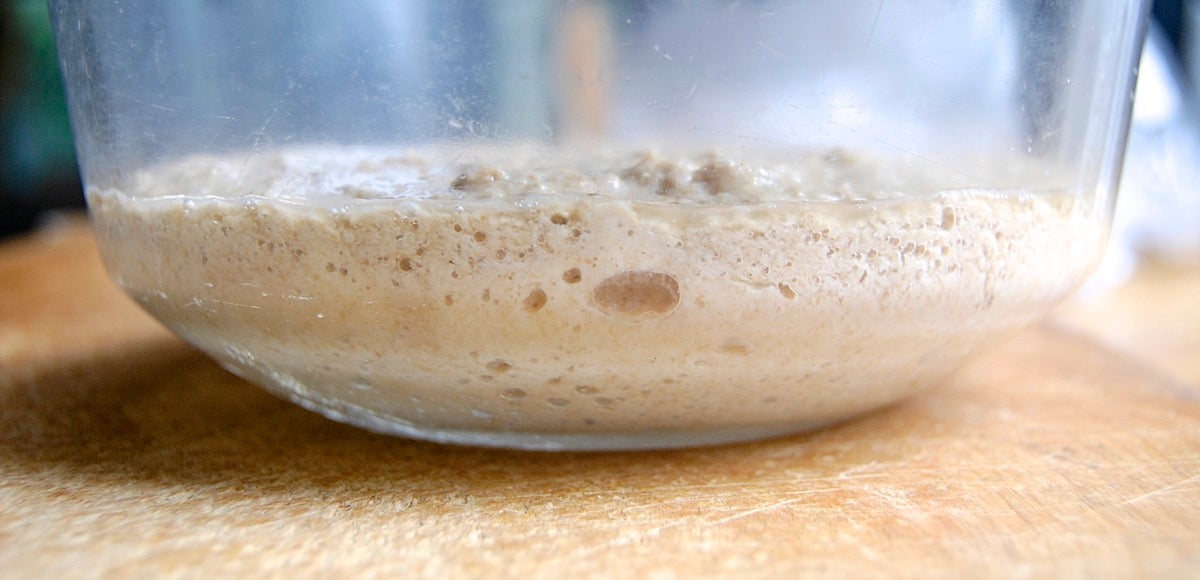
But when viewed from the side, you can see bubbles starting to form under the surface.
Either way, discard half the starter (113g; about 1/2 cup), and add to the remainder 113g (a scant 1 cup) King Arthur Unbleached All-Purpose Flour and 113g (1/2 cup) cool water (if your house is warm); or lukewarm water (if it's cold). Mix well, cover, and let the mixture rest at room temperature for 24 hours.
It's necessary for three reasons. First, unless you discard, eventually you'll end up with way too much starter. Second, keeping the starter volume the same helps balance the pH. And third, keeping the volume down offers the yeast more food to eat each time you feed it; it's not fighting with quite so many other little yeast cells to get enough to eat.
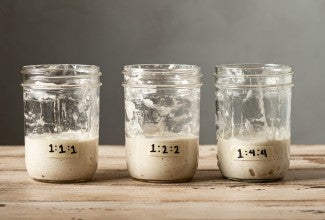
Also, you don't have to discard it if you don't want to; you can give it to a friend, or use it to bake. There are quite a few recipes on our site using "discard" starter, including sourdough pizza crust, sourdough pretzels, and my all-time favorite waffles. And if you still aren't comfortable discarding so much, consider maintaining a smaller sourdough starter.
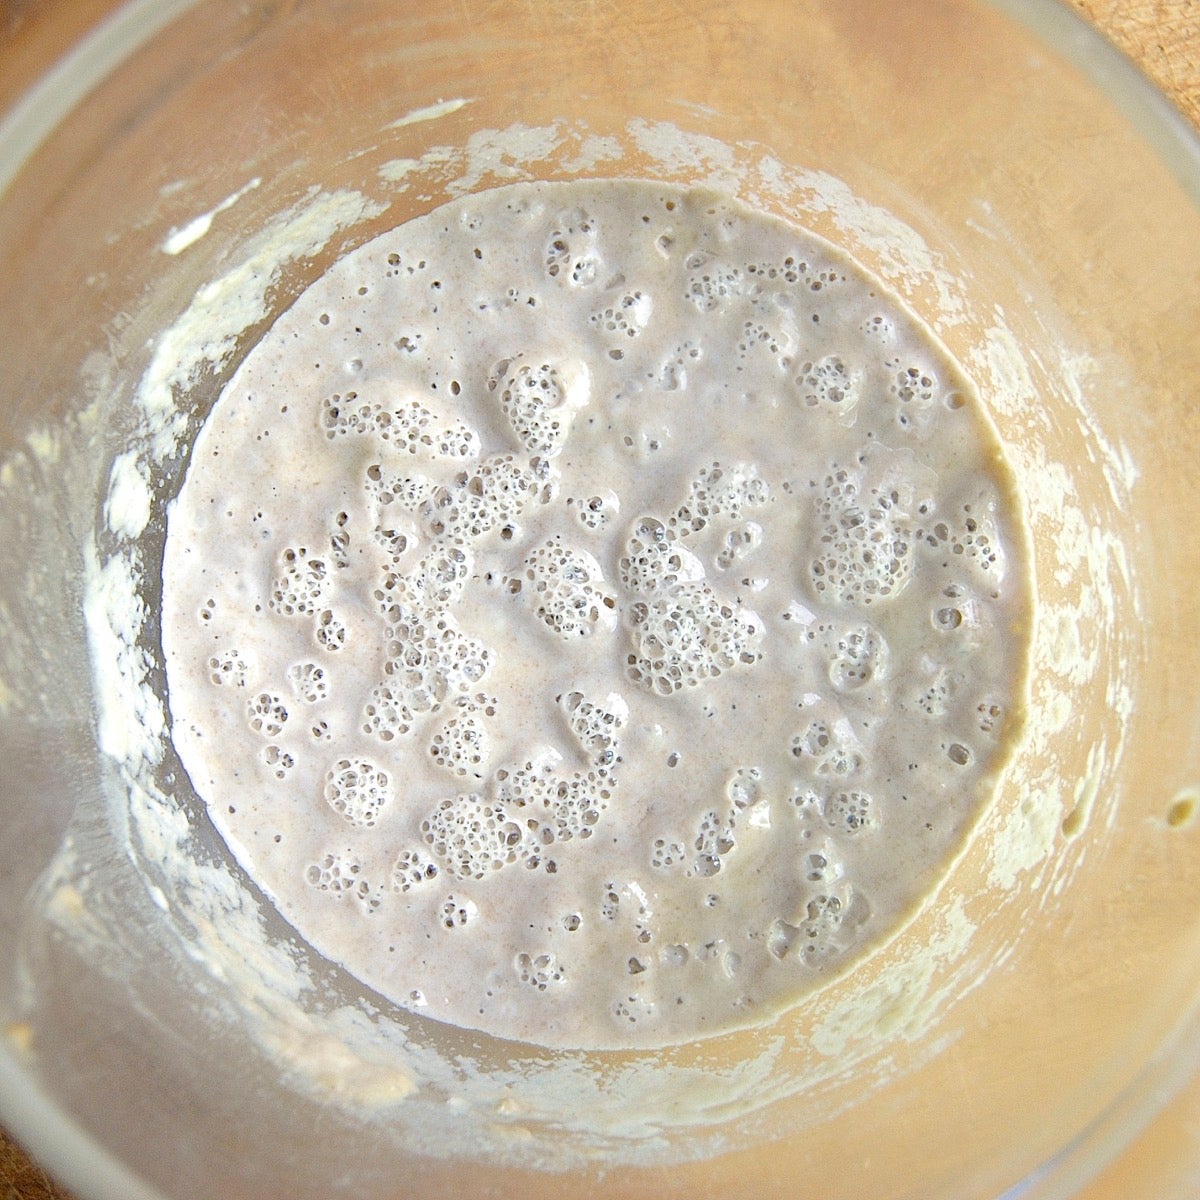
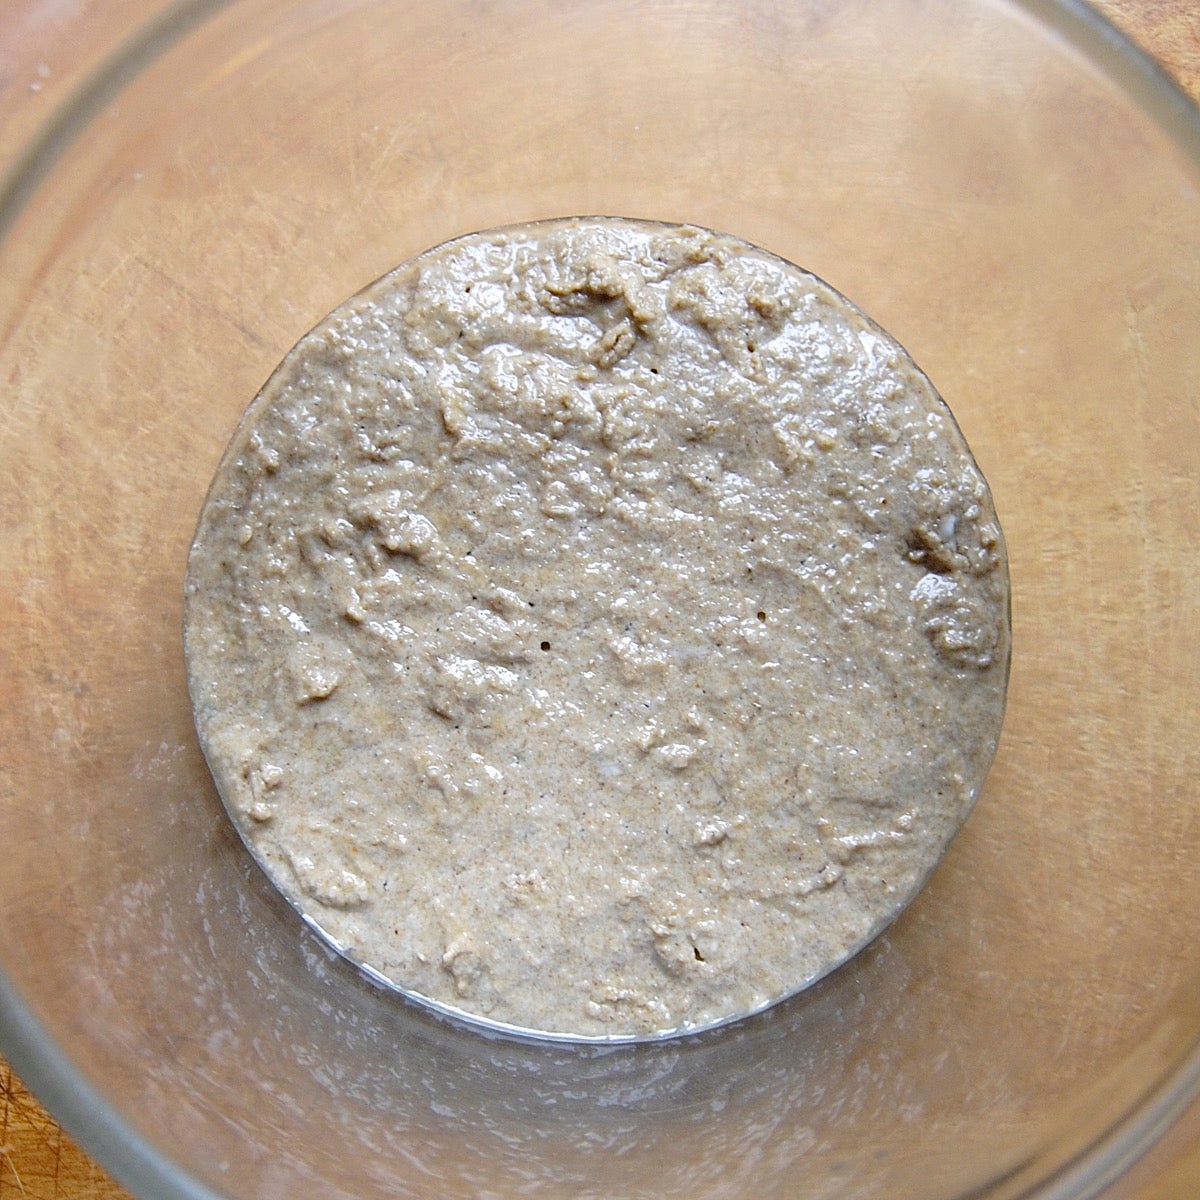
By the third day, you’ll likely see some activity — bubbling; a fresh, fruity aroma; and some evidence of expansion. The somewhat darker hue your starter got from its whole wheat beginnings will fade as you continue to feed it with all-purpose flour. It’s now time to begin two feedings daily, as evenly spaced as your schedule allows.
For each feeding, weigh out 113g starter; this will be a generous 1/2 cup, once it’s thoroughly stirred down. Discard any remaining starter.
Add 113g (a scant 1 cup) King Arthur Unbleached All-Purpose Flour and 113g (1/2 cup) water to the 113g starter. Mix the starter, flour, and water, cover, and let the mixture rest at room temperature for approximately 12 hours before repeating.
Here's the starter after its 12-hour rest. It may actually appear to be bubbling less than it did initially; this is normal.
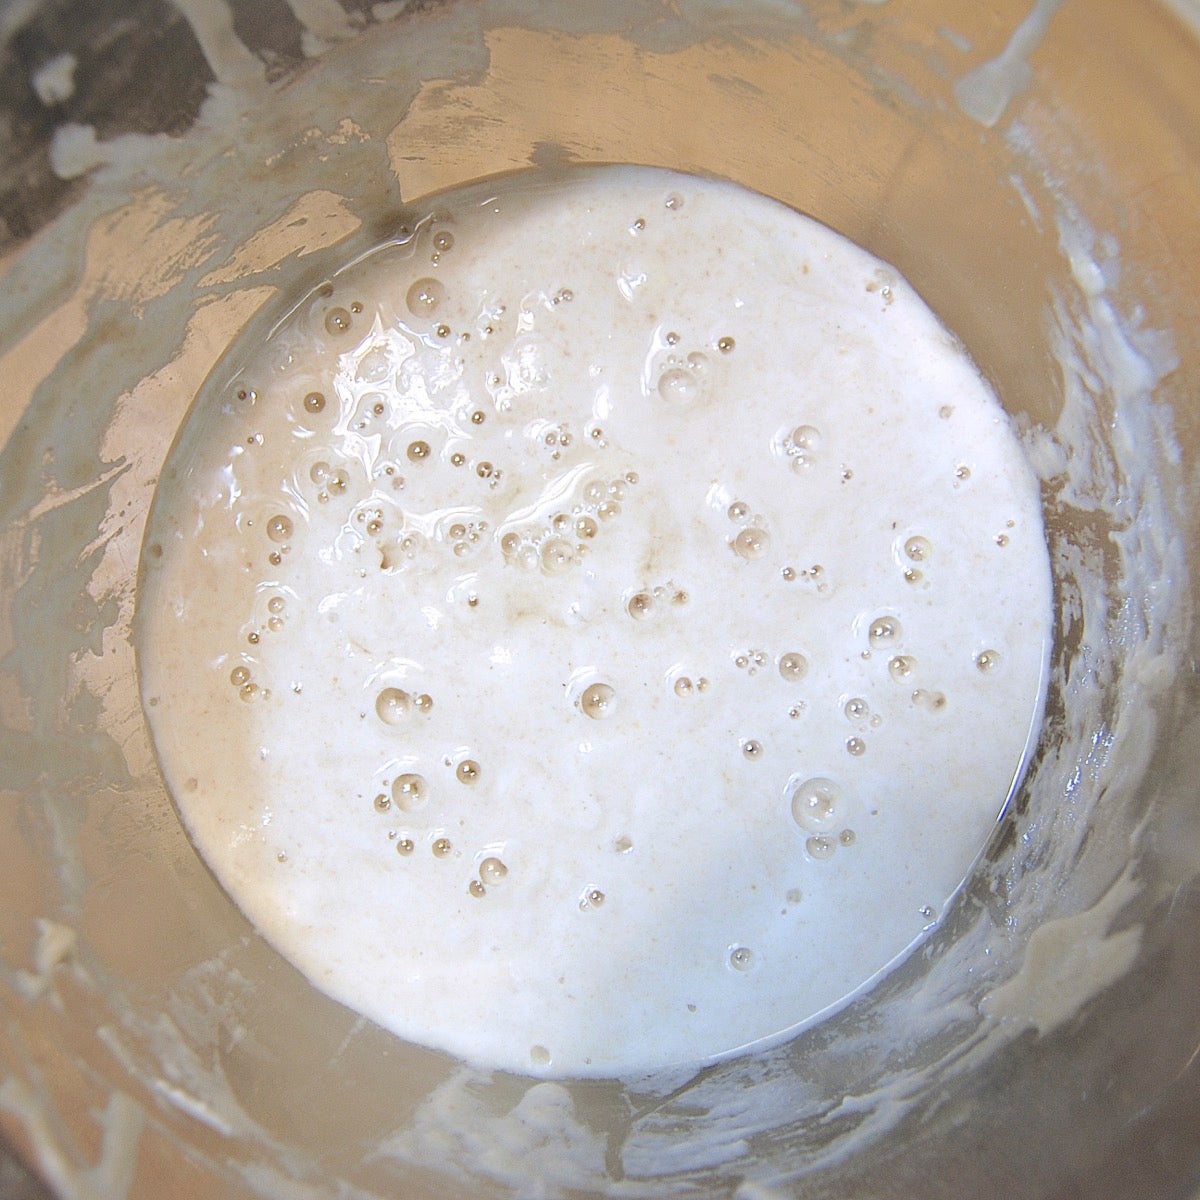
Repeat two-a-day feedings on days 4, 5, and as many days as it takes for your starter to become very active — almost foamy. If your starter is in cool surroundings, you may find it takes up to 2 weeks (or perhaps even longer) to get going.
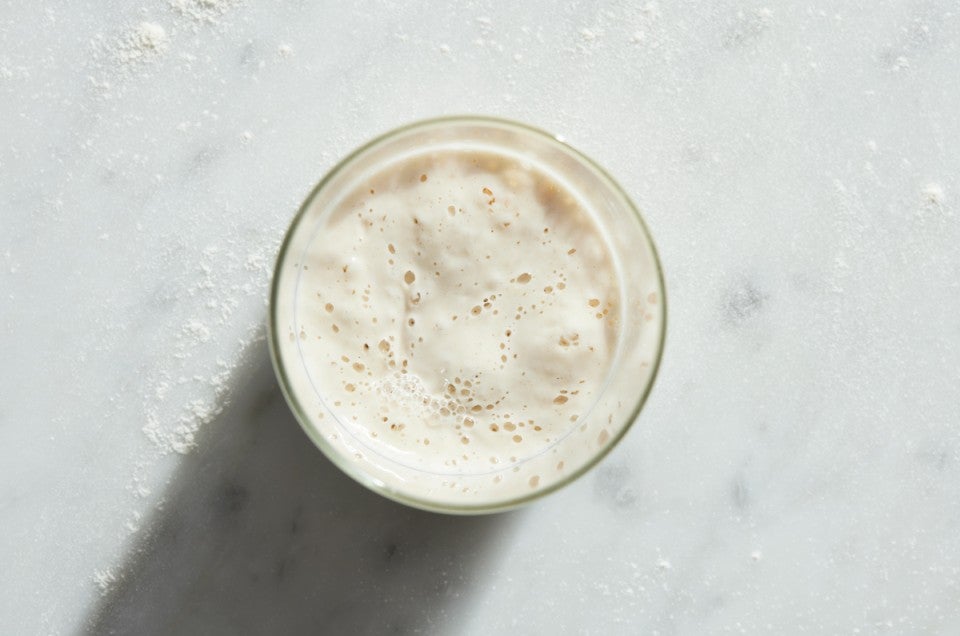
When it shows a markedly different type of bubbling, though, it's just about ready to use.
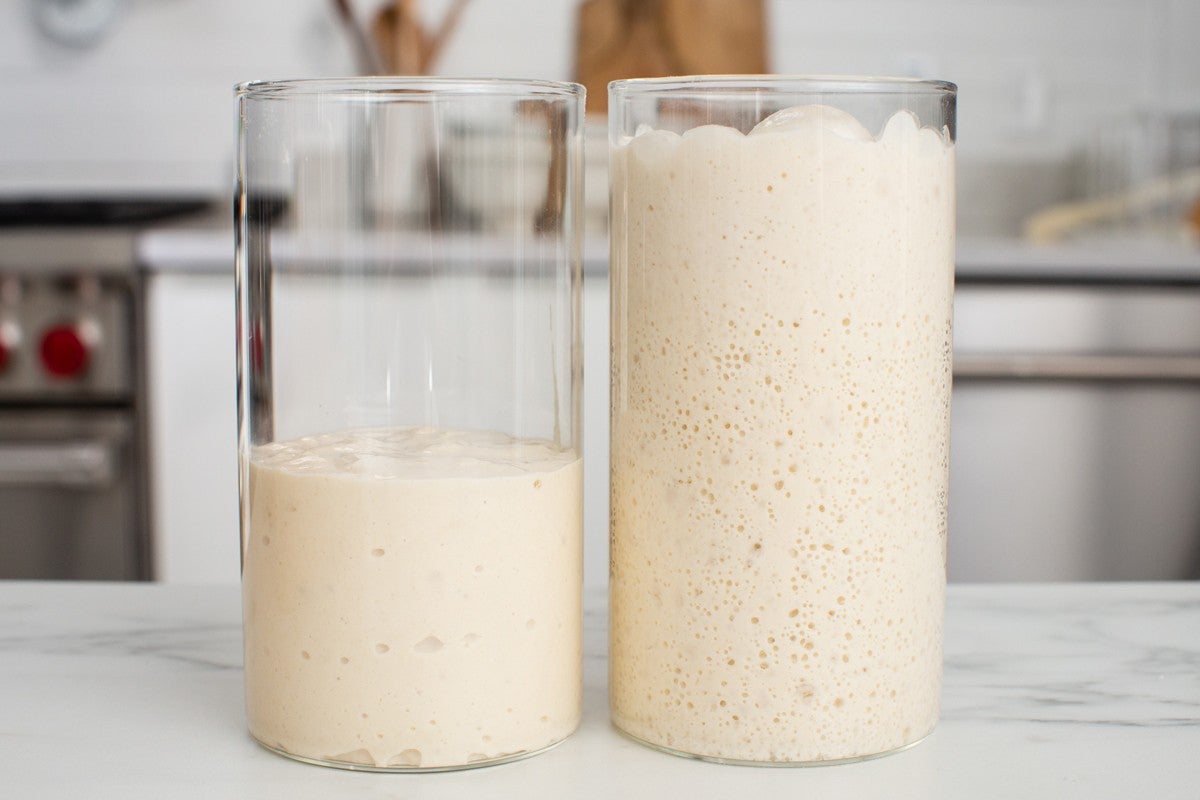
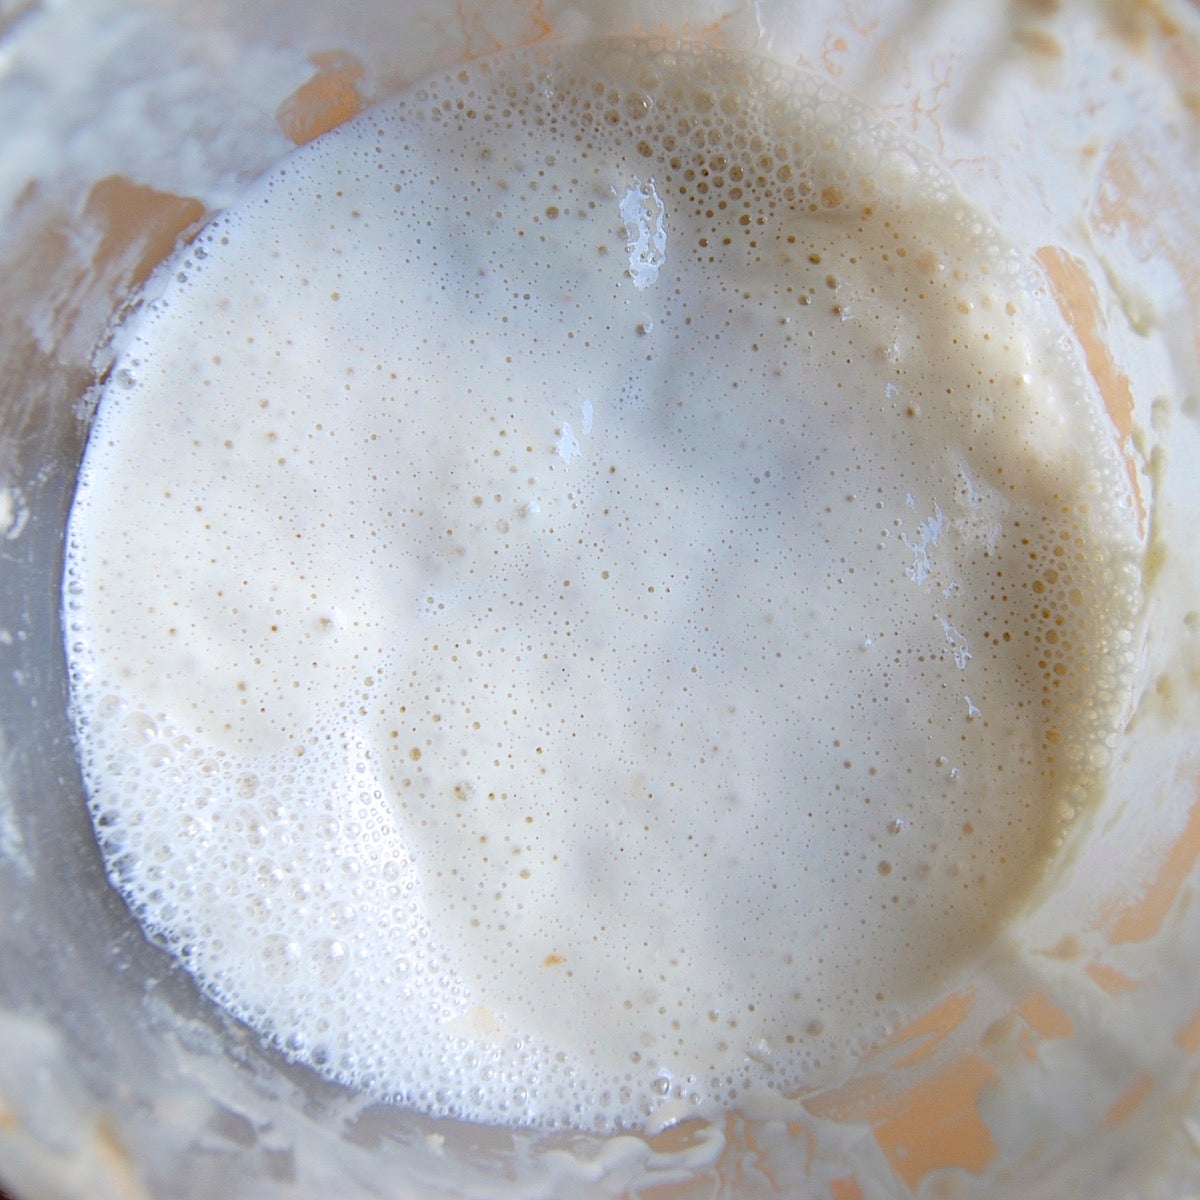
When you stir it down and feed it this time, make a note of how high it comes on the bowl or jar. You'll know it's ready to use in baking when it doubles in size in about 4 to 6 hours. You'll see lots of bubbles; there may be some little “rivulets” on the surface, full of finer bubbles. The starter should also have a tangy aroma — pleasingly acidic, but not overpowering.
When it gets to this point — doubling in size in 4 to 6 hours — give it one last feeding. Discard all but 113g (a generous 1/2 cup). Feed as usual. Let the starter rest at room temperature for 4 to 8 hours; it should be active, with bubbles breaking the surface.
Remove however much starter you need for your recipe (no more than 227g, about 1 cup); and transfer the remaining 113g of starter to its permanent home: a crock, jar, or whatever you'd like to store it in long-term. Feed this 113g of starter with 113g of flour and 113g of water.
Let it bubble and become active for several hours before covering it and placing it in the refrigerator.
No worries. If, after a week, your starter isn’t ready, don’t lose heart; keep feeding it regularly, and it will gain strength — really! Be patient. The conditions in your kitchen may be more or less conducive to building a starter, depending on room temperature, the season, humidity, or how much you’ve been baking.
Remember, the keys to developing a successful starter are:
Once your starter is doubling in size six to eight hours after being fed, it's ready to start baking. Here's what it should look like:
Now you're ready to bake with your starter! Try one of these beginner-friendly recipes:
No-Knead Sourdough Bread: This low-technique recipe relies entirely on sourdough starter for leavening. With a bubbly, active sourdough starter, a little bit of patience, and minimal effort, you’ll have a stunning, delicious loaf — all made without kneading.
Pain de Campagne (Country Bread): If you’re looking for a bit more of a challenge, try this recipe. Using unfed sourdough starter, minimal kneading, long fermentation, and baking in a hot Dutch oven are some of the techniques that make this naturally leavened, bakery-quality loaf simple to make at home.
Rustic Sourdough Bread: Because this recipe includes commercial yeast as well as starter, you're guaranteed a good, strong rise — even if your starter isn't quite up to snuff. If you’re just beginning to bake with sourdough starter and want some extra reassurance of success, this loaf is a great choice.
Note: In these recipes “ripe sourdough starter” refers to starter that has been fed and then doubled in volume and is showing signs of just beginning to sag under its own weight. The timing will be different depending on your sourdough starter and conditions, but generally, this occurs roughly eight hours after being fed. See more: Ripe sourdough starter: Here's what that means.
Don't worry — everything will be just fine. Starter is remarkably resilient. If you missed one feeding, just pick back up with your typical routine and your starter will settle in easily. If you missed a few feedings, simply keep feeding at room temperature every 12 hours until it doubles in size within 4 to 8 hours. Learn more in our post: What if I forgot to feed my starter?
Sourdough starter should smell sharply sour but "clean," with no overtones of spoilage, or any oddly chemical smell (think acetone). While the aroma of sourdough may make you draw back simply from its strength, it shouldn't be distasteful.
When your starter is neglected for an extended period, the liquid on top tends to turn from clear to dark-colored. That's OK; simply stir the liquid back into the starter and feed it the meal it's desperately craving. However, if your starter shows visible signs of mold, or an orange or pink tint/streak, or smells putrid, throw it out; it's been invaded by harmful microorganisms, and it's time to start over.
Want something printable to follow? See our recipe for Sourdough Starter.
Next: Maintaining your starter
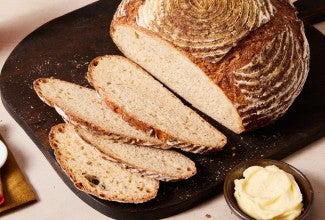
Cover photo by Mark Weinberg; food styling by Liz Neily.


May 6, 2020 at 2:13pm
In reply to I created a starter and… by Mark Boronkay (not verified)
Hmm, that's quite odd! We assume you're using an unbleached all-purpose flour (bleached isn't very good for starters)? Without knowing more about your starter it's tough to diagnose its issues, but if you reach out to our Baker's Hotline, we'd be happy to chat in more detail.
April 22, 2020 at 11:28am
Hello, I am trying to start a SD starter for the first time. I have thrown out at least 4 attempts over the last month (that's a lot of flour).....feeling discouraged! It gets bubbly immediately but NEVER increases in volume at all even after as long as 10 days. I have rye flour for to start with and I have gone over all the instructions and tips to make sure I'm doing it right. I guess the only thing I haven't tried is going 2 weeks. But it's not increasing in volume even a little. sigh.....
April 28, 2020 at 2:31pm
In reply to Hello, I am trying to start… by Ann (not verified)
Hi, Ann! Starters are all unique, and can take anywhere from 7 to 21 days to fully mature, although 7-14 is more typical. Unless you have mold growing on your starter, it's always better to persevere and keep feeding it rather than throwing it away.
April 22, 2020 at 11:00am
There is no yeast in making this starter? Just flour and water?
April 28, 2020 at 2:30pm
In reply to There is no yeast in making… by Debbie (not verified)
That's correct, Debbie. The yeast you need is already there, on your flour and in the air around you. When you make a sourdough starter, you're just creating a happy environment in which it can grow.
April 22, 2020 at 10:16am
First step says combine 4 ounces (1cup) with 4 ounces (1/2) cup of water. HELP please.
April 28, 2020 at 2:28pm
In reply to First step says combine 4… by Judith (not verified)
That's correct, Judith. Water weighs more than flour, so a cup of flour and a 1/2 cup of water weigh the same.
April 21, 2020 at 8:53pm
Hello,
I just started my first try at creating sourdough starter and got to day 5, but it wasn't growing much. I skipped feeding it on day 6 and when I looked at today it had mold growing in the container. I kept the container loosely covered and next to the refrigerator and coffee pot. Could the heat and moisture caused the mold? Before I start over I want to know how to prevent this from happening, since KA flour has been hard to find.
April 23, 2020 at 1:55pm
In reply to Hello, I just started… by Joseph Karwisch (not verified)
Hi, Joseph! While a warm and moist environment definitely encourages mold growth, that's the environment of every sourdough starter. Mold grows when there are spores in the environment, so if they were present in your kitchen before, they're likely still there. (It's not uncommon to find molds growing under appliances, behind baseboards, and back behind plumbing.) You might consider keeping your starter in another part of the house, like a bedroom or study, and bringing it to the kitchen just for feedings. Sometimes this is enough of a separation to do the trick!
April 21, 2020 at 6:50pm
I'd like to begin a starter, but my local store was out of whole wheat flour. I have unbleached all-purpose white, and I also have wheat bran. Can I use a combination of bran and white flour instead of whole wheat at the beginning? Many thanks!