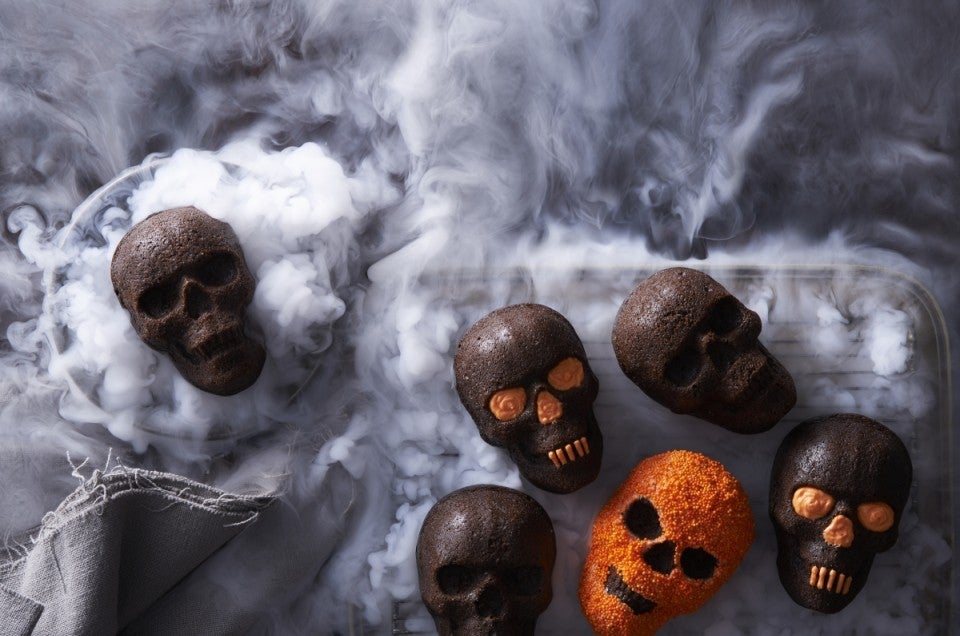


It's time once again, ghouls and boys. Our very favorite time of year: Halloween baking time! And don't we have a spookily, delightfully, oh-so-easily made treat for you. Halloween skull cakes — so easy to make, your mummy will have everyone joining in on the fun.
And to make these hauntingly detailed little delights, may I introduce you to my one-stop shop for all future Halloween baking endeavors... the Haunted Skull Cakelette Pan.
Here's the thing. I'm not maybe the best decorator at King Arthur Flour. Far from it. I’m also one of those people who doesn’t like a ton of one-use pans taking up space in the pantry.
But as a new mama (who makes baked goods for her daughter’s daycare often, but has no actual free time. You get me, moms?!) this pan was SUCH a good purchase and one I’ve been using all month!
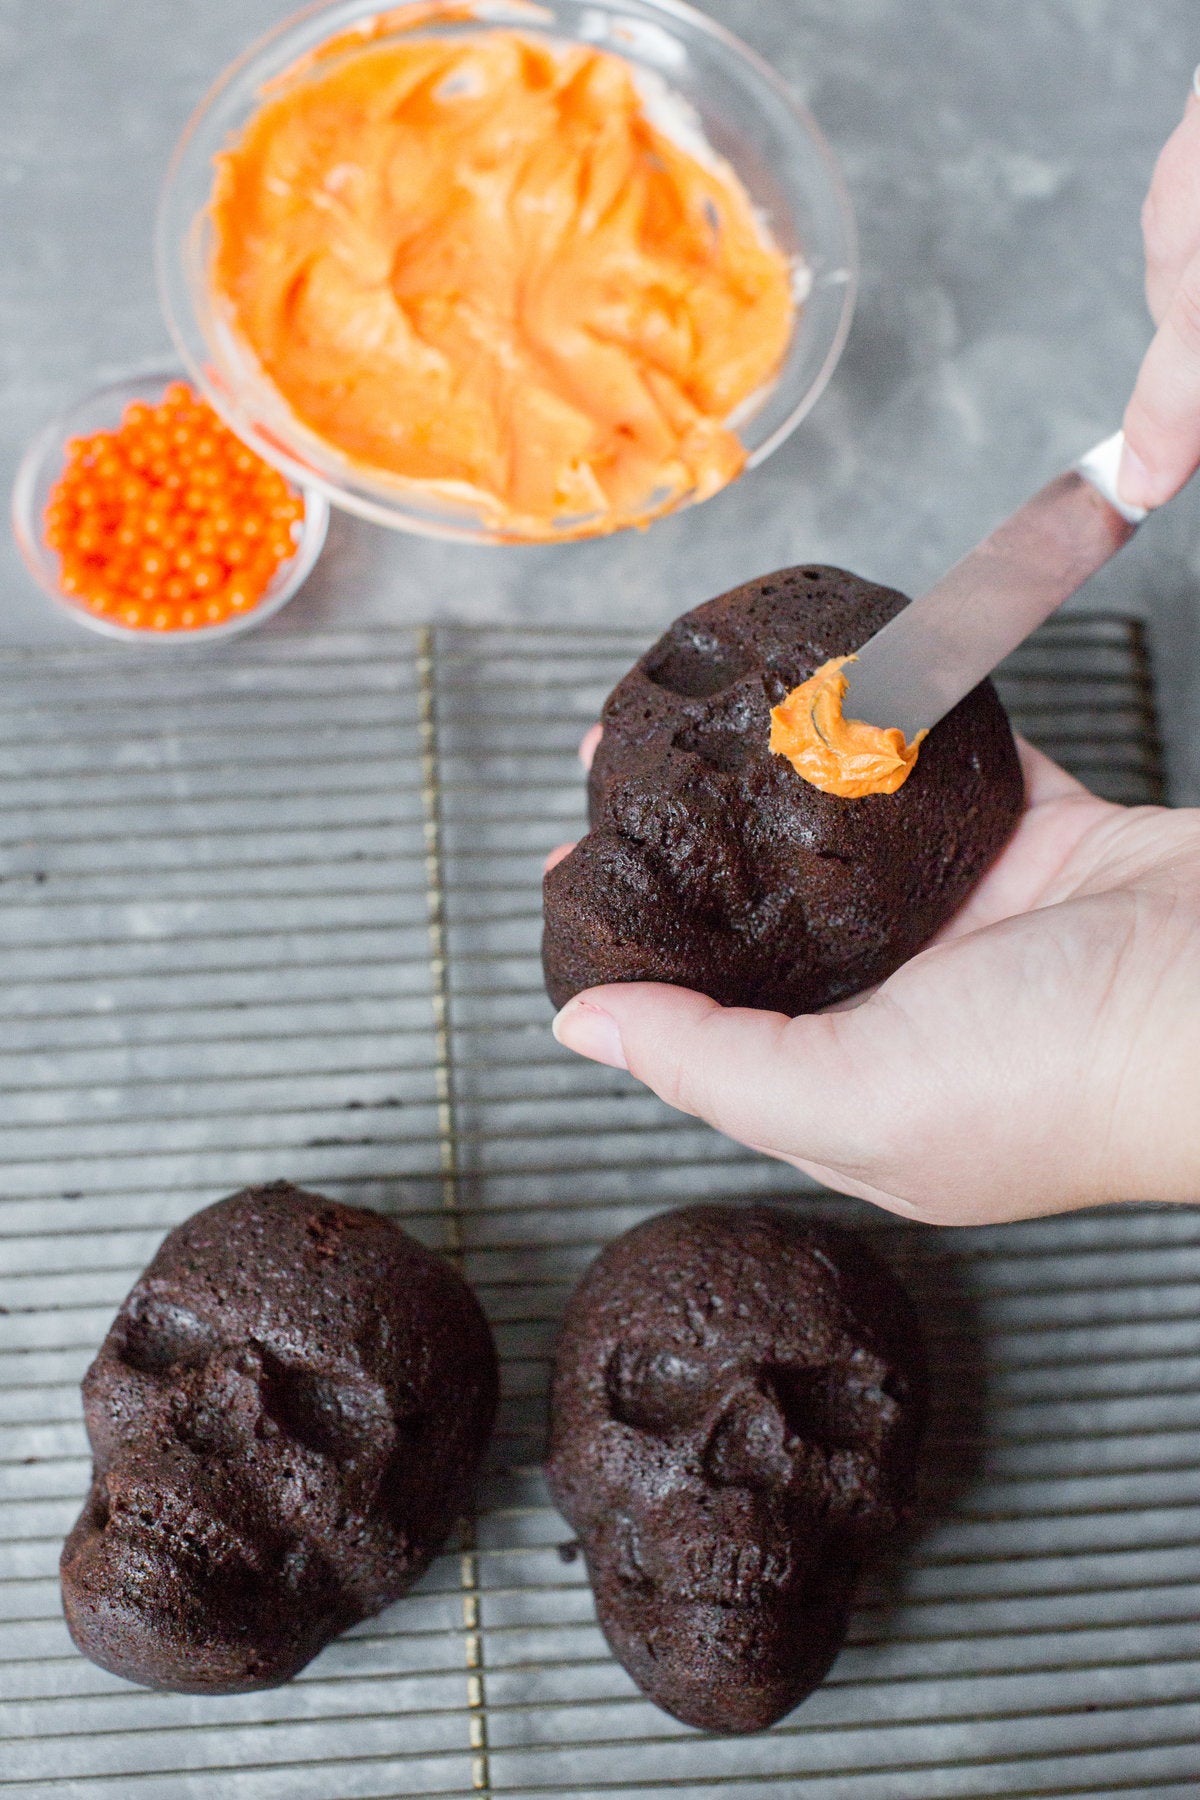
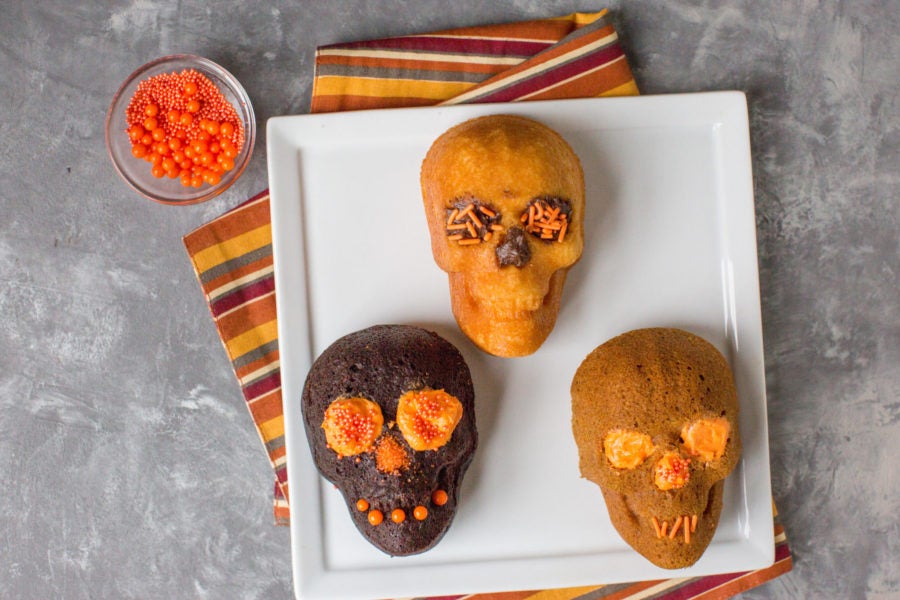
The Haunted Skull Cakelette Pan imprints clearly defined skulls on my little cakes; they look so striking that they need no decoration at all. But for those moments you're feeling the urge, here are some of our favorite ways to jazz them up. So much fun for the kids to be a part of, or even to have as a decoration station at a party!
My Halloween partner-in-crime, Annabelle, went on a little baking spree and decorated all of the cakes in this blog post. But since you all don't have a baking wizard in your corner like I do, we both came up with some simple ways you can transform your skull cakelettes into some truly spooktastic delights!


Let these ideas give inspiration to even more amazing and tasty skulls. And have fun with it. After all, even mistakes can be played off as "intentionally scary" during this holiday!

Looking for more Halloween baking ideas? Every year, we like to show you that making show-stopping Halloween treats can be oh-so-easy. We’ve done Spider Bundts, Mummy Hand Pies, Haunted Halloween Houses, and more.
How would you decorate your Halloween skull cakes? Let us know in comments, below.
Happy Halloween baking!
Thanks to Liz Neily and Anne Mientka for the photos in this post.


