


Close your eyes and think of pizza. What do you picture?
Pizza comes in all shapes and sizes, and your mind could be conjuring anything from Chicago-Style Deep Dish to Thin-Crust. Or maybe you’re picturing our 2020 Recipe of the Year, Crispy Cheesy Pan Pizza, with its gloriously cheesy layer of toppings atop a thick, pillowy crust.
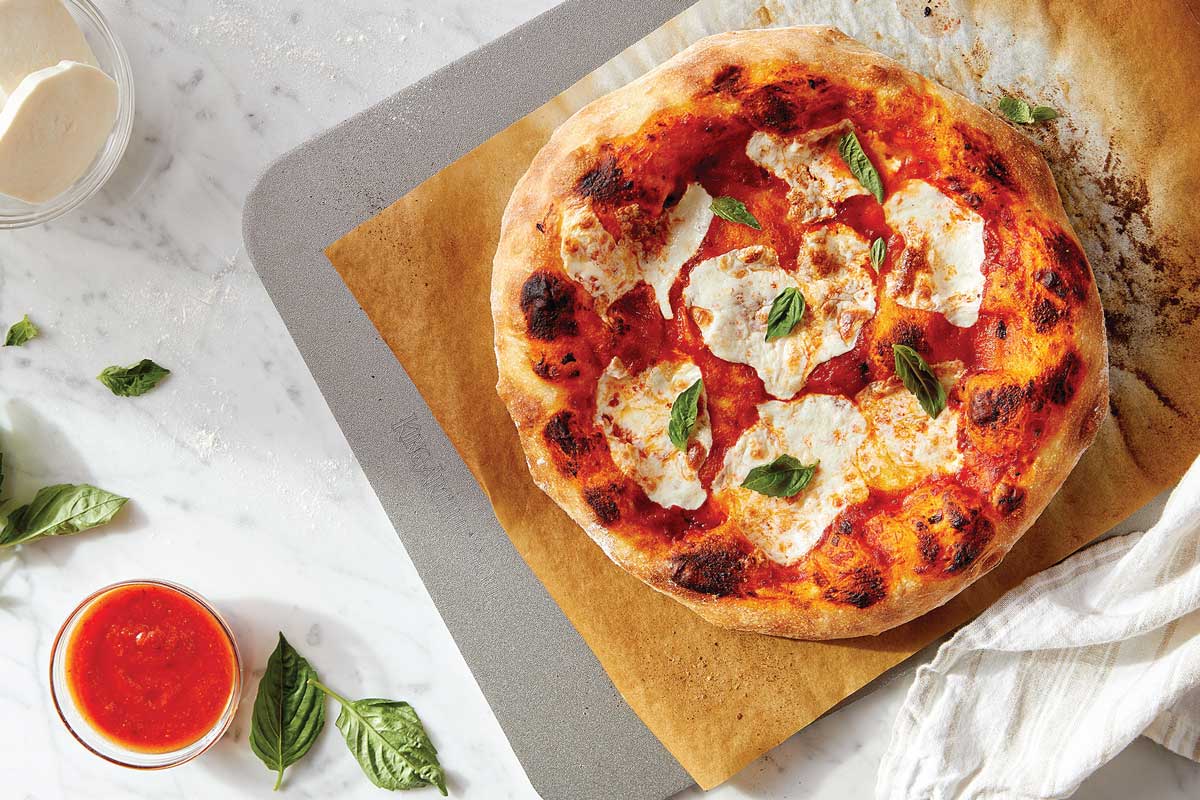
Odds are you might be thinking about one of the most classic pizza styles there is: Neapolitan Pizza, a quintessential Italian pizza with a crispy, chewy crust burnished with bubbles.
Neapolitan pizza is kind of a big deal — so much so, in fact, that there’s a whole organization, The True Neapolitan Pizza Association, devoted to this style. And according to their guidelines, it must be exclusively prepared in a wood-fired oven.
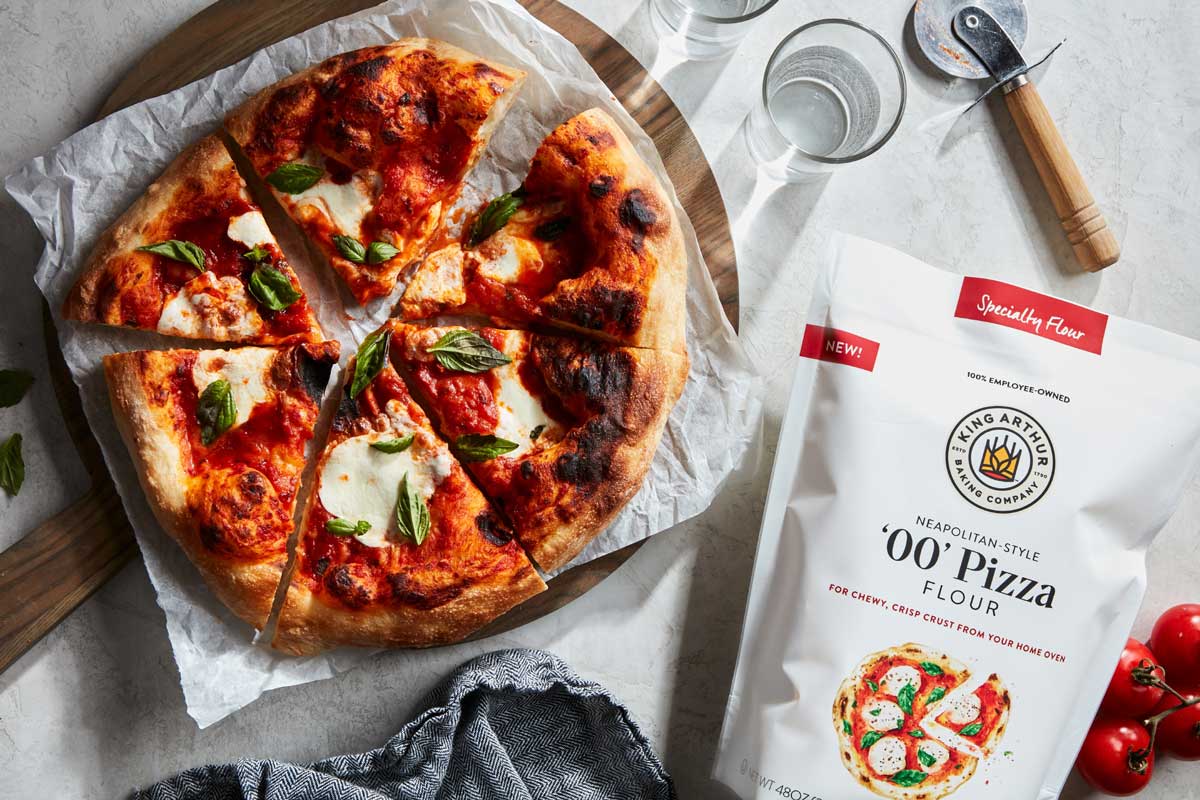
Except … most of us don’t have a special pizza oven just lying around the house. Not to worry, though — we’ve got you covered. With our new '00' Pizza Flour, you can recreate classic Neapolitan-style pizza right in your regular old home oven. Weekly pizza night just got upgraded.
Pizza is all about the crust. And the crust is all about the flour.
To capture the uniquely crispy-chewy texture of Neapolitan pizza at home, you’ll need to turn to '00' Pizza Flour. It’s milled from a proprietary blend of hard and soft wheat to '00' standards, formulated specifically to produce a crispy crust and a chewy interior crumb without the need for a special pizza oven.
Numbers on a flour bag? Sure! Unlike the United States, the European standard for flours is on a numerical scale. It ranges from 2 (coarse, whole grain) to 00 (extra fine, white flour). Neapolitan pizza is made with flour milled to '00' standards, which is exactly how we’ve prepared our flour.
Meanwhile, our Italian-Style Flour is a softer, lower-protein flour, perfect for fluffy focaccia. '00' is similar but different; it has a higher protein level that creates a chewy, yet airy, Neapolitan-style pizza crust.
Because it's made from a blend of hard and soft wheat, this flour delivers the ideal combination of chew and crunch. The hard wheat creates chewiness and strength so the dough can be stretched thin. The soft wheat provides extra starch, which gives the dough the perfect crisp (but not hard!) crunch.
With a moderately high protein content and extra-fine mill, '00' Pizza Flour also has a silky smooth texture that yields an easy-to-stretch dough. As a result, even novice home bakers can form this dough into a classic artisan shape with a thin interior and thick exterior crust.
So … how exactly do we make this pizza? Start with:
First thing to know — you should plan to mix the pizza dough the day before you want to eat pizza, as it needs at least 12 hours to rise.
Baker’s tip: If you want something a little quicker, try Weeknight Neapolitan-Style Pizza, which takes just under 3 hours from start to finish and also uses '00' Pizza Flour.
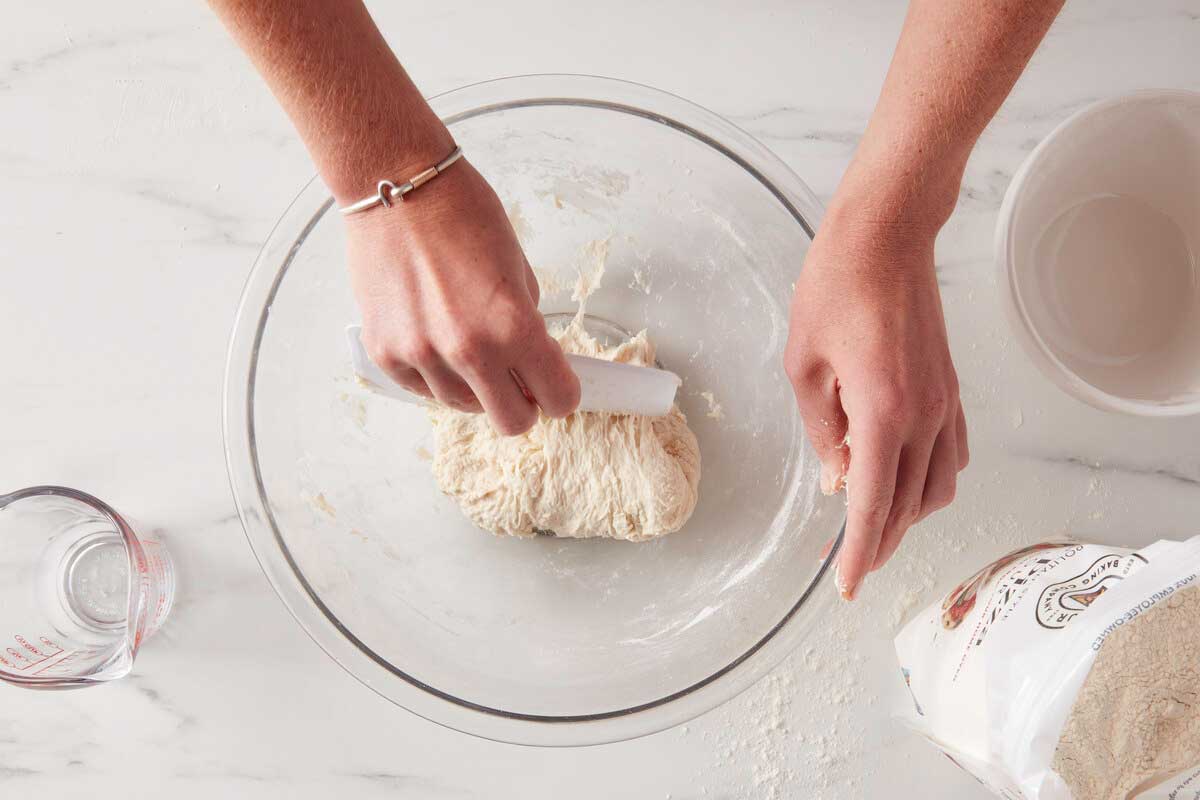
Mix the dry ingredients in a medium bowl, then add the water. Stir until just combined for a cohesive dough — it’ll look rough, but that's OK.
Then … take a pretty long break. Cover the bowl and allow the dough to rise at room temperature overnight, for at least 12 hours and up to 24 hours. This long rise helps the crust develop flavor. The addition of sugar, which isn't typically included in authentic Neapolitan pizza, helps feed the yeast during this long ferment and ensures a crisp, golden crust when baking.
Start by placing a rack in the center of your oven and preheating to 500°F to 550°F (if your oven goes to 550°F) with a baking steel or stone inside. Be careful here — you'll want at least 8" of space between the rack and the broiler, or else the top of your pizza will burn before the bottom has baked through. Not ideal! Also, keep your oven at the required temperature for at least 30 minutes before baking, so the steel or stone can fully preheat.
By the way, if you don’t have a baking steel or pizza stone, don’t give up on your pizza dreams. You can bake this pie on a dark baking sheet and it’ll still turn out tasty (like most things covered in cheese). You can also bake it right on the grill using parchment paper!
Once it's done rising, divide the dough in half and transfer one half to a well-floured surface. This dough is pretty sticky, so make sure the surface and your hands are well-floured — it'll make life a whole lot easier. Stretch and fold the dough by holding onto it at both ends, then pulling one end away from the other and folding it back onto itself. Repeat this on the other side.
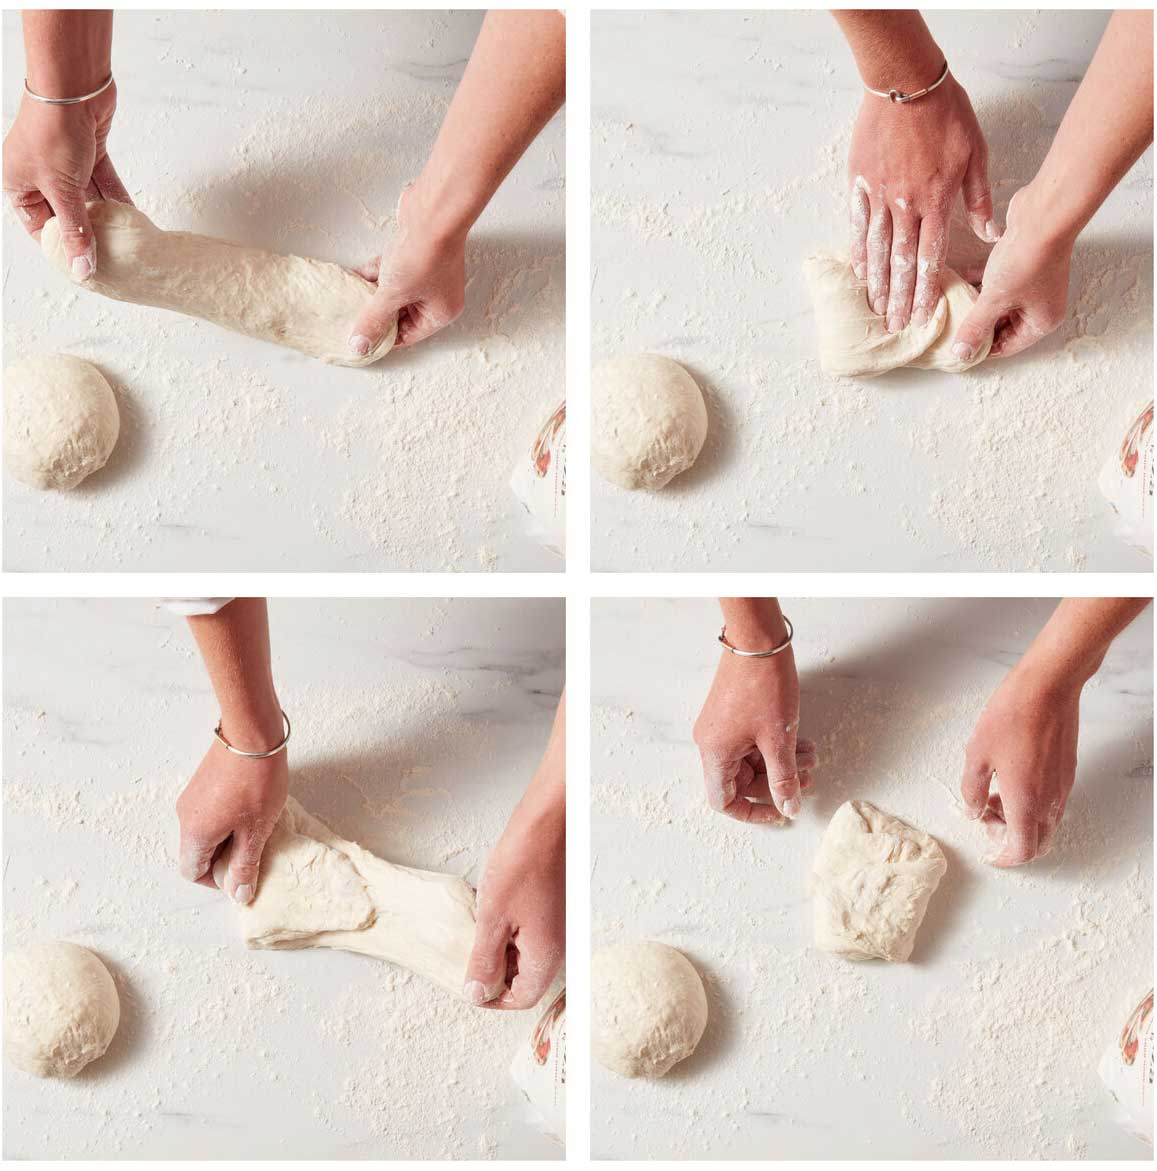
Turn the dough 90º then do the whole process again on the other side of the dough (the one that hasn't been stretched and folded).
Next, pull the ends of the dough towards the middle, almost like you're forming a little pouch of dough, and turn it over. Use your fingers to pull the dough under itself, forming a smooth, round ball with the seams tucked into the bottom.

Repeat all the stretch-and-folding with the second piece of dough to make another smooth ball, and place each ball seam-side down into its own floured bowl. Cover the bowls and allow the dough to rise for 45 minutes to an hour.
While the dough rises, go ahead and prepare your peel, if you're using one. If you've got a wooden peel, generously flour it so it's completely coated. If you're using a metal peel, or if this is your first homemade pizza, I suggest placing a piece of parchment on your peel instead of using flour. And if you're baking on a dark pan instead of a pizza stone, line your pan with parchment.
A quick note on parchment paper here: it’s important to use high-quality, thick parchment because we'll be baking at such a high temperature. Make sure to check the label to see if it can withstand 500°F. (A lot of brands can’t withstand this heat and will simply burn.)
Flour your work surface, then scoop the risen dough onto it, seam-side down. If your dough feels wet, use a generous dusting of flour on top; for drier dough, use slightly less flour.
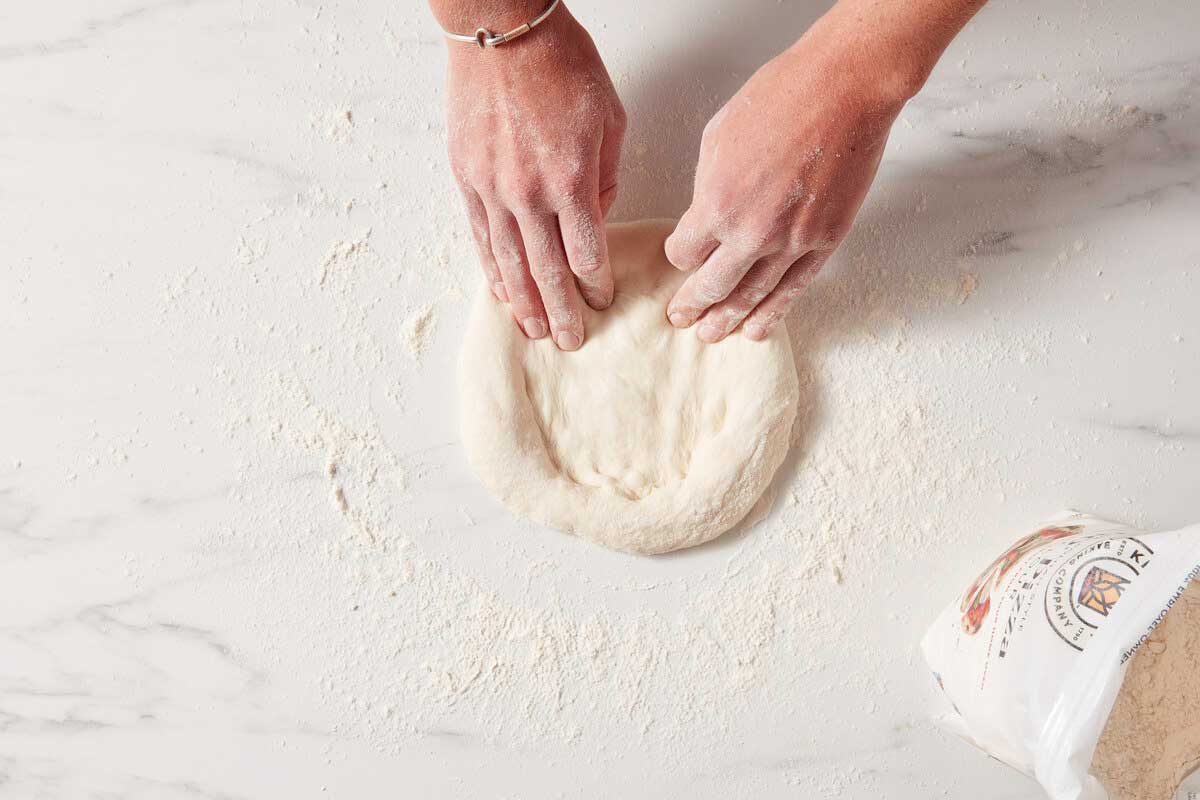
Use your fingertips to gently press down on the dough. One important step: be careful not to touch the outer edge of the crust! Leaving the circumference untouched here results in a beautiful bubbly baked outer crust. Trust us.
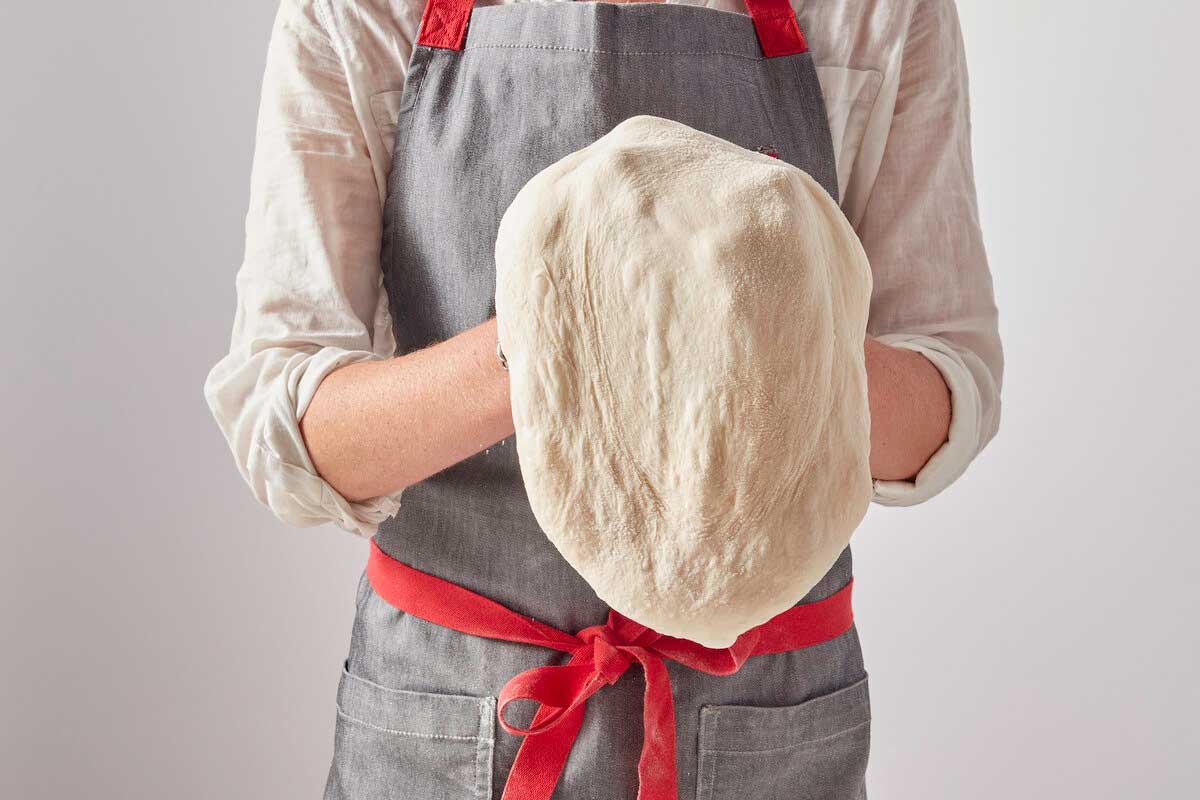
Still being careful not to touch the edge of the crust, lift the pizza and use your knuckles to gently stretch the dough into a 10" to 12" circle. To ensure the dough doesn't tear or stick, I keep my hands well-floured for this.
Gently move the dough in a circle with both hands, allowing gravity to perform the stretch — now is not the time to rush things. Pulling will stretch the center more than the edges, so let the dough gradually stretch into shape, mostly from gravity. If your dough is difficult to stretch, rest it for 5 to 10 minutes so the gluten can relax, then try again.
This is my favorite part of the recipe — stretching pizza dough makes me feel like an old-school pizza master (goals!).
Move the dough to the floured peel (or floured parchment) and adjust it so none is hanging off the edge. The last thing you want is for the dough to stick to the peel, so make sure it's well-floured!
If you're using parchment, trim the excess around the dough to prevent it from burning. Since the oven is so hot, make sure to trim the paper flush with the dough so it won't burn (a mistake I've definitely made before).
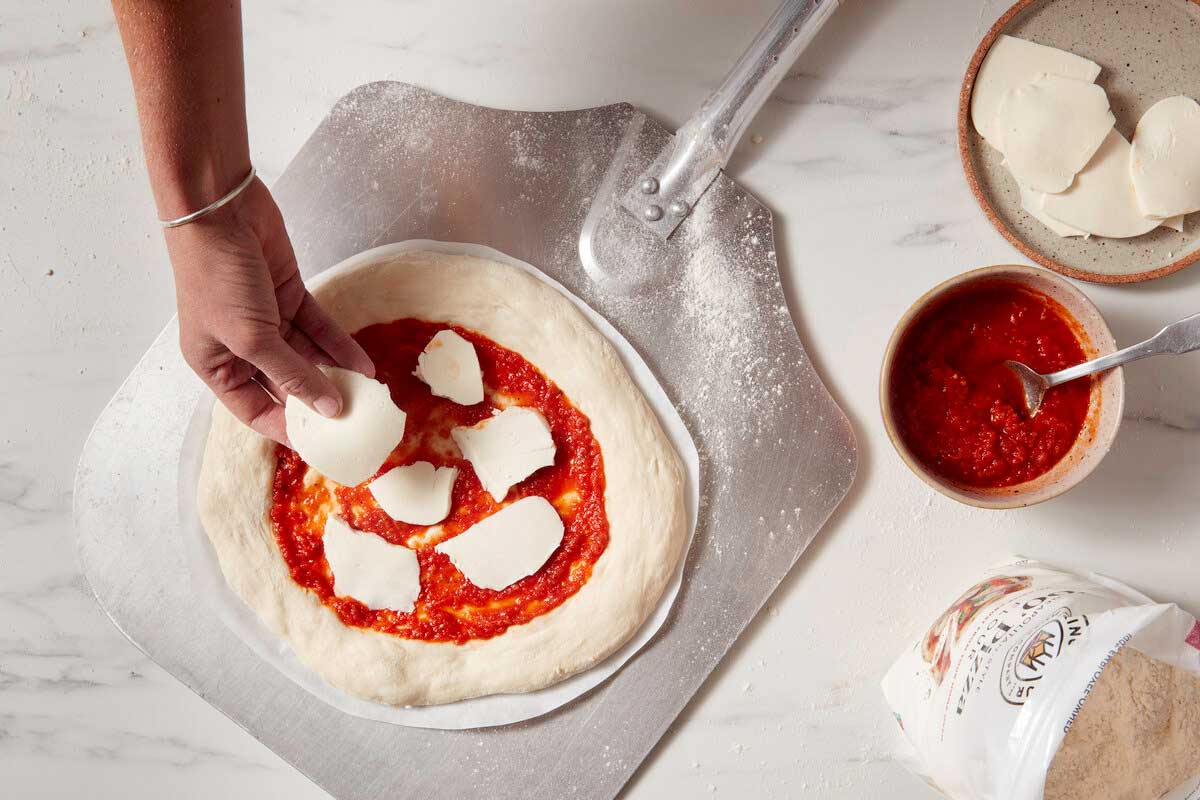
Use a light hand to sauce the dough (don't want it bogged down in tomato sauce), then top with the cheese of your choosing and any other toppings that suit your fancy. If you want to keep things authentic, use sliced buffalo mozzarella and San Marzano tomatoes, with basil to garnish after baking. And while it may not be classic, I personally love to use pesto on my pizza.
Turn on the top broiler in your oven, and transfer the pie to your preheated steel or stone. (If you only have a bottom broiler, don't use it, as there's not enough clearance. Not to worry, though; even if you can't use a broiler you can simply bake your pie for a few minutes longer, and with a steel or stone it will turn out just fine.)
If you're using a wooden peel, jiggle the uncooked pizza back and forth until it moves easily on the peel before quickly transferring it to the steel. If you're using parchment, gently slide the pizza and parchment onto the steel or stone.
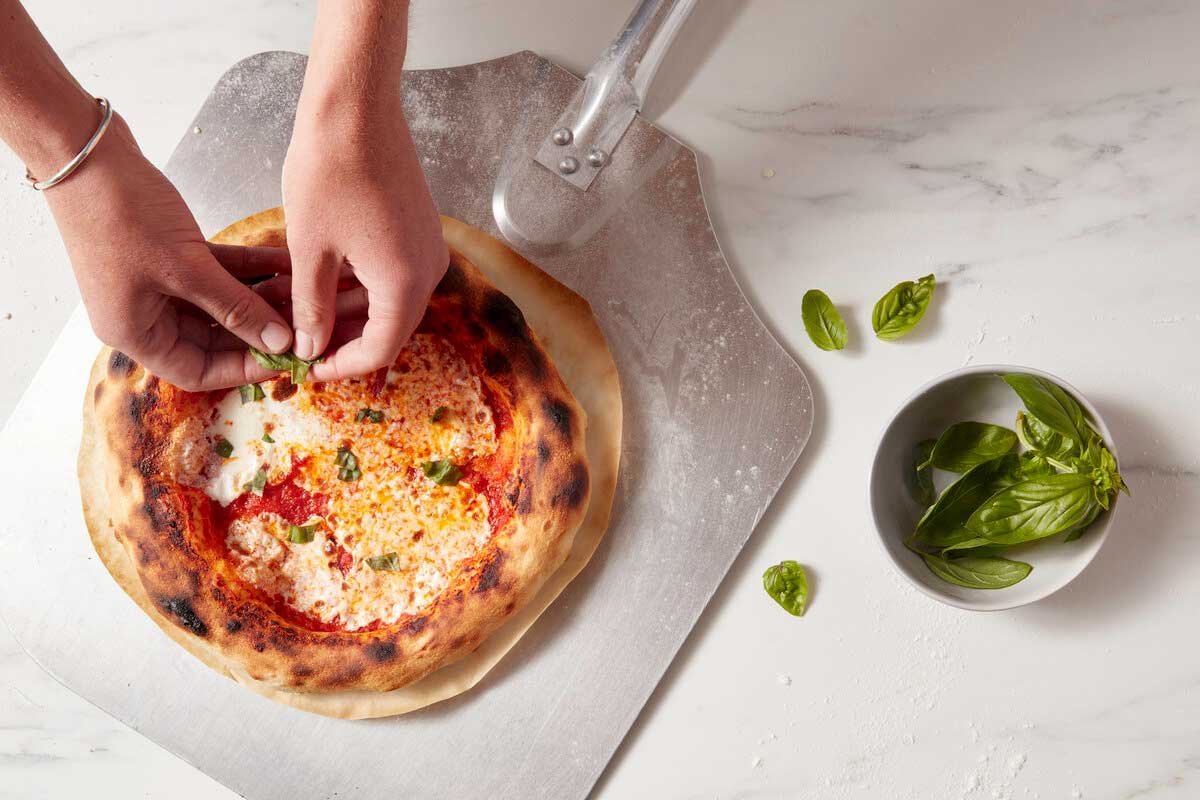
Bake the pizza for approximately 6 minutes on the steel or 7 minutes on the stone (give or take), until bubbly and charred around the edges. If baking on a dark pan, you may want to give it a few minutes longer to bake. Remove the pizza from the oven, and top it with fresh basil leaves, if desired.
Finish off by repeating with the remaining dough and toppings.
As someone who dreams of special baking equipment like a pizza oven but knows some of it’s not in my cards (yet!), I thought artisan, Neapolitan-style pizza was something I would always have to buy. Until now! Turns out an ingredient like '00' Pizza Flour is all it takes to recreate that oh-so-special style in a regular old kitchen. And it's a lot easier to fit in the cupboard than a pizza oven.

If you're ready to start pizza-making, you can order our '00' Pizza Flour through our online shop, and maybe pick up a few other handy tools to make your pie. It's also available in select supermarkets nationwide; you can consult our product locator for exact locations.


February 6, 2023 at 4:36pm
In reply to I have celiac disease and I… by Linda S. Lee (not verified)
We're sorry to hear of your health issues, Linda! We hope our gluten-free products are helpful to you.
January 29, 2023 at 3:09am
Why dont people stick their noses in a micro biology book for a few minutes. You know, about yeast and its budding etc. Temperature is nearly everything.
January 22, 2023 at 7:16pm
The instructions here say to let the shaped balls rise in floured bowls, but the instructions on the flour bag say to let them rise in oiled bowls. Which is it? The bag instructions are truly awful and deceptive but every other pizza dough I have made says to rise in oiled bowls, but your version here says floured.
January 25, 2023 at 5:37pm
In reply to The instructions here say to… by Nira (not verified)
Hi Nira, the idea behind the oil and flour is to help prevent the dough from sticking to the bowl while it rises. In the end they both do the same thing so it is really up to the baker as to what method they prefer. I personally like to use oil, but that's just me! Hope this helps!
January 22, 2023 at 2:34pm
I have been using King Arthur products for years but my purchase of your 00 flour was disappointing. I have purchased an Italian 00 flour elsewhere mixing it with your all purpose and bread flour with good results. I found the dough bland and over all not a good taste. I don’t understand after 19hours the rise was very poor so instead of 3 balls of dough I made one. Ugh. Any suggestions? I’m sorry I purchased this. Jeanne
January 23, 2023 at 4:53pm
In reply to I have been using King… by Jeanne (not verified)
Hi Jeanne, we're sorry to hear this recipe didn't work well for you! The standard Neapolitan Pizza recipe that appears on the package of our 00 Pizza flour can be a little tricky because of the long, slow fermentation. Room temperature plays such an important part in the dough rising and fermenting properly, and it can be difficult to time this exactly right, given individual household temperatures. I would suggest trying our Weeknight Neapolitan Pizza recipe, which includes a more traditional timeline and more yeast and flour. This dough will be easier to work with and will also rise in a more predictable fashion.
December 8, 2022 at 11:43am
When you say to "cover it" for the first long rise, do you mean with plastic wrap? I used a cloth tea towel and ended up with a crust on the top and subsequently hard pieces in the soft dough. Still made great pizza but didn't feel right.
December 11, 2022 at 3:11pm
In reply to When you say to "cover it"… by Brian Bural (not verified)
Hi Brian! Yes, a tea towel is not quite as air tight as plastic wrap or a mixing bowl with a shower cap over it. I also like to use dough doubling buckets for bulk rising dough. Happy baking!
May 29, 2023 at 3:08am
In reply to Hi Brian! Yes, a tea towel… by ablume
Covering the dough air tight should have been specified in the directions on the bag. This is my first time making pizza dough and did not know it needed to be air tight. I ended up covering my dough with a kitchen towel for the first 12 hours. I then looked on your website, to see in the comments about covering the dough air tight. I'm going to cover my dough with plastic wrap now for the next 12 hours, hopefully the dough will still come out right. Directions on bag are very disappointing.
November 20, 2022 at 4:25pm
How can I freeze the 2nd dough ball and for how long? After three rise or after shaping?