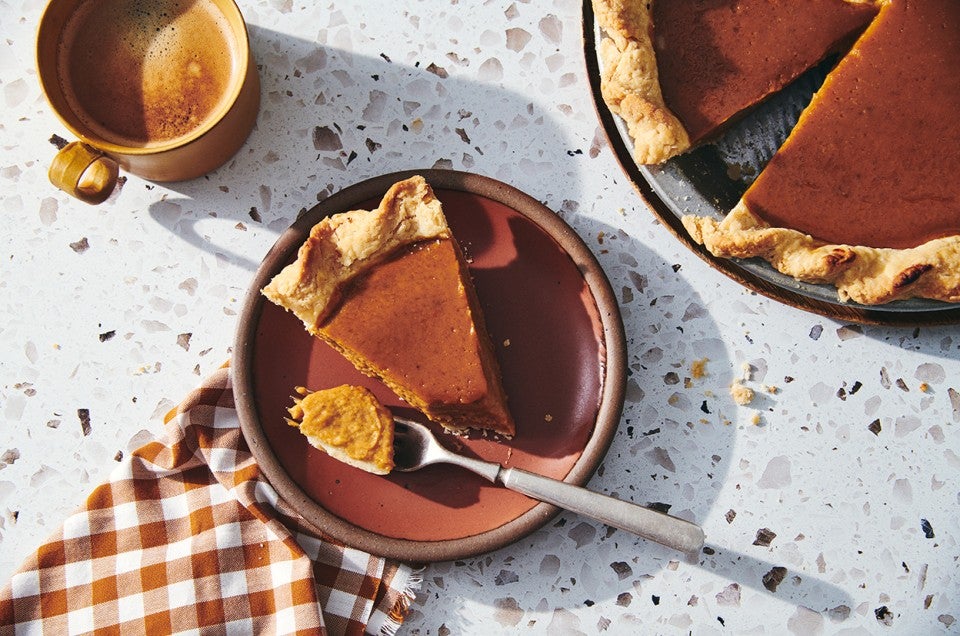


If you make pumpkin pie every Thanksgiving and love your current recipe, then you might want to stop reading — you’re obviously a pumpkin pie pro. But if your efforts are a bit, well, lacking, read on: We can help you make a better pumpkin pie. (And even if you’re a great pumpkin pie baker, keep reading; these tips may still be helpful!)
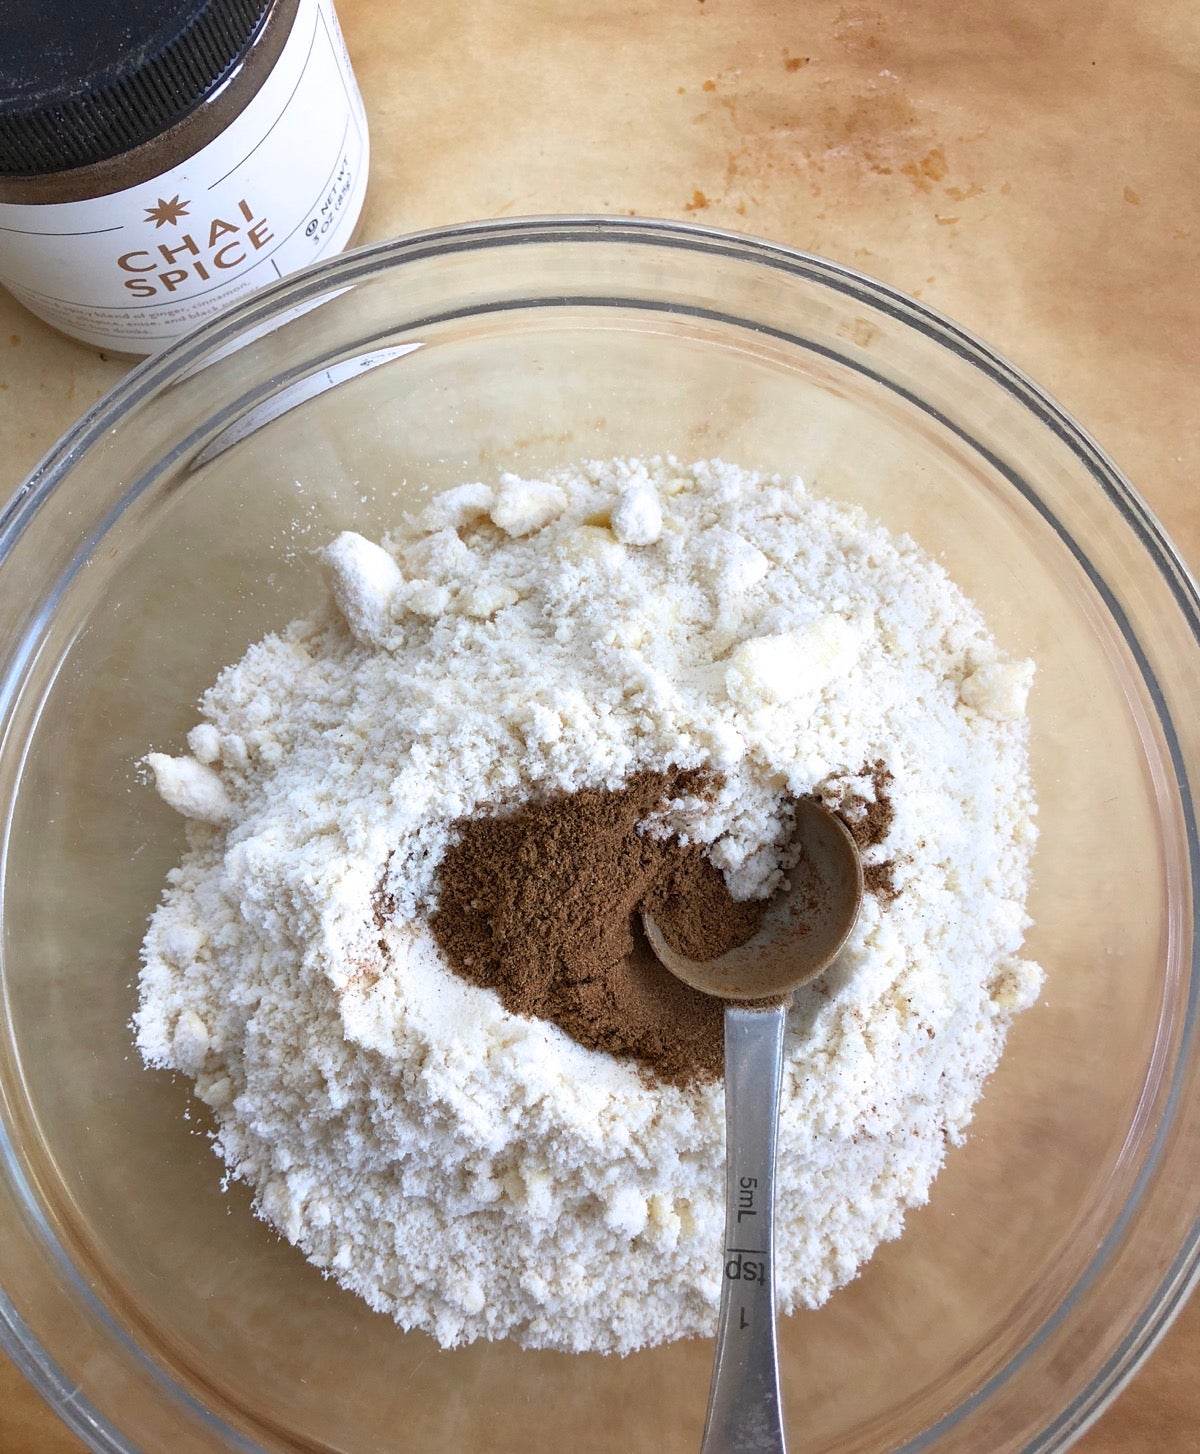
The typical pie crust has just a handful of ingredients: flour, salt, fat, and liquid. Depending on what type of fat you use, the crust may or may not bring much flavor to the party. Enter spices: Complement the flavor of the pumpkin pie filling by adding ground cinnamon or ginger to the crust, or a spice blend: smoky, aromatic chai spice, for instance. Simply stir a teaspoon or two of your spice of choice into the dry ingredients for the crust, prior to adding any liquid. For more on flavoring pie crust, see Flavored pie dough: twists on tradition.
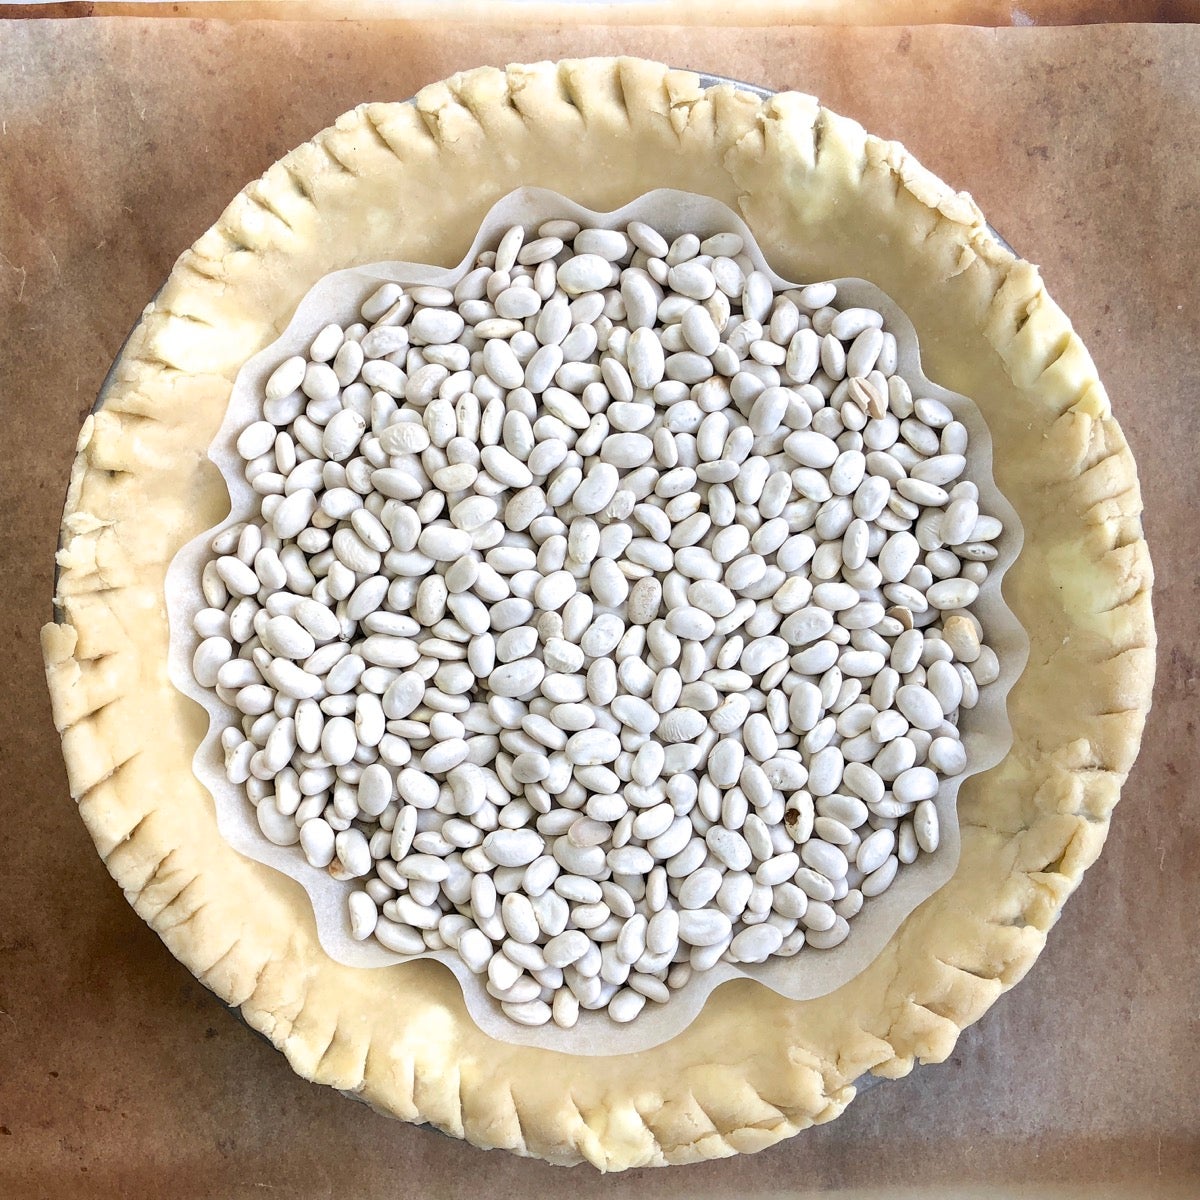
If you’re satisfied with the texture of your crust, then keep doing what you’re doing. But if you sigh in disappointment when your first bite reveals a bottom crust that’s pale and pasty rather than golden brown, try this: Prebake your crust before adding the pumpkin pie filling.
Contrary to what you might think, baking the crust again once you've added its filling won’t cause it to burn or toughen up. You may want to cover the edges with a pie shield or strips of aluminum foil, but the bottom will remain perfectly brown and crisp — not burned. For more on this subject, see How to get pie crust to brown on the bottom.
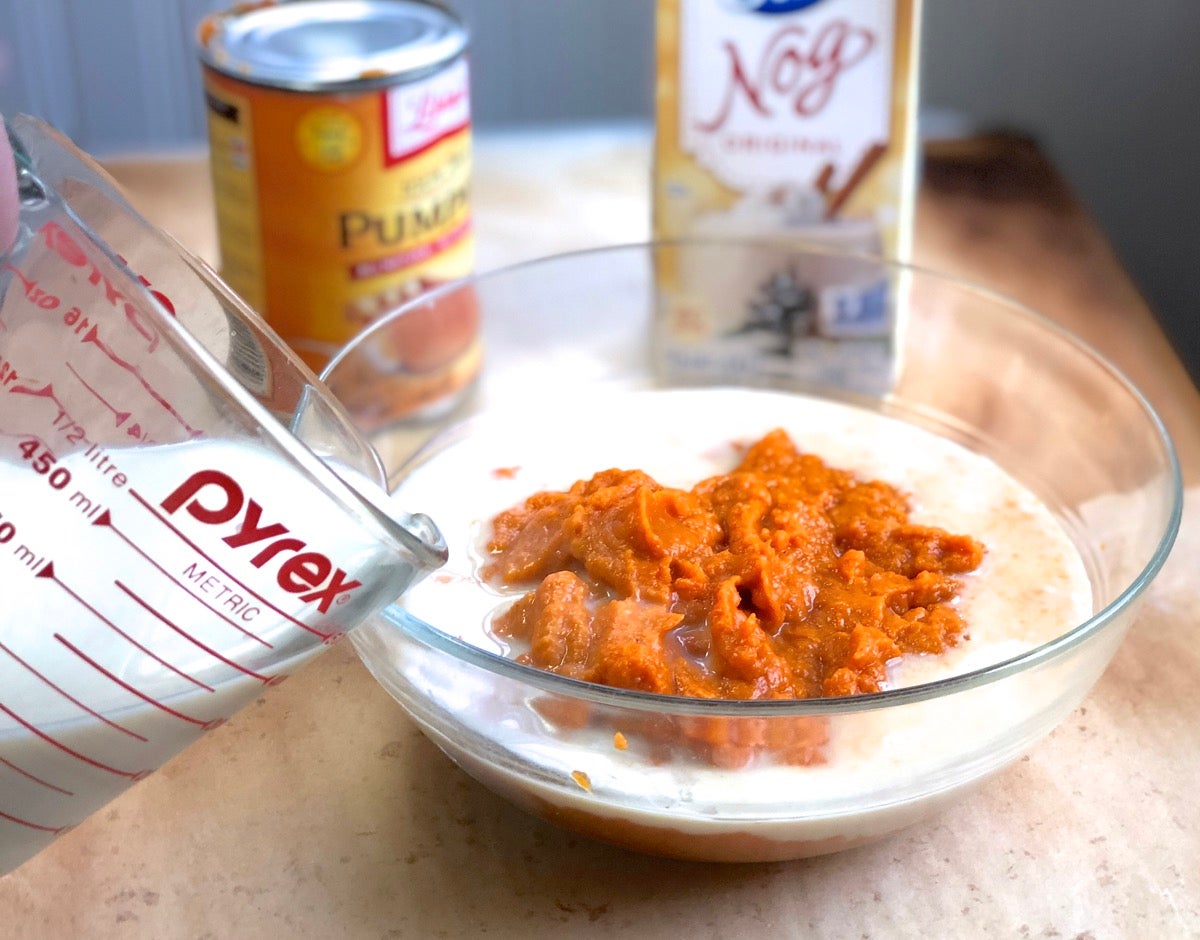
Eggnog in multiple incarnations floods the supermarket from Halloween through Christmas. Try it in your pumpkin pie in place of plain milk; the added spices and mild sweetness are natural flavor enhancers. And depending on what type of eggnog you choose — full-fat, low-fat, fat-free — you can vary the richness of your pie; or even make it dairy-free by using a plant-based eggnog.
Do you need to reduce the sugar in your pumpkin pie recipe to account for the sugar in the eggnog? No, probably not; most eggnog isn't highly sweetened, and even plain milk brings its own sugar to the party.
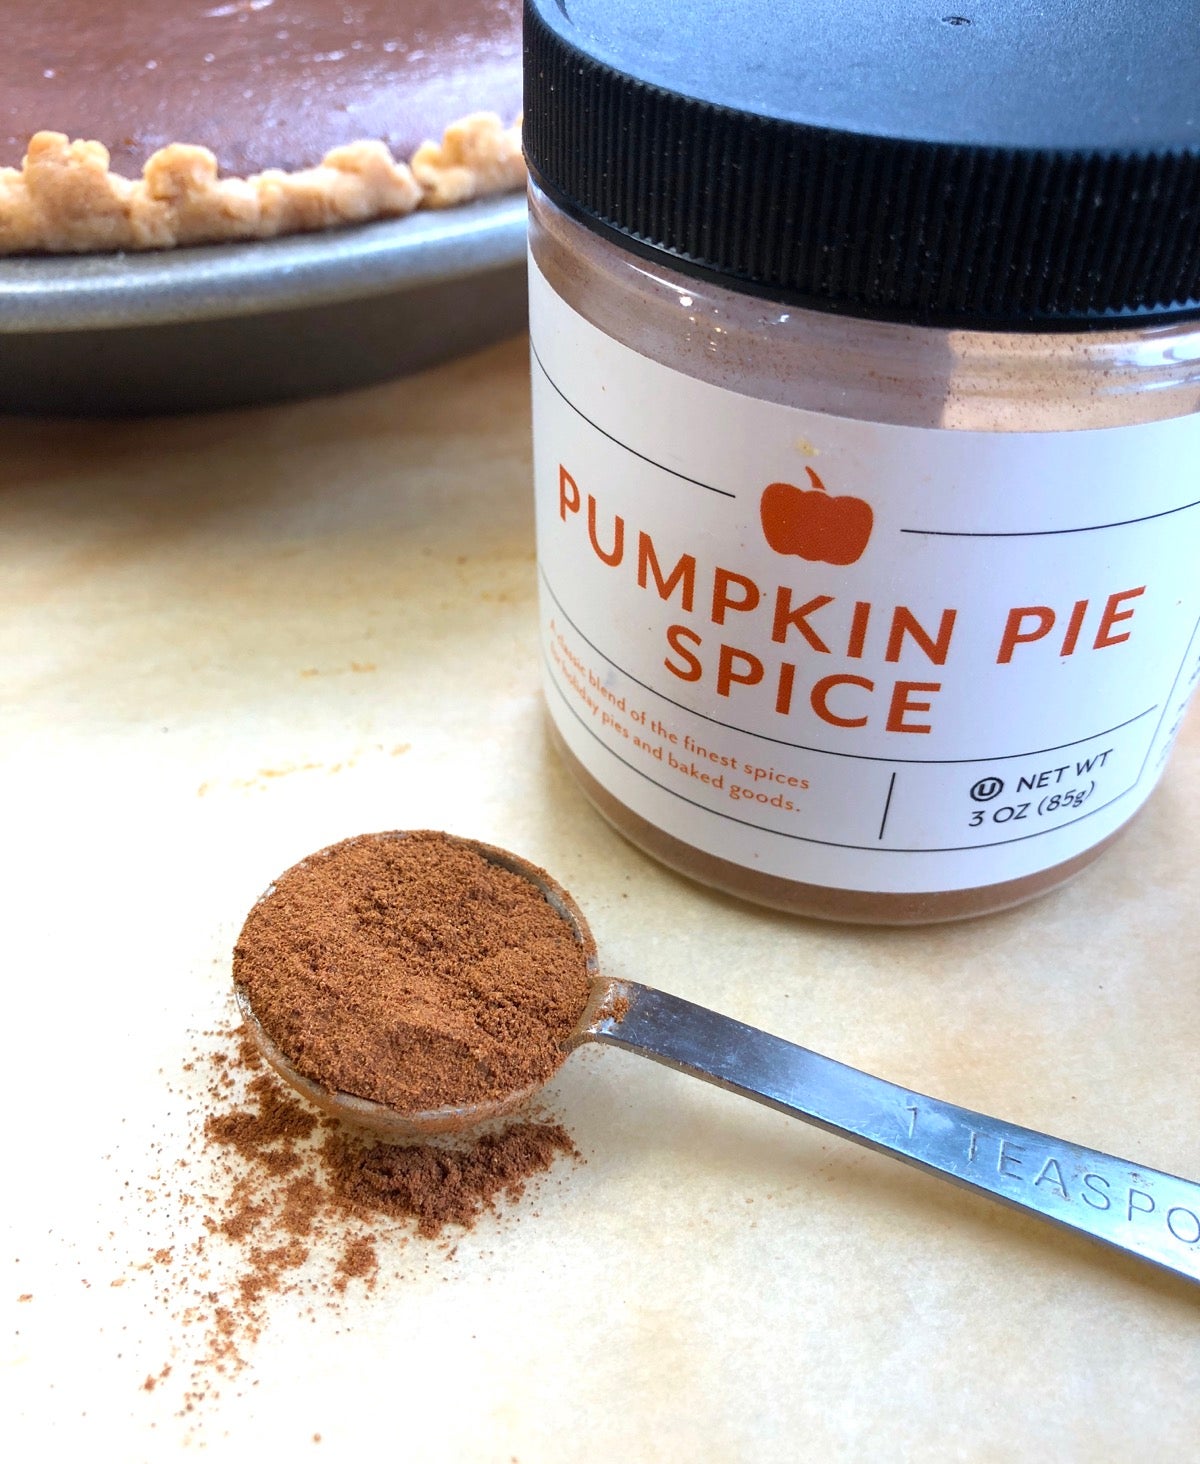
“Oh, man, I thought I had a bottle of ground cloves in here somewhere…” Forget rummaging through your spice drawer for those little bottles of seldom-used spices. Add a couple of teaspoons of pumpkin pie spice — a perfectly balanced blend of cinnamon, ginger, nutmeg, and cloves — and you’re good to go. Plus it’s an excellent addition to any kind of pumpkin recipe, from bread to muffins to scones.
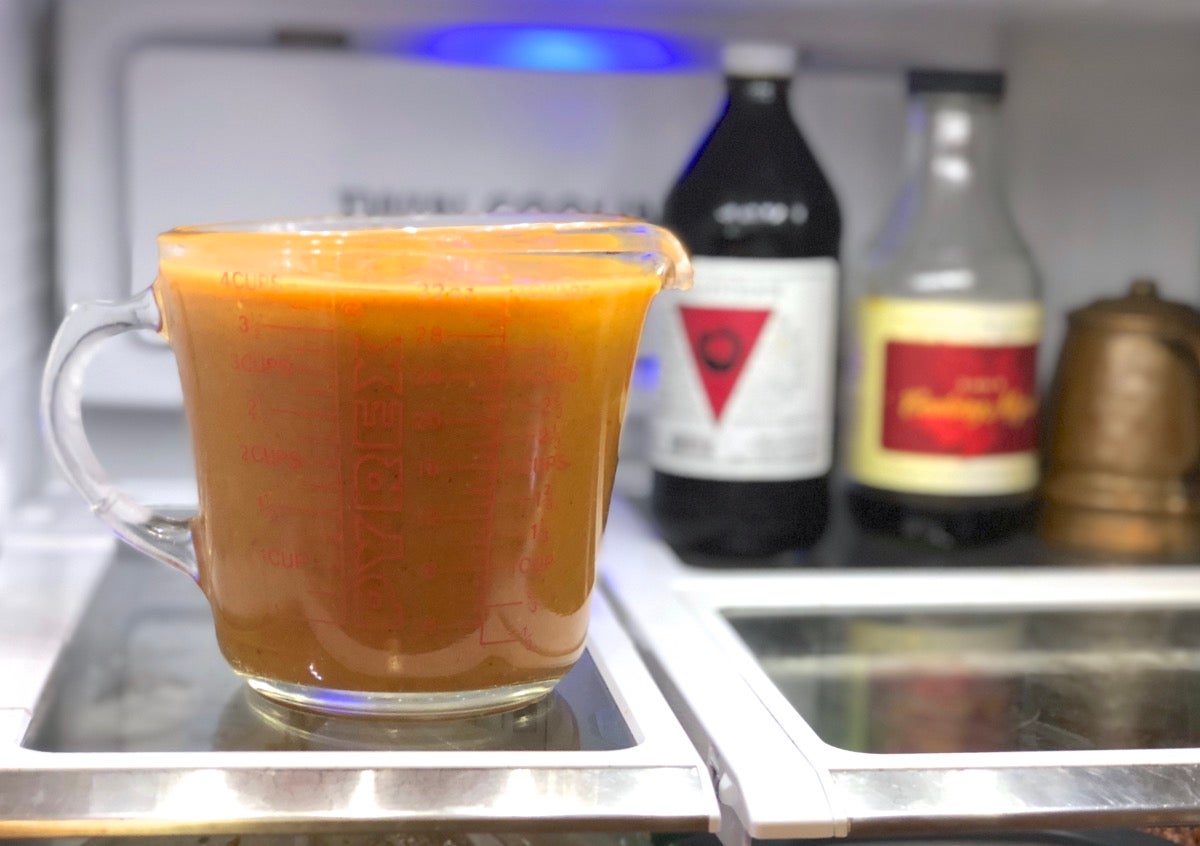
Speaking of spices, they do best when they have a chance to “bloom” — really open up and release their flavor and aroma, which happens when they’re combined with liquid.
To that end, we’ve found that refrigerating pumpkin pie filling overnight before using it not only enhances the spices' flavors, but also mellows them. Any “sharp edges” disappear, and you’re left with a smooth meld of complementary flavors.
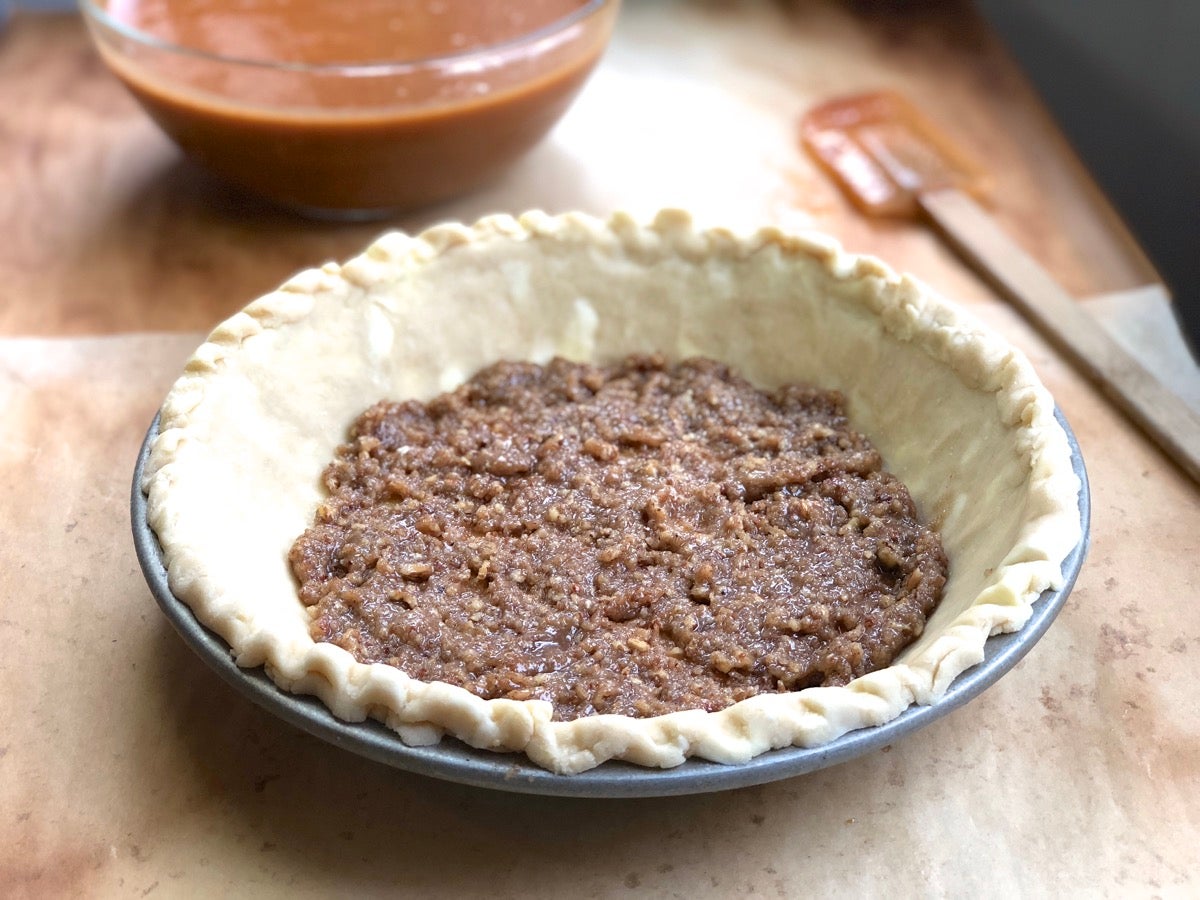
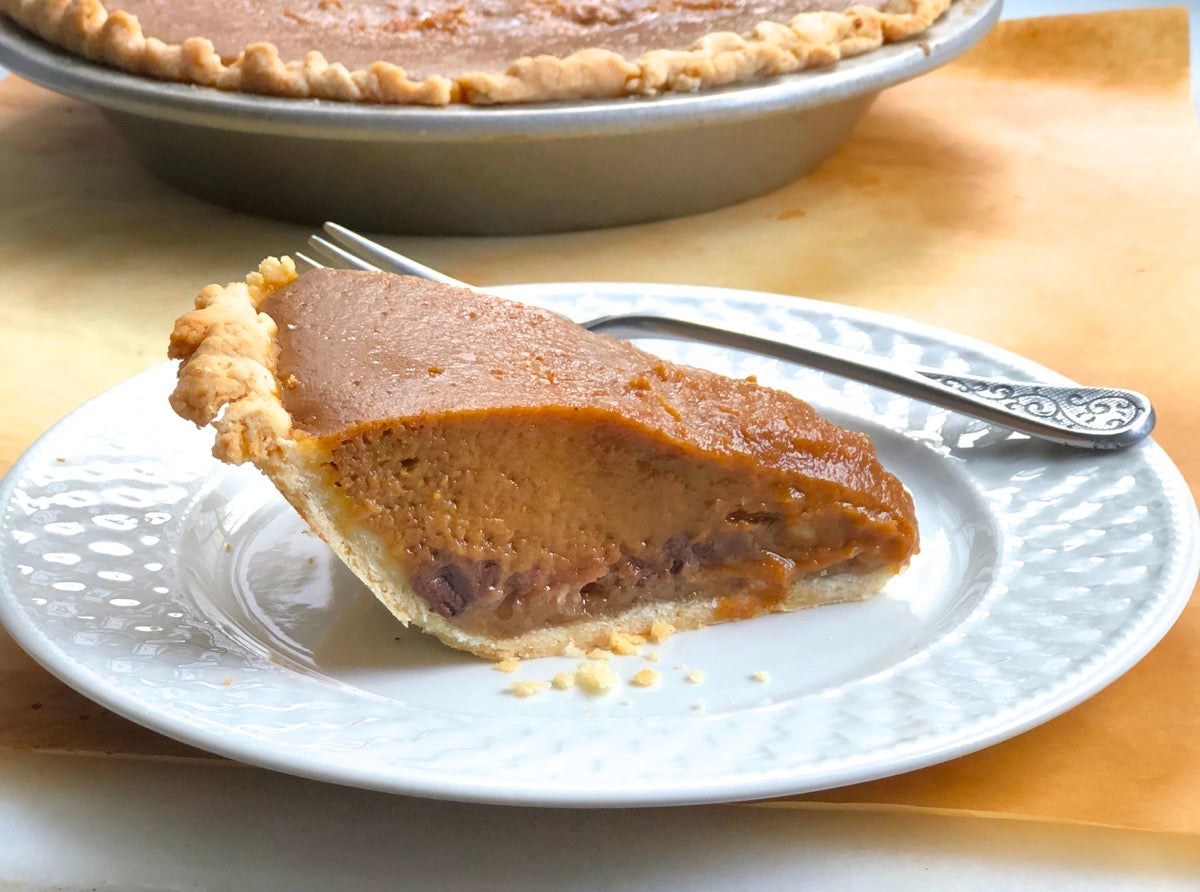
Do you sometimes perceive pumpkin pie as being a bit … well, boring? Add another flavor element with a layer of praline (brown sugar and pecans) in the bottom of the crust before pouring in the filling.
Simply whirl together 1/3 cup (37g) pecan pieces (toasted for best flavor), 1/3 cup (71g) brown sugar, 2 tablespoons (28g) soft or melted butter, and 1/8 teaspoon salt in a blender or food processor. Spread the resulting paste in the bottom of your crust, then pour in the filling and bake.
The result? About 1/4” of dense, nutty sweetness between pumpkin and crust. Now that's a flavor enhancer. Oh, I’ve also tried sprinkling a single layer of chocolate chips in the bottom of the crust. If you like the pumpkin/chocolate combo, that’s a winner, too.
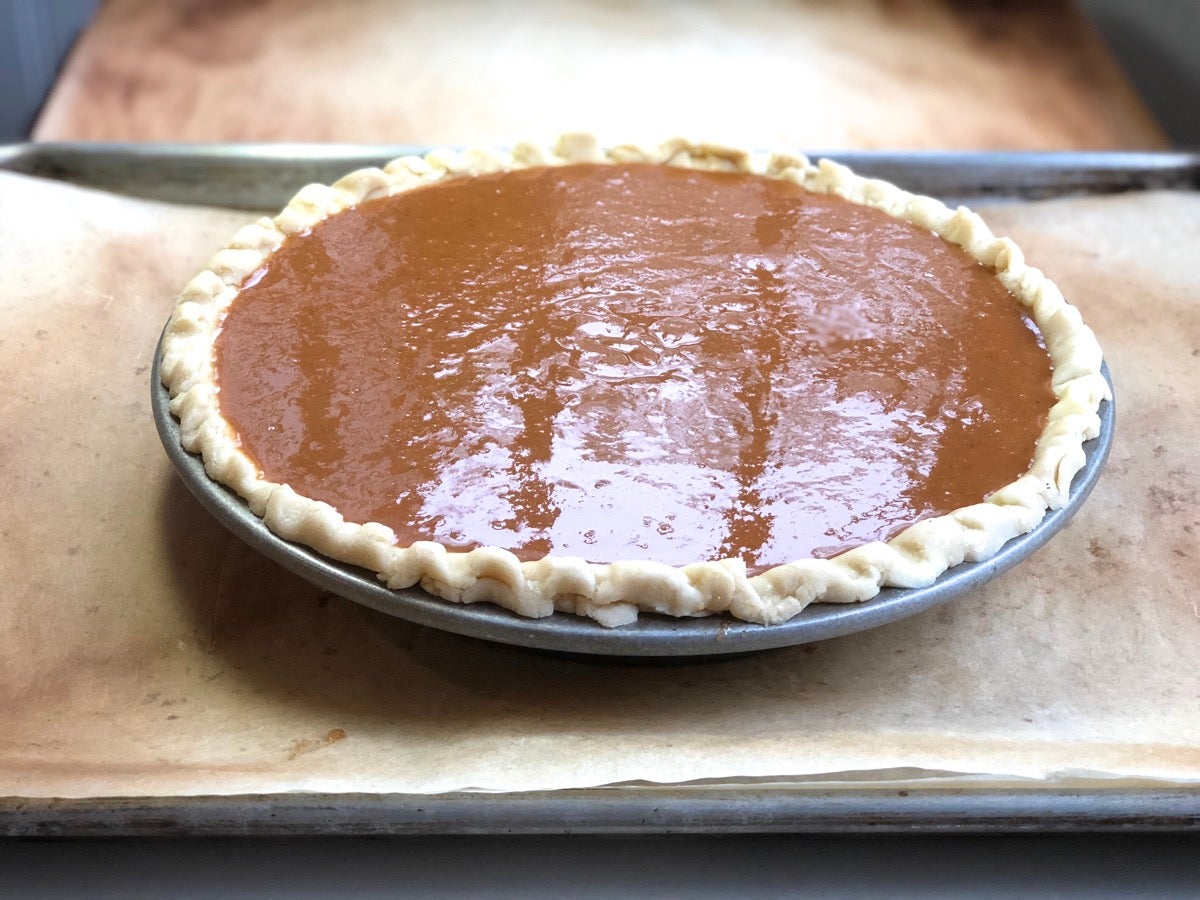
You used eggnog and pumpkin pie spice in your filling, and let it rest overnight to “season;” don’t spill a drop of that precious liquid on the way to the oven! If your pie pan is a tad shallow, your filling is potentially going to reach right up to the rim of the pan, ready to slop over the edge at the slightest tremor.
The solution? Make a tall (rather than rim-level) crimp. And put your pie pan on a baking sheet. It’s easier to grasp a larger straight-edged pan than a smaller slope-sided one.
Some bakers espouse pouring the filling into the crust once the crust is already in the oven. This is a bit tricky but if you’re particularly dexterous, it'll work — especially if your pie is on the oven’s bottom shelf, so you have some working room for your hands above it.
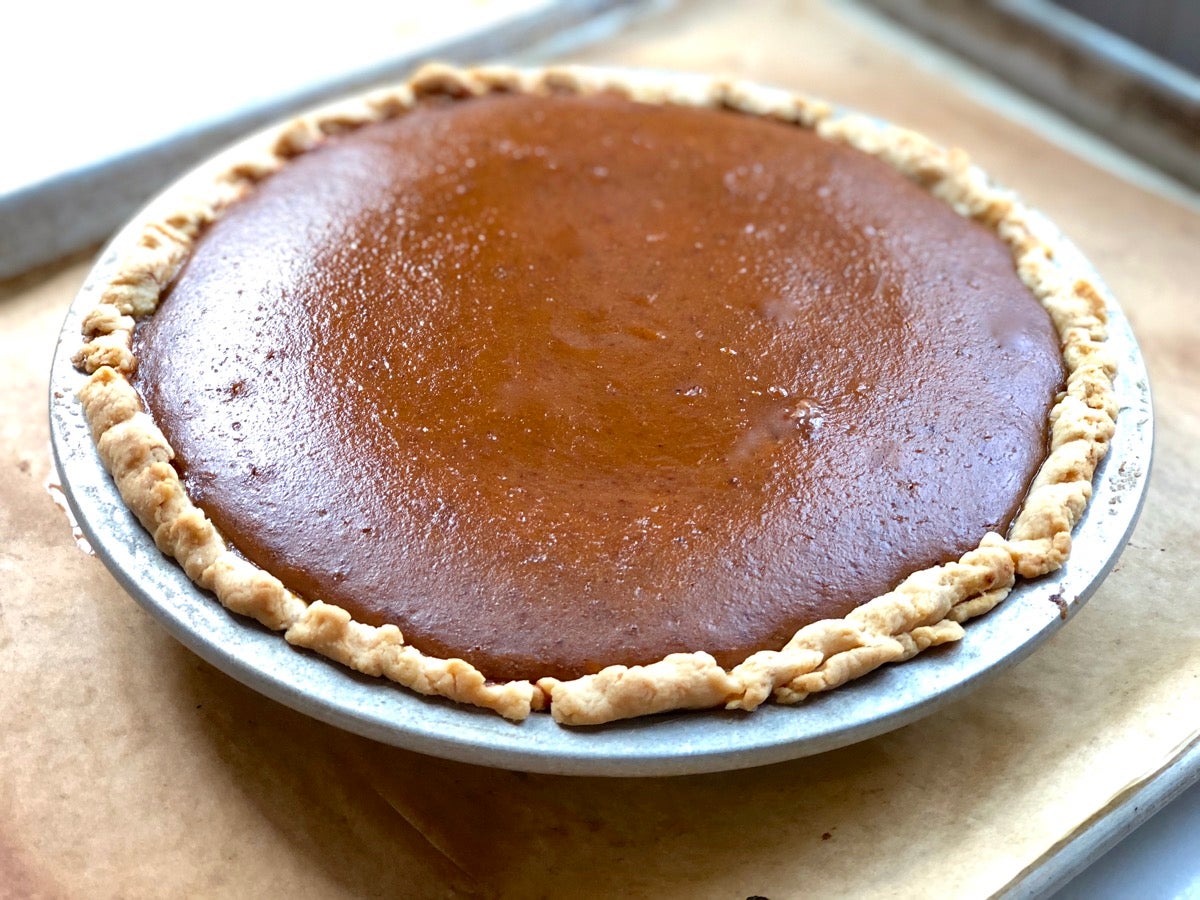
What’s the chief reason pumpkin pie develops unsightly cracks in its top surface? It’s been baked too long. The perfectly baked pie will look firm around the edges, but still soft and jiggly (albeit not liquid) in the center.
I usually like to judge whether something’s done by its internal temperature, but in this case sticking a thermometer into the pie will leave a jagged hole, no matter how careful you are. So instead, I take my 9” pie out of the oven when the sunken-looking ring in its center (the jiggly part) is about 4” across.
OK, but what if you really want to use your thermometer? I've found when the temperature of the pumpkin pie is 170°F measured 2" in from the edge, it's just right.
Please note: This is true using my thermometer in my oven with my pumpkin pie; your results may vary. Experiment to discover your optimum temperature for pumpkin pie that's fully baked — firm enough to slice nicely, yet still pillow-soft in the mouth.
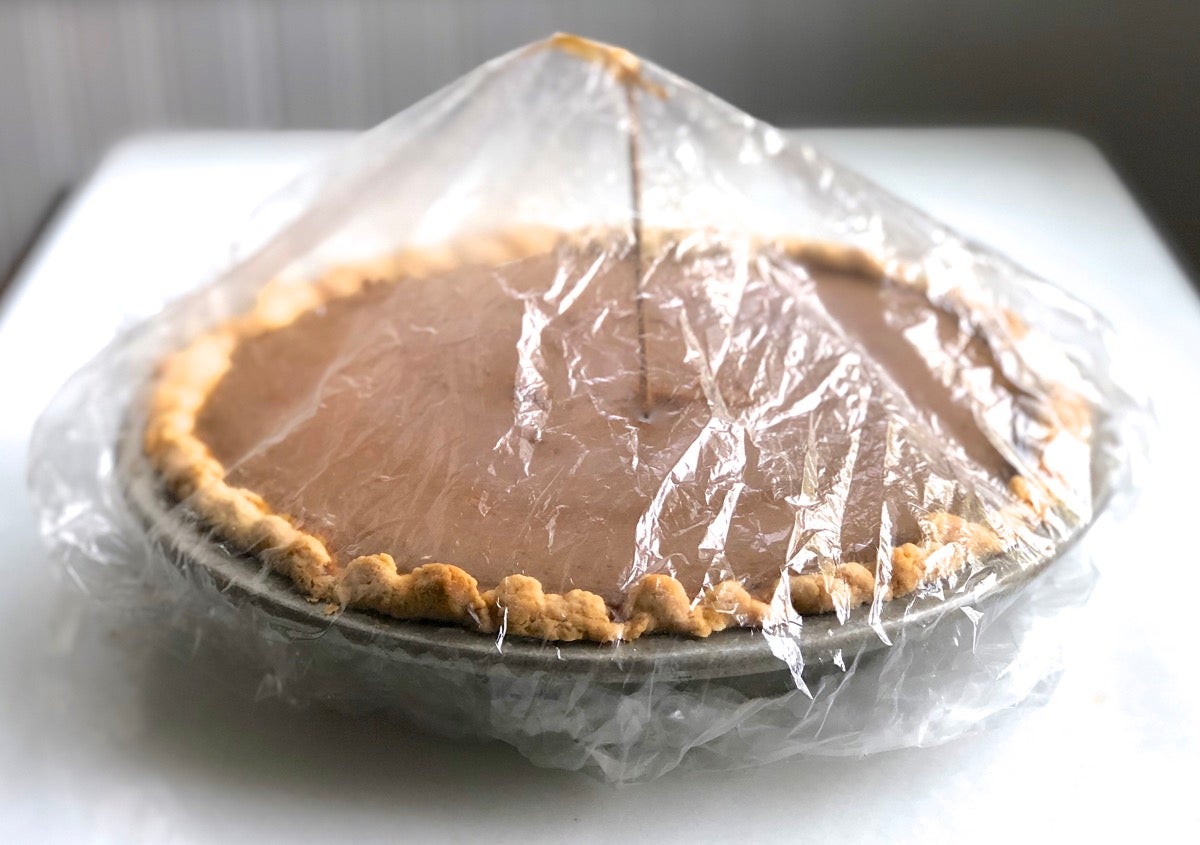
Once your pumpkin pie is out of the oven and cooled, you’ll need to refrigerate it. But don’t just lay a sheet of plastic wrap across the top; that’ll disturb its pristine beauty.
To make sure your pumpkin pie’s top stays smooth as a deep-woods pond at sunset, cover the pan with a shower cap, using a center “tent pole” to hold the plastic above the pumpkin. An extra-long toothpick (or bamboo skewer from an overstuffed burger or club sandwich) works beautifully.
Note: Make sure your pie is 100% completely cooled before covering, lest you risk condensation collecting on the plastic and dripping down onto the pie's surface.
But what about that toothpick hole you've now got in the center of your pie? Read on.
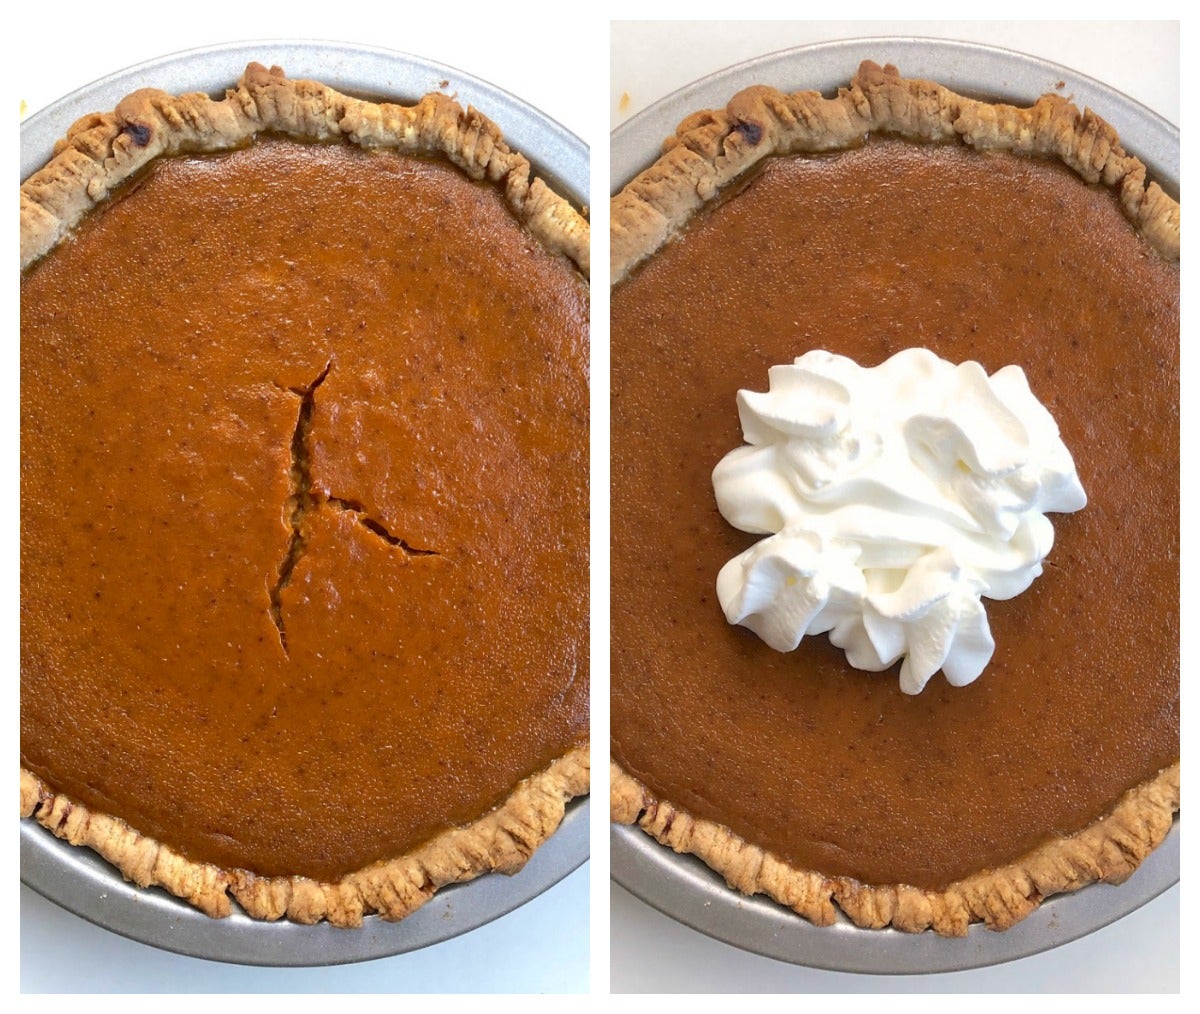 10. Cover up those blemishes!
Best way to prevent cracks in pumpkin pie? First, read How to keep pumpkin pie from cracking. If, despite your best efforts, you still end up with a cracked pie (or want to eliminate a thermometer or toothpick hole), no worries: Whipped cream’s got you (and your pie) covered. A judicious application will hide even the most flagrant fault lines.
Now that you've absorbed these tips for baking a better pumpkin pie, what about apple pie? And blueberry, and cherry, and lemon meringue? Find tips aplenty in our pie baking guide, the next best thing to having one of us King Arthur bakers right there in your kitchen!

