


Desired dough temperature
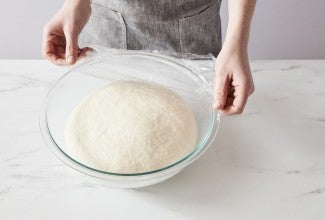
Dough temperature is key to achieving consistently great results in your bread baking.
When the seasons change it's not uncommon for our Baker's Hotline to hear from frustrated bread bakers who can't understand why their favorite bread recipe has suddenly turned on them. "I'm doing everything exactly the same, but my bread is falling in the oven."
The problem is that while you're doing everything the same, the conditions in your kitchen have changed. As warmer weather arrives, your kitchen (and the ingredients stored in it) are heating up. These changing temperatures affect how your dough performs, even when you keep faithfully to your baking routine.
So, what’s one thing you can do right now to improve the rise, appearance, and flavor of your yeast breads? Learn to control the temperature of your dough, from mixing through kneading. Bringing your yeast dough to what professionals call the desired dough temperature (DDT) helps ensure consistently great results — winter, summer, or anytime during the year.
Professional bakers are expected to provide consistent results each and every day. They know that being able to control dough temperature is the key to achieving consistency.
They also recognize that there are ideal dough temperatures for different types of dough, and maintaining dough temperatures within a specific range will lead to the best flavor and rise in their breads.
For wheat-based yeast breads, professionals have determined that the ideal dough temperature range is 75-78°F.
How do you achieve an ideal dough temperature day after day — despite changing conditions?
There are several main factors that impact dough temperature:
Friction factor — what’s that? It’s how much your dough temperature rises during mixing and kneading. This figure is an approximation because many variables affect how much heat is generated during the mixing and kneading process, and it can change significantly from one dough to the next. A future blog post will examine how to calculate the friction factor, but for now I've determined two friction factors:
So, back to desired dough temperature. Of these four factors, which one can the baker easily adjust? You guessed it — water temperature.
The Desired Dough Temperature Formula offers a way for bakers to calculate the factors that influence dough temperature, in order to determine the one factor they can easily control: water temperature.
First, pick the temperature you want your dough to be at the end of mixing and kneading. For this example, our target dough temperature is 78°F.
Desired Dough Temperature (DDT) = 78°F
Next, multiply the DDT by 3 (the number of variable temperatures other than water temperature that affect dough temperature: room, flour, friction).
Note: If you bake with an overnight starter or pre-ferment, multiply your DDT by 4 instead of 3, and include the temperature of the pre-ferment as another factor to subtract.
78°F X 3 = 234°F. This is the Total Temperature Factor (TTF).

Starting with 234°F, the TTF, subtract the actual room temperature and flour temperature, along with the predetermined friction factor:
234
- 72°F (room temperature)
- 71°F (flour temperature)
- 22° (friction factor)
= 69°F (water temperature)
By subtracting the factors we're less able to control that contribute to dough temperature, we can determine the correct water temperature to use in order to achieve our ideal dough temperature.

“But 69°F is so cool; doesn’t yeast have to be dissolved in lukewarm water?”
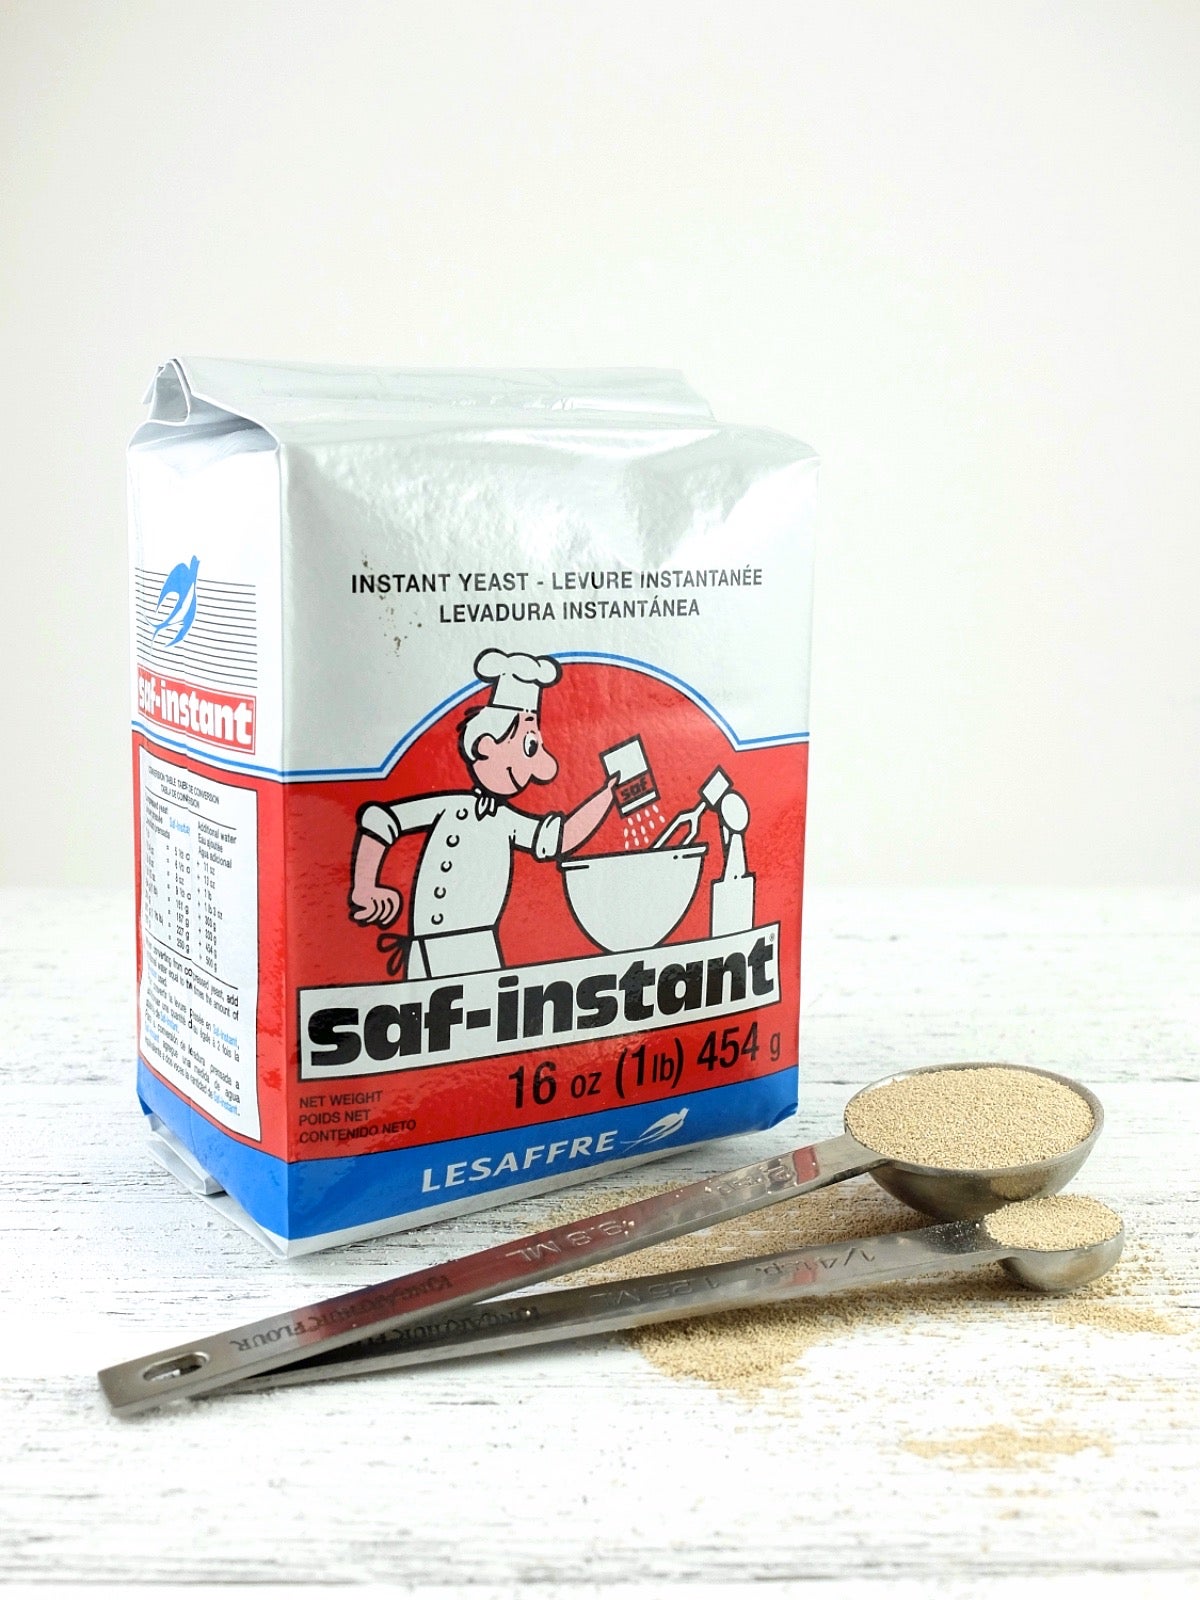 One of the great advantages of using instant yeast is that not only can you stir it in with the flour, you can also use cool water!
It's not recommended that you expose instant yeast directly to water cooler than 70°F; so mix the flour and instant yeast together before introducing the cool water in order for the yeast to activate properly.
Active dry yeast users take note: Normally it's fine to combine active dry yeast (ADY) and flour without dissolving the yeast in liquid first. But when using cool water, ADY may not activate properly. We recommend dissolving ADY in a small portion of the recipe water (about 3 tablespoons) that's been warmed to 110°F. Allow the yeast mixture to proof for 10 to 15 minutes before adding to the remaining cool water and flour.
How do different dough temperatures affect dough development and the flavor and rise of yeast breads?
Let's find out by mixing three different doughs: one with very cool water (50°F), one with very warm water (120°F), and one with "just-right" water using the DDT formula.
I'll use our King Arthur's Classic White Sandwich Bread recipe, substituting our Golden Whole Wheat flour for half the all-purpose flour (just because I like some whole wheat flour in my sandwich loaves).
I'll stick to a 60-minute first rise, as well as a 60-minute shaped rise. (Of course, in real life you want the dough's progress to be your guide, not the clock.)
When using cool or cold water, mix the flour and instant yeast together first, before adding to the water. If you store your yeast in the freezer, allow it to come to room temperature when working with cold water.
When mixing with 50°F water, my final dough temperature after mixing and kneading in my stand mixer is a surprising 72°F — not nearly as cold as I expected!

The dough’s first rise (in the bowl) is definitely sluggish (though apparent). After an hour in the pan, the loaf is ready to bake.
After mixing and kneading in my stand mixer with very warm water, the dough is a toasty 94°F.

Predictably, the first and second rises are much more dramatic than the dough mixed with cool water. But see how the top of the loaf is starting to bubble up and sag? This loaf is definitely over-proofed.
Finally I use the desired dough temperature formula to determine the water temperature for my last mix.

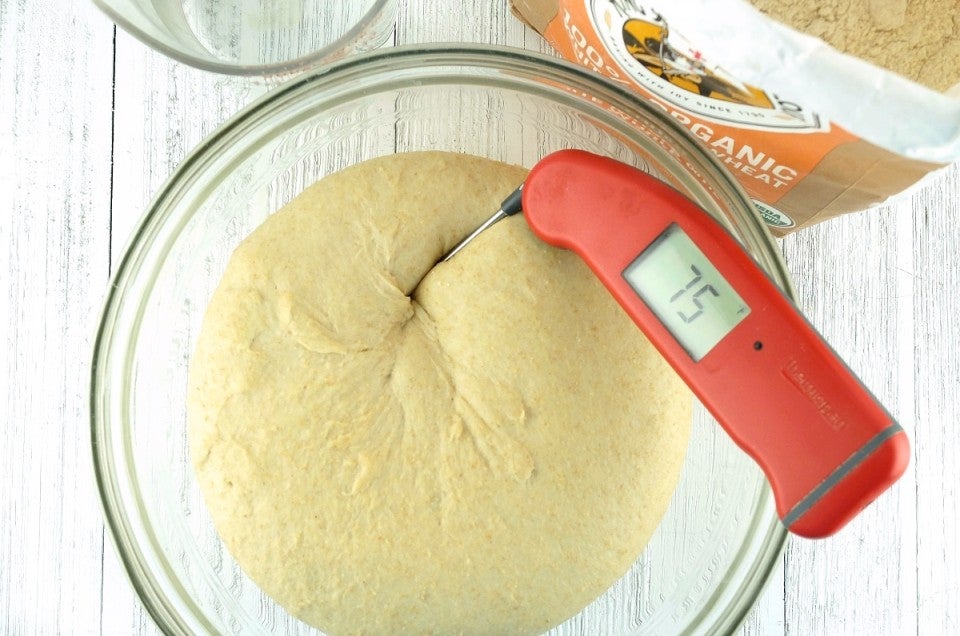
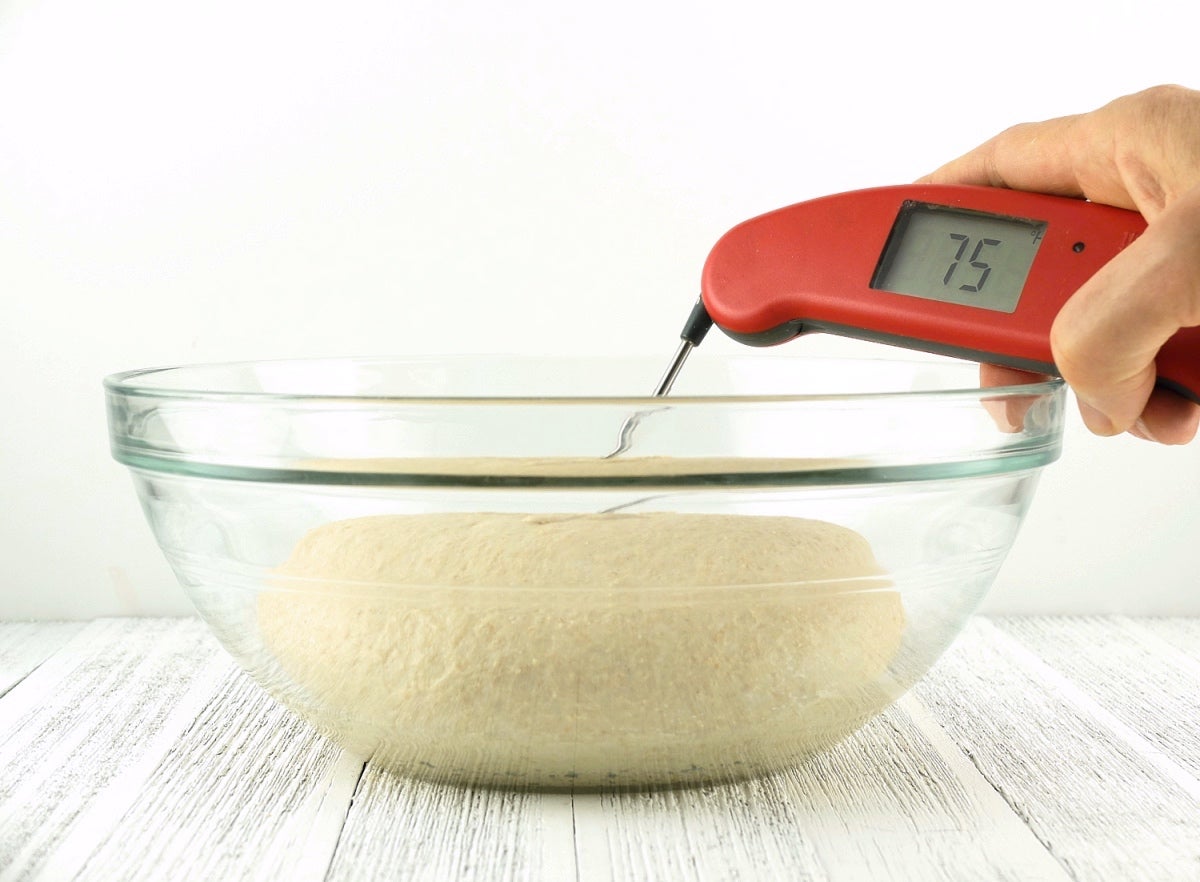
I aim for a desired dough temperature of 75°F. Because my kitchen has warmed up over the course of my baking day, the calculated water temperature is only 59°F!
After mixing and kneading in my stand mixer, the dough is exactly 75°F.
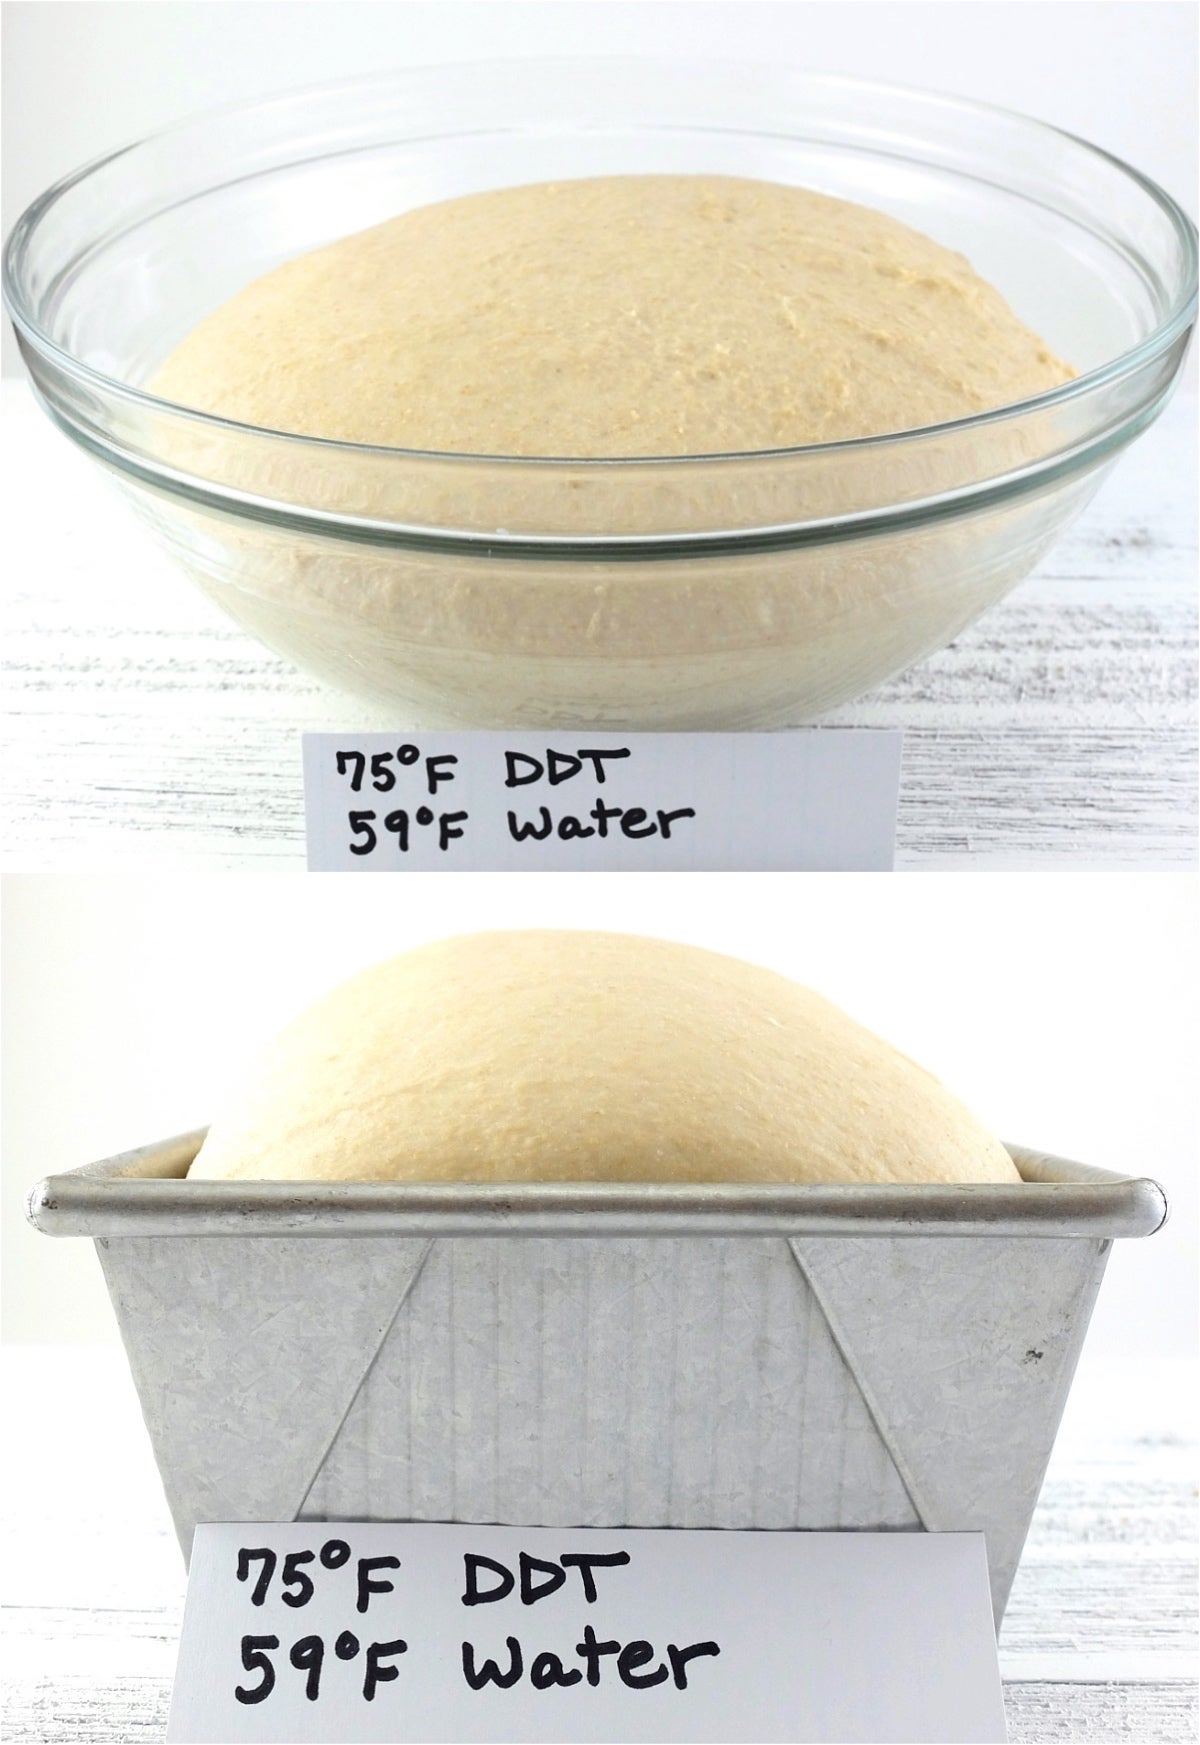
75°F dough almost doubles in size after the first rise, and after the second rise it's looking just about perfectly proofed and ready for baking.
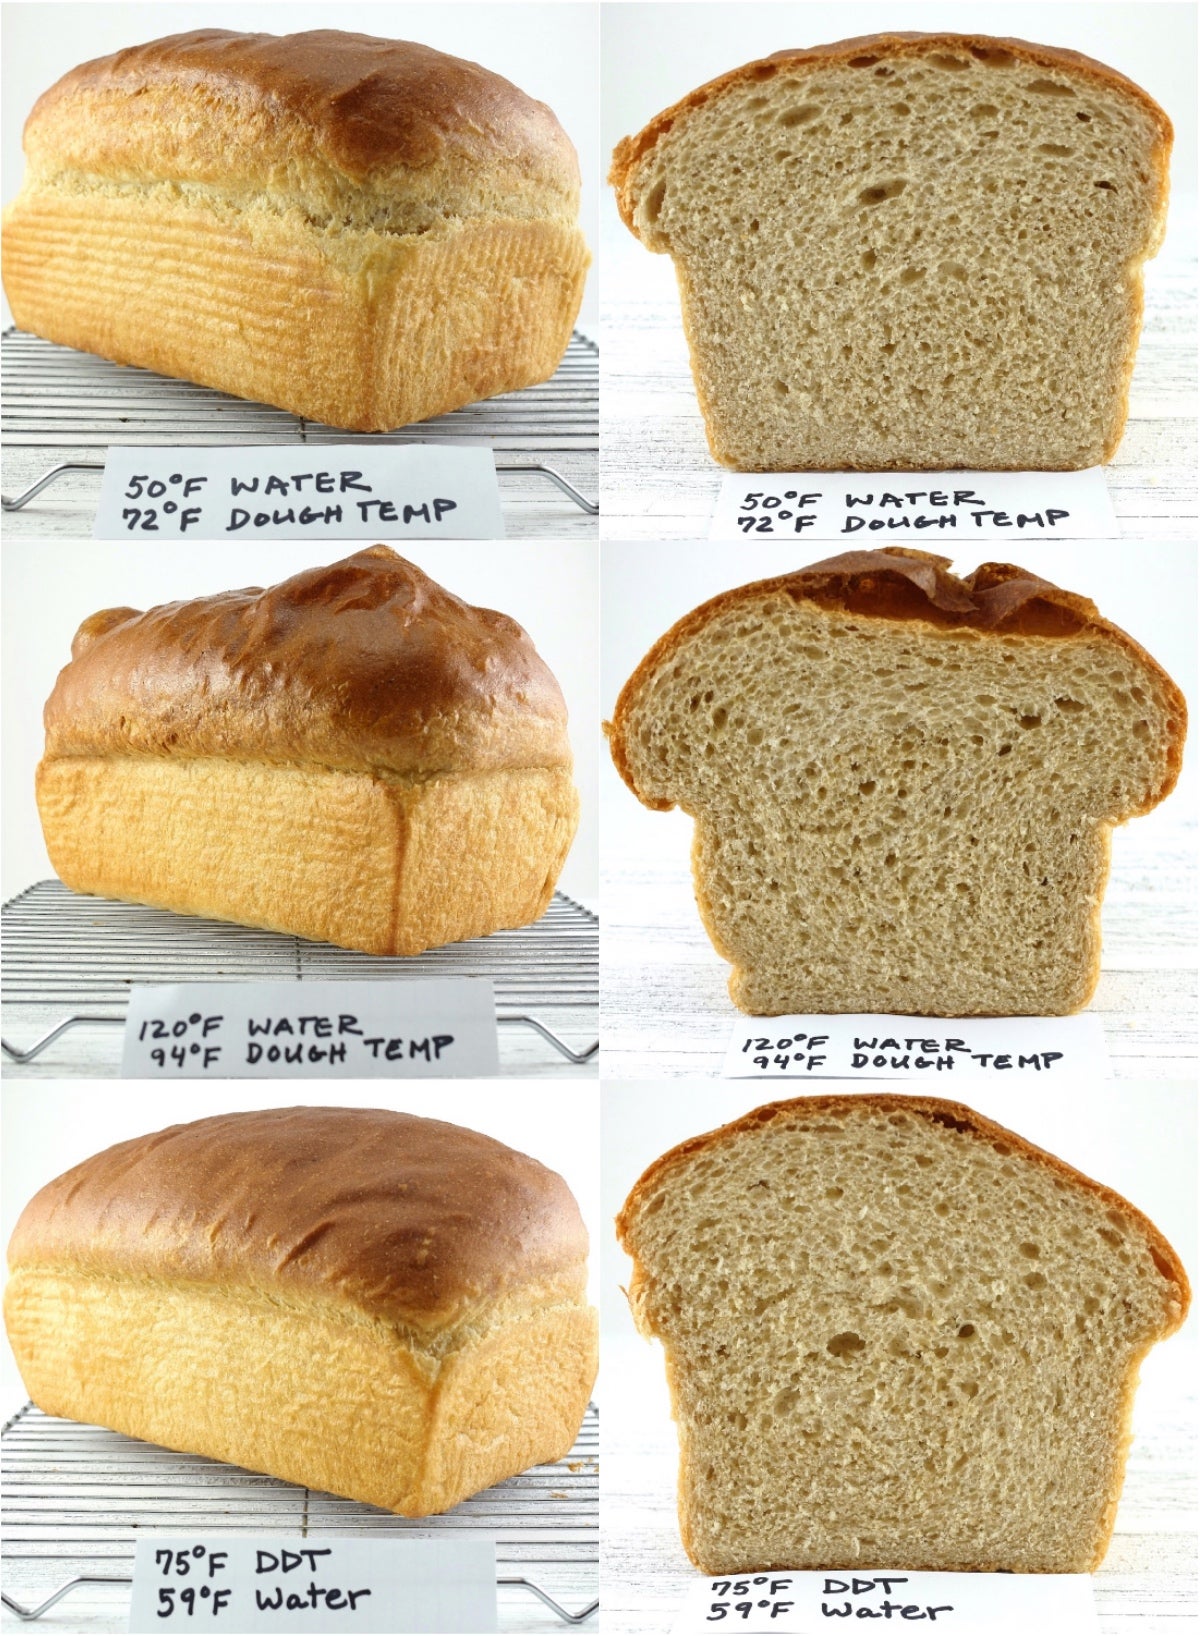
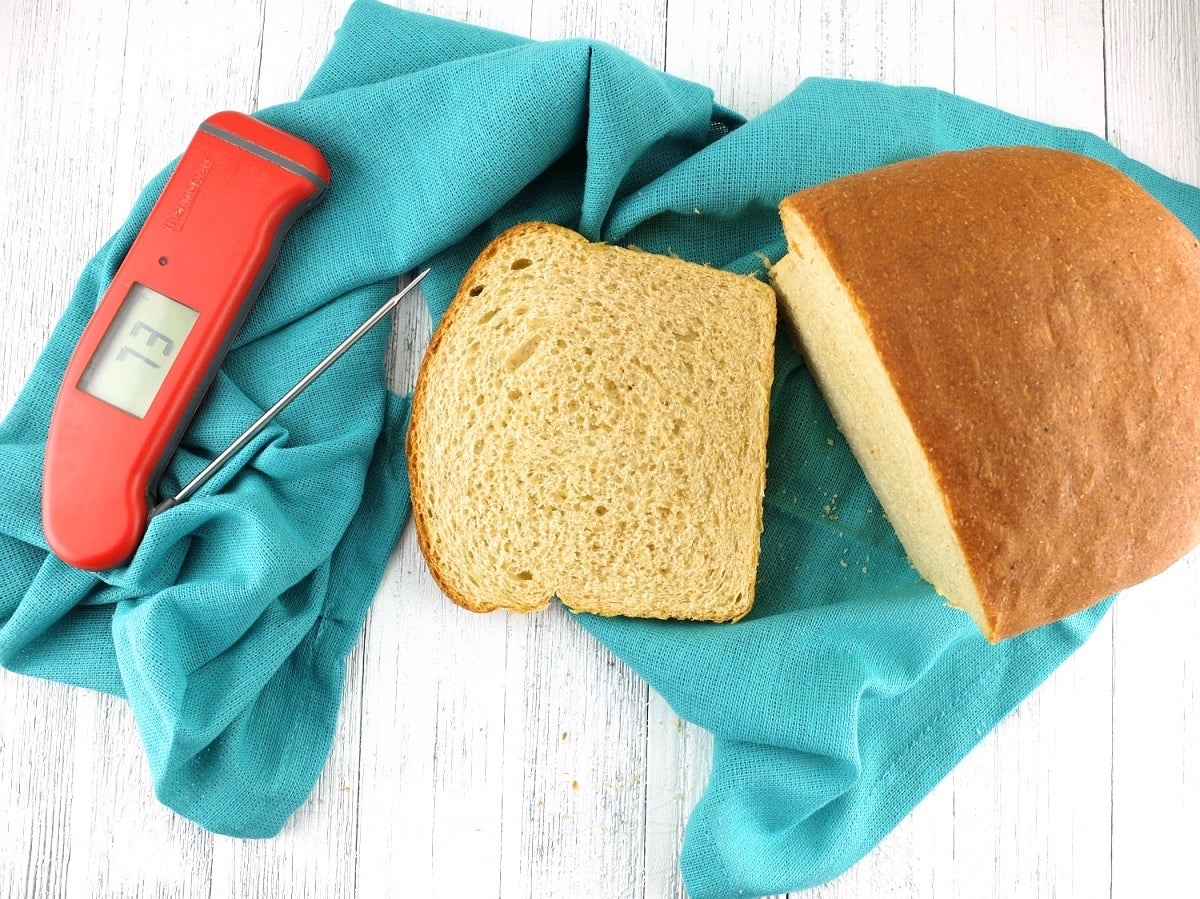
Dough #1 (50°F water) bakes into a slightly smaller loaf, but it's still a nice size with an even crumb structure.
Dough #2 (120°F water) doesn’t fall in the oven, as I feared it might. However, the bubbles are still evident on top of the loaf. And as it cools the surface collapses, resulting in lots of wrinkling. A little isn’t uncommon, but this loaf shows significant wrinkling and a large gap beneath the top crust.
Dough #3 (DDT 75°F) wins with the nicest rise and crumb structure, although Dough #1 is a close second. This isn't too surprising, since the difference in dough temperature between these two is only 3°F.
Dough #1 and #3: loaves have a moist crumb and a rich, slightly sweet, wheaty flavor.
Dough #2: loaf dries out more quickly than the other loaves, and has a bitter, acidic flavor.
Stay tuned for a future blog post covering the friction factor. Meanwhile, we hope you'll put the DDT formula to the test in your own bread baking, and share your comments and questions below!


August 31, 2020 at 11:46am
In reply to how do you get 59 water… by saida (not verified)
Hi Saida, I'm sorry if I lost you with the math here! The way this formula works you multiply the temperature of the dough you want to end up with (in this case it was 75F) by 3, which equals 225. From this number you subtract the current room temperature (72F) as well as the flour temperature (72F), and also the friction factor (which I estimated to be 22F) in order to figure out what water temperature to use: 225-72-72-22 = 59F water temperature. This isn't the most exact scientific formula in the world, but it is a good way of getting you in the right ball park as far as water temperature goes. And I've found doing it a few times at various times of the year gives me a pretty good sense of what water temperature to start with, even if I don't go to the trouble of doing all the math each time I bake bread. I hope this helps!
Barb
March 3, 2020 at 4:28am
Hi Barb,
I was hoping to ask your permission regarding to use this article (especially pictures) in my e-book in Hungary. My e-mail address is: szekibarbi@gmail.com
I look forward to hearing from you soon.
Best regards,
Barbara Szekeres
March 7, 2020 at 8:22am
In reply to Hi Barb, I was hoping to ask… by Barbara Szekeres (not verified)
Hi Barbara, thanks so much for your interest! I need to check with the blog team about our policies for sharing material, but I'll get back to you when I find out.
Barb
November 10, 2019 at 10:07am
Thank you so much - this is very helpful. A question, though. If I am using the ABin5 (the peasant bread currently in the refrigerator), do I let the dough come to 72-75, and then shape to rise (perhaps a fold or two to equalize the internal and external dough temp) ? Or just shape and watch ? I have been using the shape and watch, (as the book specifies) but I get a very tight crumb if I use the recommended 40 minutes. Thank you !
November 14, 2019 at 3:02pm
In reply to Thank you so much - this is… by Leigh (not verified)
Hi Leigh, so glad to hear you found this blog post helpful! In the case of the ABin5 recipes, I think their shape and watch method should work fine. These recipes normally call for the dough to go through an initial rise at room temperature, and can spend varying amounts of time in the refrigerator, so waiting for the dough to come up to the 72-75 degree range is probably not necessary, however, it probably wouldn't hurt to give it a little more time at room temperature. You might want to try a loose preshape at warm room temperature (45 minutes to an hour on a floured surface, with the dough covered well to prevent it from drying out. You could also add a fold halfway through this period if you want. I would then proceed to shaping and follow their 40 minute recommendations. Barb
October 28, 2019 at 5:15am
is there a formula for how much ice to add to a dough to reach a desired tempure a mix very large doughs
October 28, 2019 at 4:16pm
In reply to is there a formula for how… by stev c (not verified)
Hi Stev, I don't know of a formula like this, and I would be shy about using ice water, particularly if you're using dry yeast, as this may make it difficult for the yeast to dissolve and activate properly. When using water cooler than 70 degrees, be sure to mix the instant yeast with the flour first, or activate the active dry yeast separately in a small amount of lukewarm water. You can definitely use cooler water, but I would avoid ice water.
Barb
June 30, 2019 at 6:20am
June 30, 2019 at 9:48am
In reply to hi, what can you do to 'save' the dough if you were not able to… by Q Alcantara (not verified)
July 8, 2019 at 10:51am
In reply to hi, what can you do to 'save' the dough if you were not able to… by Q Alcantara (not verified)