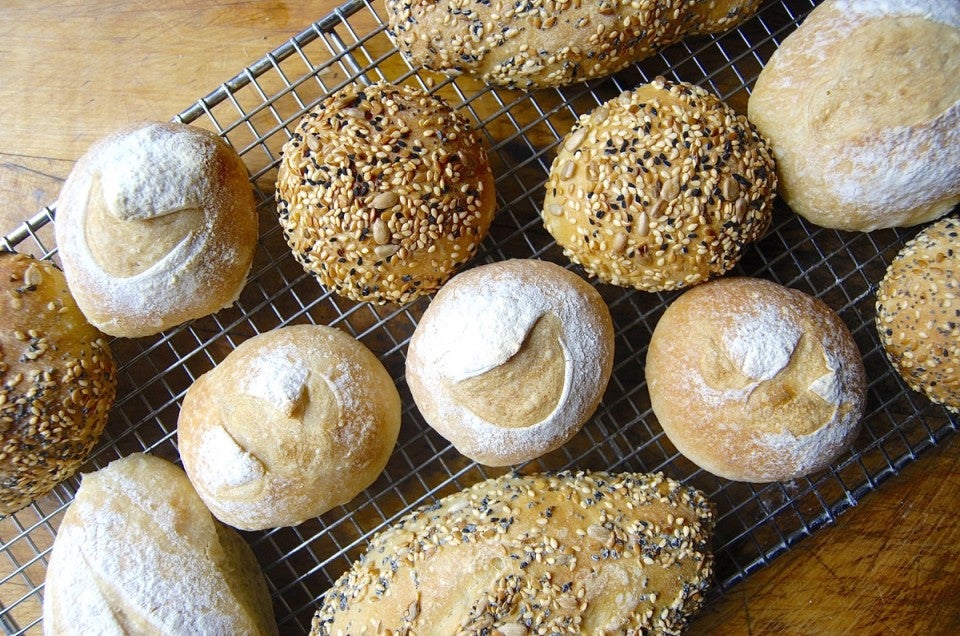


With the year drawing to a close, it's time to give one final shout-out to our 2016 Recipe of the Year, No-Knead Crusty White Bread.
We've made the dough from this versatile recipe into artisan loaves, and pizza crust. We've created loaves stuffed with cheddar and jalapeño, or studded with golden raisins and rolled in cinnamon-sugar. We've even showed you how to freeze the dough — and how to make a version with whole wheat flour.
And now, with holiday parties looming, it's time to make a big batch of no-knead sandwich rolls — the quick and easy way, of course.
There's no simpler holiday spread than a basket of rolls and a platter of deli meats and cheeses, with an array of complementary condiments and sides. Christmas cookies and your bubbly beverage of choice complete the picture.
No-knead dinner rolls start with a big bucket of dough in the fridge. It's best to let the dough chill for several days, so make it ahead, then shape and bake rolls right before you need them. Fresh, warm, crusty, perfect — and perfectly easy.
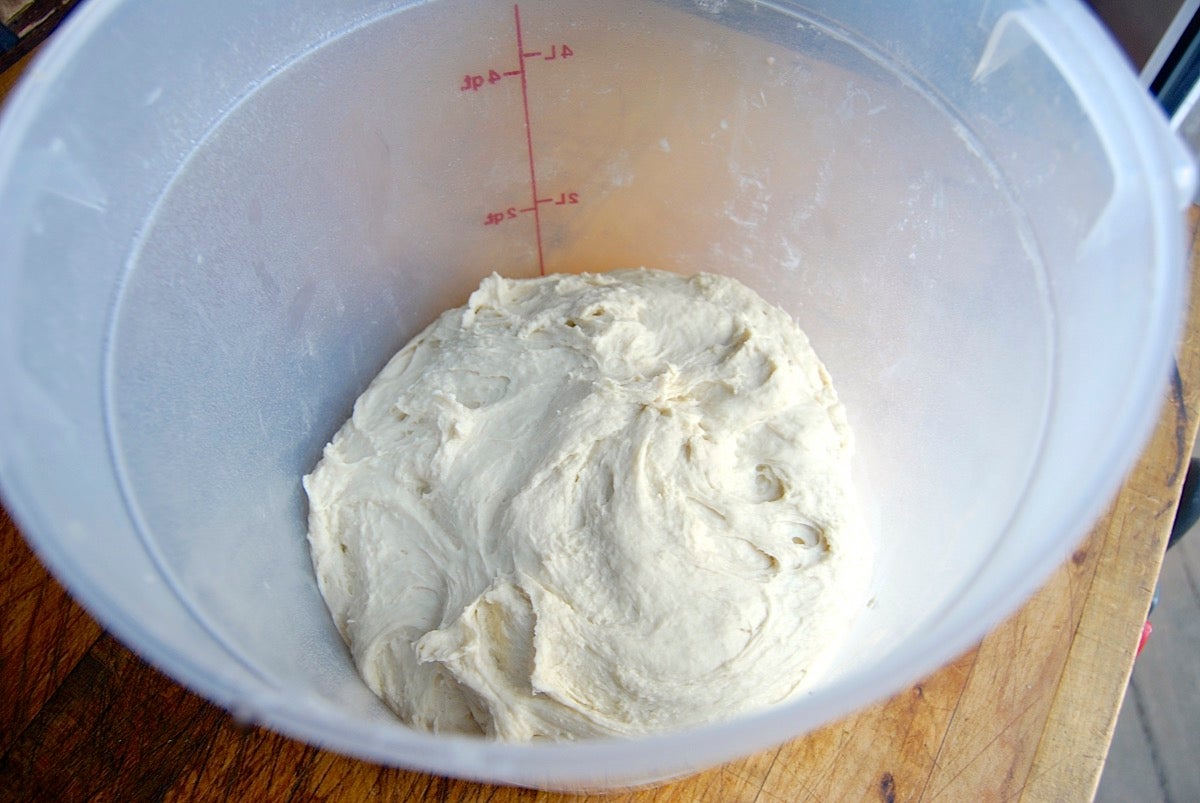
Combine the following in a large bowl, or the bowl of a 7-quart stand mixer:
7 1/2 cups (907g) King Arthur Unbleached All-Purpose Flour
3 cups (680g) lukewarm water
1 tablespoon salt
1 1/2 tablespoons (14g) instant yeast or active dry yeast
Before we start, why the range in volume amounts for the flour?
Because for best results we want you to use the exact right amount of flour, and people have vastly different techniques for measuring flour. If you measure "the King Arthur way," by sprinkling flour into your measuring cup, use 7 1/2 cups. If you measure flour "heavy," by dipping cup into canister and tapping to settle the contents, use 6 1/2 cups.
Best bet? Weigh your flour rather than measure it into a cup. Weighing ingredients, particularly flour, takes away all the guesswork and helps ensure consistent recipe success.
Stir everything together until there are no dry/floury patches showing. Place the dough in a large food-safe storage bucket, or large (at least 6-quart) bowl.
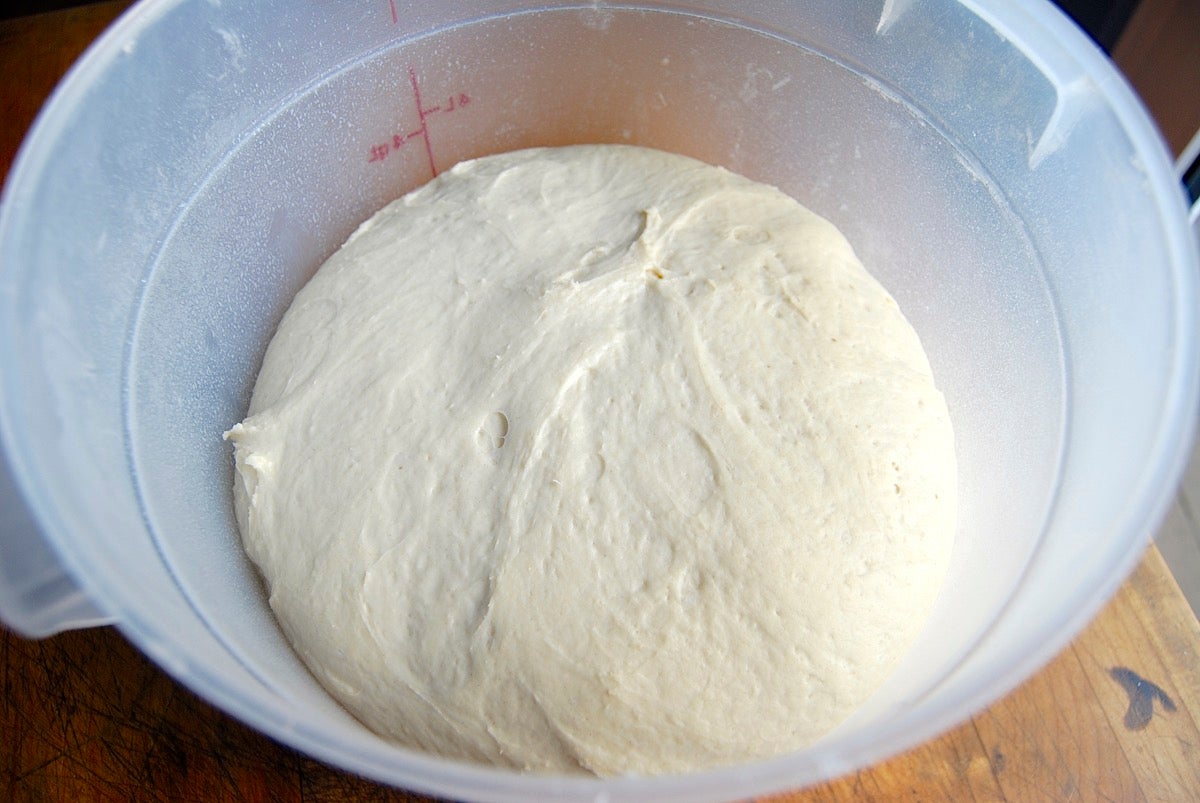
Let the dough rise, covered, for one to two hours at room temperature. I photographed the dough above after one hour; over the course of the next hour, it rose past the line in the bucket.
Cover the bowl or bucket securely, and refrigerate the dough for at least two hours, or for up to seven days. The longer you keep it in the fridge, the tangier it'll get; if you chill it for seven days, it'll taste like sourdough.
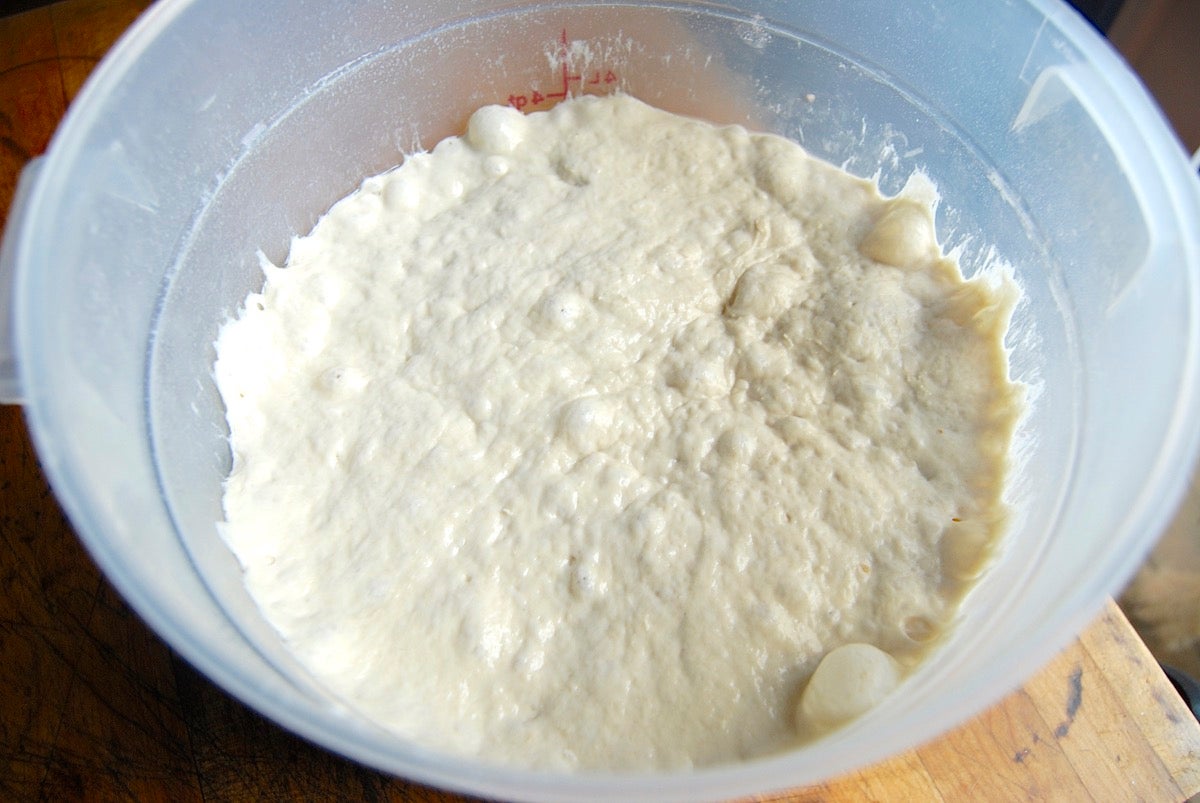
Over the course of the first day or so, the dough will rise, then fall. That's OK; that's what it's supposed to do.
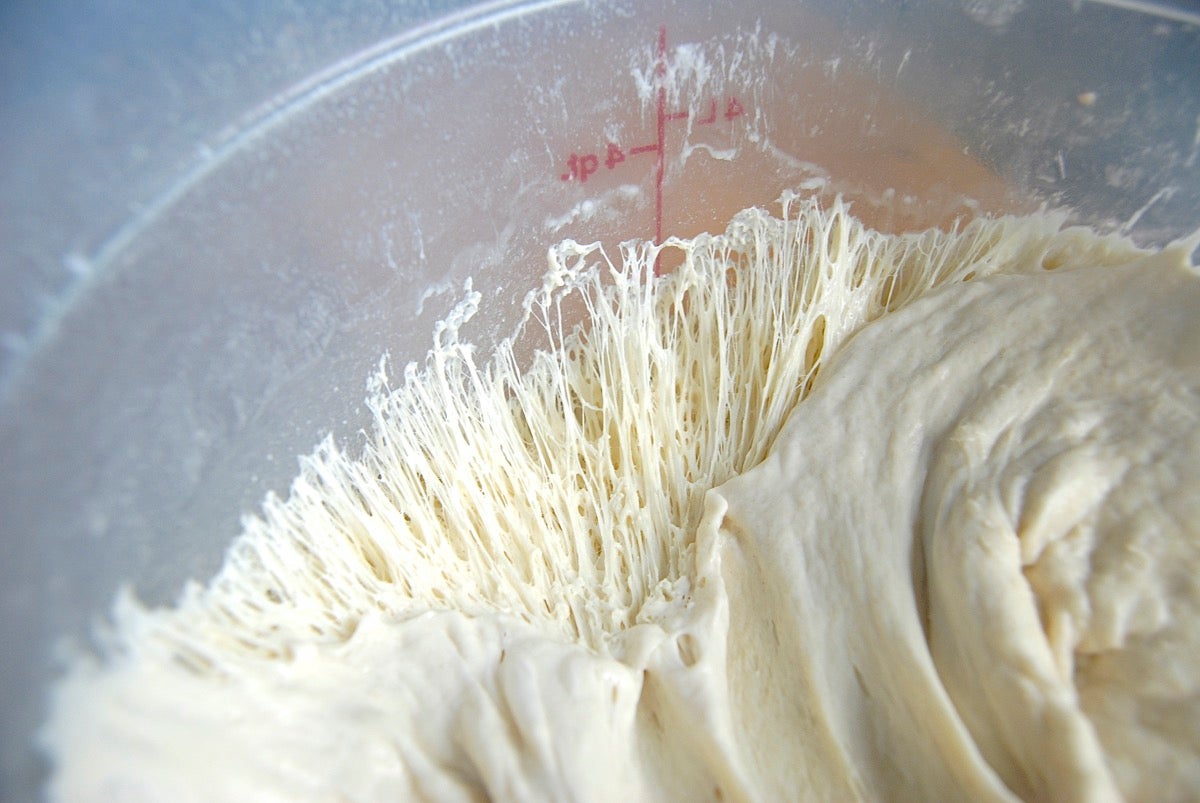
When you're ready to make rolls, take the dough out of the fridge. Pull a bit away from the side of the container — see those strands? That's gluten, the elastic network of flour and water that'll turn the dough into high-rising rolls.
First, decide what size rolls you want to make. Sliders? Sandwiches? "Sub" rolls?
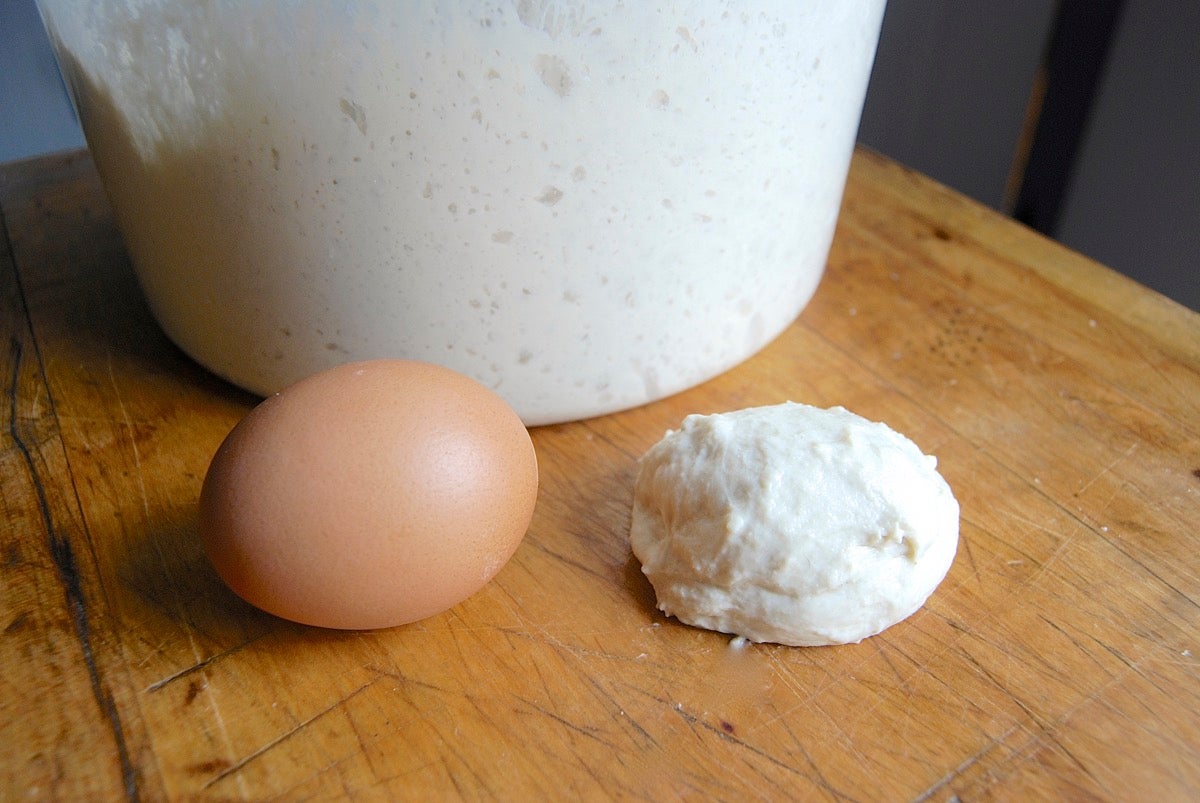
A 2-ounce piece of dough (a bit smaller than a large egg) will make a nice little slider roll, like that pictured at the top of this post.
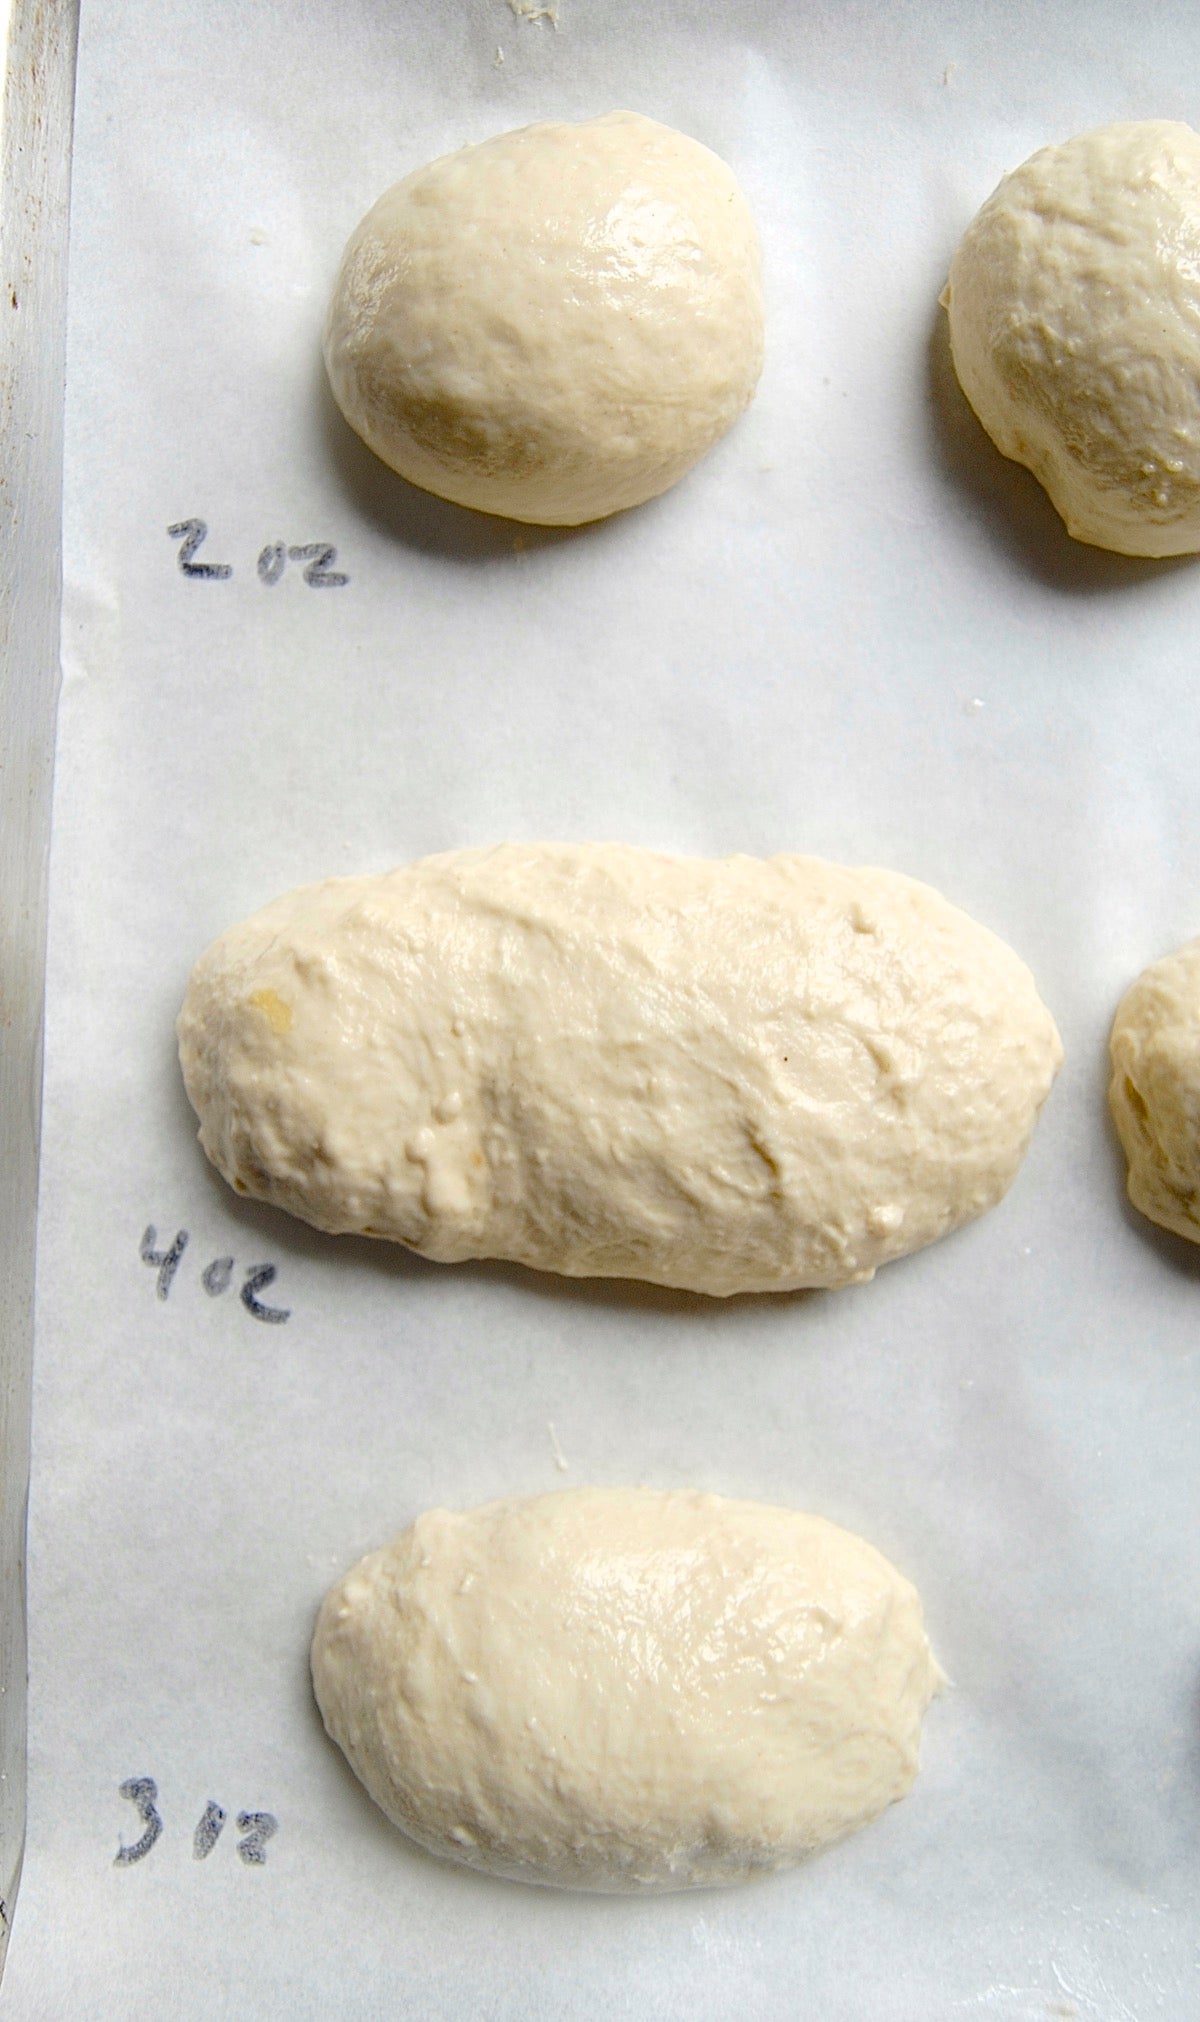
A 4- to 4 1/2-ounce piece of dough (about the size of an Italian sausage) makes a nice, crusty 5" to 6" sub roll. Three ounces of dough, shaped into an oval, risen, and baked, makes a 3 3/4" to 4" sandwich roll.
I've made an assortment of sizes here, to cover a range of appetites.
Place the rolls on a lightly greased or parchment-lined baking sheet, leaving a couple of inches between them.
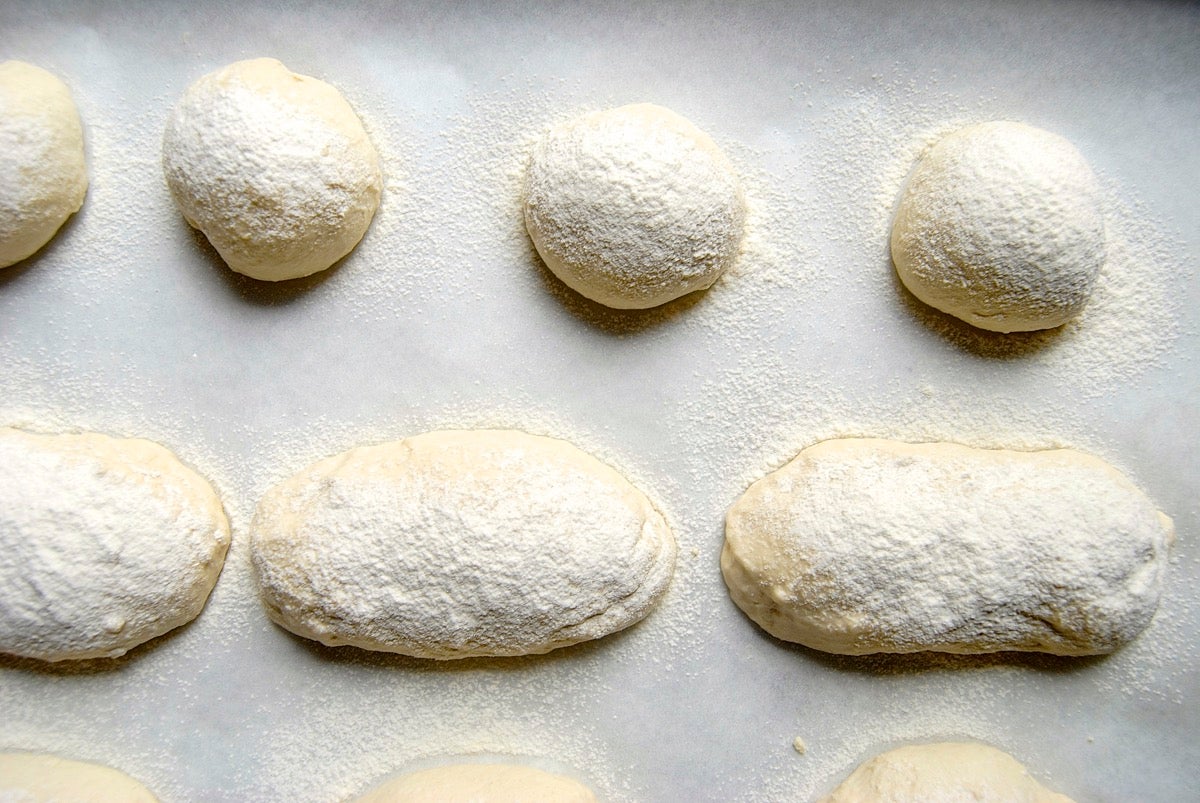
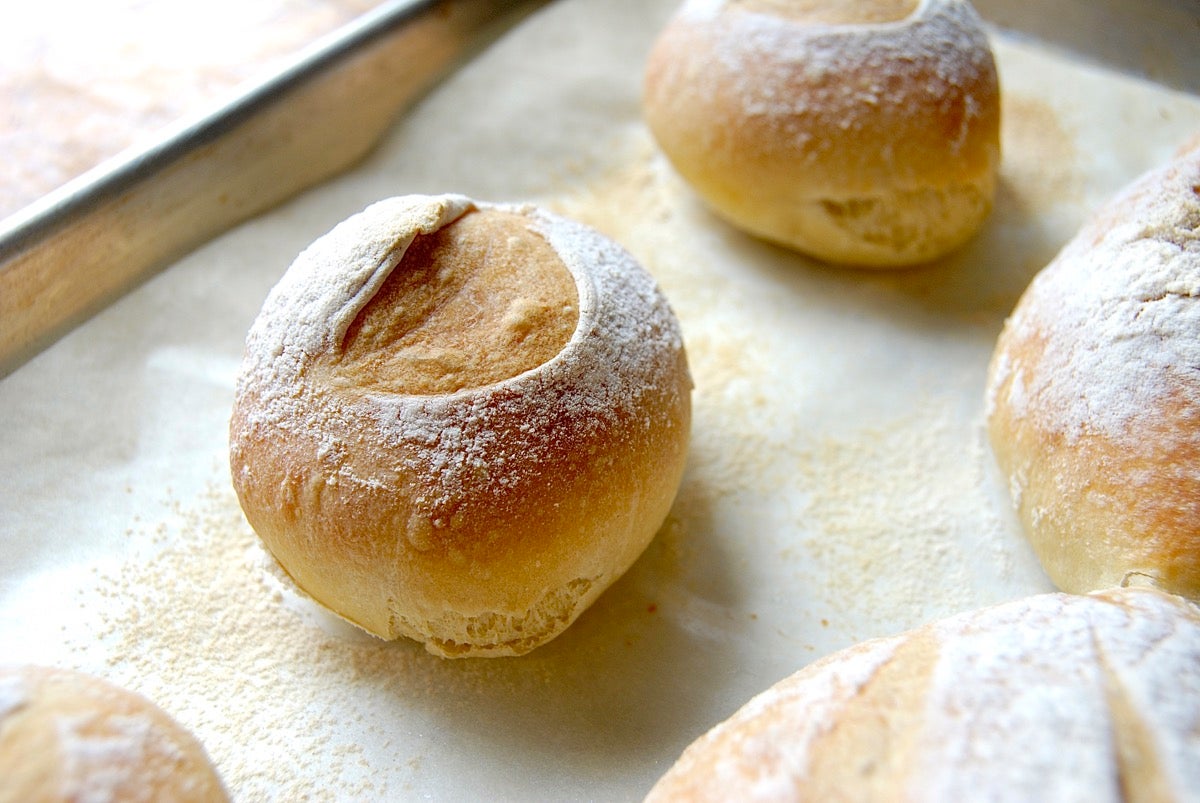
Sieve a thin layer of flour over the rolls. This will help keep them moist as they rise, and also enhance their appearance once baked.
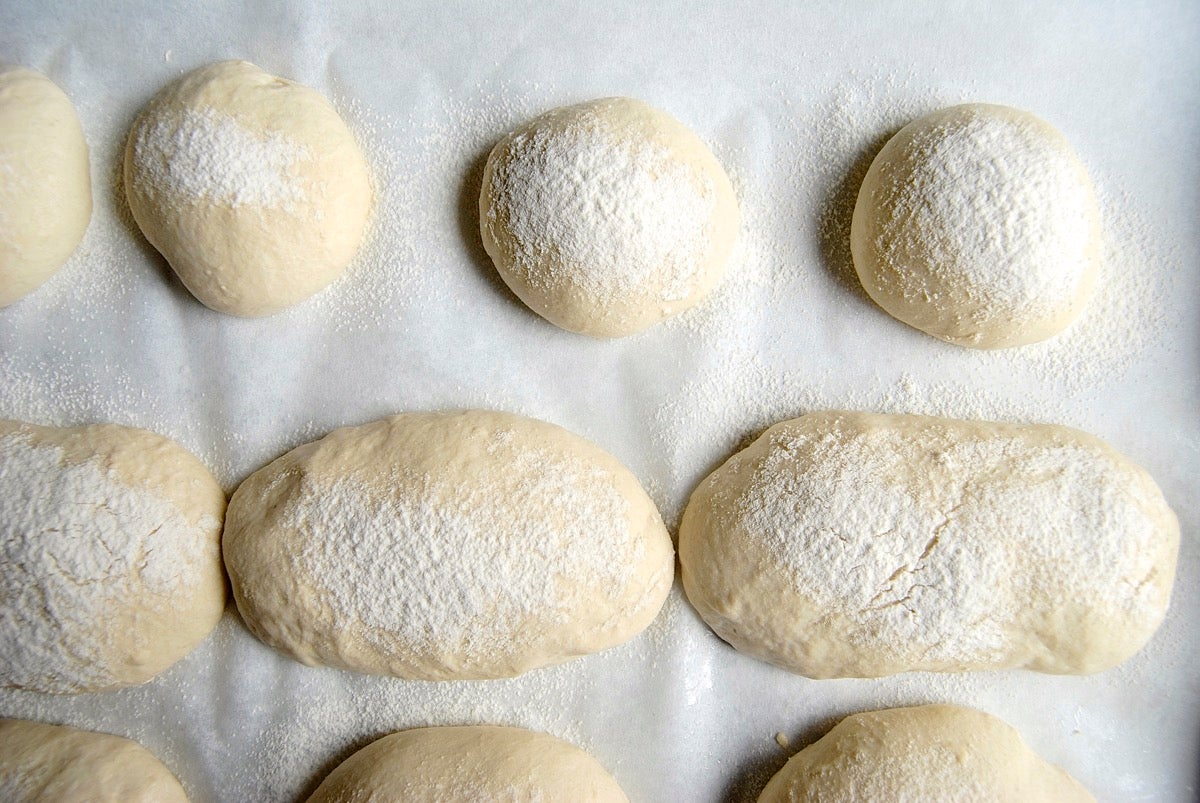
Let the rolls warm to room temperature and rise; this should take about 60 minutes (or longer, up to a couple of hours, if your house is cool). They won't appear to rise upward that much; rather, they'll seem to settle and expand.
Preheat your oven to 450°F while the rolls rise. Place a shallow metal or cast iron pan (not glass, Pyrex, or ceramic) on the lowest oven rack, and have 1 cup of hot water ready to go.
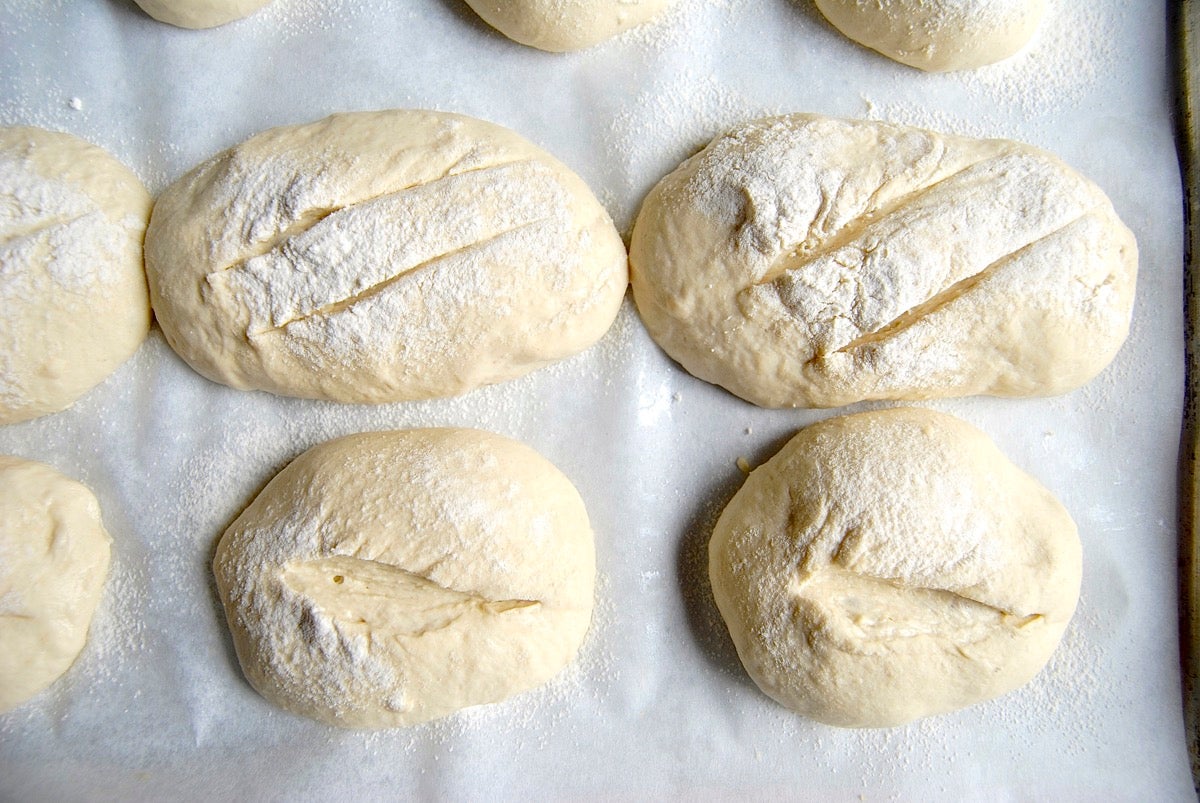
When you're ready to bake, take a sharp knife and slash the rolls, making a cut (or two) about 1/2" deep. The rolls may deflate a bit; that's OK, they'll pick right up in the hot oven.
Place the pan of rolls into the oven and carefully pour the 1 cup hot water into the shallow pan on the rack beneath. It'll bubble and steam; close the oven door quickly. This steam will help the rolls rise high, and add a tiny bit of sheen to their crust.
Bake the rolls for 25 minutes, or until they're golden brown.
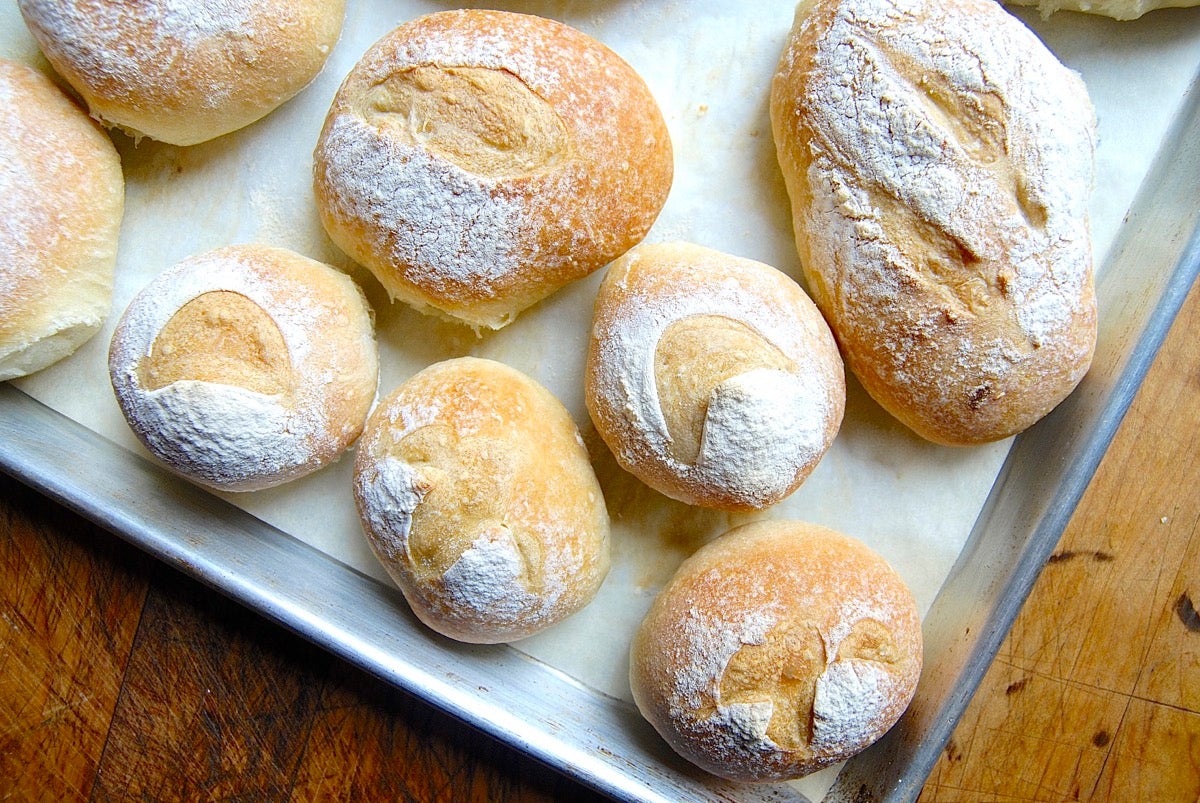
Let them cool slightly if desired — on a rack, or right on the pan. Or rip right into them if you just can't wait.
Let's add crunch and flavor to our next batch of rolls, shall we?
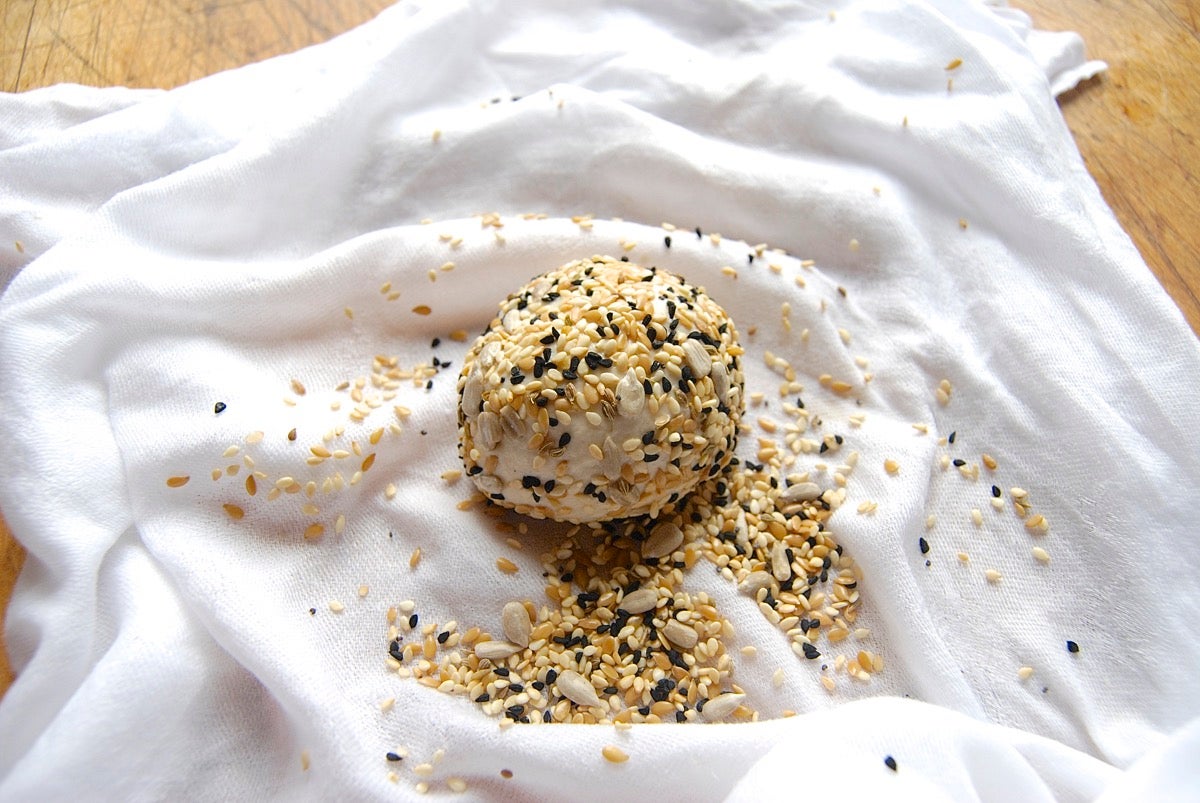
A seeded crust makes crunchy, yummy rolls. Here's how the pros in our bakery seed their rolls:
Soak a smooth cotton towel, wring it out, and place a pile of seeds in the center. Add rolls, rolling them gently in the seeds until fully covered.
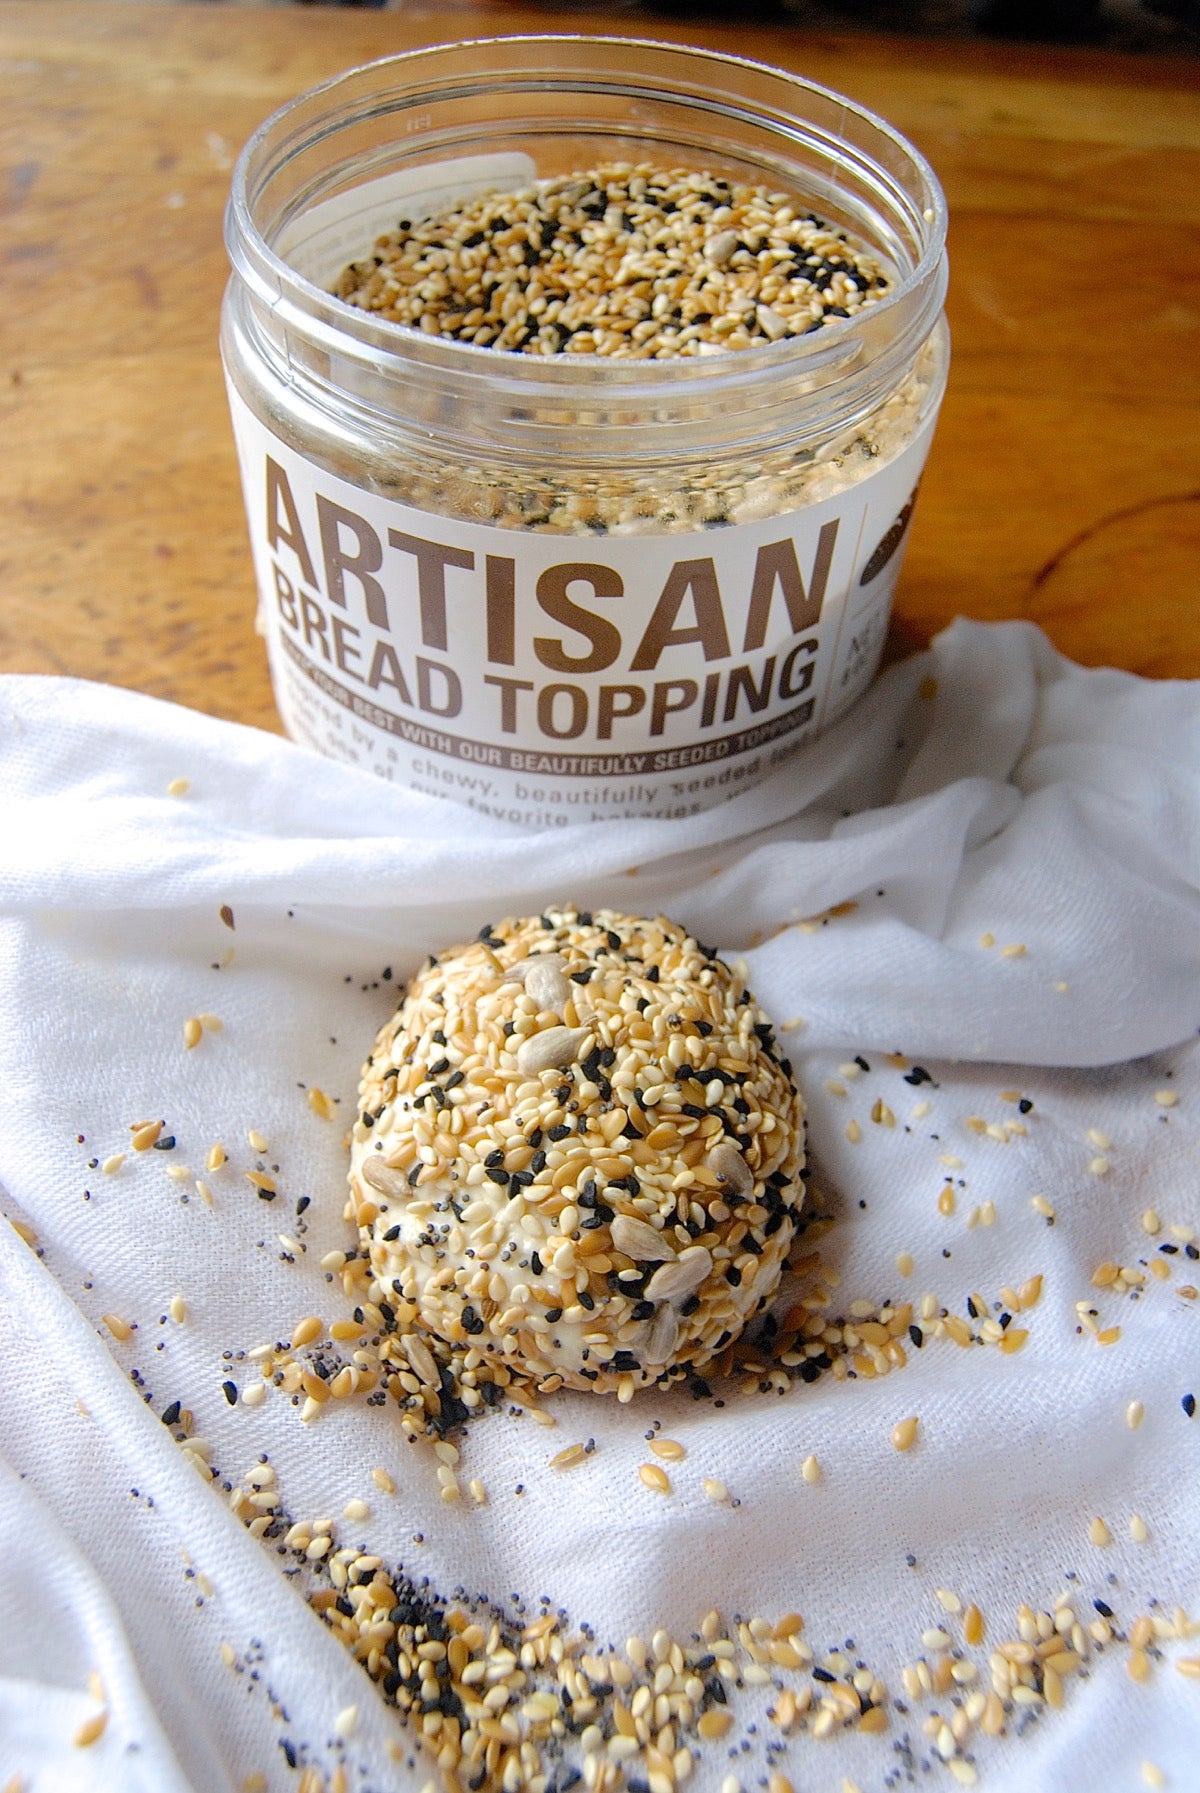
Here's my go-to seed blend: flax, toasted sesame, black caraway, midget sunflower, poppy, and anise seeds. GREAT flavor and crunch!
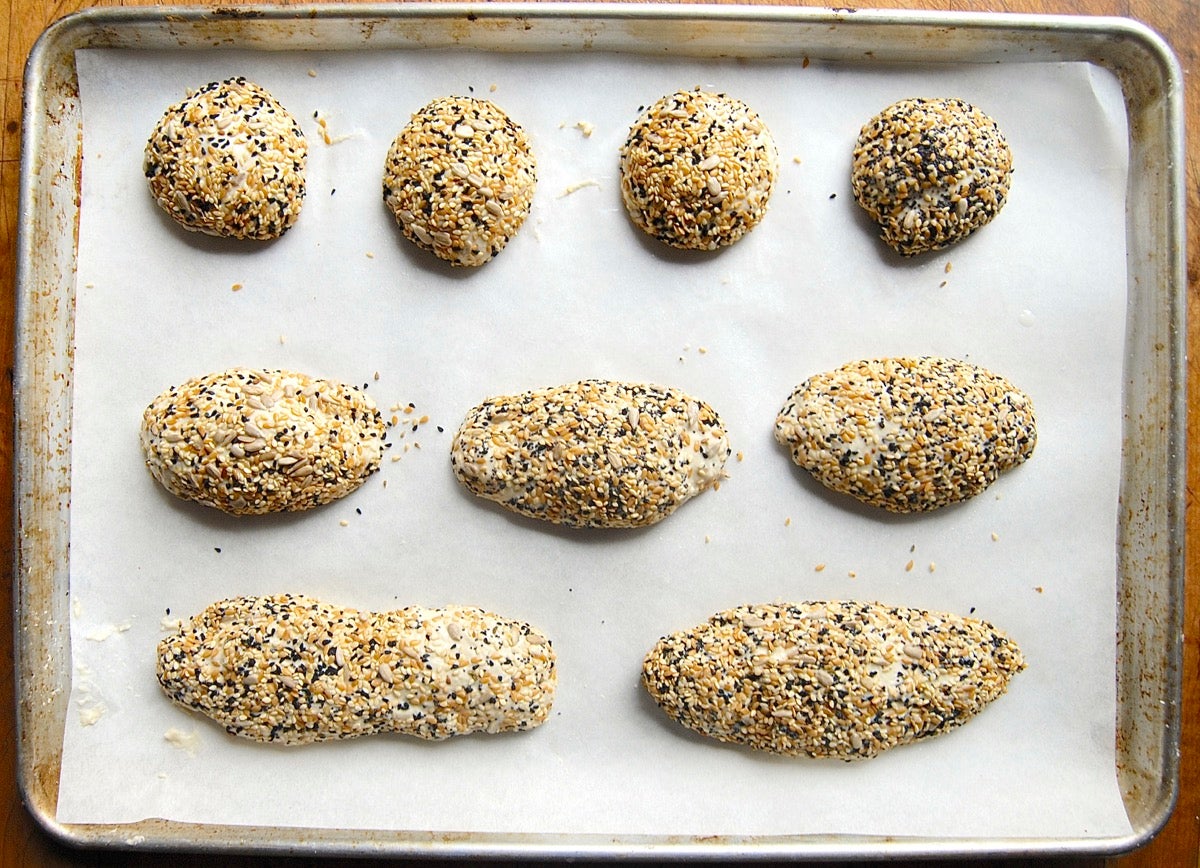
Place the rolls on a parchment-lined baking sheet, and let them rise. Bake as directed above.
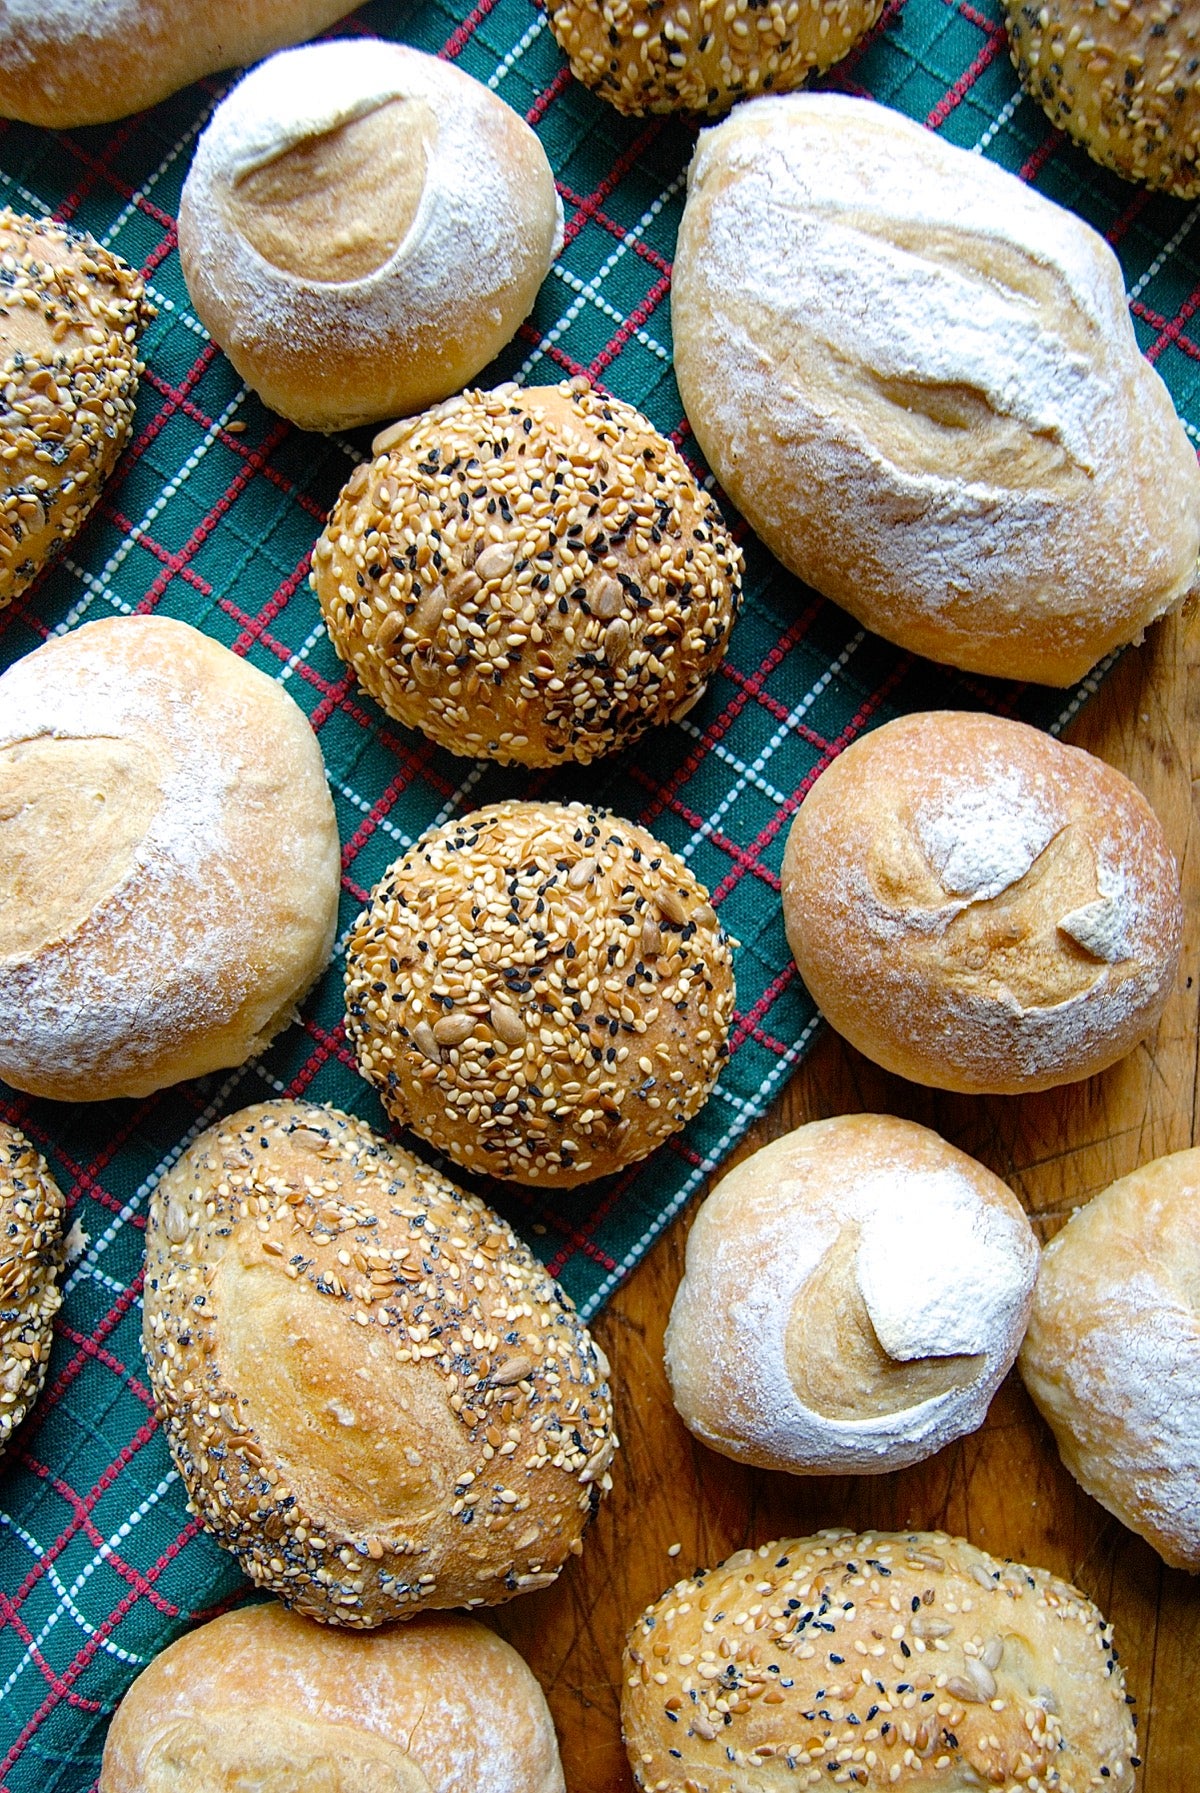
Party on!
So, exactly how many rolls does this entire batch of dough make? ONE of the following options:
And remember, you don't need to make all the rolls at once. Make some now, some later; the dough's happy to rest in the refrigerator for up to a week, so it's ready when you are.
Loving the no-knead trend? Check out more blog posts on no-knead baking for additional baking inspiration.

