-
To make the tangzhong: In a small saucepan, combine the flour, milk, and water and whisk until no lumps remain. Place the saucepan over low heat and cook, whisking constantly, until the mixture is thickened enough that it does not flow back together when the whisk passes through, about 3 to 5 minutes. Transfer the mixture to the bowl of a stand mixer fitted with the dough hook.
-
To make the dough: Add the flour, sugar, dry milk, yeast, salt, 1/2 cup (113g) of the milk, egg, and butter to the mixing bowl. Mix on medium-low speed until a soft, sticky dough forms. Increase the speed to medium-high and continue mixing until the dough forms a ball that is smooth and elastic. Every few minutes, scrape the sticky dough from the sides and bottom of the bowl, then continue mixing. After about 10 to 15 minutes, the dough will strengthen enough to pull away from the sides of the bowl.
-
While the dough is mixing, combine the cocoa and remaining 3 tablespoons (43g) milk in a small saucepan, and whisk until no lumps remain. Place the saucepan over low heat and cook, whisking constantly, until the mixture thickens and is about the consistency of heavy cream, 2 to 4 minutes. Transfer the mixture to a small bowl and cool to room temperature.
-
Use a bowl scraper to transfer the dough to a lightly floured work surface. Using a bench knife, divide the dough into two pieces, one about 1/3 of the dough (230g) and the other about 2/3 of the dough (420g). Place the larger piece of dough in a medium bowl, cover, and let it rise until puffy though not necessarily doubled in size, about 1 1/2 hours.
-
Return the smaller piece of dough to the mixer bowl and add the cooled cocoa mixture. Mix with the dough hook on medium speed until the cocoa mixture is completely incorporated, 3 to 5 minutes. If necessary, use your hands or a spatula to help the cocoa incorporate into the dough. Once the dough is homogeneous, add the chocolate chips and mix on medium-low speed until well distributed. The chocolate dough will be slightly more slack and stickier than the plain dough. Cover and allow it to rise.
-
After 1 1/2 hours, transfer both pieces of dough to a lightly floured surface, gently deflate, then pat or roll each piece of dough into an 8" x 10" rectangle with the short side facing you. Stack the chocolate dough rectangle on top of the rectangle of plain dough, stretching the edges of the chocolate dough so it completely covers the plain dough. Gently press the two pieces of dough together to adhere.
-
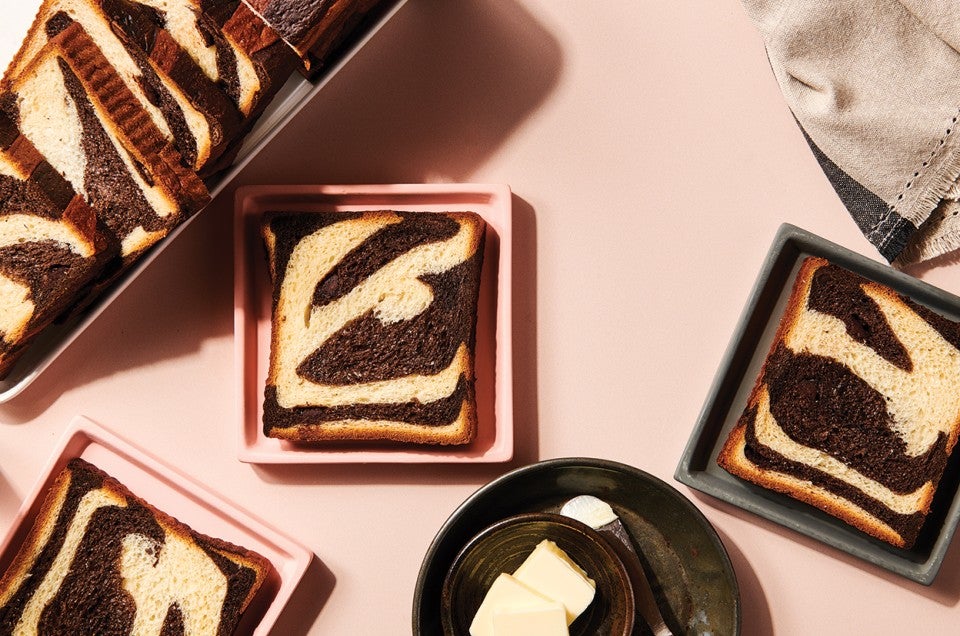
Beginning with one short end, roll the dough into a log, then pinch the seam to seal. Orient the log of dough perpendicular in front of you with the seam-side up. Using a bench knife or sharp knife, cut the log in half lengthwise along the seam. With the cut edges up, make an “X” with the two pieces of dough. Gently overlap the two pieces on the top and then on the bottom to form a twist. Pinch and seal the ends, tucking them under slightly. Transfer the twist to a greased 9" x 4" small Pullman pan. Grease the lid, then cover and let rise until the loaf fills 3/4 of the pan, 40 to 50 minutes.
-
Toward the end of the rising time, preheat the oven to 425°F. With the lid on, bake for 20 minutes, then reduce the oven temperature to 350°F and continue baking for an additional 25 minutes. Gently remove the lid and tip the loaf out of the pan onto a parchment-lined baking sheet. Return the loaf (on the baking sheet) to the oven and continue baking until the loaf is a deep golden color and a digital thermometer inserted into the center reads at least 210°F, about 5 minutes more.
-
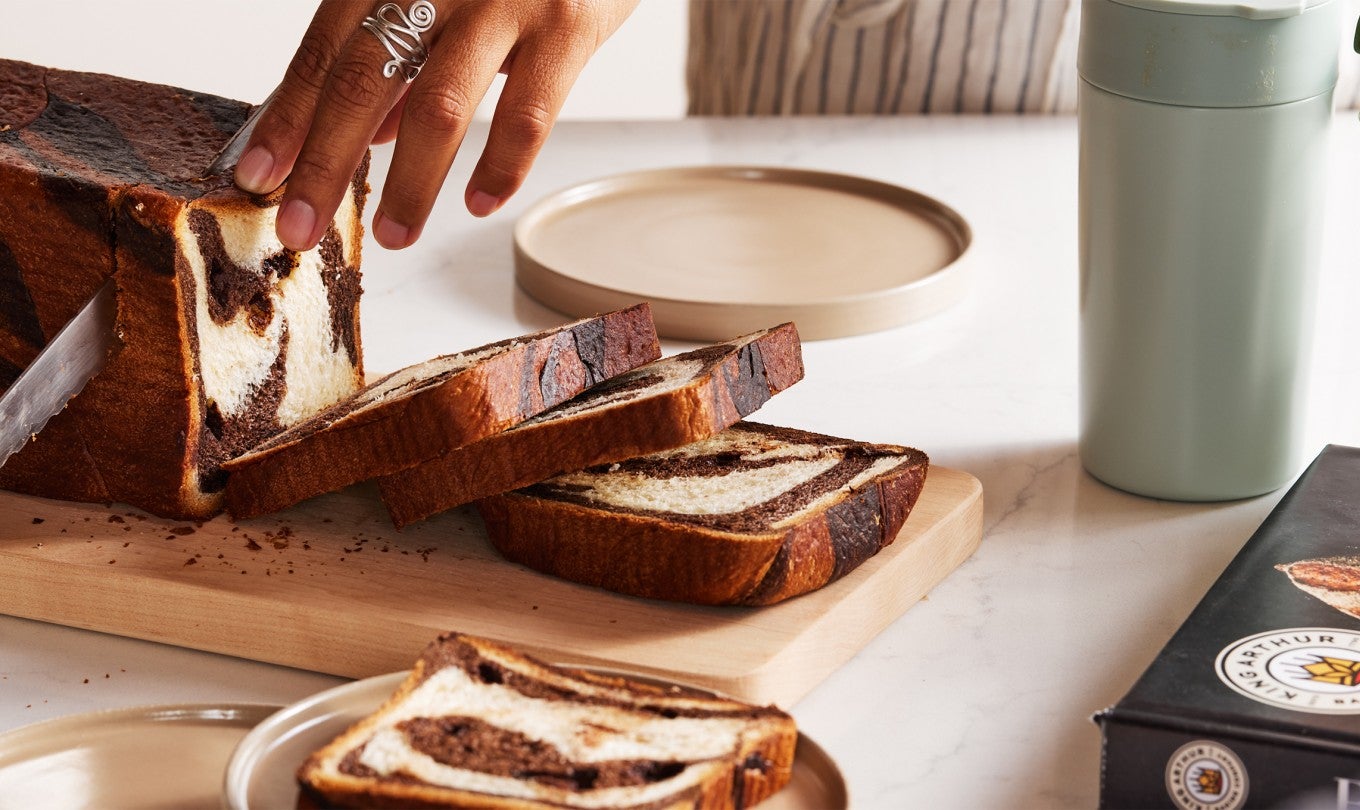
Turn off the oven, crack the oven door, and allow the bread to cool to room temperature inside the oven. Remove the bread from the oven and for best results, let the loaf rest, covered, overnight before slicing the next day.
-
Storage information: Store leftover tiger bread, well wrapped, at cool room temperature for 3 to 4 days; freeze for longer storage.
