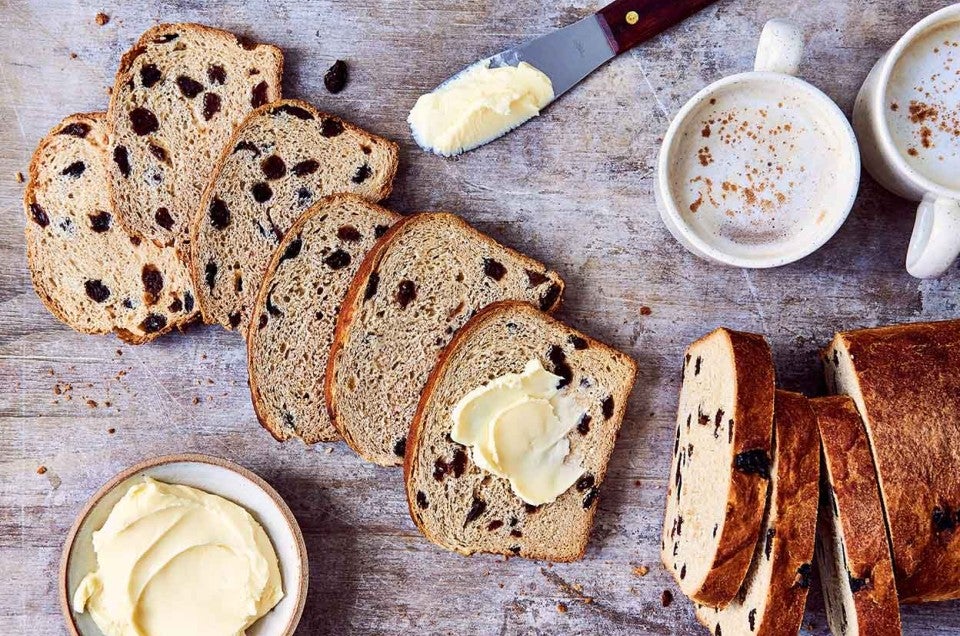
Irish Raisin Bread

Recipe by PJ Hamel

This soft sandwich bread, studded with raisins, is our American take on "fancy" Irish bread. While everyday Irish bread is made with baking soda and whole wheat flour, ours has just a touch of whole wheat; adds yeast to the leavening, and begins with an overnight starter, which improves flavor, texture, and keeping qualities.

Bake this bread on New Year's Day to celebrate the Irish tradition of "Day of the Buttered Bread," an old custom that involved placing bread-and-butter sandwiches on doorsteps to show all were well-fed and ward off famine in the coming year.
Prep
15 mins
Bake
35 to 40 mins
Total
10 hrs 50 mins
Yield
1 loaf
Irish Raisin Bread

Instructions

Prevent your screen from going dark as you follow along.
  1. To make the starter: Weigh your flour; or measure it by gently spooning it into a cup, then sweeping off any excess. Combine the flour, water, and yeast in a small bowl, mixing until all of the flour is moistened. Cover the bowl, and let the starter rest overnight (or for up to 20 hours or so), at room temperature; it doesn't need to be placed somewhere warm. It will expand and become a bit bubbly.

  2. To make the dough: Combine the starter with everything except the raisins. Mix and knead to make a smooth, soft dough. The dough will seem dry at first, but as you knead it'll soften up.

  3. Place the dough in a greased bowl or greased 8-cup measure, cover it, and let it rise for 60 to 90 minutes, until it's noticeably puffy though not necessarily doubled in bulk.

  4. Gently deflate the dough. Knead in the raisins; your hands are the best tool here. If you have time, let the dough rest for 20 to 30 minutes; this short rest will make it easier to shape.

  5. Shape the dough into a log, and place it into a lightly greased 8 1/2" x 4 1/2" loaf pan. Cover the pan with a large overturned bowl, or tent it lightly with greased plastic wrap. Allow the dough to rise until it's crowned about 1/2" to 3/4" over the rim of the pan, 60 to 90 minutes. Towards the end of the rising time, preheat the oven to 350°F.

  6. Uncover the bread. Mix the cinnamon, sugar, and water, and brush it over the loaf. (You may have excess; set it aside and then brush it on a slice of toast for a sweet treat.)

  7. Bake the bread for 20 minutes. Tent it loosely with aluminum foil, and bake for an additional 20 to 25 minutes, until it's golden brown all over. When you remove the loaf from the pan, give it a gentle squeeze; it should feel stable, with good structure. If it wobbles or feels too soft, return it to the oven for 5 to 10 minutes.

  8. Remove the bread from the oven, and turn it out of the pan onto a rack to cool. Cool completely before slicing. (See "tips," below for details on how to make an incredibly flavorful grilled cheese using this bread as the base.)

  9. Wrap airtight, and store at room temperature for up to 5 days; for longer storage, wrap well and freeze.

Tips from our Bakers

  • If you use currants instead of raisins, you'll have a greater distribution of fruit throughout the loaf, due to currants' smaller size. How about if you simply increase the amount of regular raisins, for more fruit in each bite? We tried that, and found increasing the raisins slowed fermentation considerably, and also affected the bread's final rise, due to sugar leaching from the raisins into the dough. It made a nice loaf, for sure; but it was denser. If that's what you're after, use 2 cups raisins, and bake in a 9" x 5" loaf pan.

  • This bread makes a marvelous grilled cheese sandwich. Slice bread, and spread one side of each piece with mayonnaise for a golden brown crust. Top the bare sides with cheddar cheese and thinly sliced Granny Smith apple. Fry slowly in a lightly greased pan, until bread is toasted and cheese has melted.

  • Want to make this bread with the help of your bread machine? Place the dough ingredients into your machine in the order listed and choose the dough or manual cycle. When the cycle is done, remove the risen dough and shape and bake as directed in the recipe above. Note: Due to the many brands of bread machines on the market and their different features, we can’t guarantee you can bake this bread start to finish in your own machine; please use the dough or manual cycle instead.