-
Weigh your flour; or measure it by gently spooning it into a cup, then sweeping off any excess. Mix all of the ingredients together in a bowl large enough that flour doesn't spill over the sides, and large enough for the dough to rise once it's mixed.
-
Once everything is roughly combined (some floury patches will still be evident), take a dough scraper (first choice) or spatula and lift/fold the dough over on itself for 30 strokes.
-
Cover the bowl, and let the dough rest for 20 minutes.
-
Give the dough 30 more strokes. Cover it, and let it rest for 20 minutes.
-
Repeat the process one more time. By the end of this 20-minute rest, you will have stirred the dough three separate times over the course of an hour. Now, give it 30 more strokes; see how it's smoothed out, compared to when you first started?
-
Cover the bowl, and let the dough rise for 2 hours in a fairly warm spot; 75°F to 80°F is perfect. If you don't have anywhere that warm, don't stress; just set the bowl somewhere away from cold drafts.
-
After 2 hours, the dough will have risen, though not wildly. It'll still be sticky and slack, but you should be able to work with it, so long as you grease or wet your hands.
-
Place the dough on a lightly greased or floured work surface. Divide it into 5 pieces; each will be about 176g, or 6 1/4 ounces. If you're uneasy about trying to divide it into 5 pieces, just go ahead and divide it into 6 pieces, for slightly smaller rolls.
-
Gently push, prod, and pull each piece of dough into a log about 7" to 8" long; or into oval rolls, if preferred. Keep your hands wet or oiled to facilitate this process. This isn't a typically springy, elastic dough you can easily shape; as noted, it's more a matter of push/pulling it into shape.
-
Transfer the logs to a lightly greased or, preferably, parchment-lined pan, spacing them across the length of the pan. A half-sheet pan is the perfect size.
-
Cover the pan with a large plastic cover, or drape the loaves with heavily greased plastic wrap or parchment. Let them rise until they're noticeably puffy, 2 to 3 hours or so. Towards the end of the rising time, preheat the oven to 475°F.
-
Uncover the rolls, and spritz them heavily with warm water.
-
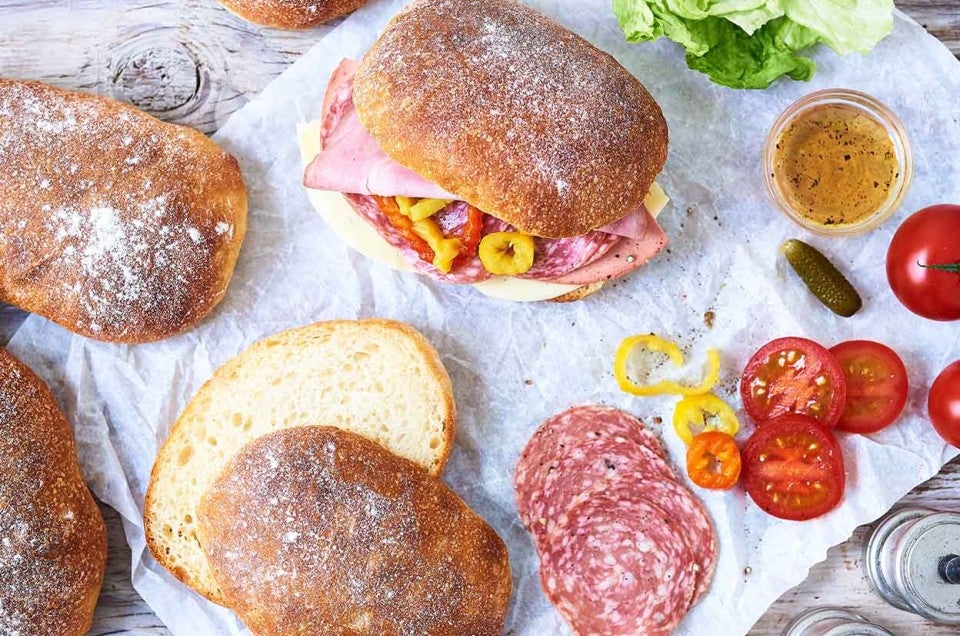
Bake the rolls for 18 to 20 minutes, until they're a dark golden brown. Remove them from the oven, and transfer them to a rack to cool. Store the cooled rolls in a paper bag for a day or so; freeze for longer storage.


