Golden Pull-Apart Butter Buns

Recipe by PJ Hamel

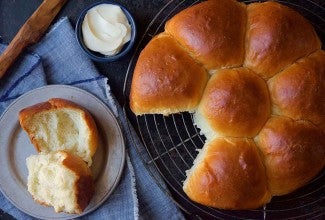
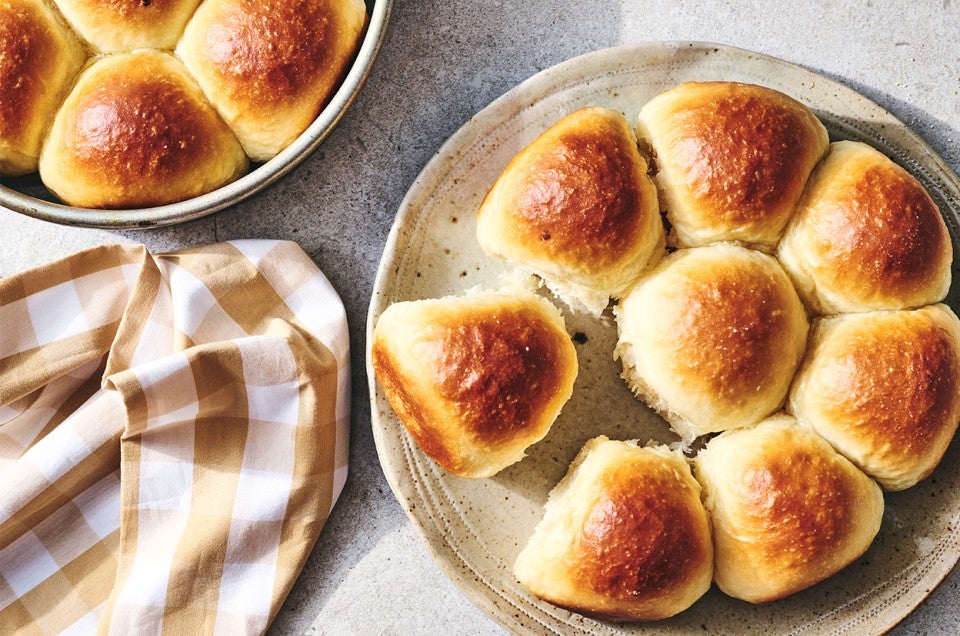
At last! The quintessential soft, buttery dinner roll. Nestled — we might even say "crowded" — into a couple of 8" round pans, the shaped buns rise into one another as they bake. The result? Soft-sided pull-apart buns, ready for melting pats of soft butter.
Prep
15 mins
Bake
22 to 24 mins
Total
2 hrs 37 mins
Yield
16 standard-sized buns or 24 smaller buns
Golden Pull-Apart Butter Buns
Hide images

Instructions

Prevent your screen from going dark as you follow along.
  1. Weigh your flour; or measure it by gently spooning it into a cup, then sweeping off any excess. Combine all of the dough ingredients in a large bowl, and mix and knead — using your hands, a stand mixer, or a bread machine set on the dough cycle — to make a soft, smooth dough.

  2. Place the dough in a lightly greased container — an 8-cup measure works well here. Cover the container, and allow the dough to rise for 60 to 90 minutes, until it's just about doubled in bulk.

  3. Gently deflate the dough, and transfer it to a lightly greased work surface.

  4. For standard-sized buns (about the size of a typical dinner roll), divide the dough into 16 equal pieces. For smaller buns, divide the dough into 24 pieces. This is most easily done by dividing the dough in half, then in halves again, etc. Round each piece into a smooth ball.

    A baker shaping dough into rolls by folding the corners into the center and then rounding the dough into a ball.
  5. For standard-sized buns, lightly grease two 8" round cake pans and place 8 buns in each pan. For smaller buns, lightly grease a 9" x 13" pan and arrange them in four rows of six buns each. Can you use a larger pan than the ones called for here? Sure; the buns just won't nestle together as closely, so their sides will be a bit more baked.

  6. Cover the pans, and allow the buns to rise till they're crowded against one another and quite puffy, about 60 to 90 minutes. Towards the end of the rising time, preheat the oven to 350°F.

  7. Uncover the buns, and bake them for 22 to 24 minutes, until they're golden brown on top and the edges of the center bun spring back lightly when you touch it. An instant-read thermometer inserted into the middle of the center bun should register at least 190°F.

  8. Remove the buns from the oven, and brush with the melted butter. After a couple of minutes, turn them out of the pan onto a cooling rack.

  9. Serve warm. Store leftovers well-wrapped, at room temperature.

Tips from our Bakers

  • To make the buns the day before, then bake them just before serving, prepare them up to the point where they're shaped and in the pan. Let them rise until they've filled the pan and are touching one another, but aren't fully risen. Cover with lightly greased plastic wrap, and refrigerate. Next day, remove the buns from the fridge (keeping them covered), and let warm/rise for an hour or so before uncovering and baking as directed.
  • Want to make these buns a day or so ahead of time? Try the tangzhong technique, a Japanese method for increasing the softness and shelf life of yeast rolls. Begin by measuring out the flour and milk you’ll be using in the recipe. Now take 3 tablespoons of the measured flour and the 1/2 cup milk; put them in a saucepan set over medium-high heat. Cook the mixture, whisking constantly, until it forms a thick slurry; this will take about 1 1/2 to 2 1/2 minutes. Transfer the cooked mixture to a bowl, let it cool to lukewarm, then combine it with the remaining flour and the other dough ingredients, increasing the amount of water to 7/8 cup (7 ounces). Proceed with the recipe as directed. Well-wrapped and stored at room temperature, your finished buns should stay soft and fresh for several days.

  • For a touch of tangy flavor, consider adding discard sourdough starter to these rolls. See how it's done: How to make dinner rolls with discard starter.