


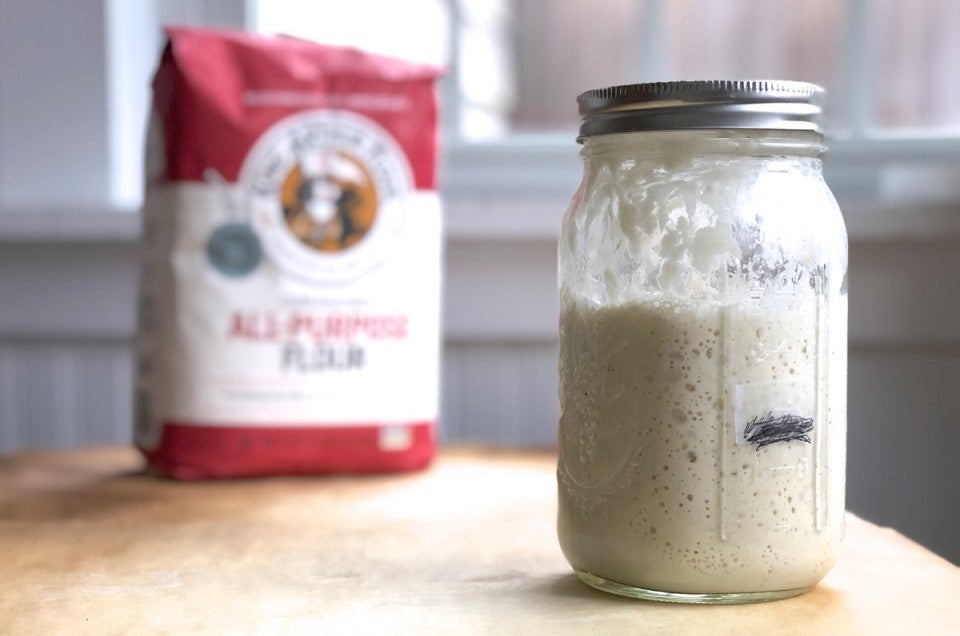
How's your sourdough starter doing? Fresh sourdough starter is a wonderful resource. Bread, pancakes, waffles, cake... there are so many delicious directions you can take with sourdough. The key: maintaining your sourdough starter so that it's healthy, happy, and ready to go when you are.
Once you've successfully created your starter, you'll need to feed it regularly.
If you bake a lot of sourdough treats, you may want to keep it on your counter, at room temperature. While this means feeding it twice a day, it also means your starter will be ready to bake with at the drop of a hat (er, oven mitt).
However, many of us don't want the commitment of twice-a-day feedings. If you're a more casual sourdough baker, it's possible to store your starter in the refrigerator, feeding it just once a week.
Let's take a look at both methods.
But first, a word of advice. Sourdough baking is as much art as science. This method for maintaining sourdough starter is just one of many you might choose to follow. It might not exactly match what you read in your favorite online bread forum, or what your neighbor down the street does.
And that's OK. If you have a process you've successfully followed before, then hey, stick with it. Or try this one and compare. All good.
Room temperature is the best environment for the yeast and lactobacilli that inhabit your starter, and you can learn a lot about your starter by observing a twice-a-day feeding regimen with the starter at room temperature.
If you're willing to maintain your starter at room temperature by feeding it twice a day, here's how.
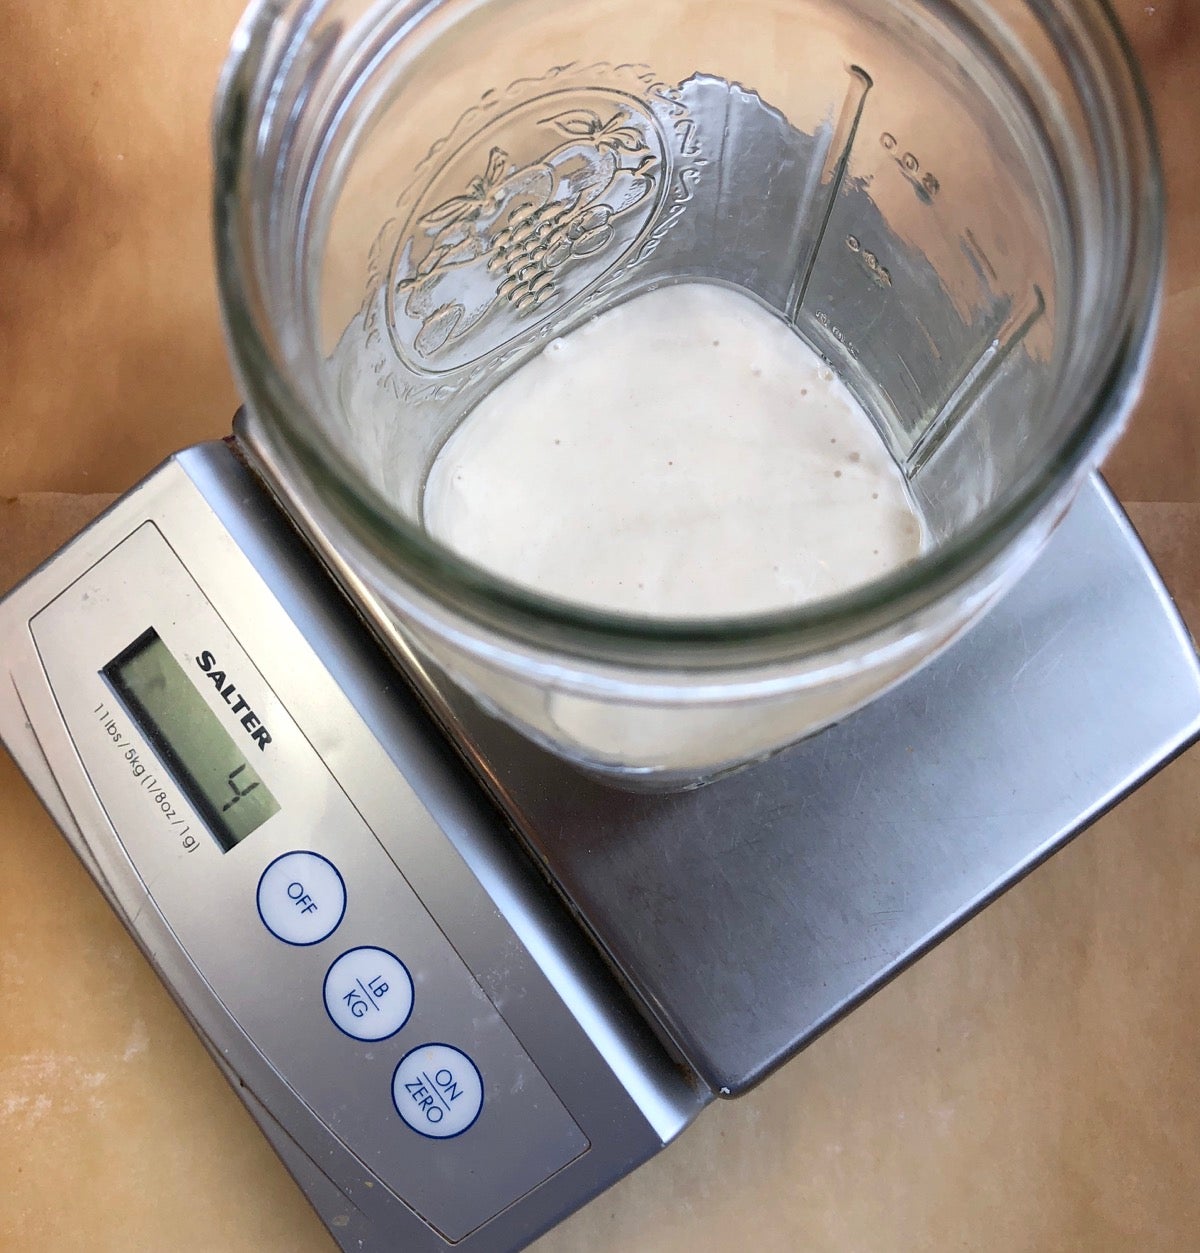
Stir the starter well and discard all but 1/2 cup (4 ounces, 113g).
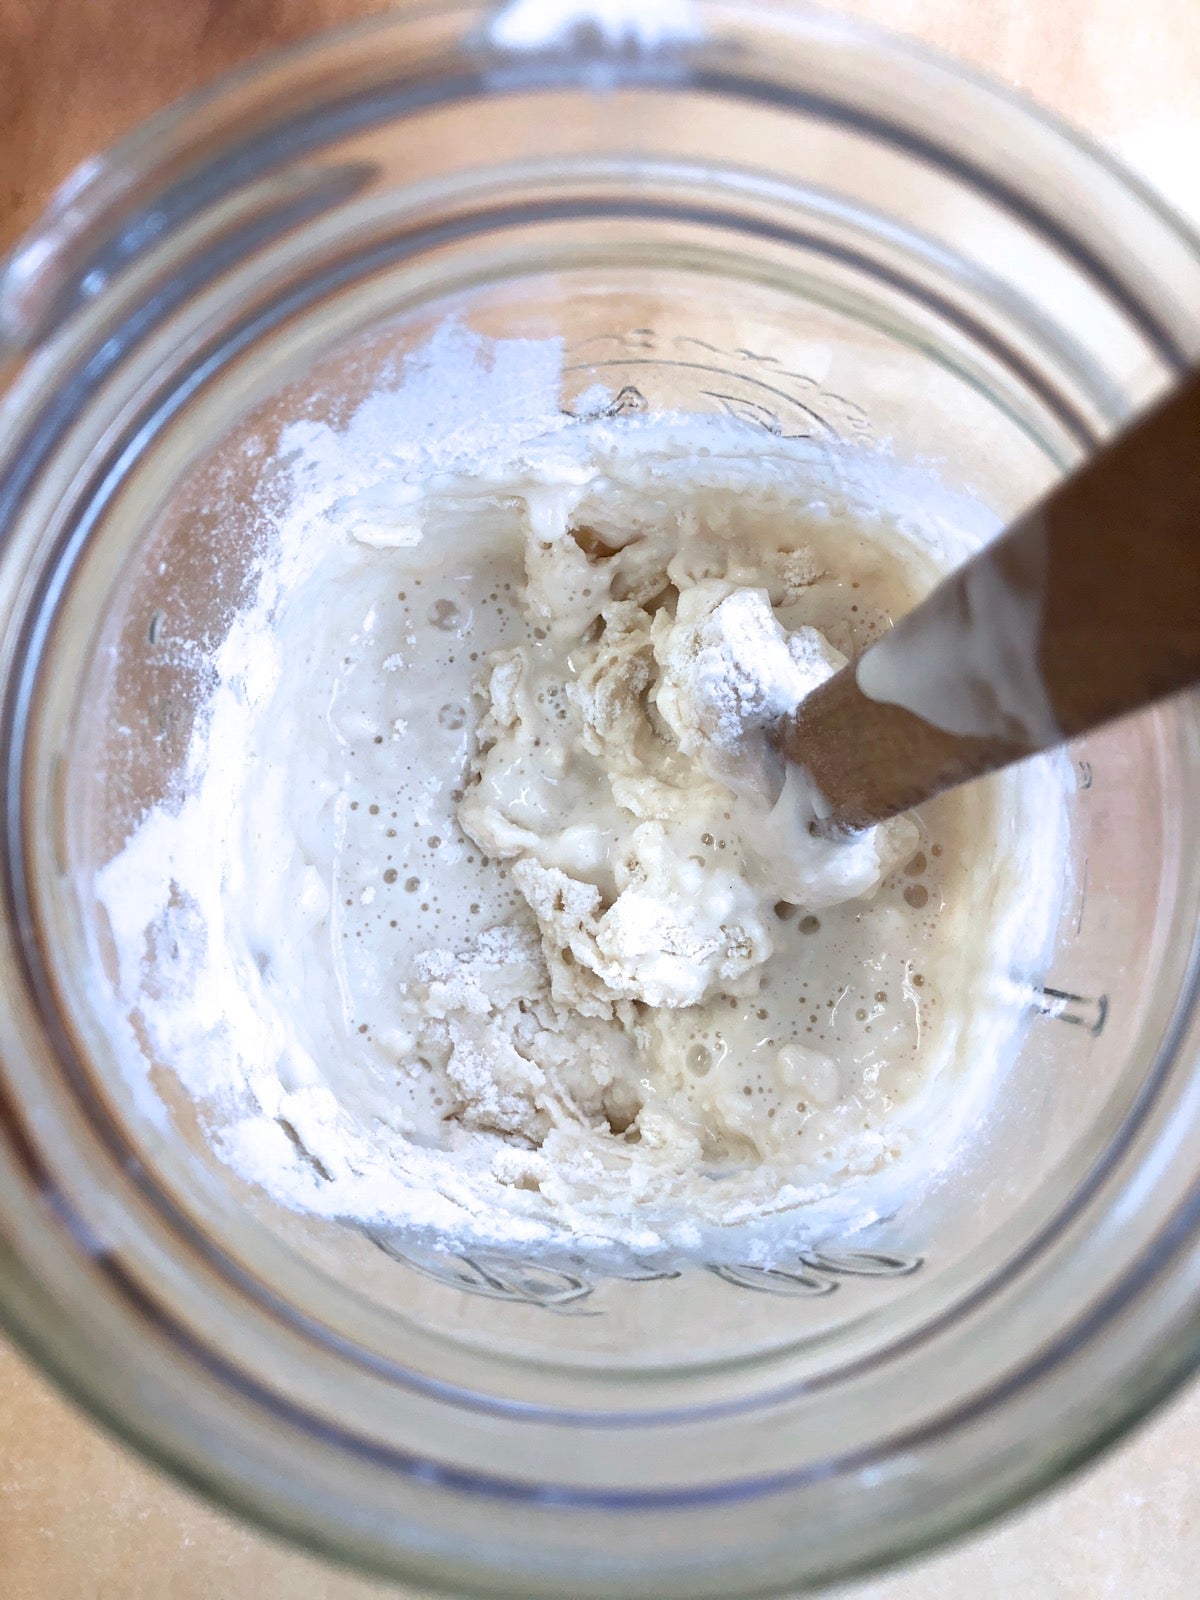
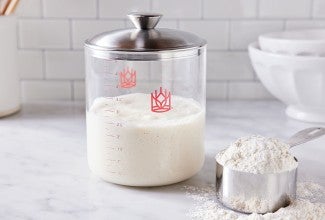
Add about 1/2 cup (4 ounces, 113g) room-temperature water (hereafter known simply as "water") and a scant 1 cup (4 ounce, 113g) King Arthur Unbleached All-Purpose Flour (hereafter known simply as "flour") to the 1/2 cup of starter.
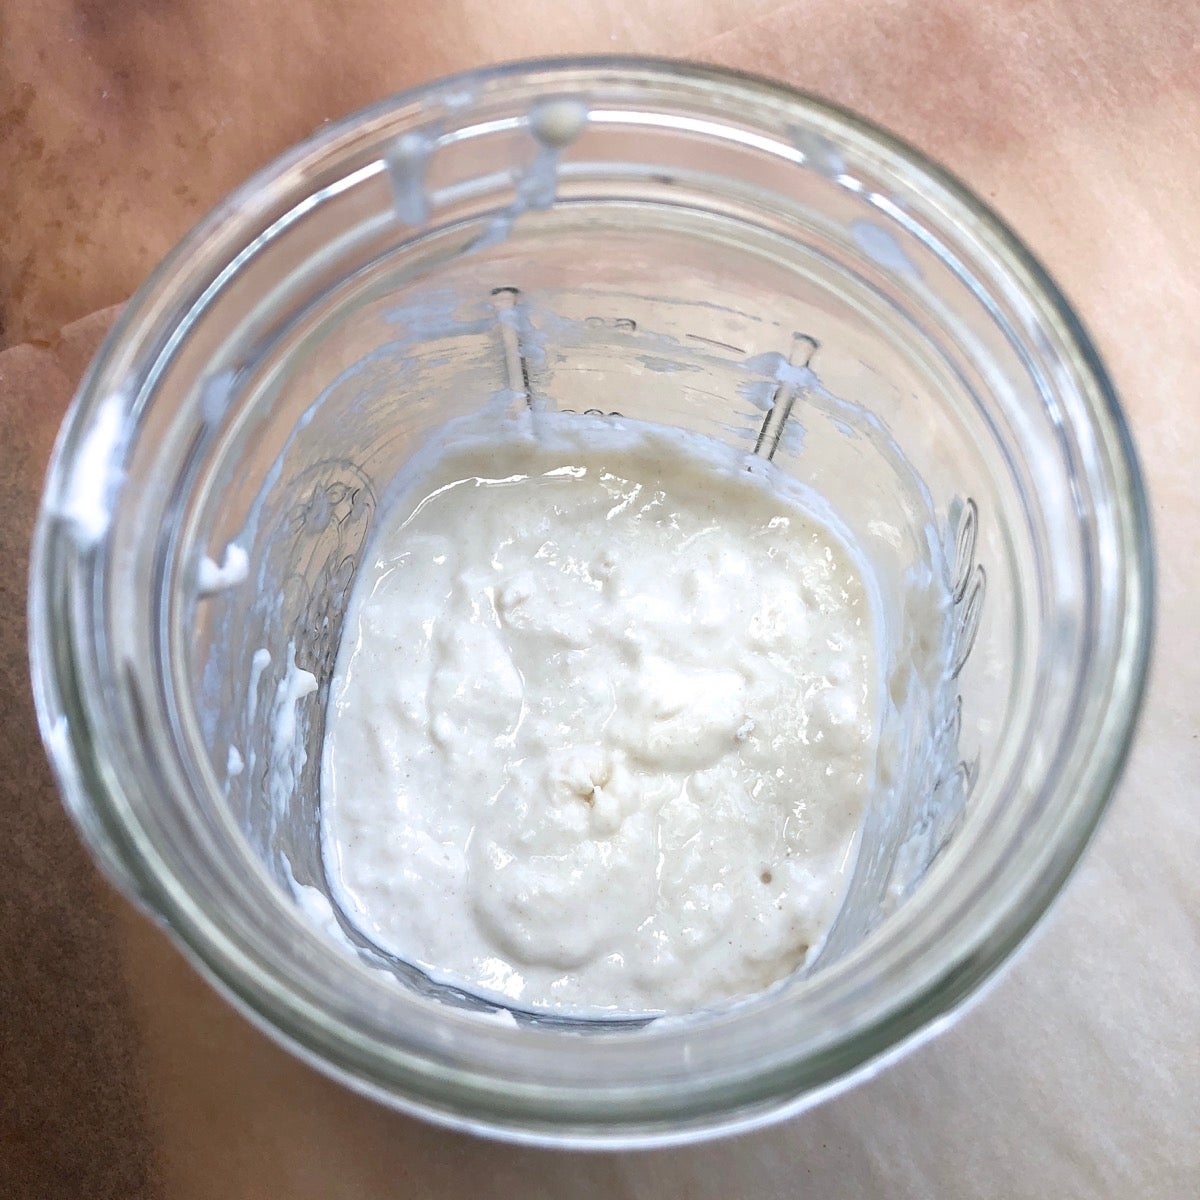
Mix until smooth, and cover.
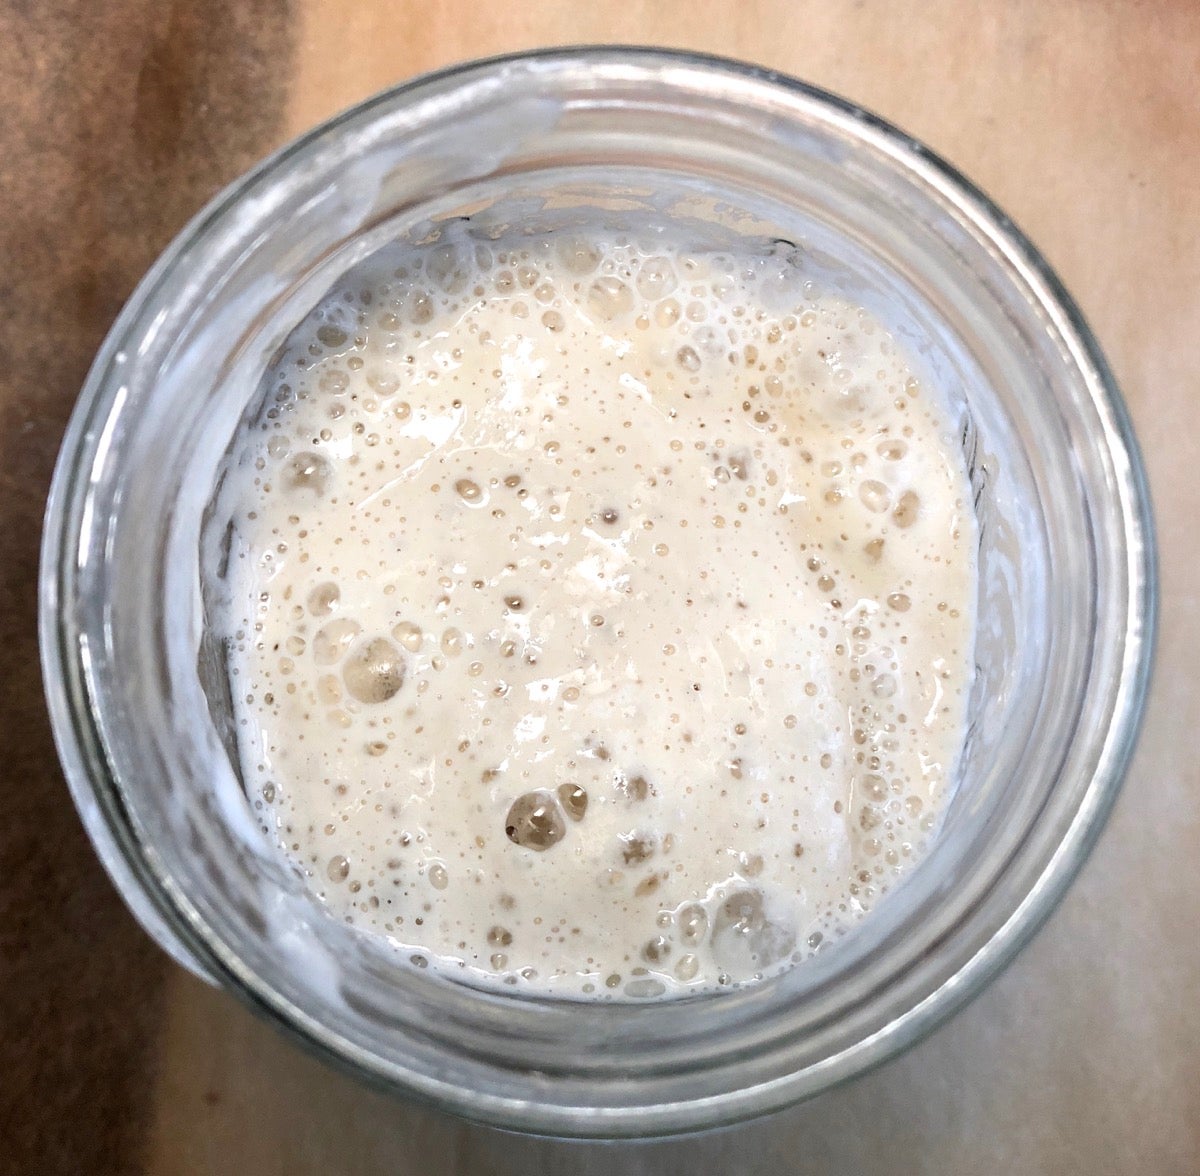
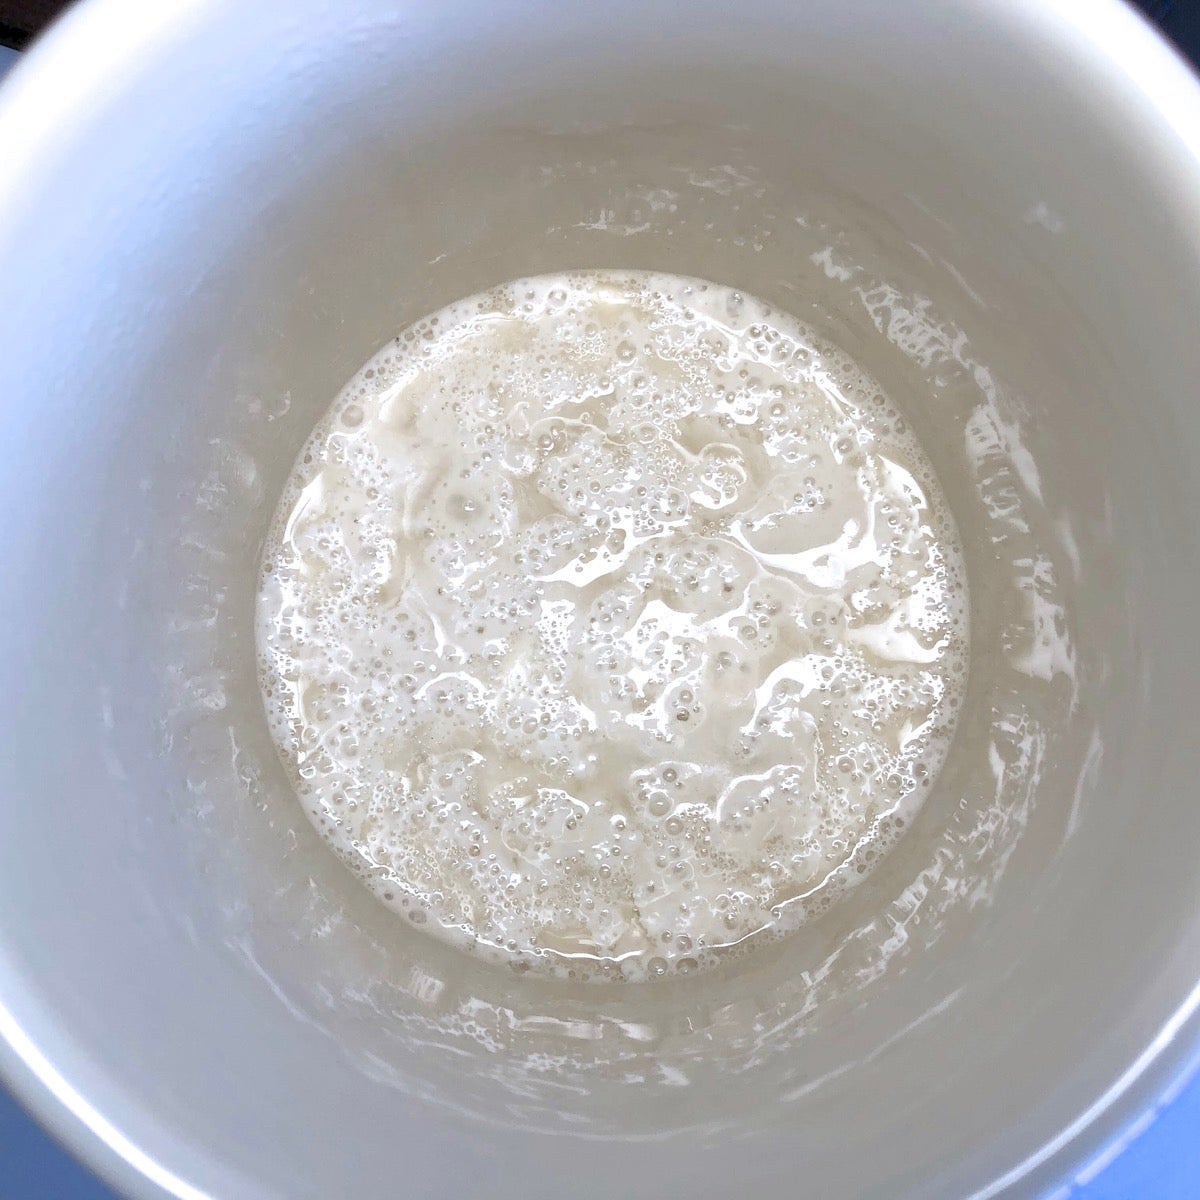
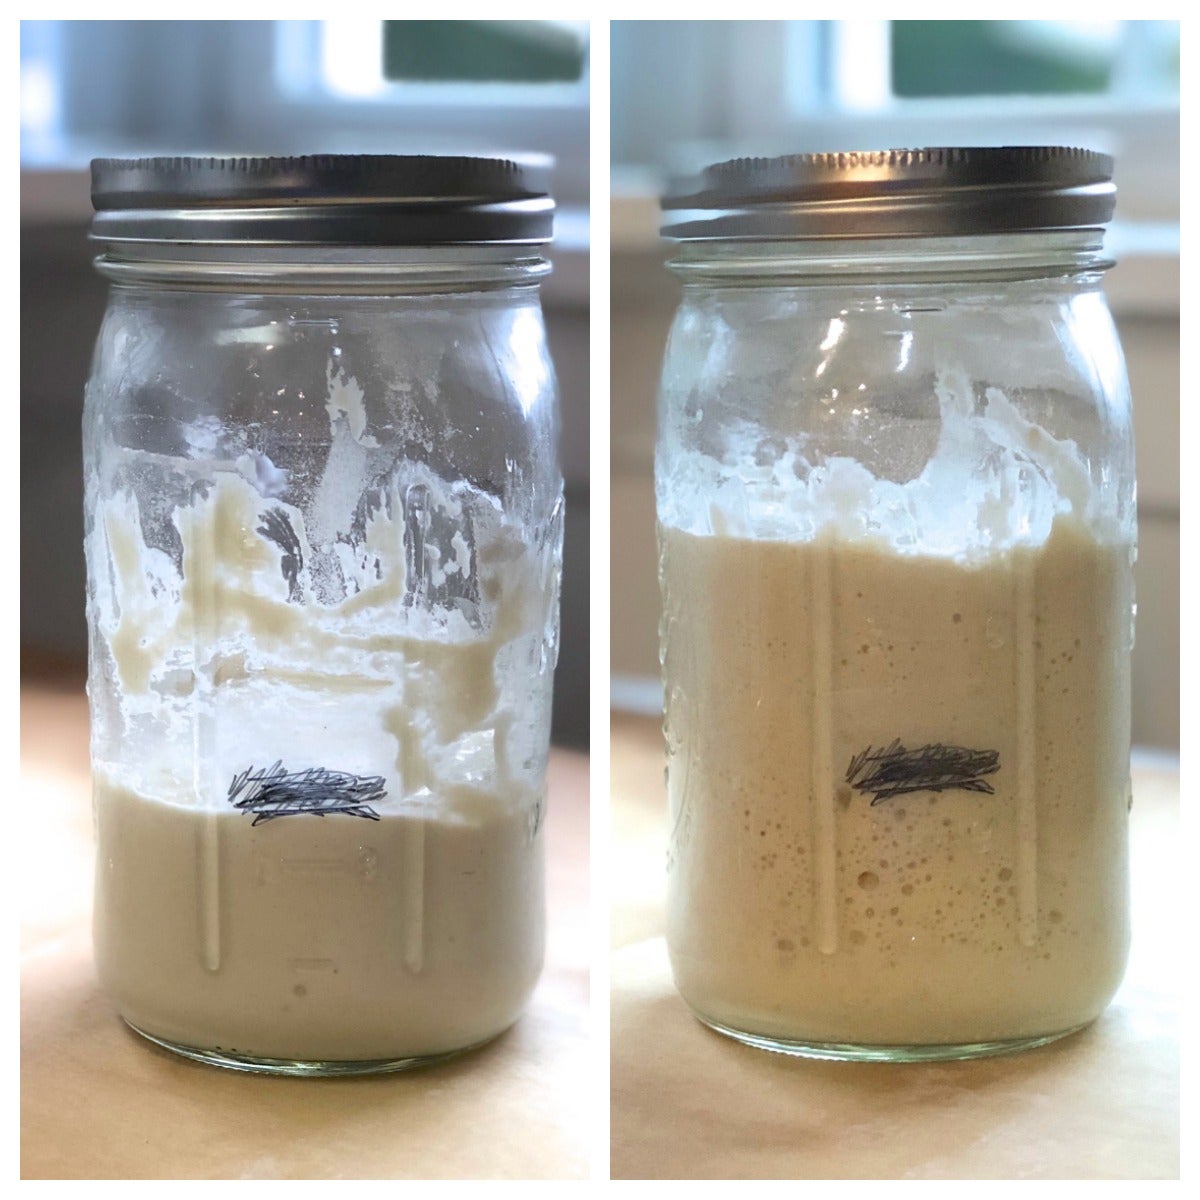
Your starter will bubble and grow until it's doubled (or more) in size...
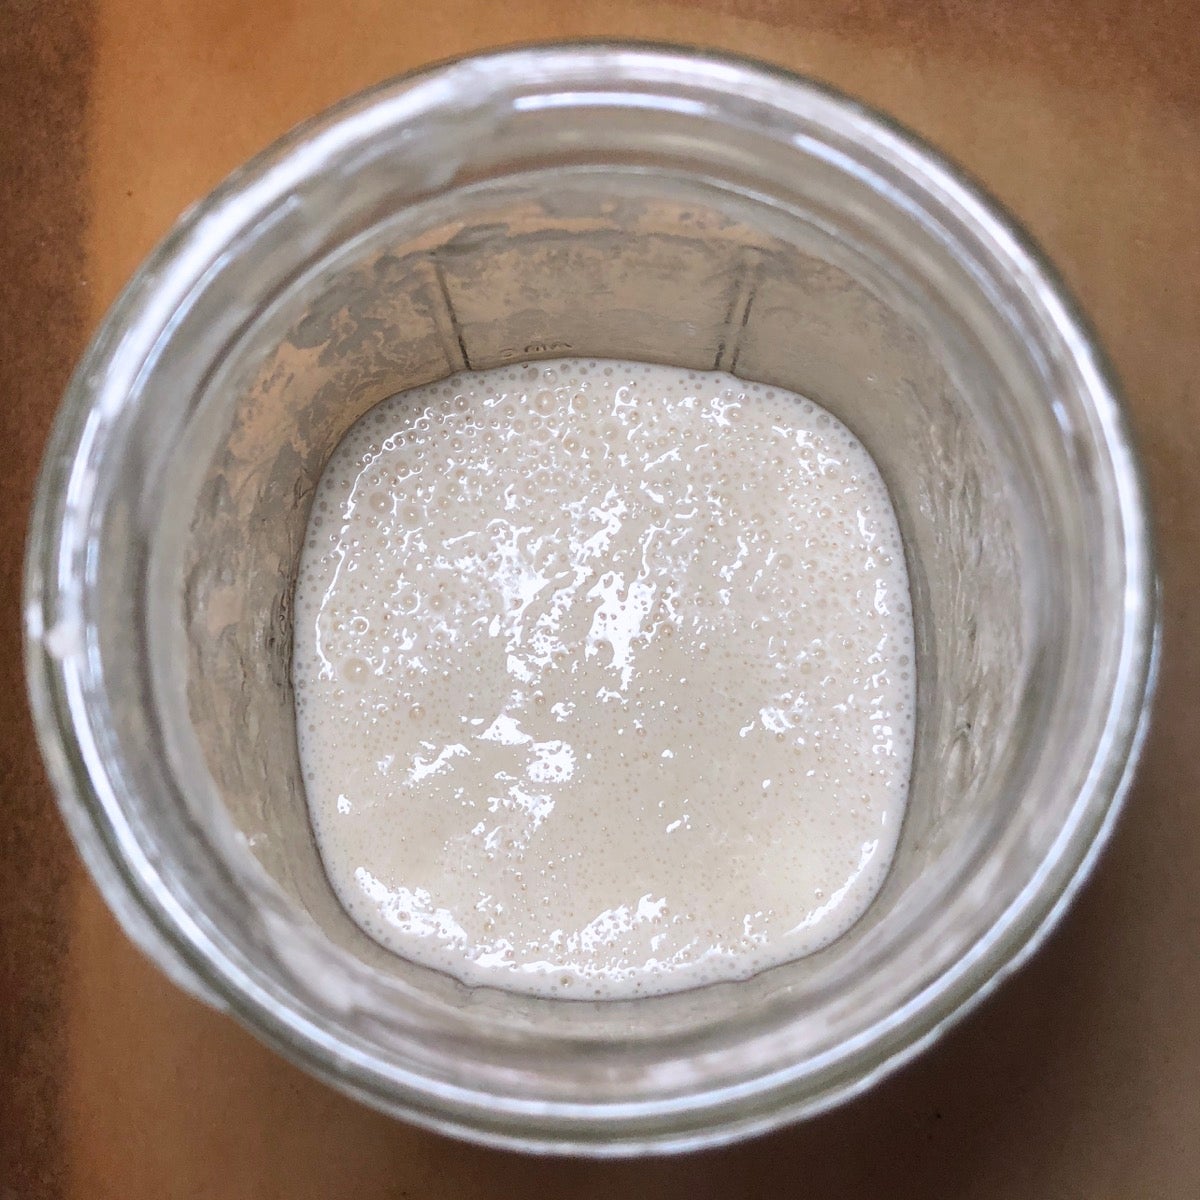
...then will gradually sink as it awaits its next feeding. Repeat this feeding process every 12 hours.
This whole process will take anywhere from a couple of hours to all day, depending on the health of your starter and the temperature of your house: the colder the environment, the more slowly your starter will grow. If the normal temperature in your home is below 68°F, we suggest finding a smaller, warmer spot to develop your starter.
The ideal solution is a folding bread proofer, which can be programmed to exactly 70°F, sourdough starter's favorite temperature.
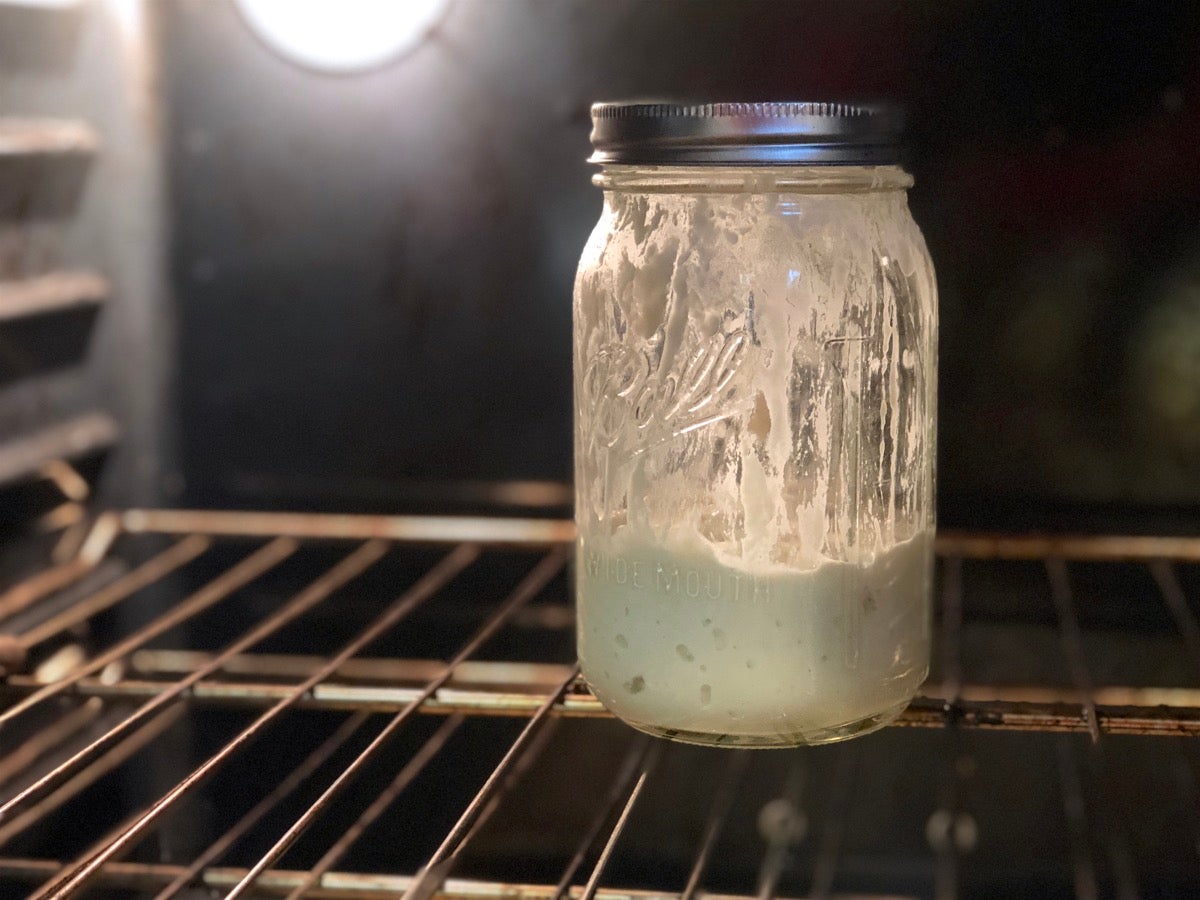
Absent that, I like to set starter in my cold oven with just the oven light on. Over time, the light will raise the oven's temperature to 90°F. Since I don't want it quite that hot, I'll turn the light off after an hour or so —however long it takes to reach 70°F — then turn it back on again if necessary.
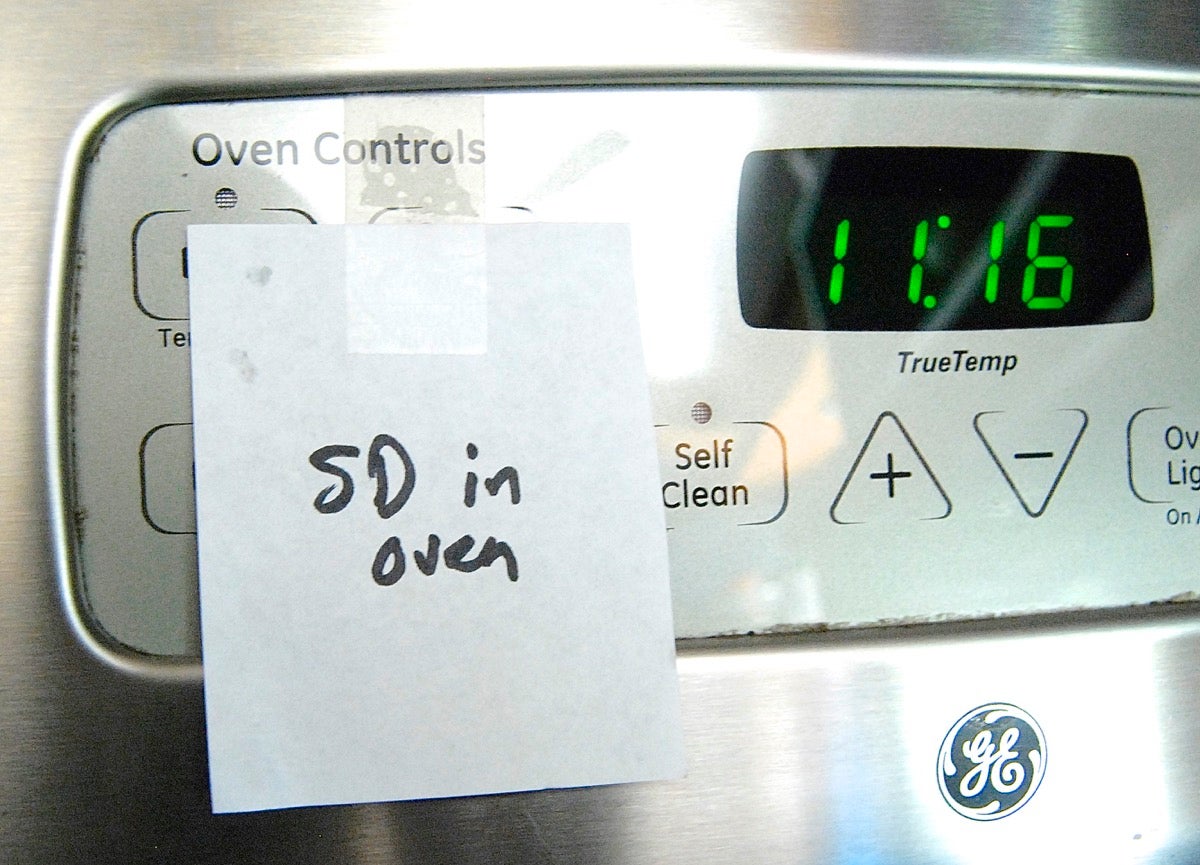
Caveat emptor: If your starter's resting in the oven, put a reminder over your oven controls lest you inadvertently start preheating it with the starter inside! Been there, done that...
Other options: Set your container of starter atop your water heater, refrigerator, or another appliance that might generate ambient heat, or near a heat source (baseboard heater, etc.). Or place it on a folded dish towel laid atop a heating pad on its lowest setting.
For most home bakers, daily feeding is impractical; so you'll need to store your starter in the refrigerator and feed it once a week.
Take the starter out of the fridge. If you're feeding it weekly, it will probably appear a bit frothy. There may be a bit of light amber or clear liquid on top. Either drain this off or stir it in, your choice; it's alcohol from the fermenting yeast.

Remove all but 4 ounces (113g) starter. Use this “discard” to make pancakes, waffles, cake, pizza, flatbread, or another treat.
Or, simply give to a friend so they can create their own starter.
Add 4 ounces (113g) room-temperature water and 4 ounces (113g) flour to the remaining starter. Mix until smooth, and cover.
Allow the starter to rest at room temperature (preferably about 70°F) for 2 to 4 hours, until it shows signs of life; this gives the yeast a chance to warm up and get feeding. Once it's started to bubble, refrigerate it.
If your starter has been refrigerated, you’ll want to raise its activity to a more energetic level. You can do this by giving it a series of feedings at room temperature, anywhere from a couple over the course of a day to two feedings a day for several days, depending on how healthy it is.
Take the starter out of the fridge, discard all but 4 ounces (113g), and feed it as usual with 4 ounces (113g) water and 4 ounces (113g) flour. Let it rest at room temperature for about 8 to 12 hours, until bubbly.
Repeat as necessary, every 12 hours, until you notice the starter doubling or tripling in volume in 6 to 8 hours. That means it’s strong enough to leaven bread.
For the final feeding, make sure you add enough flour and water to use in your recipe, with a little left over to feed and maintain the starter for the next time you bake.
For instance, if your recipe calls for 1 cup (about 8 ounces, 227g) starter, add 4 ounces (113g) each water and flour. If your recipe calls for 2 cups (about 16 ounces, 454g) starter, add 8 ounces (227g) each water and flour.
Once the starter is bubbling and vigorous, remove what you’ll need for the recipe and set it aside. Feed the remaining starter with 4 ounces (113g) flour and 4 ounces (113g) water. Mix until smooth, and allow the starter to work for about 2 to 4 hours at room temperature, until it shows signs of life, before putting it back in the refrigerator.
Feed with half whole-rye (pumpernickel) flour or whole wheat flour for a few days. The extra nutrition in the bran and germ can increase the starter’s acidity.
Be sure your starter has a chance to ripen (develop) fully before it receives another feeding; before you use it in a recipe, or before refrigerating it. An ideal feeding regimen for a starter kept at room temperature (in the low 70s) is two feedings a day at 12-hour intervals.
You may be letting the starter ripen too long before using it. Once your starter is bubbling and vigorous, it’s time to make bread, feed it again, or refrigerate until its next feeding. Don't let it become bubbly, rise, and then fall and start to "calm down;" that's adding acidity to its flavor. Reduce the duration of ripening as necessary.
Also, try ripening your starter in a slightly cooler area, so it doesn’t digest its meal of flour and water too quickly.
Sometime you may find yourself with a starter that’s gone far too long without a feeding. Covered in a clear, dark liquid (alcohol, a by-product of yeast that's been deprived of oxygen), the starter will lack bubbles or other signs of activity, and will have a very sharp aroma.
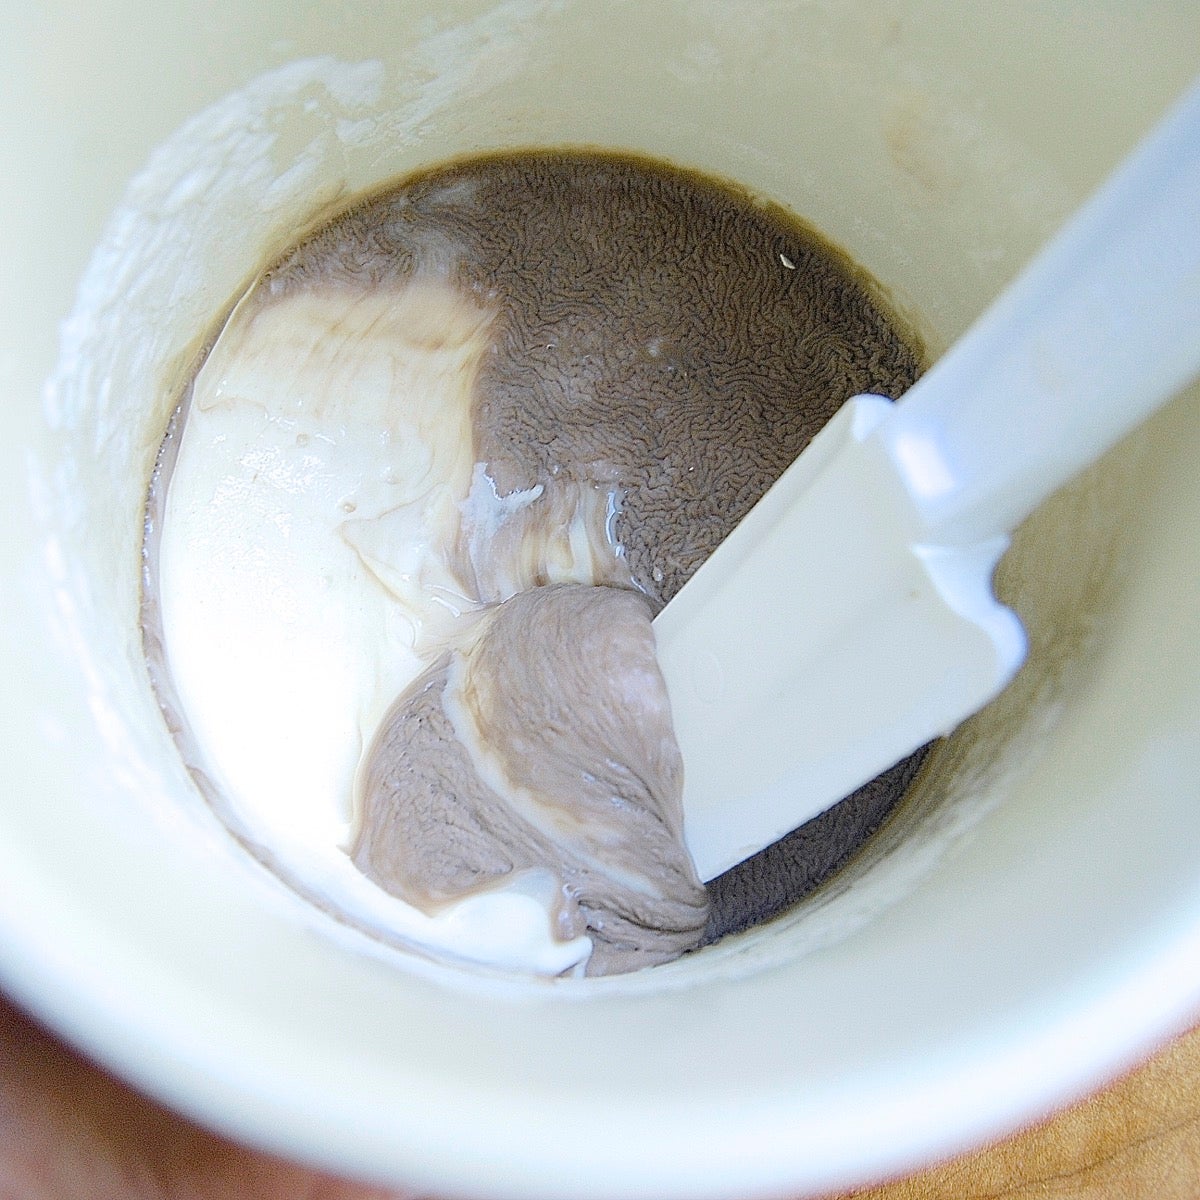
The starter may even have dry skin on top, usually gray or brown in color. Skim off and discard the skin; it's not harmful, but will discolor your starter. Although at this point the starter appears lifeless, its microflora will spring into action again as soon as they get a few good meals.
Stir the liquid back into the starter. Discard all but 4 ounces (113g), and set the bowl or crock on the counter; you’re going to be leaving it at room temperature (at least 70°F) for awhile.
Feed the starter 1/2 cup (4 ounces, 113g) water and a scant 1 cup (4 ounces, 113g) all-purpose flour twice a day, discarding all but 1/2 cup (4 ounces, 113g) of the starter before each feeding.
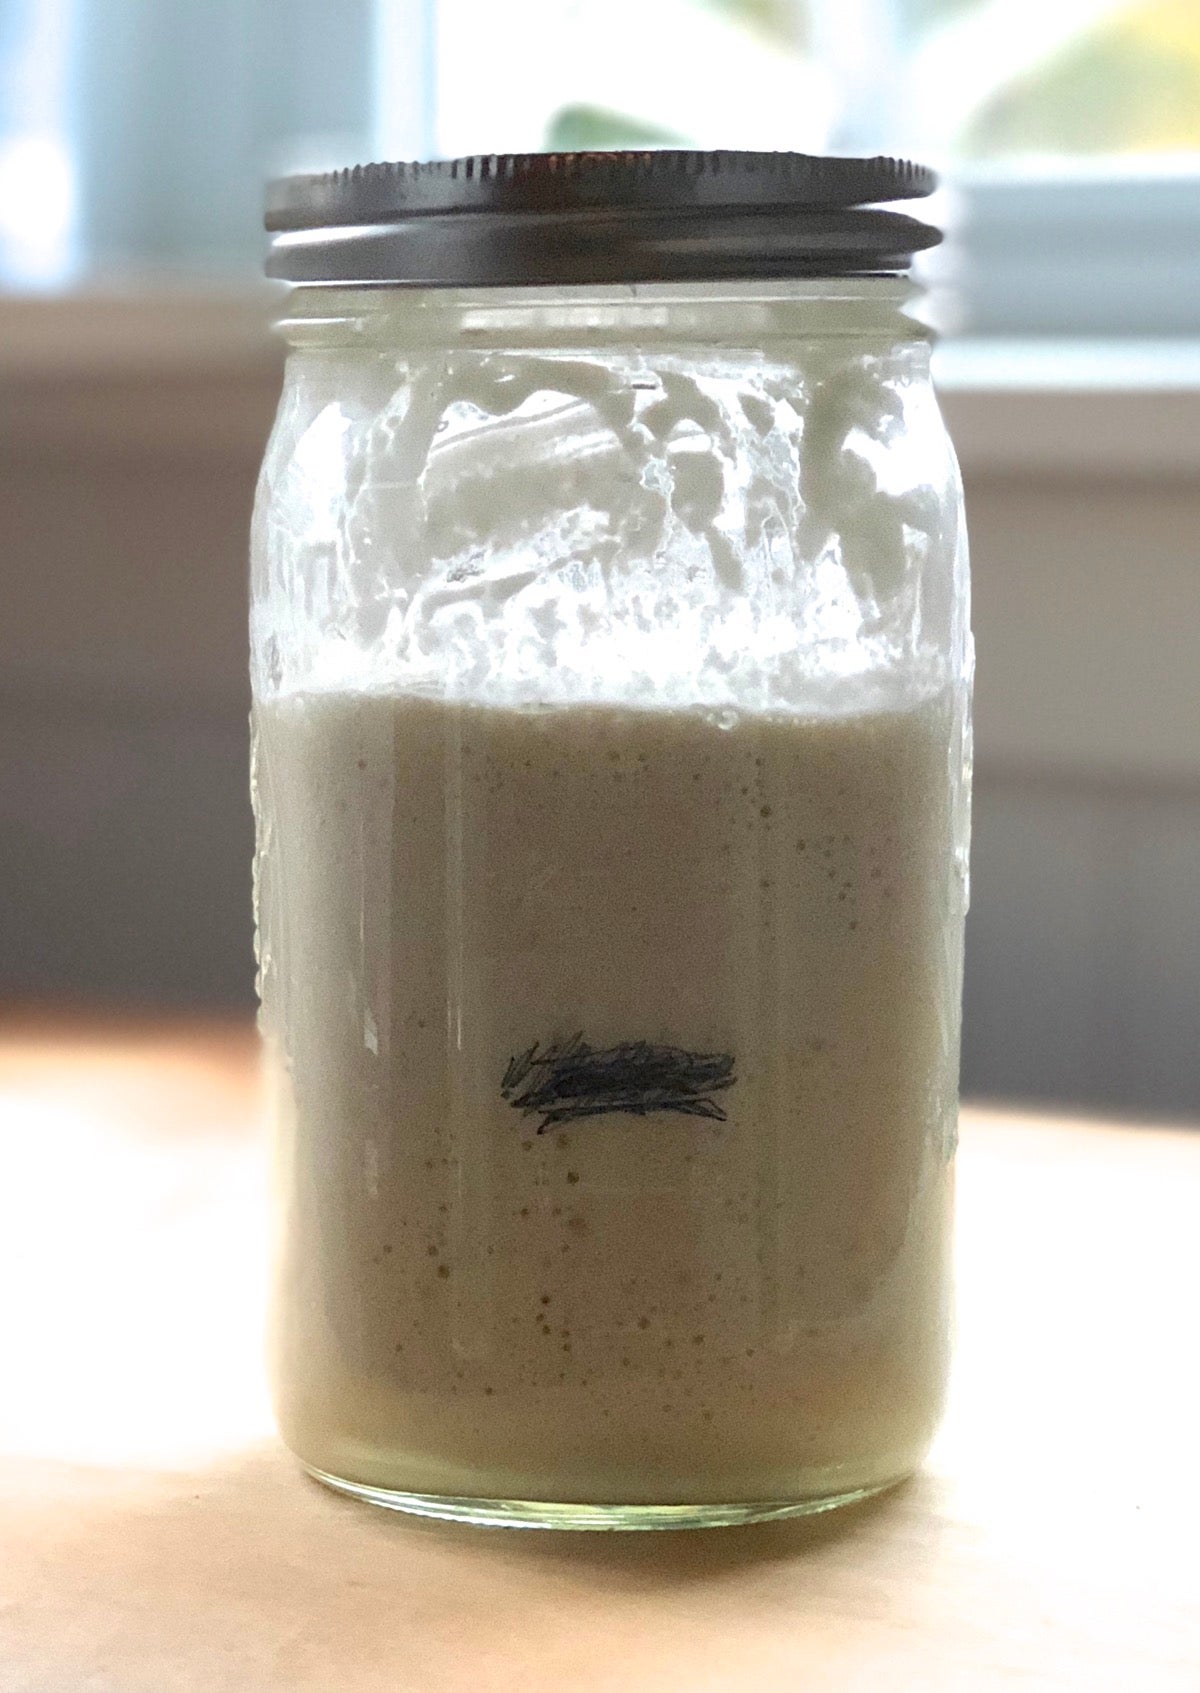
It should soon become healthy, bubbly, and active.
Sourdough starters are hearty, and easily resist spoilage due to their acidic nature. The pH of a sourdough starter discourages the proliferation of harmful microorganisms.
However, living creatures sometimes get sick, be they humans, pets, or even sourdough starter. If your starter turns ominously pink, orange, or red; shows signs of mold growth, or smells decidedly putrid, throw it away and begin again. Luckily, in our experience, this rarely happens. But for more information see our post, Sourdough starter troubleshooting.
OK, after all of that — how about baking some sourdough bread? Our Rustic Sourdough Bread is a great place to start.
Or for "true" sourdough, without any added yeast, try our Naturally Leavened Sourdough Bread.
Want to make your own homemade starter from scratch? Read our post on creating your own sourdough starter. And for easy access to just about everything we've learned about sourdough baking here at King Arthur Flour (and are eager to share with you), see our sourdough baking guide.


June 3, 2024 at 3:25pm
In reply to In the part about… by Kathy Hunter (not verified)
isn't a cup 227 g, so 113 g (4oz) should be half a cup not a scant cup? That would be consistent with the 1/1/1 ratio.
June 3, 2024 at 3:50pm
In reply to isn't a cup 227 g, so 113 g … by Rob Fetterly (not verified)
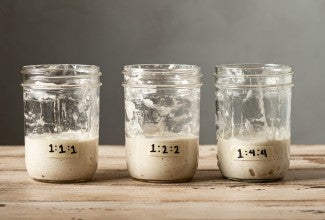
Hi Rob, we measure a cup of water or sourdough starter as weighing 227g, so you are correct that the water and starter amount will be 1/2 cup. However, our Unbleached All-Purpose flour weighs 120g per cup, so a "scant" cup is 113g. A regular maintenance feeding should look like this 1/2 cup (113g) starter + 1/2 cup (113g) water + 1 scant cup (113g) flour. This feeding routine is 1:1:1 (starter:water:flour, by weight). If you prefer to measure by ounces, remember that this is a weight measurement, not a volume measurement, so the weight of each component in your feeding should be 4 ounces, or 113g.
December 3, 2023 at 8:45am
What should I cover my starter with after feeding? A rigid cap/lid or a cloth?
December 5, 2023 at 1:15pm
In reply to What should I cover my… by doomthings (not verified)
Hi doomthings, the reason we say to "cover loosely" isn't because the starter needs airflow in order to ferment properly (it doesn't), but because fermentation gases can build up in a tightly lidded container and cause the lid to pop off. On the other hand, we've found covering the starter with cheesecloth or a towel allows too much airflow, and the starter surface tends to become crusty, which can restrict rising. As long as you leave sufficient headroom above the starter level for the gases to accumulate, and you open the jar now and then to vent the gases, it's fine to use a lid. Covering the container with plastic wrap is also a good solution, since plastic wrap will flex.
November 3, 2023 at 7:42am
Hi! I'm brand-new to the sourdough world, and I just took a class at a local bakery on it. We were given a tiny quantity (1 oz) of starter, and told to feed when we got home with 1/2 cup each water and flour. I did this, using whole wheat flour (the maintenance instructions were not the clearest with regards to discard etc., but said twice a day feeding if leaving out on the counter). So, the class was 48 hours ago, I fed 4x now, but have not discarded anything, and have about 3 cups of starter that has been consistently growing, bubbling, and looking good. I plan to discard today and make crackers, then put the starter in the fridge after a feeding. Did I mess anything up by just feeding and not discarding? The discard thing is a bit confusing!
November 4, 2023 at 4:03pm
In reply to Hi! I'm brand-new to the… by Jenny (not verified)
Hi Jenny, there are many ways to maintain a healthy starter, but generally you do want to keep the balance of ingredients fairly consistent. Feeding without discarding can ultimately lead to a starter that is overloaded with sourdough waste products and the (relatively) smaller amount of water and flour you're feeding it may not provide adequate nourishment. While this isn't likely to kill your starter, it will affect how it performs in your baking.
The maintenance instructions you received with your starter sound very much like our normal feeding routine, although we recommend feeding equal parts by weight, rather than by volume (cups). When you feed 1/2 cup each of water and flour, you will actually be adding twice as much water as flour (by weight). While there isn't anything inherently wrong with that starter feeding method, it may make it more difficult for you to follow our sourdough recipes. For example, if you're making our Sourdough Cracker recipe, you may find that your dough is very wet and sticky when using your sourdough discard. For this recipe it would probably work fine to add extra flour to make the dough workable, but ultimately you may find it easier to switch to our sourdough feeding routine if you want to work with our sourdough recipes.
When you want to store your starter in the refrigerator for up to a week, we recommend giving it a feeding, and then letting it sit out at room temperature for 2-4 hours before placing it in the fridge. Your starter discard can also be stored in a separate container in the fridge. I add to my discard over the course of a few weeks, but generally throw it out and start fresh every 3 weeks or so. For our discard recipes you can use the discard starter straight from the refrigerator.
September 23, 2023 at 2:23pm
I am reviving my starter. It seems too dry to me, should I add more water?
September 24, 2023 at 2:15pm
In reply to I am reviving my starter. … by SUZANNE WHITE (not verified)
Hi Suzanne, yes, it won't hurt to drizzle in a little more water to bring your starter back to a pasty but still easy to stir consistency after your next feeding.
July 2, 2023 at 10:57pm
What if my starter has bubbles and has doubled in size but does not pass the float test? It smells like it should it has bubbles like it should and it has doubled what temperature should the water be for the Float p test? Thank you so much.
July 3, 2023 at 12:40pm
In reply to What if my starter has… by Cathy (not verified)
Hi Cathy, we aren't big fans of using the float test to determine starter ripeness. If your starter is bubbly throughout and has doubled in volume after a feeding, then I would consider it ripe and ready to add to your baking.