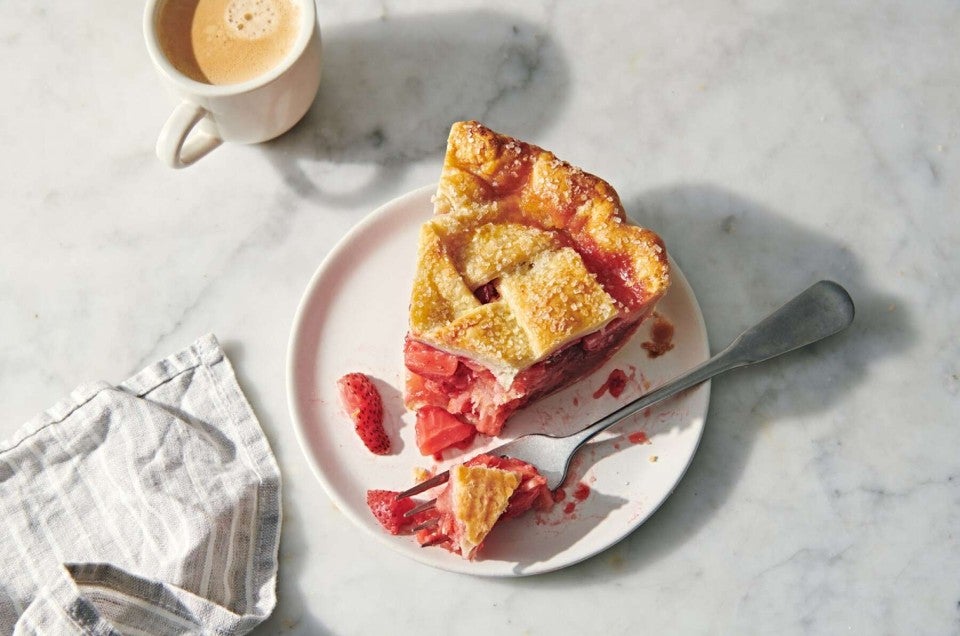


With pie-baking season in full swing, now's the time to examine one of the most common issues we hear about on our Baker's Hotline: how to get pie crust to brown on the bottom.
Baking pie isn't an endeavor for the faint-hearted (or hurried) baker. Unlike brownies or biscuits that can go from zero to on-your-plate in under an hour, pie requires a significant investment of time. Between making, chilling and rolling the crust, prepping the filling, then baking the pie and letting it cool before you finally sample a slice — you're putting several hours, off and on, into the endeavor.
That's why it's so disappointing when something goes wrong. Like cutting into a blueberry pie to find berries swimming in a deep puddle of sloshing juice.
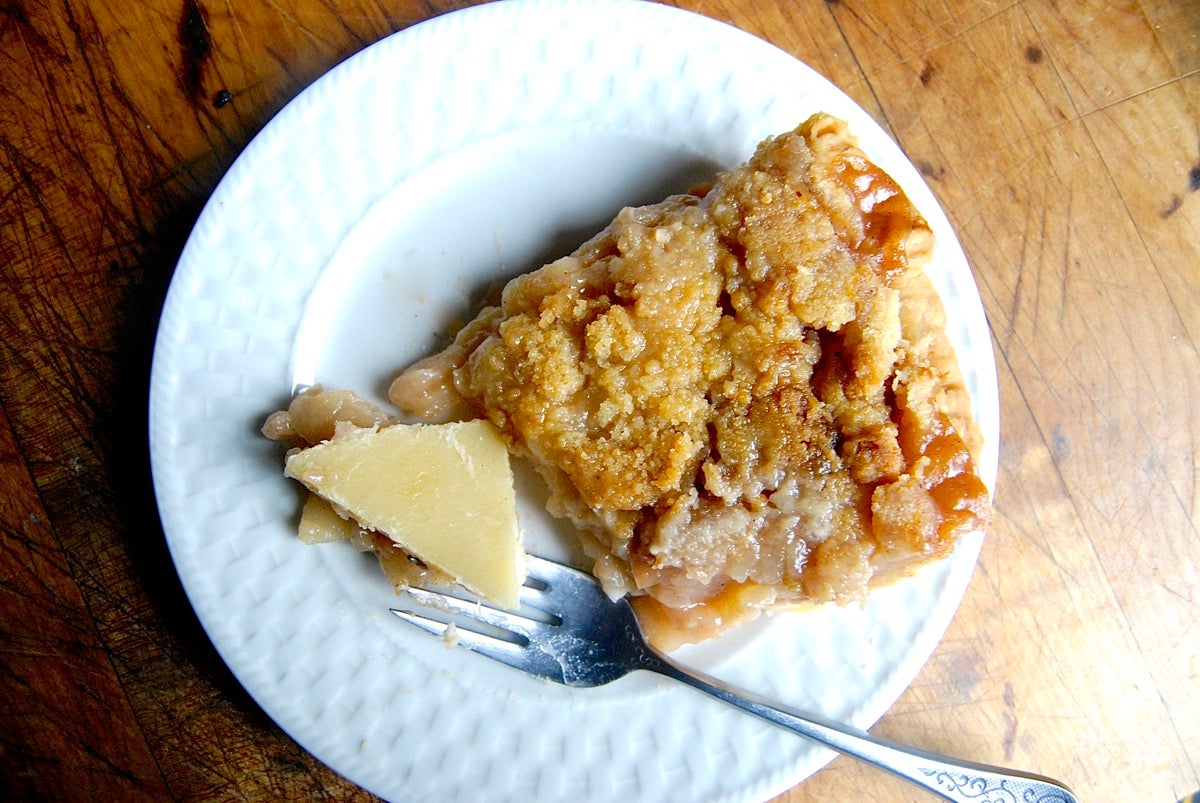
Or eagerly forking up a bite of warm apple pie and discovering its bottom crust is as white, soggy, and limp as an underdone pancake. BLECH!
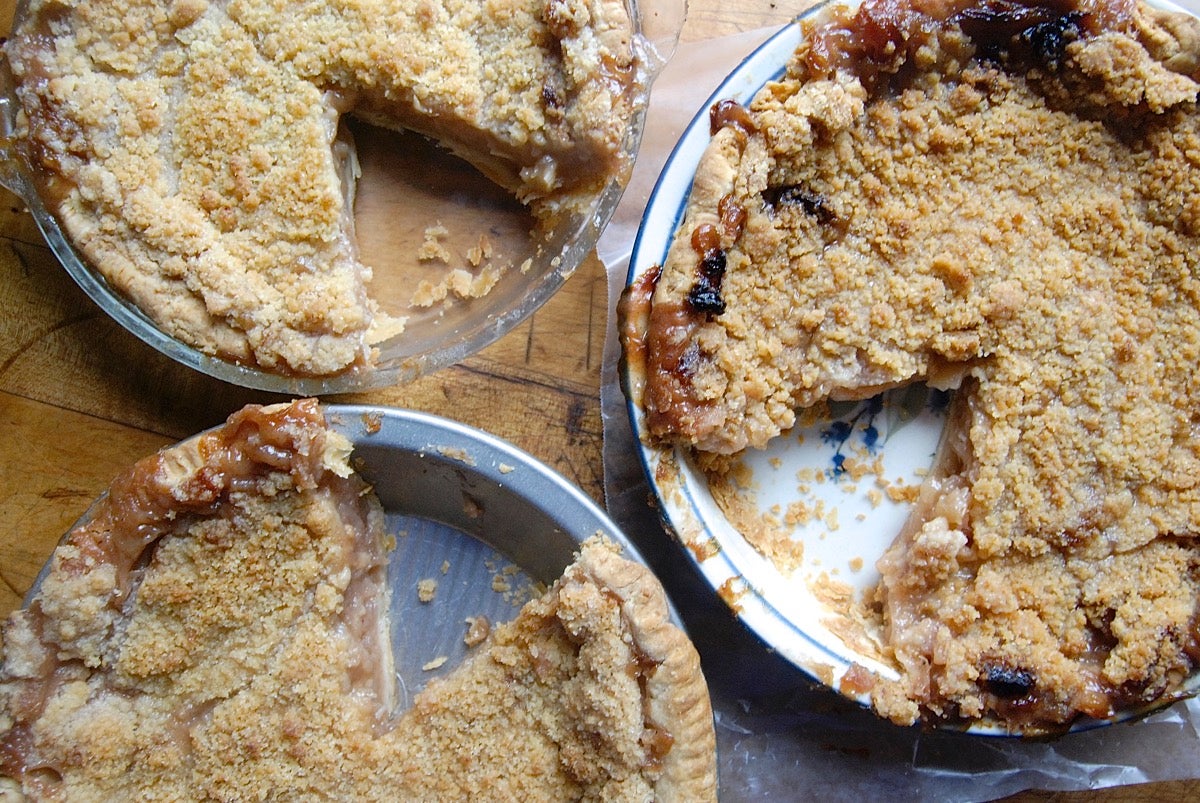
Hey, it doesn't have to be that way; there are simple steps you can take to produce a bottom crust that's a thing of beauty and a joy forever. Metal pan, glass pan, stoneware/ceramic... doesn't matter. It's all about location in the oven — and time.
Getting a brown, flaky/crispy bottom crust on your pie is all about quick and effective heat transfer. That's why aluminum or aluminum/steel pans — rather than glass or stoneware — are your best choice for baking pie. Metal, especially aluminum, transfers heat quickly and efficiently from oven to pie crust.
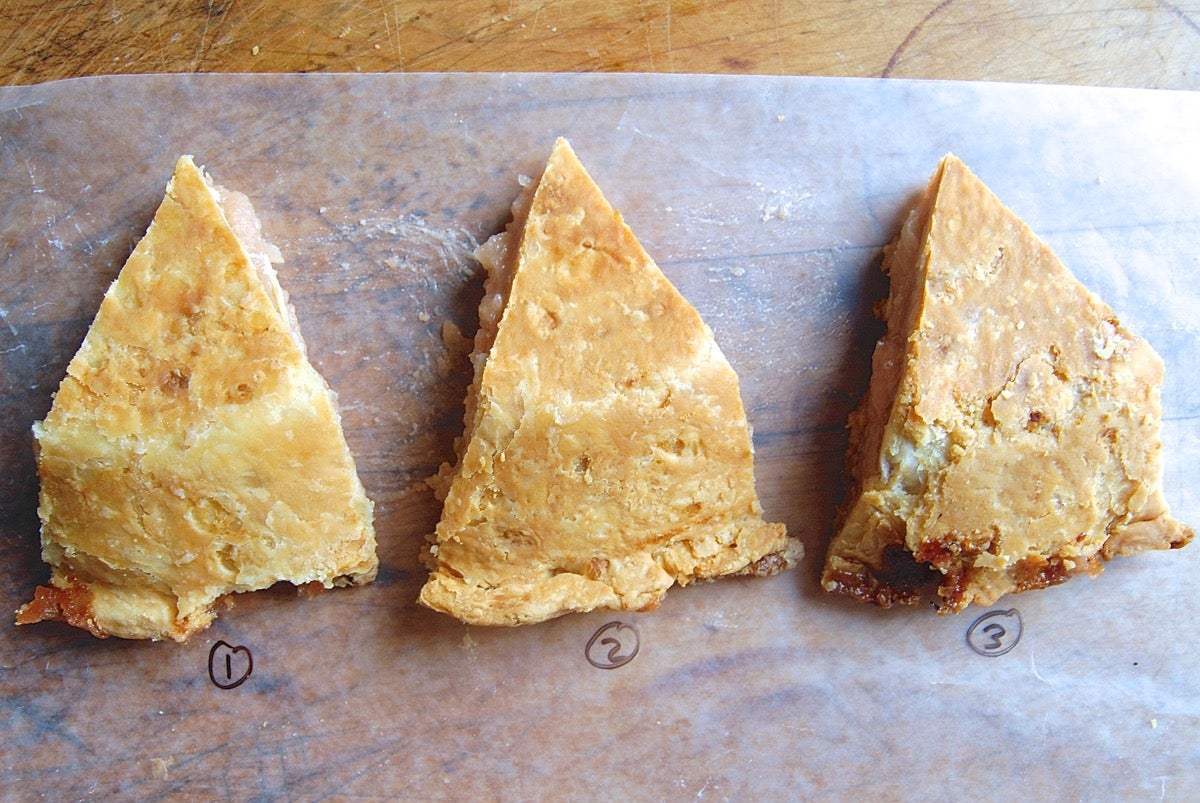
If you always bake in an aluminum pie pan, you probably never experience the dreaded pale and flabby crust. In tests for this post, apple pie baked in an aluminum-steel pan had a lovely brown bottom crust when baked anywhere in the oven: in the center (1, above); on the bottom rack (2); or on a pizza stone on the oven floor (3).
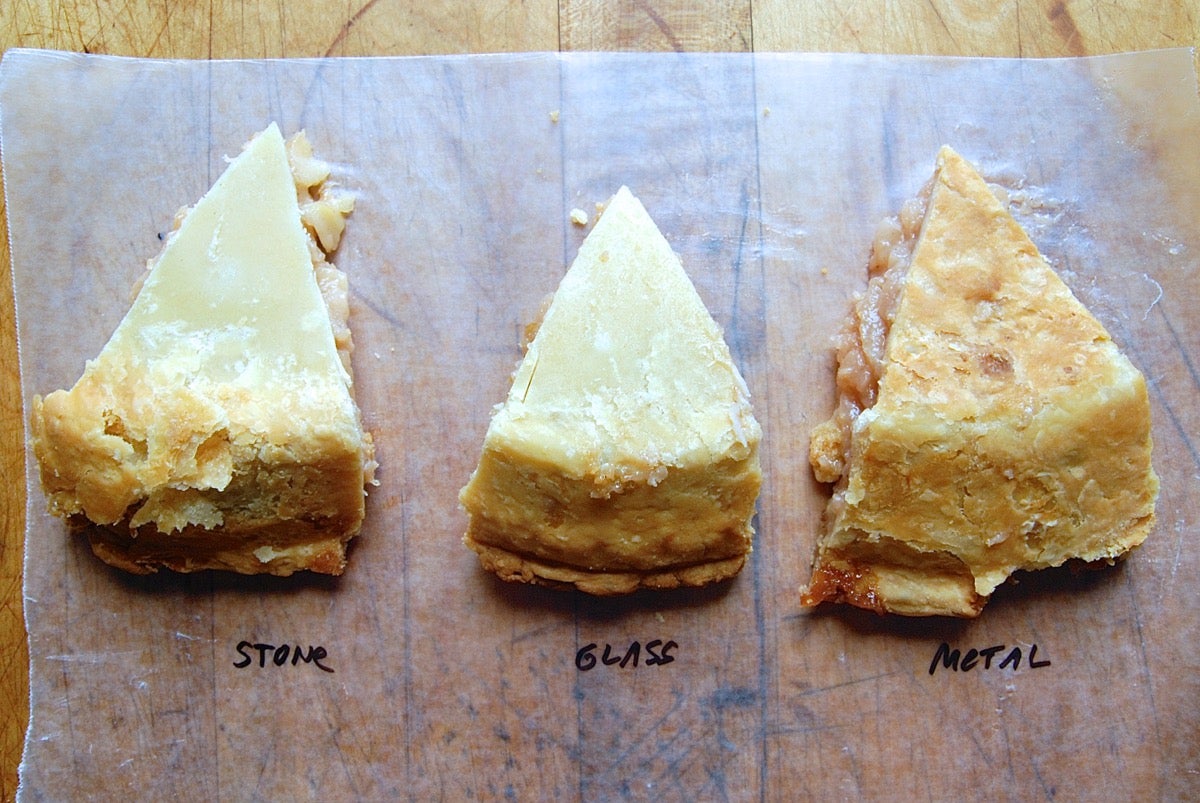
Not so with the stoneware and glass pans I used. Placing them on the oven’s middle rack to bake resulted in pie with damp, pale bottom crust.
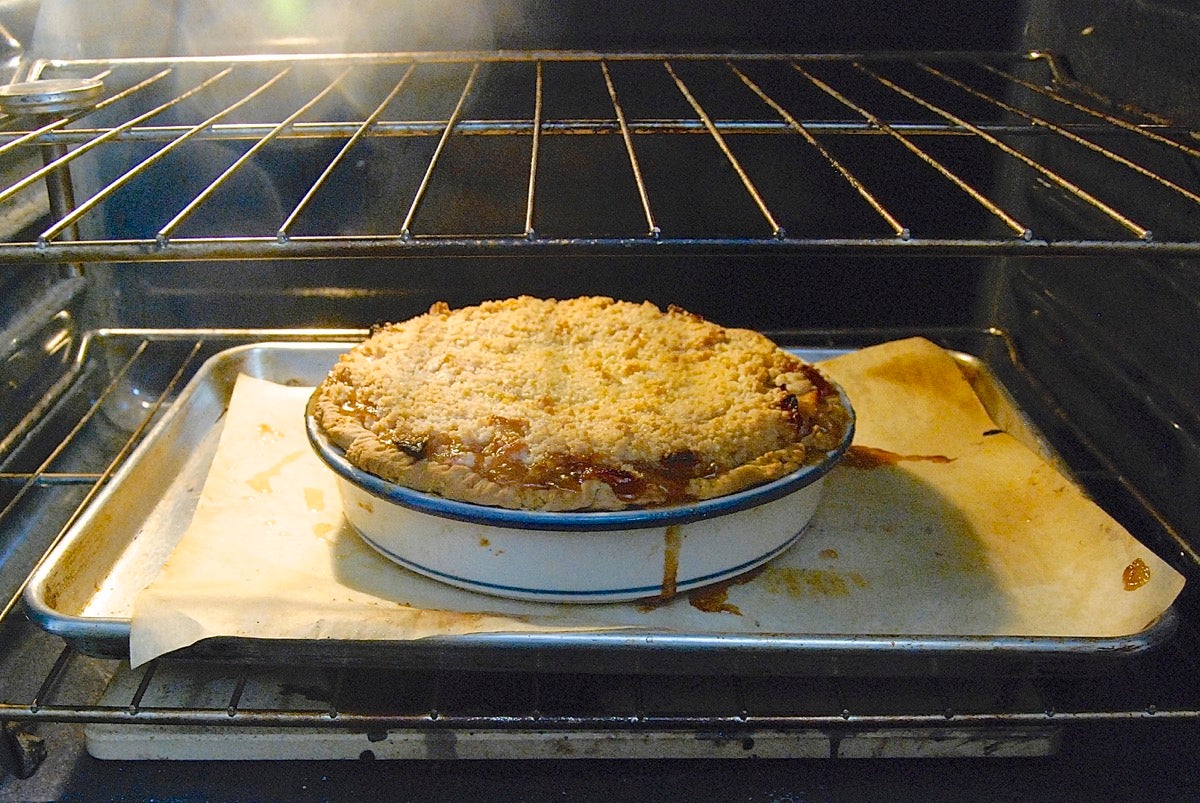
"But I love my grandma's old ceramic pie plate," you say. And you can keep using it — so long as you place it on your oven’s bottom rack when baking pie. Without getting too heavily into thermodynamics, metal is a better heat conductor than air; so you want your pie’s bottom as close as possible to the oven’s metal floor, which means the bottom rack.
Why not place your glass or ceramic pan directly on a hot oven stone? Thermal shock — a quick temperature change, like from room temperature to a super-hot stone — can shatter a non-metal pan. And imagine the mess THAT would make — to say nothing of losing your pie.
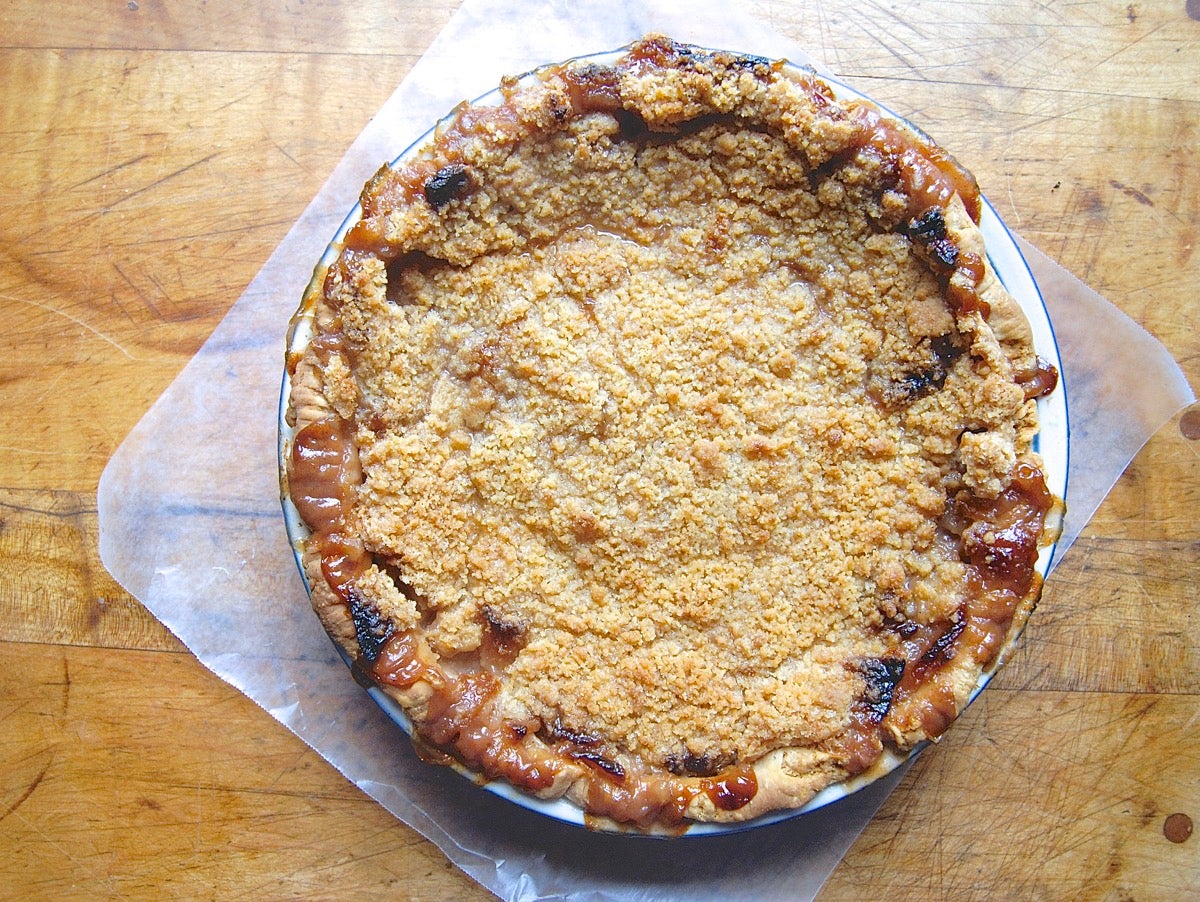
If your fruit pie has been in the oven for the amount of time directed in the recipe, and you don’t see juices bubbling up through the vent holes or around the edge of the crust — trust me, it’s not done. I like to let my pie bubble in the oven for at least 10 to 15 minutes.
And you know what? It’s nearly impossible to over-bake a fruit pie. I’ve baked apple pie for 3 hours at 350°F (tenting the top with aluminum foil after 1 hour), and it’s come out just fine: crust brown and lovely, apples not over-cooked. So don’t put a stopwatch on that pie; the longer you let it brown and bubble, the better your bottom crust will be.
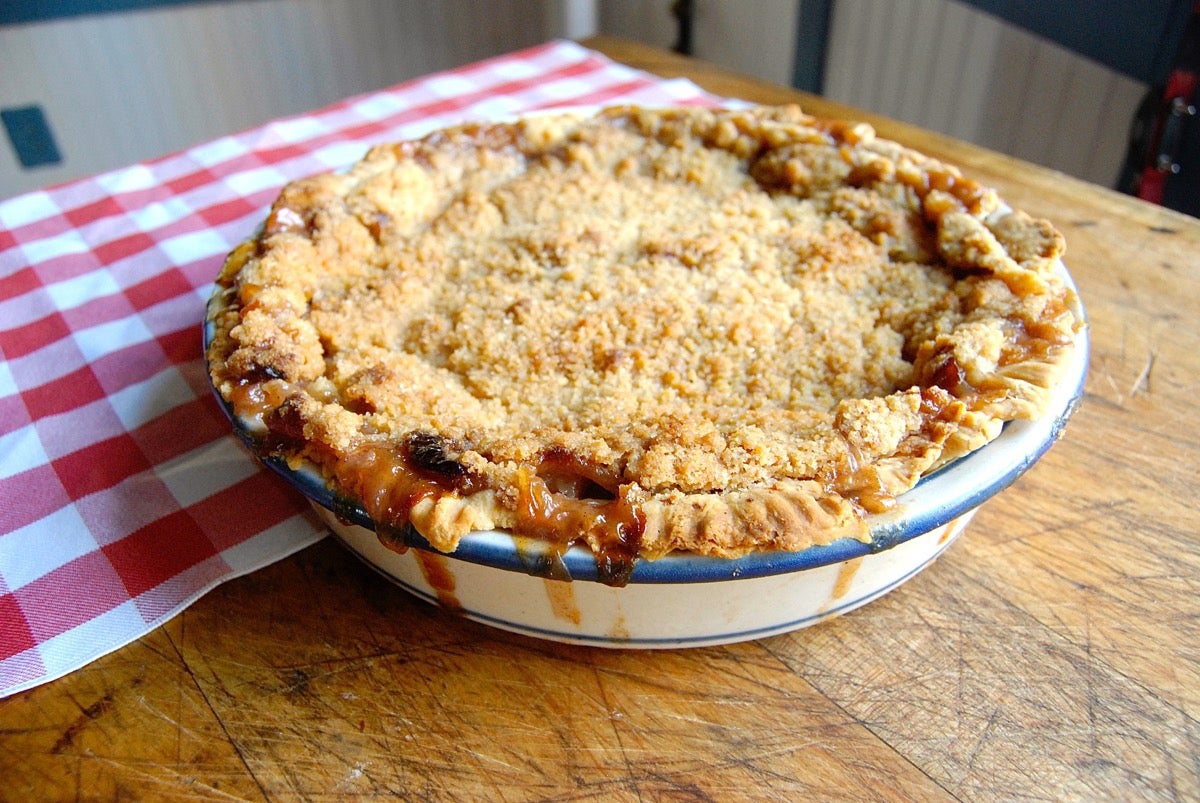
Also, bear in mind that crust browns first at the edges, then the center. So the larger your stoneware or glass pan, the longer it'll take for the entire bottom crust to brown.
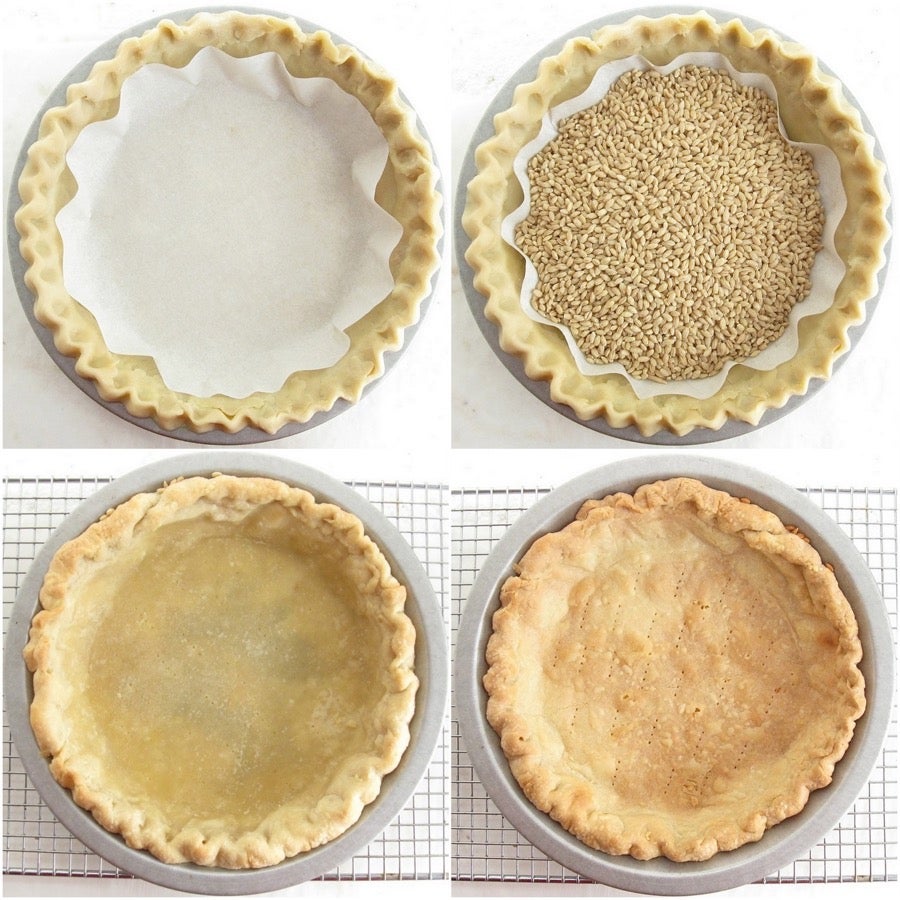
So far we've focused on fruit pies. What about pumpkin or other custard-type pies whose fillings simply can't take high/prolonged heat without danger of curdling or cracking?
Prebaking — baking the pie crust before adding the filling — is your answer. Bake your crust, add the filling, and bake until the filling is done. I promise you, the crust won't burn on the bottom; the filling will insulate it. As for the crust's exposed edges, simply cover them with a pie shield or strips of foil to protect them. For complete details, see this previous post on how to prebake pie crust.
Is it necessary to prebake crust for a custard-type pie even if you use a metal pan? For best results, yes.
What about baking in a cast iron skillet? Love this solution; cast iron is a great heat conductor, and serving pie from a cast iron skillet makes for great presentation: equal parts tradition and casual comfort.
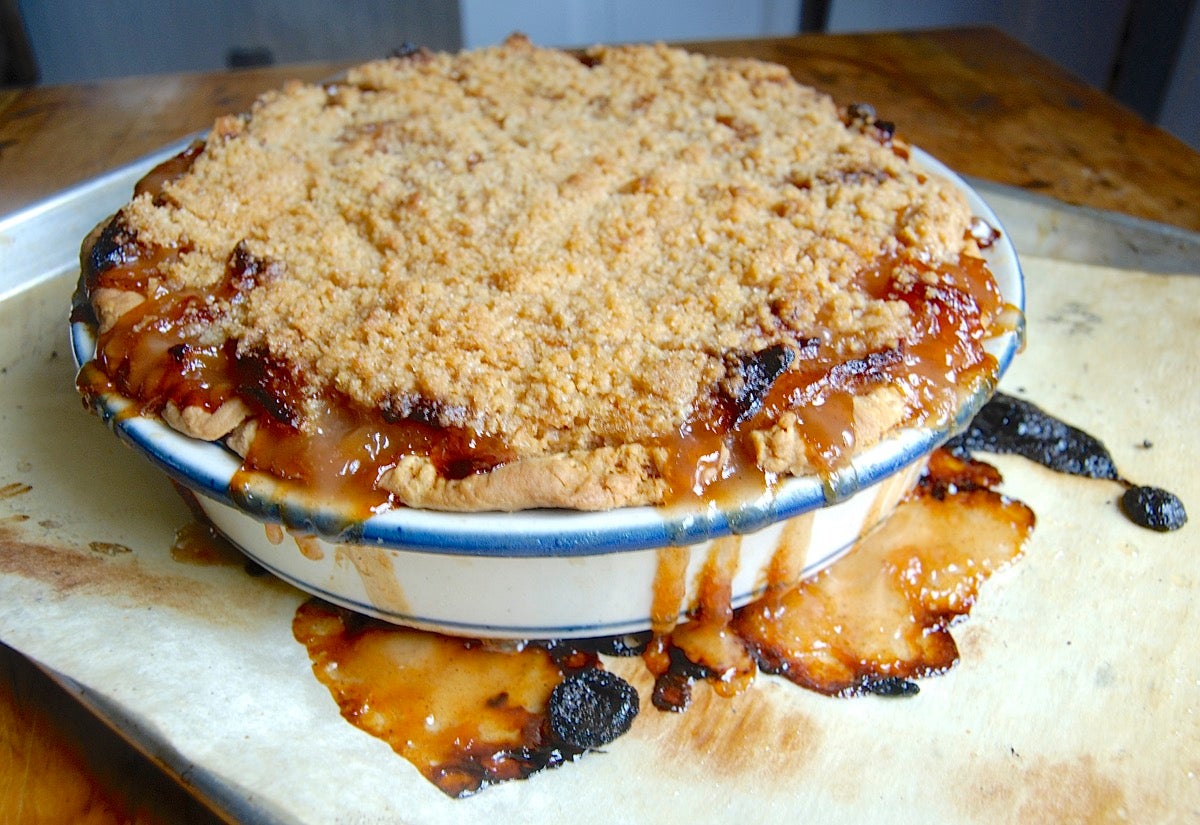
Always set your pie pan on a larger baking sheet, preferably lined with parchment. The metal baking sheet will help conduct heat to the pie's bottom quickly; and parchment will catch the inevitable spills, making cleanup super-easy.
And if you simply don't have any luck browning pie crust in your favorite stoneware pan — but still love the pan for its presentation value?
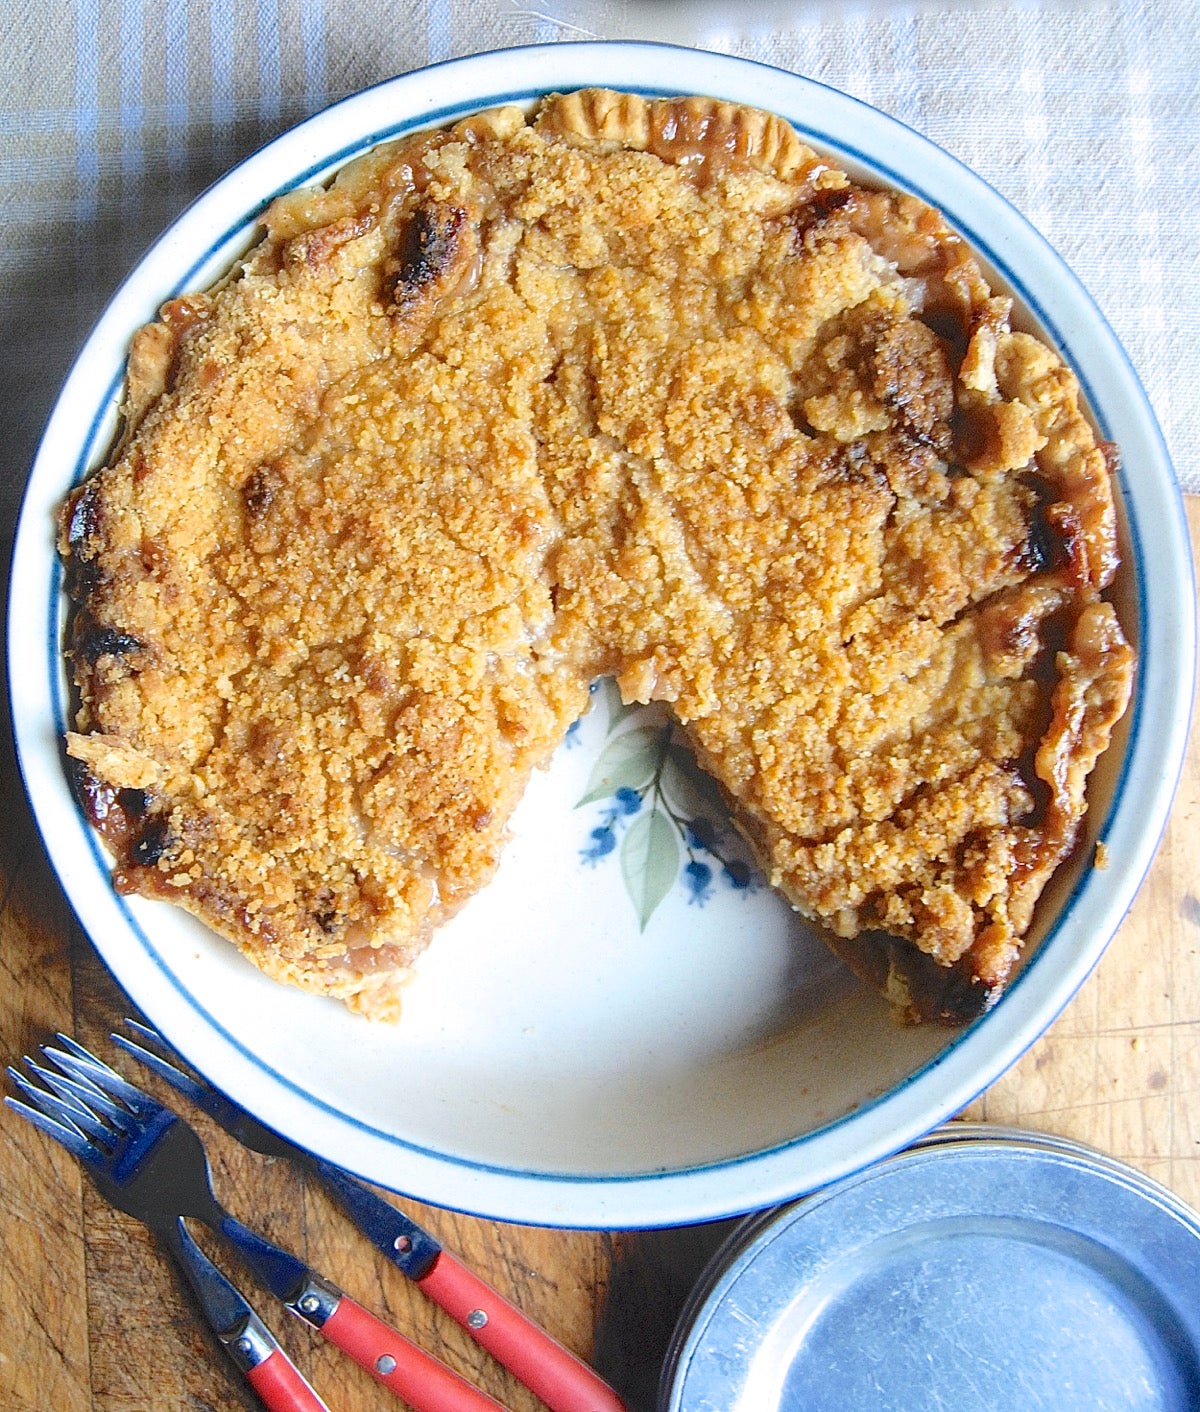
Bake it and fake it! Bake your pie in a metal pan. Then, depending on the size of your stoneware pan, set the pie, metal pan and all, into the stoneware pan. Or very, very carefully loosen the pie from its metal pan and place it, whole, into the stoneware pan. If you can't manage that, try cutting the pie in half or quarters before moving it; it'll simply look like you started cutting slices in the kitchen, before serving.
I'm sure I've missed some other valuable tips for how to get pie crust to brown on the bottom. Please share your favorites in comments, below.

