

Inventor and guest writer Andris Lagsdin shares the story of how a realization at work led to Baking Steel pizza dough and one of the best pizza crusts you'll ever make.
A unique combination of interests and skills led to the birth of the Baking Steel. And, in my humble opinion, pizza is the better for it.
In my day job, I work for a family-owned manufacturing company, Stoughton Steel. But outside the office, I’m pretty passionate about food — pizza in particular.
My thoughts are never far from creating the perfect crust. One day, I was browsing a volume from the book series Modernist Cuisine, by Nathan Myhrvold. As fate would have it, Myhrvold stated that the best tool to use for making the perfect pizza crust would be a piece of steel.
And that, my friends, was my “AH-HA” moment! As soon as I could, I hustled out to our plant, found a piece of 1/4” high-quality steel, and brought it home for some testing.

According to Myhrvold, steel is better at conducting heat than a brick oven’s stone. Because of that conductivity, pizza crust cooks faster and more evenly at a lower temperature, resulting in a beautiful, thin, crispy crust.
Real-life tests with steel confirmed that theory completely for me! But why is steel a better conductor than stone?
Here’s the scoop. We know from seventh-grade science class that steel is a great conductor. What I’ve since learned is that it stores more than 18 times the amount of energy — heat — than stone can store. The steel then transfers that heat so quickly that pizza can be fully baked in a home oven in about 5 minutes — less than half the time of a traditional pizza stone.
I’d spent plenty of time over the years with countless pans, pizza stones, gadgets, and gear trying to perfect my pizzas in a home oven. Who knew the solution had been waiting for me all along in a pile of steel over at the shop — and some insight from Modernist Cuisine? Talk about serendipity!
I’m lucky to be living out my dream of combining two great interests — pizza and steel — into one amazing product, the Baking Steel.
Now, let's get down to business and talk pizza dough.
Most artisan pizza dough rests 24 hours or less before you shape and bake it. But we’re going to make a simple adjustment to the typical no-knead recipe that will change your home pizza game forever.
And what’s this simple adjustment? Extending the dough’s rest from less than 24 hours to a full 72 hours.
Why is this extended rest important? The process, called slow fermentation, is a favorite of baking professionals and experienced pizza makers. By slowing down the dough’s rise, it has time to develop wonderfully rich, complex flavor.
Do this test: Make a batch of dough, and divide it into seven pieces (as directed in the recipe below). Bake one crust after the initial 24-hour rest; then another at 48 hours, a third at 72 hours, etc. It’s a fun test and you’ll get to eat lots of pizza! The results should speak for themselves — you’ll notice a marked difference in flavor between the 24-hour crust and successive crusts.
By the way, don’t let the recipe name intimidate you. The hands-on time for this 72-hour dough is just 15 minutes — and that includes cleanup!
Alternately, you can try this recipe for Artisan No-Knead Pizza Crust.
adapted from Jim Lahey’s No-Knead Pizza Dough
8 1/4 cups (1000g) King Arthur Unbleached Bread Flour
2 teaspoons (16g) fine sea salt
heaping 1/4 teaspoon (2g) active dry yeast or instant yeast
3 cups + 2 tablespoons (700g) cool water (filtered)

Whisk together the dry ingredients, then add the water, mixing thoroughly.

Knead the resulting dough for 2 to 3 minutes. The idea is to work the dough by hand until no dry patches remain. Knead until the dough forms a fairly tight ball.

Place the dough in a bowl and cover it with a damp cloth or plastic wrap.

Let the dough rest and rise for 24 hours at room temperature. This process, called bulk fermentation, enables the dough to more than double in size and become very aromatic in a clean, alcohol sort of way. This 24-hour rest also yields wonderful flavor in your crust.

Lightly flour a work surface. Place the dough on the floured work surface. Divide it into equal portions (about 240g each).

Working with one piece of dough at a time, fold two of its sides into the center. Rotate the dough 90 degrees and fold the sides into the center again. Repeat this process until you’ve formed a smooth ball. Place the ball, smooth side down, in your palm, and firmly pinch the bottom seam closed. If your hands feel too sticky at any time, dip your fingers in flour.

Place each piece of dough into a heavily oiled 1-pint lidded plastic container. Date the containers, and refrigerate for at least 48 hours. Each container of dough will make one 12” pizza crust.
When you’re ready to begin your pizza, remove as many pieces of dough from the fridge as you need at least 1 hour before shaping. Any dough you don’t want to shape immediately can be frozen in its plastic container for up to 3 months, if desired.
Baker's tip: How long can you store your dough in the refrigerator? I find the dough has a “strike zone” for ideal use between days 3 and 5 (counting the day it’s made as day 1). After day 5, the dough will start to break down some, making it a little more difficult to stretch. But the flavor remains outstanding right through day 10. Dough that’s nine or 10 days old will be quite “brittle” and hard to shape, so use it for rolls, short bread sticks, or other breads that don’t require a lot of stretching.
Ready to make pizza? Let’s start with a traditional cheese pizza — with some heat.
Your first step is preheating your oven at 500°F for a good hour, with the Baking Steel on the top rack, about 7” from the broiler.

Stretch or roll your pizza dough into a 12” round, and place it on a pizza peel (or the back of a baking sheet, if you don’t have a peel).
Switch your oven to the broiler setting.

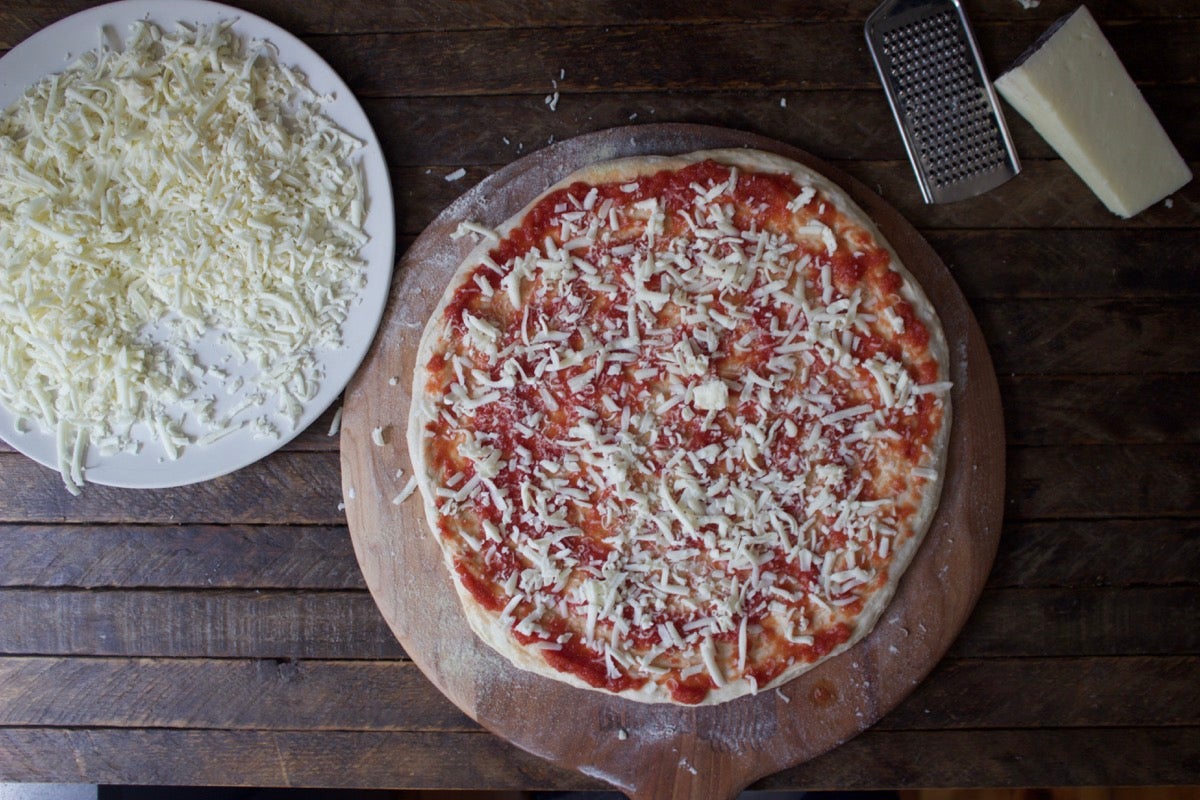
Top the crust with a generous 1/3 cup (3 ounces) tomato sauce, leaving a little crust bare around the perimeter.

Sprinkle with 1 tablespoon grated Romano cheese, then 3/4 cup (3 ounces) shredded low-moisture mozzarella.

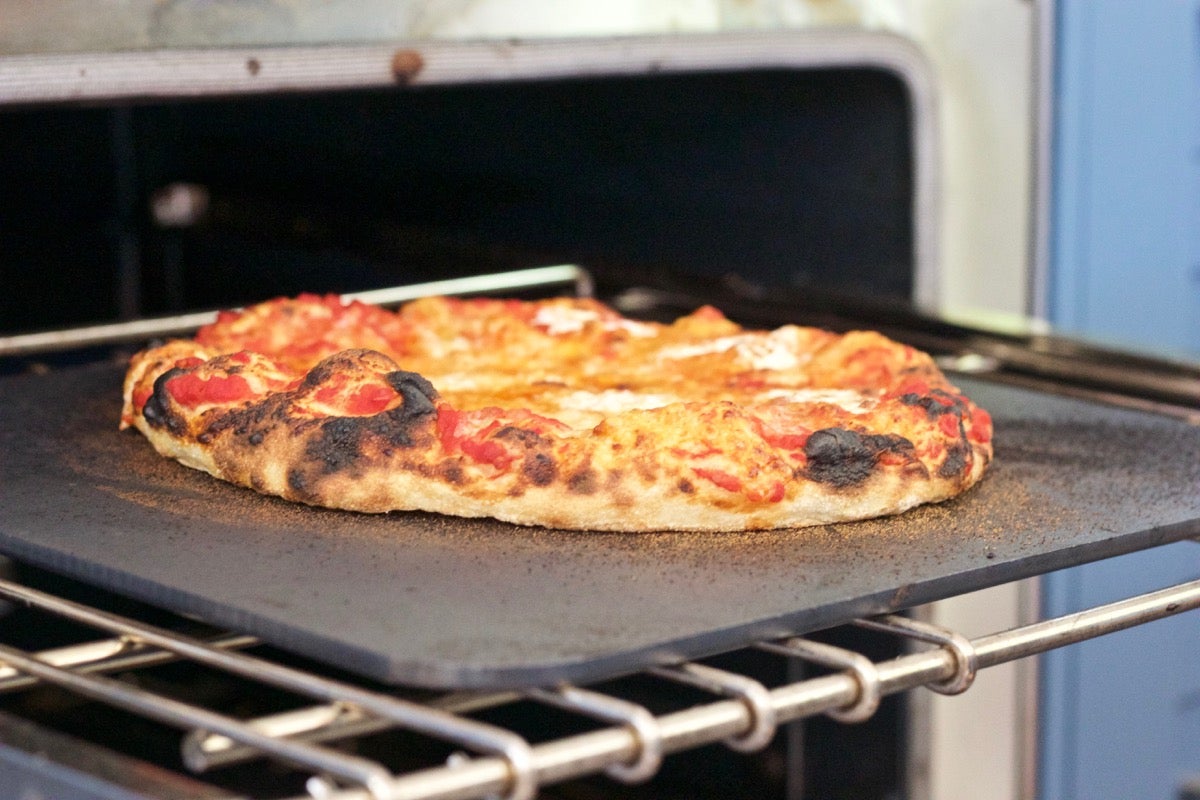
Place the pizza onto the steel, under the broiler.

After 2 minutes, rotate the pizza 180 degrees (front to back, back to front). Switch the oven back to bake mode, 500°F. Bake for 2 more minutes, until the crust is as dark as you like.

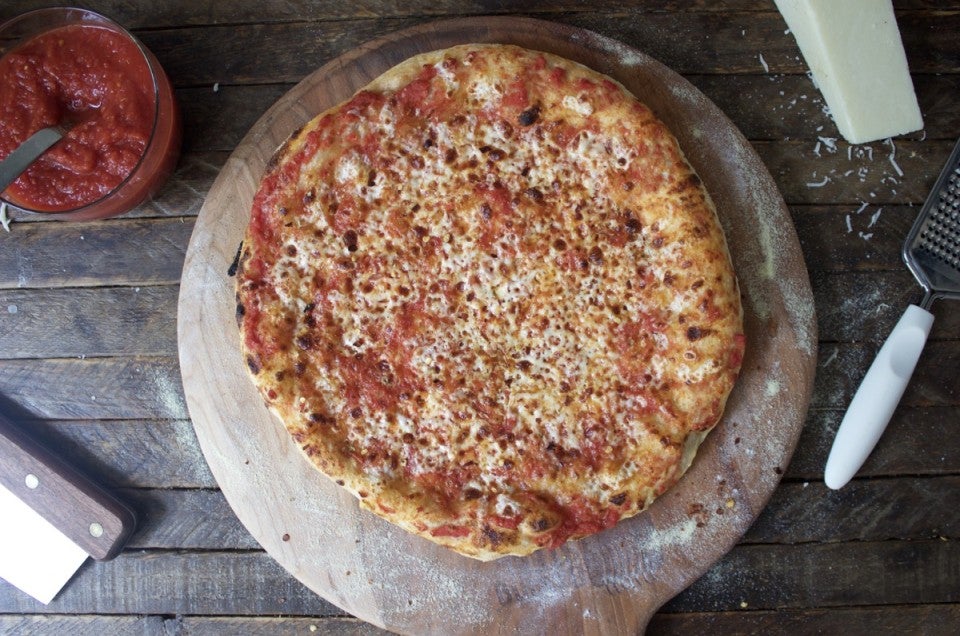
Remove the pizza from the oven. Notice those nice char marks on the underside, courtesy of the steel.
Sprinkle the pizza with 1 tablespoon dried oregano and 1/2 teaspoon dried red pepper flakes, or to taste.

Take a photo, slice, serve, and enjoy!
Want to bake your own professional-style pizza at home? Check out the Baking Steel; and try Andris' recipe above, or our recipe for Artisan No-Knead Pizza Crust.

