Sure, making fresh homemade pasta is more time and labor intensive than popping open a box of dried pasta from the supermarket. But the results are better — tender, chewy, and flavorful — and the process itself is fun. If you enjoy getting your hands in some dough, experimenting with shapes and flavors, and playing around with your kitchen equipment, you should definitely make homemade pasta.
Just getting started? Pull up a chair and join us as we share some basic guidelines for making pasta.
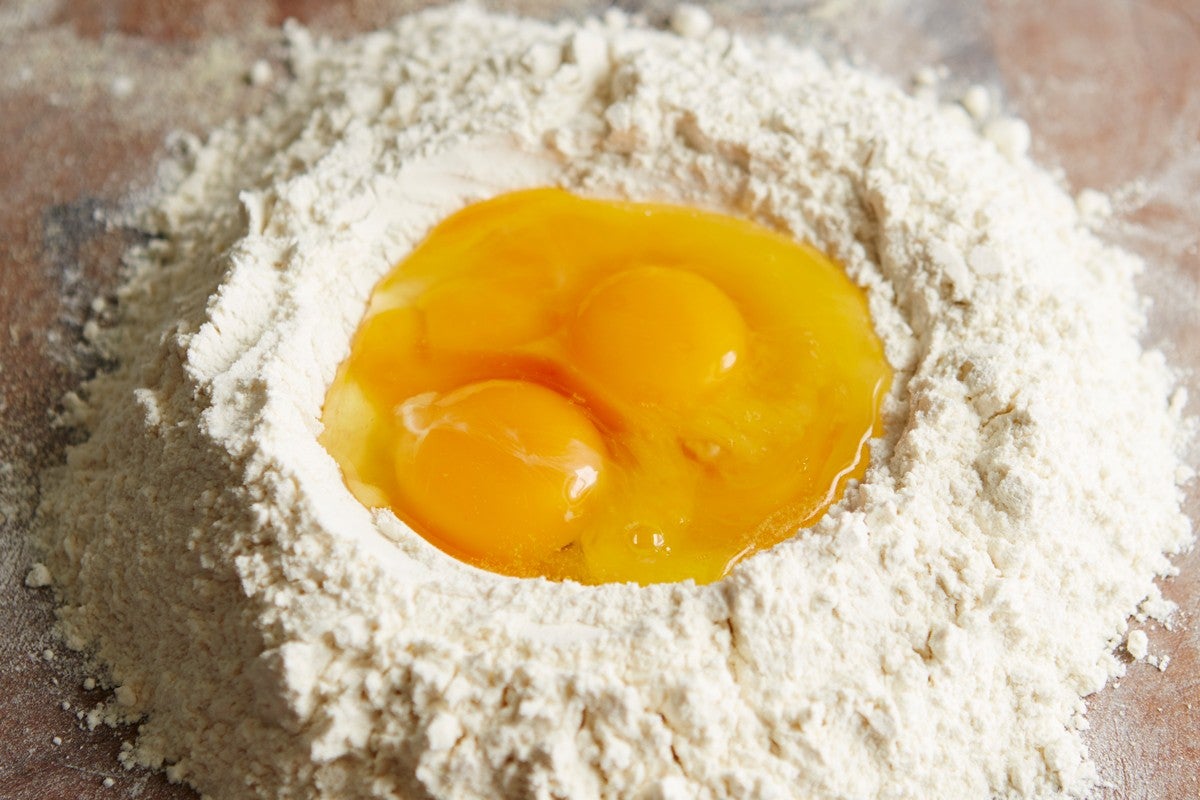
Let's begin with a basic pasta recipe:
1 large egg per cup of flour, plus 1 to 2 tablespoons of water as needed.
That's it, really. Egg, flour, and maybe water.
The flour could be all-purpose, whole wheat, semolina, our Pasta Flour Blend, or a combination of these. Italian-Style Flour is best if you're making delicate sheet pasta, like for lasagna. Pastry and cake flours are too soft for homemade pasta. (Learn more: What’s the best flour for pasta?)
Some recipes call for adding salt or oil, but they aren't always necessary for basic pasta dough. You'll get plenty of saltiness when you cook the pasta in salted water, and the oil is best left as a topping rather than an ingredient.
Looking for a full recipe? Try:
Tubes of some kind — ziti, penne, macaroni — need a dough that's fairly dry, in order to pass through an extruder without sticking.
Make a softer pasta dough, one with added water or a higher percentage of eggs, for pasta that'll be rolled into sheets. Once it's rolled, it can be left whole, to use for lasagna, manicotti, or ravioli; or cut into fettuccine. linguine, or other flat shapes.
Mix your dough by hand, with a mixer, or in a food processor. The key is to keep an eye on the consistency of the dough more than a clock or timer. When using a mixer, use the dough hook instead of the beater. There's less surface for the egg to cling to, incorporating it into the flour instead.
Pasta dough that will be going through an extruder — think macaroni, ziti, and other hollow shapes — is a bit different than dough for pasta sheets. It's drier and doesn't form a ball as easily. Instead, it looks like pie dough or really lumpy grits. It'll readily hold together in a clump when squeezed, yet it's dry enough to cut cleanly.
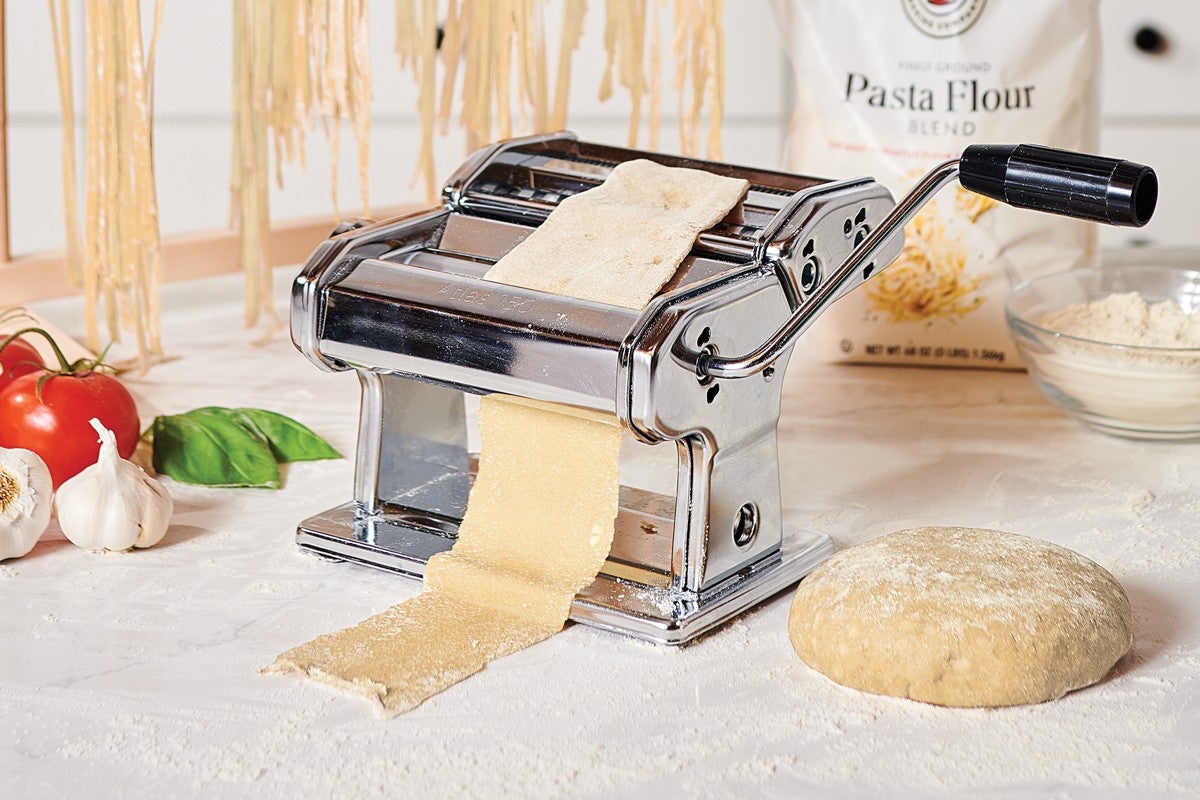
Pasta dough that'll be rolled out needs to be softer. It should easily form a ball when squeezed; and just as easily go through the rollers of a pasta machine, yielding soft, smooth, silky sheets of dough.
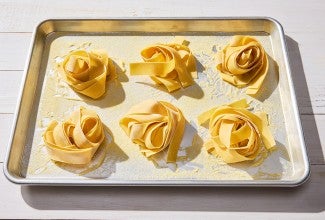
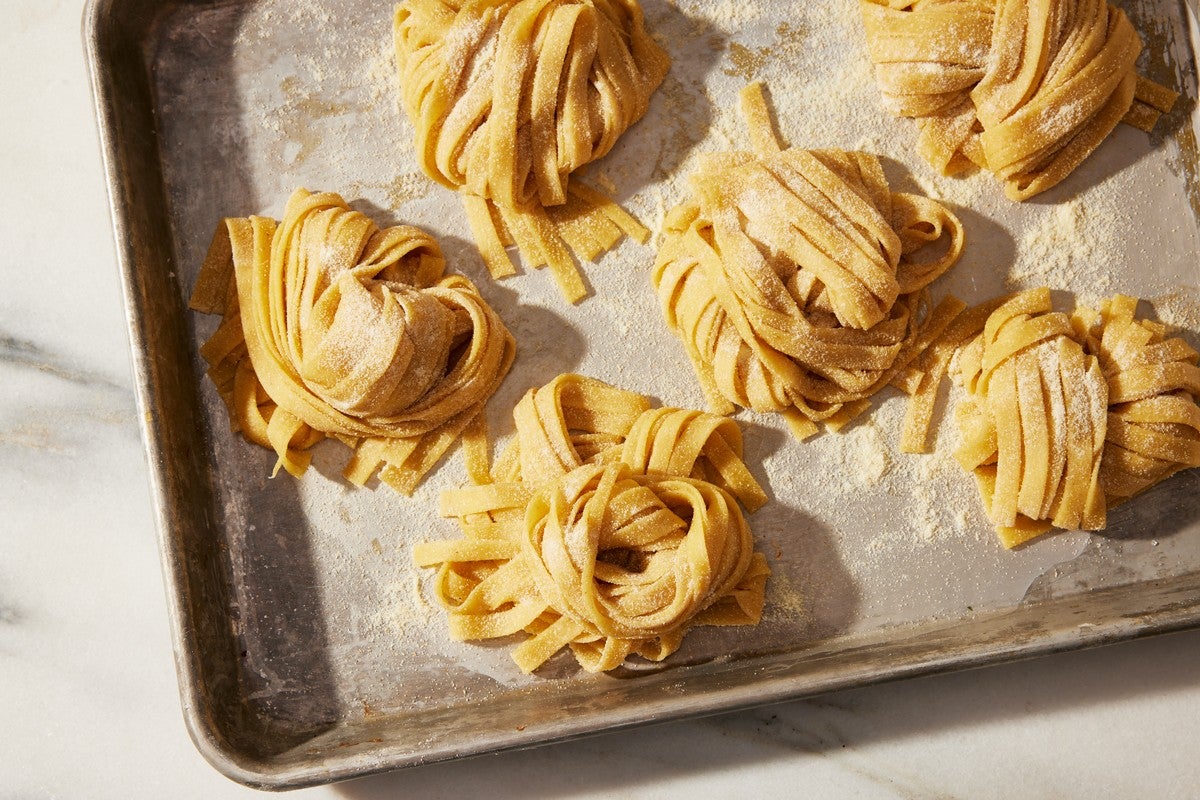
Once you've made your pasta, toss it with some flour to prevent it sticking together. If you're cooking the pasta right away, it can go directly from the bowl into a pot of salted boiling water. (More on cooking fresh pasta below!)
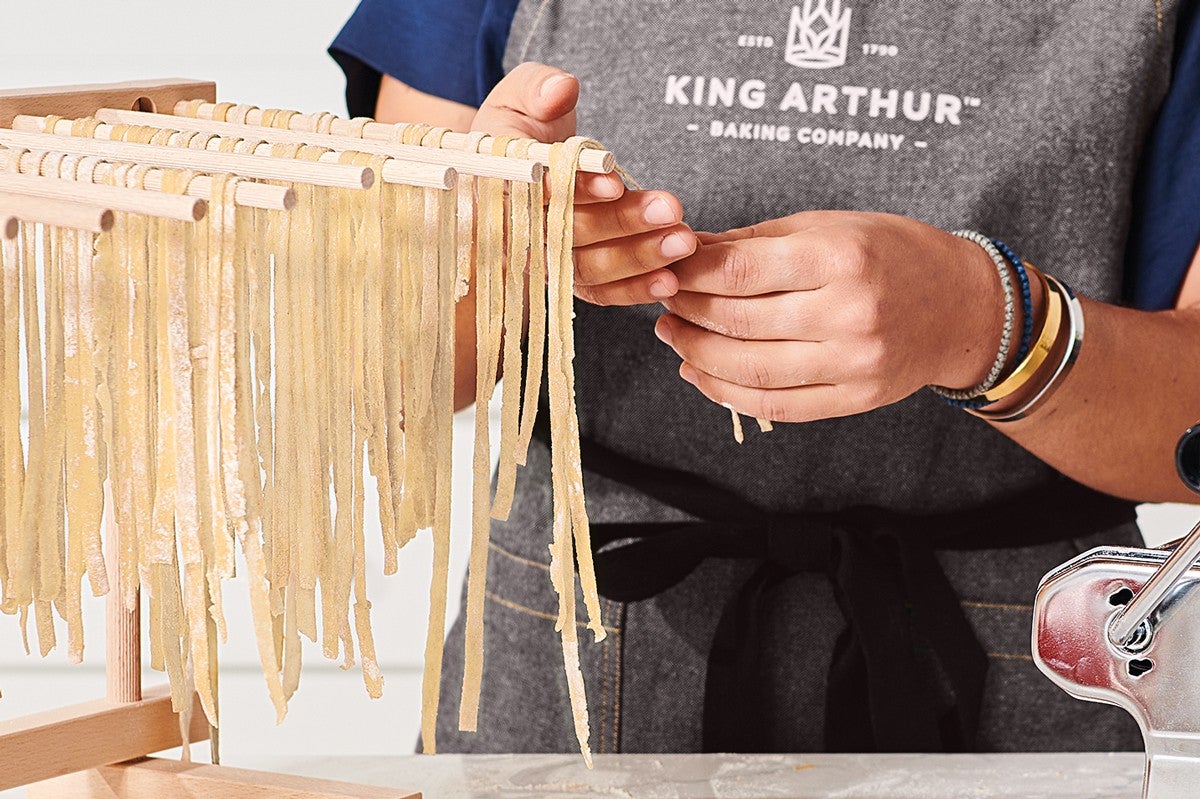
If you want to dry your homemade pasta for future use, spread it in a single layer on a large parchment-lined baking sheet. Leave the pasta uncovered in a dry area for 12 to 24 hours, gently stirring and turning it a few times. Flour is fickle, so humidity, temperature, size of the noodles, etc. will all play a part in the total time. A fan can be a big help ensuring your homemade pasta dries quickly and evenly. You can also use a Pasta Drying Rack to ensure your noodles dry evenly and don’t stick together.
When the pasta is completely dry (it should snap when you twist it, not bend), store it in an airtight container at room temperature.
Avoid very humid days for making and drying homemade pasta. If you do decide to make pasta when it's humid out and drying conditions aren't optimum, either cook it fresh or freeze it.
To freeze homemade pasta, place the baking sheet of cut pasta in the freezer for about 15 minutes, or until the individual pieces aren't sticking to each other or the pan.
Transfer the semi-frozen pasta to airtight bags. Label, date, and place in the freezer for up to 3 months.
Homemade pasta cooks much faster than commercially dried pasta. Here's a breakdown of approximate times for cooking pasta in boiling, lightly salted water:
Of course, the best way to know if your pasta is ready is to taste it — don’t be afraid to sample a noodle and make sure the texture is to your liking. Because it cooks so quickly, it’s helpful to monitor it closely, rather than setting a timer and leaving it unattended.
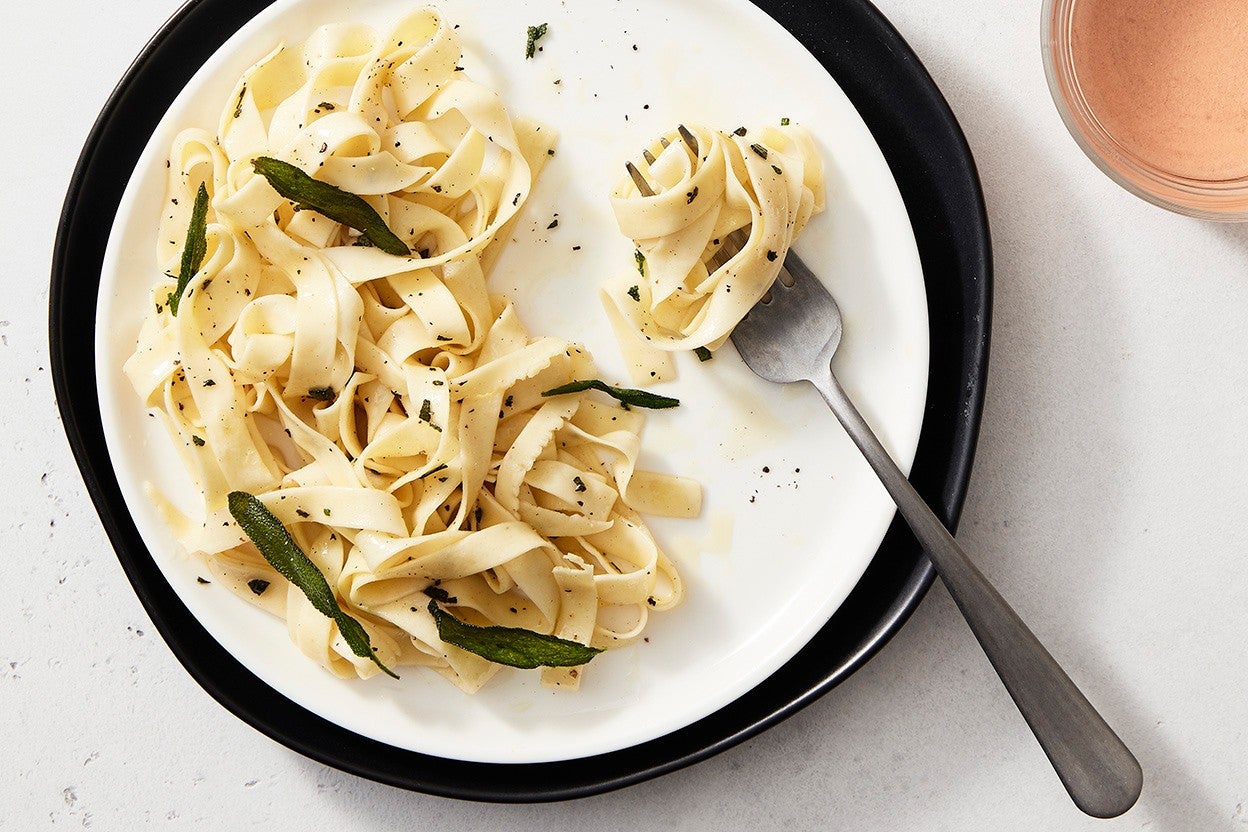
Be sure to have your sauce, toppings, salads, and sides ready at the table before you drop the pasta into the water. It'll cook up before you can say "Dinner time!" And cooked pasta waits for no one.
If you’re saucing your pasta, pull it from the boiling water just before it’s done cooking; it will finish cooking in its sauce on the stovetop.
We hope you've found these tips on how to make homemade pasta helpful! And if you’re ready to start cooking, check out all of our pasta recipes.