White Sandwich Bread
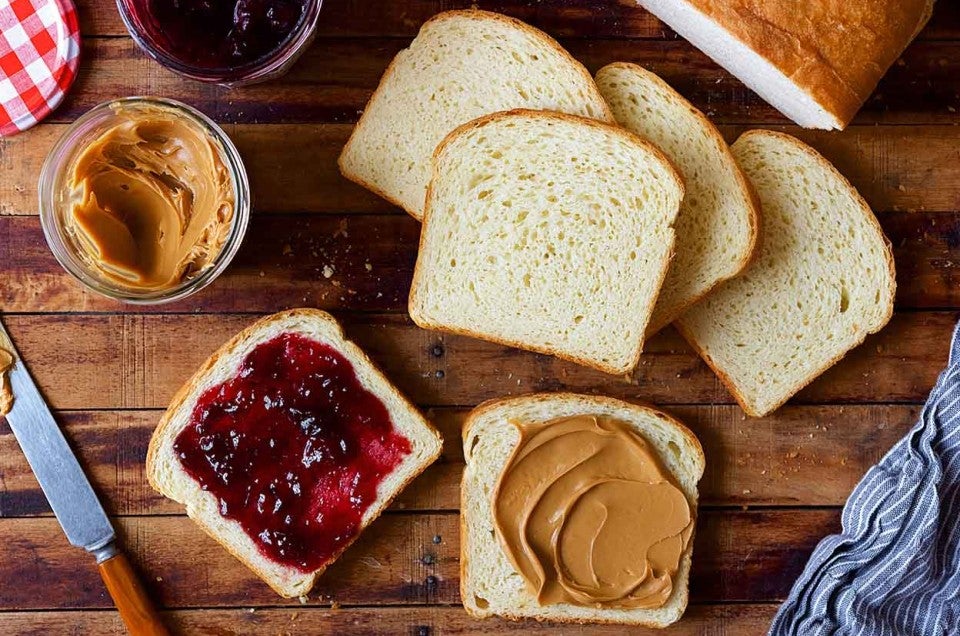
This golden-crusted, soft white bread is a versatile star. Enjoy it toasted (or made into French toast) in the morning; for sandwiches at lunchtime; and in the breadbasket, ready for buttering, at dinner.

This golden-crusted, soft white bread is a versatile star. Enjoy it toasted (or made into French toast) in the morning; for sandwiches at lunchtime; and in the breadbasket, ready for buttering, at dinner.

If you're using active dry yeast, dissolve it with a pinch of sugar in 2 tablespoons of the lukewarm water. Let the yeast and water sit at room temperature for 15 minutes, until the mixture has bubbled and expanded. If you're using instant yeast, you can skip this step.
Weigh your flour; or measure it by gently spooning it into a cup, then sweeping off any excess.
Combine the dissolved yeast (or instant yeast) with the remainder of the ingredients. Mix and knead everything together — by hand, mixer or bread machine set on the dough cycle — until you've made a smooth dough. If you're kneading in a stand mixer, it should take about 7 minutes at second speed, and the dough should barely clean the sides of the bowl, perhaps sticking a bit at the bottom. In a bread machine (or by hand), it should form a smooth ball.
Place the dough in a lightly greased bowl. Cover the bowl, and allow the dough to rise, at room temperature, for 1 to 2 hours, or until it's nearly doubled in bulk. Rising may take longer, especially if you've kneaded by hand. Give it enough time to become quite puffy.
Gently deflate the dough, and shape it into an 8" log.
Transfer the log, smooth side up, to a lightly greased 8 1/2" x 4 1/2" loaf pan. Tent the pan loosely with lightly greased plastic wrap.
Allow the bread to rise until it's crested about 1 1/4" over the rim of the pan, about 1 hour. Again, it may rise more slowly for you; let it rise till it's 1 1/4" over the rim of the pan, even if that takes longer than an hour. While the dough is rising, preheat the oven to 350°F.
Bake the bread for 15 minutes. Tent it lightly with aluminum foil, and bake for an additional 20 to 25 minutes, till the crust is golden brown, and the interior temperature measures 190°F on a digital thermometer.
Remove the bread from the oven, and gently loosen the edges with a heatproof spatula or table knife. Turn it out of the pan, and brush the top surface with butter, if desired; this will give it a soft, satiny crust. Allow the bread to cool completely before slicing. As soon as it's completely cool, wrap it tightly in plastic wrap; or in a plastic bag, air pressed and fastened securely at the top.


