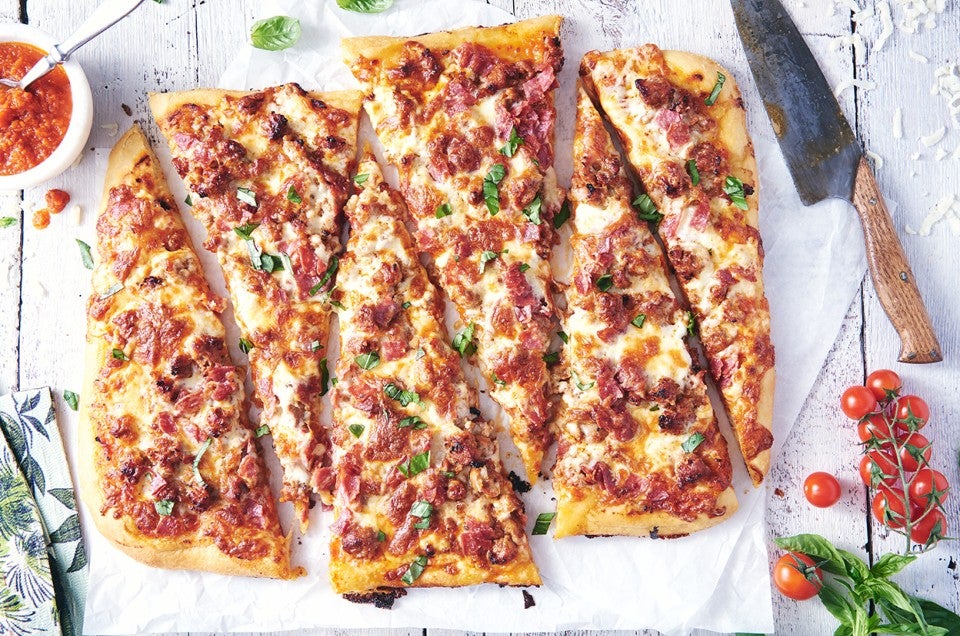
Super-Sausage Pizza
Warning: The following meat-lovers' pizza is neither low-calorie nor low-fat. But when you want to indulge all of your pizza cravings — layer on the sausage and salami! Pile on the cheese! — this is the recipe to grab.

Warning: The following meat-lovers' pizza is neither low-calorie nor low-fat. But when you want to indulge all of your pizza cravings — layer on the sausage and salami! Pile on the cheese! — this is the recipe to grab.

To make the dough: Weigh your flour; or measure it by gently spooning it into a cup, then sweeping off any excess. Mix and knead all of the ingredients together — by hand, mixer, or using the dough cycle on a bread machine — to make a smooth, soft dough. Don't over-knead the dough; it should hold together, but can still look fairly rough on the surface.
Allow the dough to rise, covered, for 45 minutes; then refrigerate it for 4 hours (or up to 36 hours); this step will develop the crust's flavor. Make sure you have the dough in a large covered bowl, or put it into a large, lightly greased plastic bag; leave plenty of room for expansion.
Remove the dough from the refrigerator, and allow it to rest and warm up a bit while you prepare the filling and the pan.
Cut the block of cheese into 1/4" slices, then stack the slices and cut each into four pieces; a pair of scissors works well here. The cheese chunks should be about 1/4" x 1" x 1/2".
Use vegetable oil pan spray to lightly grease an 18" x 13" baking sheet. Drizzle olive oil into the bottom of the pan.
To assemble and bake the pizza: Gently flatten the dough into a rough 10" to 12" oval, and heap it with the cut-up block cheese.
Fold the edges into the middle to enclose the cheese. Gently pat and stretch it into a rough rectangle, and place it in the prepared pan.
Press the dough over the bottom of the pan, stretching it towards the edges. You'll probably get about two-thirds of the way there before the dough starts shrinking back; walk away for 10 minutes. When you come back, you should be able to pat it closer to the corners of the pan. Repeat the rest and dough-stretch one more time; your goal is to get the dough to fill the pan as fully as possible.
Allow the dough to rise, covered, for 30 minutes to an hour (or longer, for thicker crust). Preheat the oven to 450°F.
Spread the sauce in a thin film over the crust. Bake the pizza on the lower oven rack for 8 minutes.
Remove it from the oven, and arrange the meat and shredded cheese on top.
Return to the oven, and bake on the upper oven rack for an additional 12 to 15 minutes, until the crust is nicely browned, both top and bottom. Check it midway through, and move it to the bottom rack if the top is browning too much, or the bottom not enough.
Remove the pizza from the oven, and transfer it from the pan to a rack to cool slightly before serving. For easiest serving, cut into squares with a pair of scissors.
Store leftovers in the fridge for up to 4 days, or freeze for up to a month.


