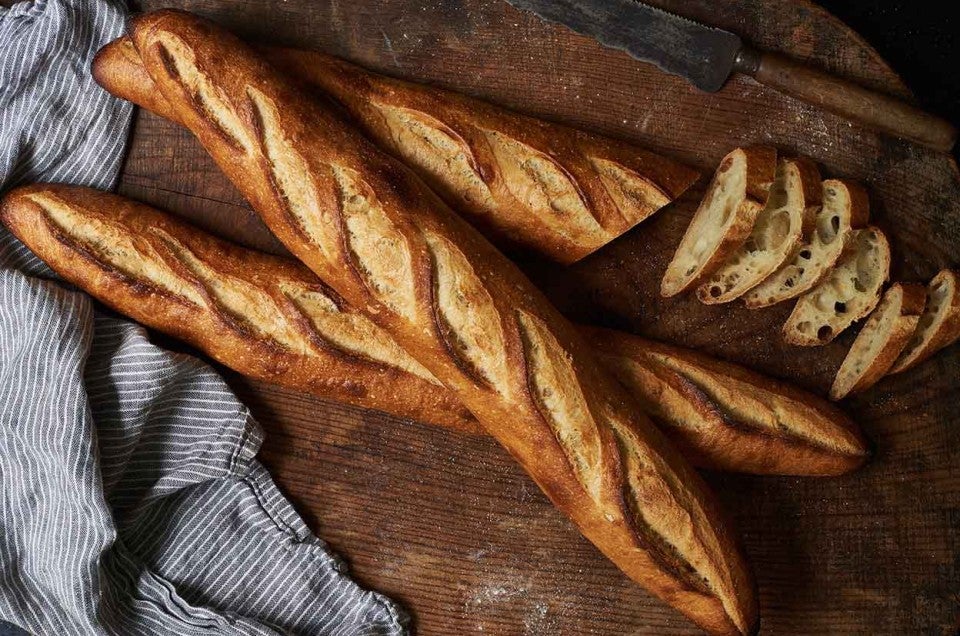
Sourdough Baguettes
Crisp and light, with a crackly brown crust, these sourdough baguettes are super-easy to make.

Crisp and light, with a crackly brown crust, these sourdough baguettes are super-easy to make.

In a large bowl, combine the water, starter, and 3 cups (360g) of the flour, mixing until smooth.
Stir in the salt, sugar, yeast, and gluten, then an additional 1 1/2 to 2 cups (180g to 240g) of flour. Stir until the dough pulls away from the sides of the bowl, adding only enough additional flour as necessary; a slack (sticky) dough makes a light loaf.
Knead the dough for about 7 minutes in a stand mixer; or 8 to 10 minutes by hand, on a lightly greased work surface. You may also knead this dough using the dough cycle on your bread machine; once it's finished kneading, transfer it to a bowl to rise, as directed below.
Turn the dough into an oiled bowl, cover the bowl, and let the dough rise until doubled in bulk, about 1 1/2 hours.
Gently deflate the dough, and divide it into six pieces (for thin baguettes) or three pieces (for thicker Italian loaves).
Shape each piece into a 16" long loaf, and place the loaves, at least 4" apart, on parchment-lined baking sheets, or in lightly greased baguette pans (French loaf pans). If you're using baguette pans, make the loaves 15" long.
Cover the loaves with lightly greased plastic wrap, and let them rise for 1 1/2 to 2 hours, or until they're nice and puffy. Towards the end of the rising time, preheat your oven to 450°F.
For a classic look, make three diagonal slashes in each loaf, cutting about 1/4" deep. For taller, rounder baguettes, don't slash.
Bake the baguettes for about 25 minutes, or until they're a rich golden brown. Note: For extra-crusty baguettes, add steam to your oven as detailed in "tips," below.
If you baked in baguette pans, remove the loaves from the oven and unmold. Turn off the oven, return the loaves (without the pan) to the oven, and crack the oven door open a few inches. If you baked on a parchment-lined baking sheet, simply turn off the oven and crack the oven door open a few inches. Letting the loaves cool right in the turned-off oven helps preserve their crunchy crust.
Remove the sourdough baguettes from the oven, and cool them completely on a rack. Store any leftovers in a paper bag for a day or so; paper will preserve their crunchy crust better than plastic. Freeze for longer storage.
Don’t have any starter? Here’s a recipe for homemade sourdough starter. If you're making it from scratch, you'll need to feed it for 5 to 7 days before it’s ready for baking. Want a head start? Purchase our classic fresh sourdough starter — it’ll be ready for baking soon after it arrives at your door. Looking for tips, techniques, and all kinds of great information about sourdough baking? Find what you need in our sourdough baking guide.


