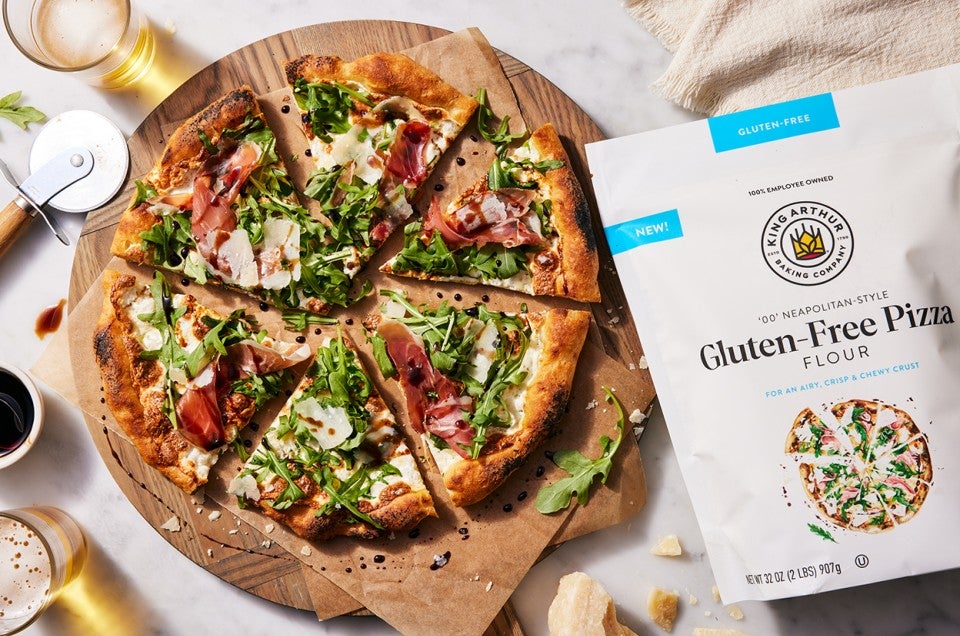
Neapolitan-Style Gluten-Free Pizza Crust for the Ooni

Neapolitan-Style Gluten-Free Pizza Crust for the Ooni

Recipe by Jonathan Brasil

To achieve a crispy, chewy, flame-kissed Neapolitan-style pizza without any gluten, put our Gluten-Free Pizza Flour and the powerful Ooni Pizza Oven to use. The key to success is to preheat the oven, then turn it off (yes, off!) before loading the gluten-free pizza, which gives the dough the opportunity to rise and bake through without burning. By turning the flame back on for the final minutes of cooking, you’ll melt the cheese and get that coveted char. 
Prep
30 mins
Bake
5 to 7 mins
Total
1 hr 55 mins
Yield
two medium (10") pizzas
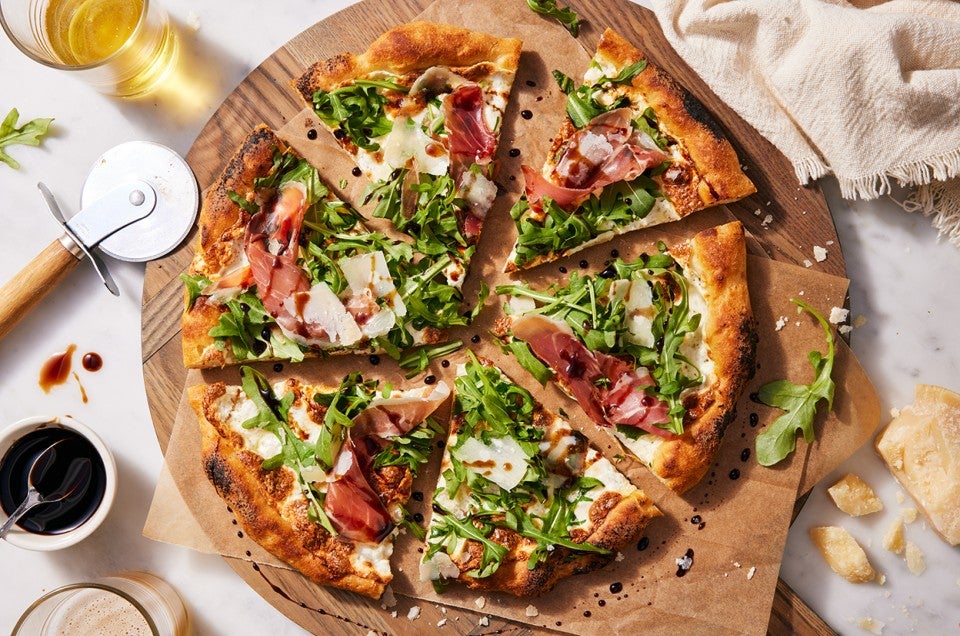
Neapolitan-Style Gluten-Free Pizza Crust for the Ooni - select to zoom

Instructions

Prevent your screen from going dark as you follow along.
  1. To make the gluten-free pizza dough: In a large bowl or the bowl of a stand mixer, combine all the ingredients. Mix using a spoon (if mixing by hand) or the flat beater attachment (if using the stand mixer) until a smooth, sticky dough is formed, about 5 minutes at medium speed. 

  2. Scrape down the sides of your bowl, cover, and let the dough rise for 1 hour at room temperature. The dough will have expanded and become slightly puffy. 

  3. To shape the gluten-free pizza: Transfer the dough to a well-floured surface and divide it in half (about 260g each). Working with one half at a time, start from the center and gently press the dough outwards, leaving a thicker edge around the circumference to maintain a crust, until you have a circle that’s about 10" wide.

  4. To bake the gluten-free pizza: Preheat the Ooni until the center of the stone is around 750°F. (An infrared thermometer is a helpful tool here.)

  5. Place your pizza onto a peel that has been lightly dusted with gluten-free flour. If there is any excess flour on the dough, gently brush it off with your fingertips or pastry brush. Top the pizza with sauce, then brush or spray the edge of the crust with water, which will increase oven spring. 

  6. Turn the flame OFF, then load the pizza into the back of the Ooni in the center. Bake for approximately 30 seconds before rotating the pizza so that the front edge of the crust is now facing the back of the oven. Continue baking in the back of the oven for another 30 seconds, rotating the pizza every 10 seconds or so for the most even bake.

  7. Move the pizza to the front right corner of the oven (which is the coolest section of the Ooni) and continue to bake for 4 minutes, with the flame still off, rotating every 30 seconds or so to ensure the pizza cooks evenly. 

  8. Remove the pizza from the Ooni and turn the flame back on to low. Top the pizza with cheese and any other toppings, and load the pizza back into the Ooni in the front right corner. Rotate every 30 seconds or so for 1 to 2 minutes, or until the crust is brown and the cheese is bubbling. 

  9. Before baking your second gluten-free pizza, make sure to pre-heat your stone once more to around 750°F in the direct center. Serve the pizzas while still hot (though no longer bubbling) from the oven. 

Tips from our Bakers

  • If you’re making several pizzas, and especially if the weather is warm, refrigerate any dough that you’re not using to prevent it from over-proofing. 

  • To make pita, follow the same preparation but when it comes to baking, turn the flame on low and load the dough into the middle of the Ooni. After about 20 to 30 seconds, it will puff up. Turn it every 30 seconds to make sure it is evenly baked, a total of about 2 minutes. 

  • Be aware: Some of your baking ingredients can be a hidden source of gluten. Learn more at our blog post: For gluten-free baking, think beyond just flour. For additional information on King Arthur-produced products, read the complete details of our allergen program, including our contact-prevention practices.

  • To use your bread machine to prepare the dough, add all of the ingredients to the bucket of your machine and then allow it to go through the mixing, kneading, and rising cycles in the machine. Remove the dough after the first rise, and then proceed with the recipe as written, shaping by hand and baking in the oven.