Italian Buttercream

Recipe by Susan Reid

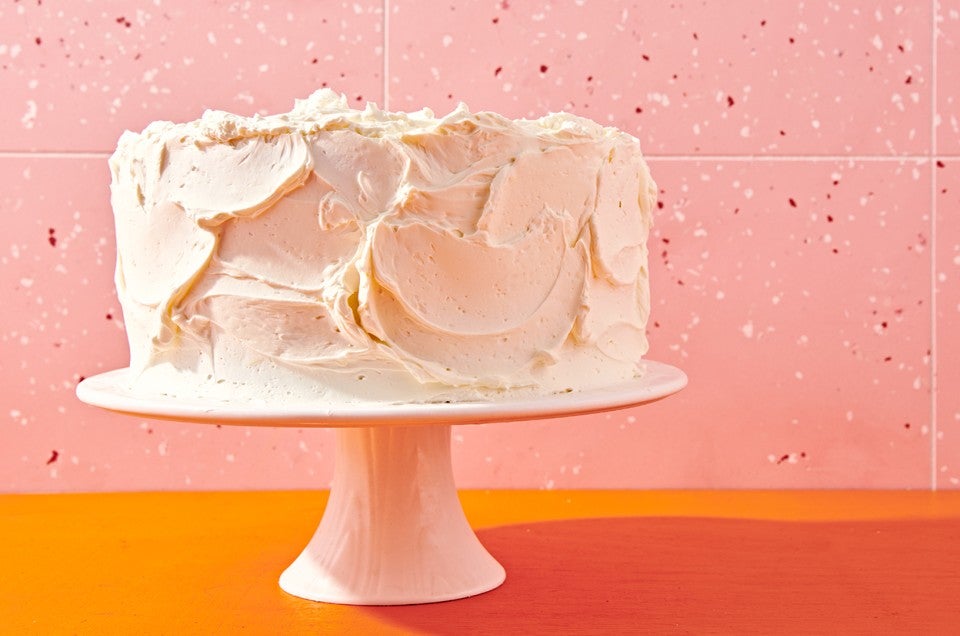
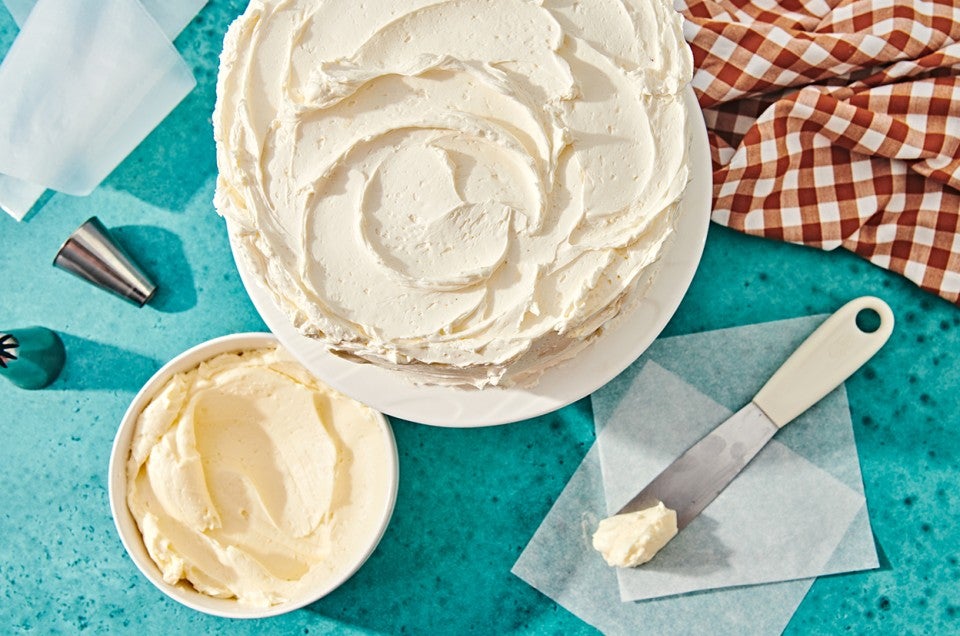
Italian buttercream is the frosting that you'll find on many wedding cakes. Its silky texture is unparalleled, it pipes like a dream, and can be flavored and colored in as many ways as you can imagine. While it takes a little time to make, this recipe makes a big batch enough for two layer cakes and it freezes quite well. It's great to have on hand for unexpected occasions.
Prep
1 hr
Total
1 hr
Yield
about 7 cups, enough for 2 layer cakes or 4 dozen cupcakes
Italian Buttercream
Italian Buttercream
Italian Buttercream - select to zoom

Instructions

Prevent your screen from going dark as you follow along.
  1. To make the syrup: Combine the sugar and water in a small, nonstick (preferable, if you have one) saucepan. Bring to a boil over medium heat, stirring occasionally until the sugar dissolves. Cook, without stirring, until the syrup reaches at least 240°F. It can go as high as 248°F to 250°F. Just be sure it's within those temperatures before you take it off the stove.

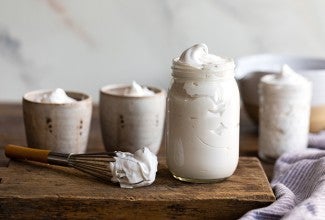
  2. To make the meringue: While the syrup is cooking, combine the meringue powder, water, and salt in the bowl of your mixer. Beat at high speed with the whisk attachment until the mixture first looks foamy, then turns white, and you begin to see tracks in the bowl. At this point, slowly sprinkle in the sugar with the mixer running. Increase the speed to high and beat until the mixture is stiff.

  3. When the syrup gets above 240°F (115°C) and before it gets above 250°F (120°C), remove it from the heat and with the mixer running at low speed, pour it down the side of the mixing bowl (not on the whisk or beaters if you can avoid it; that will send the syrup flying and start spinning sugar threads instead of incorporating it). Once the syrup is all in, leave the mixer running until the mixture cools to 80°F. You can help this process along by wrapping an ice pack around the mixing bowl.

  4. Once the meringue is cool, add the butter, a few pieces at a time, with the mixer running at medium to medium-high speed. The meringue will deflate a bit, and may begin to look curdled. Don't lose heart! This ugly "adolescent" stage is normal. Just keep the mixer running and adding the butter.

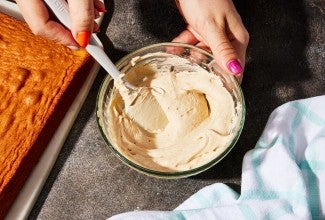
  5. Soon the Italian buttercream will begin to bring itself together around the whisk, then in the rest of the bowl. Once most of the butter is in, add vanilla or your choice of flavorings. This is also the time to add food coloring, if desired. (Be sure to use gel or paste colors, not liquid ones; they'll cause the frosting to break.)

  6. If you're using the Italian buttercream for decorations like piped roses or if the cake is going to spend any length of time in a warm place, add the vegetable shortening in chunks at this point. (It will help the decorations hold their shape better.)

  7. Use the Italian buttercream within 4 hours, or refrigerate until needed.

  8. Storage information: Italian buttercream will keep up to 1 week in the refrigerator; freeze for longer storage. (Consider dividing it into several smaller containers before refrigerating or freezing; smaller amounts take less time to come to room temperature, and you'll be able to work with the frosting sooner.) To use from frozen, defrost the Italian buttercream in the refrigerator overnight, then let it come to room temperature before using. If you see any weeping or separation, toss the frosting in the mixer and whip it briefly to bring it back together.

Tips from our Bakers

  • For a tangy passion fruit version, whip 1/3 cup (60g) of passion fruit purée or concentrate into the finished buttercream.

  • If you want to use fresh egg whites instead of meringue powder, you'll need 8 large whites, at room temperature, combined with 1 teaspoon cream of tartar. If you're using pasteurized egg whites from a carton, use 1 cup liquid whites (or 1 ounce for each egg white). The cream of tartar is critical and may need to be increased to 1 1/2 teaspoons in order to create a stable meringue.
  • Before you start, make sure you have a digital or candy thermometer that will read up to 300°F for the and a small (nonstick, if you have it) saucepan for the sugar syrup.
  • While it's possible to do this with a hand mixer, it's strongly recommended that a stand mixer be used. You'll need your hands free to pour the syrup and add the butter.