Iced Coffee Icebox Cake

Iced Coffee Icebox Cake

Recipe by Sarah Jampel

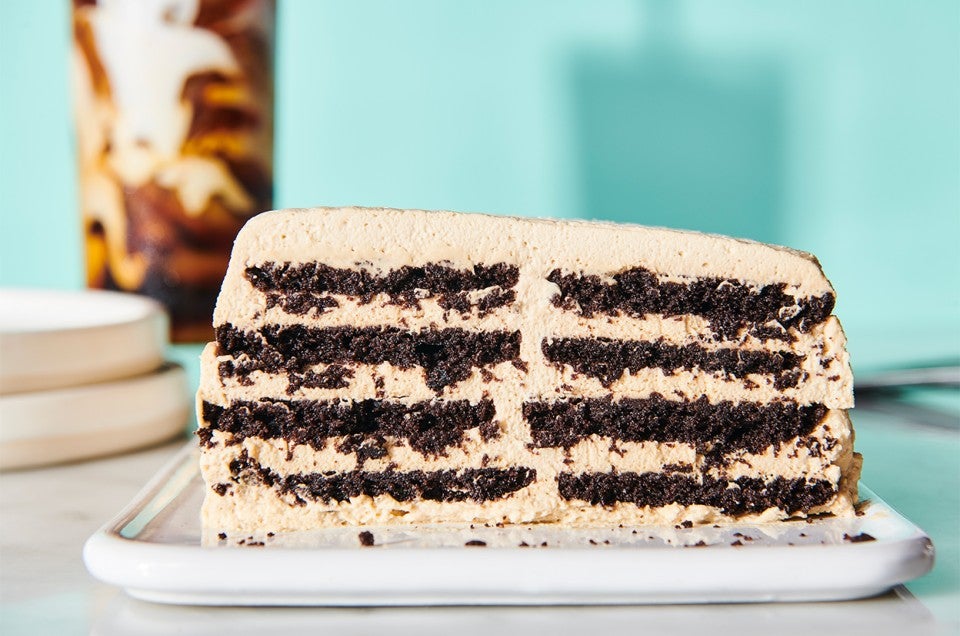
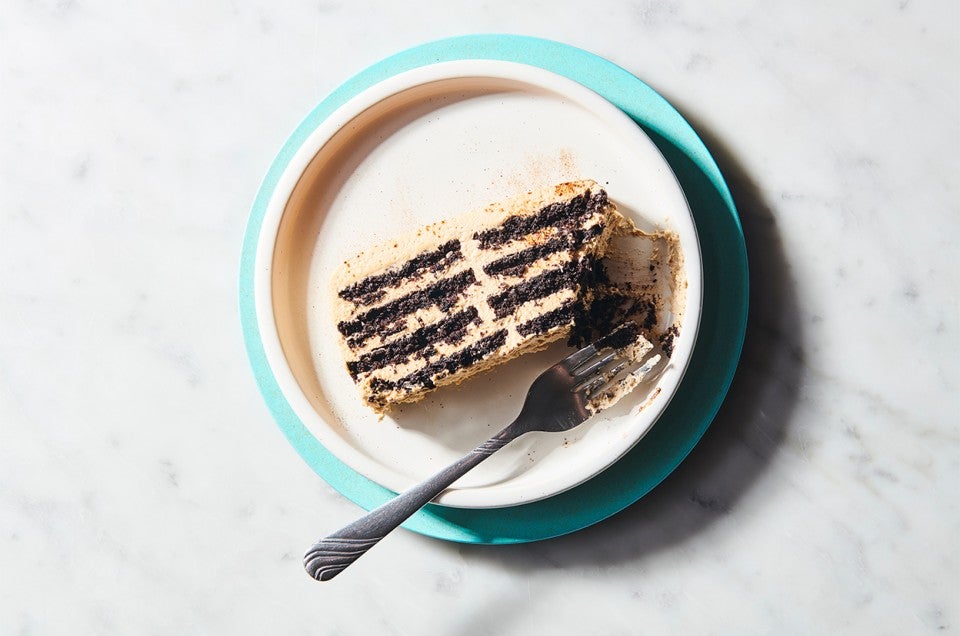
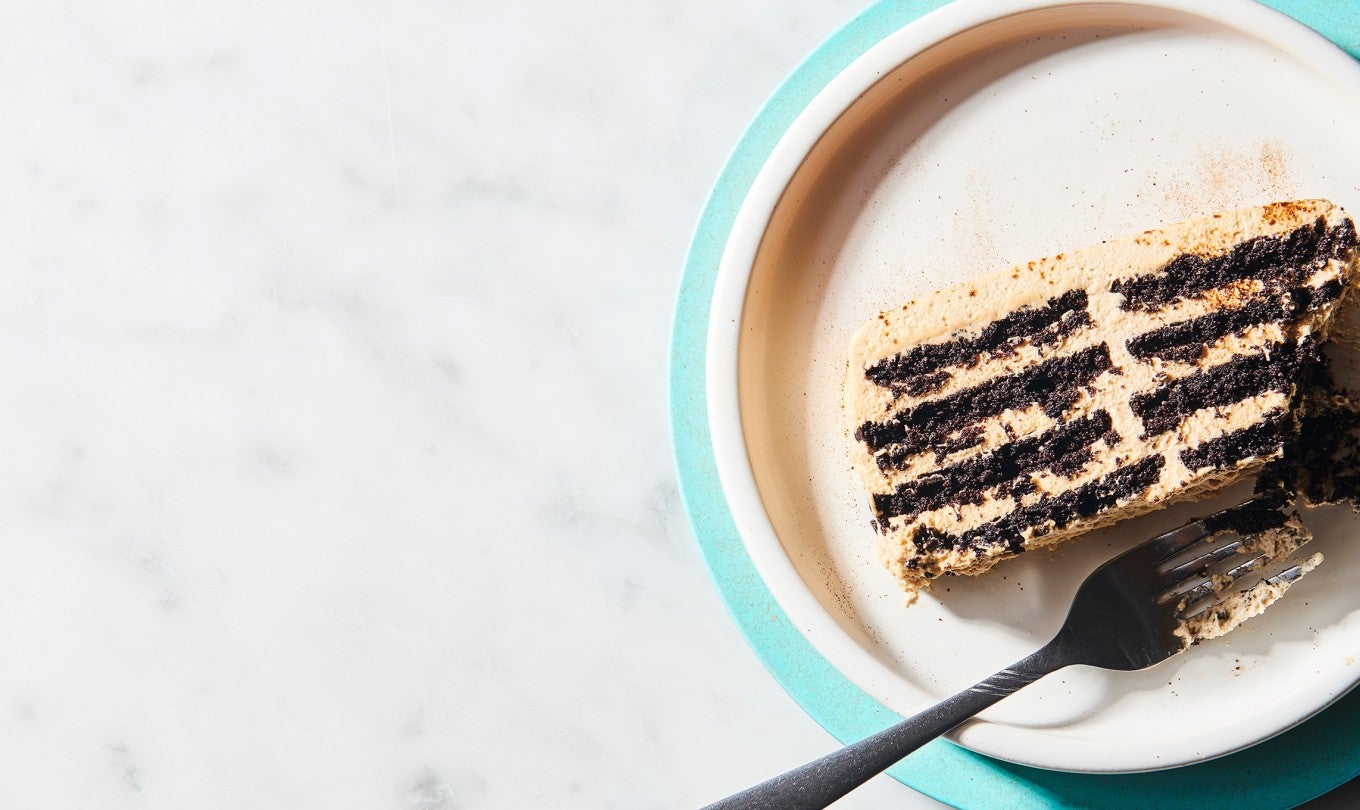
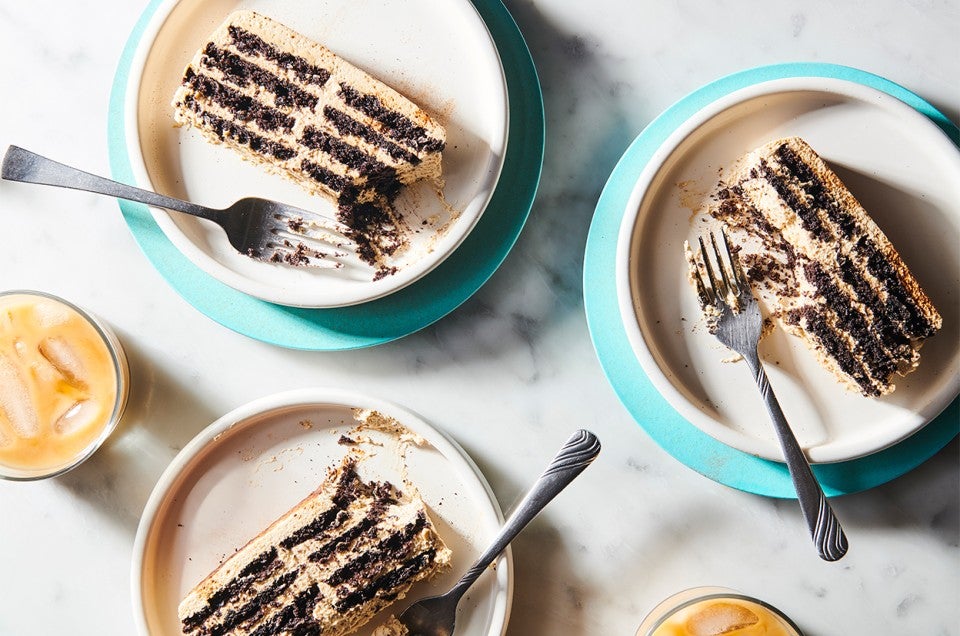
Unlike the classic icebox cake, this version gets a jolt of caffeine — and some welcome sophistication — from the addition of espresso powder in the cream filling. While you could use store-bought chocolate wafers to make this cake, we’re making a very strong case for baking your own from scratch. Why? First, you can cut the cookies into squares, which means they’ll fit neatly into your pan for even layers. And, even more importantly, they taste great, with a deeply rich chocolate flavor (thanks, black cocoa), plus a generous dose of espresso to hit the coffee theme home. 
Prep
30 mins
Bake
15 to 16 mins
Total
1 day 1 hr
Yield
one loaf cake
Iced Coffee Icebox Cake - select to zoom

Instructions

Prevent your screen from going dark as you follow along.
  1. To make the cream filling: In a large mixing bowl or the bowl of your stand mixer, combine the cream, confectioners’ sugar, espresso powder, vanilla, and salt. Use the whisk attachment to whip the cream just until stiff peaks form, 3 to 4 minutes on medium speed. Take care not to overbeat — the cream will deflate and become dense. 

  2. To assemble the cake: Line an 8 1/2" x 4 1/2" or 9" x 5" loaf pan with a loaf pan lifter or plastic wrap so that there are several inches of excess hanging over all sides. 

  3. Use a flexible spatula or two scoops of the scone and muffin scoop to portion about 1/2 cup of the whipped cream into the bottom of the loaf pan. Use a small offset spatula or the back of a spoon to smooth the cream into a layer about 1/2" thick. Arrange the cookies in a single layer on top of the cream (you should be able to fit about eight cookies snugly in a 4 x 2 arrangement). Top with a thin layer of cream, followed by another layer of cookies. Repeat this layering process until you’ve reached the top of the pan and used up all (or nearly all) of the cookies. Finish with a layer of whipped cream.  

  4. Cover the cake and chill, in the pan, for at least 24 hours in the refrigerator, which will give the cookies a chance to soften completely. (Any leftover cookies and cream are the baker’s treat!) 

  5. To serve: Uncover the icebox cake, invert it onto a cutting board or serving plate, and gently remove the loaf lifter or plastic wrap. If you’re a perfectionist, use an offset spatula, bench knife, or metal spatula that’s been run under hot water and then dried to smooth out the whipped cream and cover any bare cookies. 

  6. To garnish: Use a vegetable peeler to shave the chocolate bar into small curls over the surface of the cake, if desired. For the neatest slices, use a sharp chef knife that’s hot but dry to cut the cake. 

  7. Storage information: Store the icebox cake, covered, in the refrigerator for up to 3 days. 

Tips from our Bakers

  • If making your own Chocolate Wafers, cut them into squares (rather than rounds) for the neatest presentation of your icebox cake.

  • For a truly no-bake dessert, use Oreo Thins instead of homemade Chocolate Wafers. You'll need one 11.78-ounce package or 48 cookies; arrange the cookies in six layers of eight cookies each.