-
To make the tangzhong: Combine all the ingredients in a small saucepan, and whisk until no lumps remain.
-
Place the saucepan over medium heat and cook the mixture, stirring regularly, until thickened, paste-like, and the spoon or spatula leaves lines on the bottom of the pan. This should take 2 to 4 minutes, depending on the strength of your burner.
-
Remove the tangzhong from the heat and transfer it to a large mixing bowl, the bowl of a stand mixer, or the bucket of a bread machine (whatever you plan to knead the dough in).
-
To make the dough: Add the milk on top of the hot tangzhong; it will help cool the dough to lukewarm. Weigh your flour; or measure it by gently spooning it into a cup, then sweeping off any excess. Add the flour and remaining dough ingredients. Mix to combine, then knead — by hand, mixer, or bread machine — until a soft, smooth dough forms, about 8 to 10 minutes on medium-low speed of a mixer. (The dough may be tacky and stick to the sides of the bowl slightly; that's OK.)
-
Shape the dough into a ball and let it rest in a lightly greased bowl, covered, for 1 to 1 1/2 hours, until puffy but not necessarily doubled in bulk.
-
To make the filling: Combine the cream cheese, sugar, lemon zest, and salt, mixing until smooth.
-
Add the freeze-dried raspberries and flour, mixing until the berries are completely crushed and evenly distributed.
-
To assemble: On a lightly floured surface, gently deflate the dough, divide it into four pieces (about 170g each), and shape each piece into a ball.
-
Cover the dough and let rest for 10 minutes.
-
Line a 9" springform or a 9" round cake pan (at least 2" deep) with parchment and lightly grease the parchment.
-
Working with one piece of dough at a time, roll it into a 6" x 12" rectangle. If the dough begins to snap back during rolling, set it aside and begin rolling out the second piece. Return to the first piece to continue rolling it to the full size after a couple of minutes, giving the gluten a chance to relax.
-
Portion a quarter of the filling (about 2 heaping tablespoons of filling or 50g) onto the top half of the rectangle. A tablespoon cookie scoop works well here.
-
Position the rectangle so its 12" sides are vertical. Starting at the top, spread the filling across the entire width of the rectangle (leaving about 1/4" bare on each side) and down about 6" or 7", leaving the bottom 5" to 6" bare. If the filling is difficult to spread, warm it in the microwave for 15 seconds and stir; check the consistency. Repeat, if necessary, until it's an easily spreadable consistency.
-
Using a bench or chef’s knife, cut the uncovered dough at the bottom into very thin strips (anywhere from 1/8" to 1/4" wide).
-
Fold the long edges of the rectangle in to prevent any filling from seeping out and pat them gently to flatten.
-
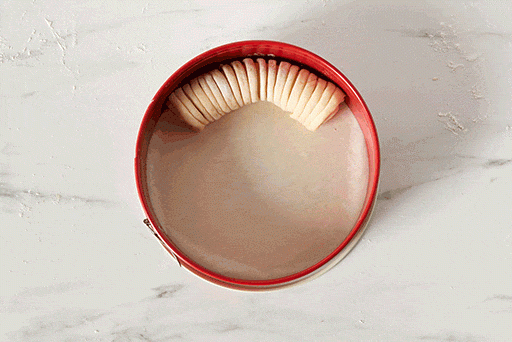
Starting from the filling-covered top and rolling toward the uncovered strips, roll the dough into a log about 6" long.
-
Lightly press the strips into the rolled log to secure. Place the log, seam-side down, into the bottom of the pan so it's snuggled up against the pan’s outside edge.
-
Repeat with the remaining pieces of dough, placing them into the pan to form a complete circle around the pan’s outside edge.
-
Preheat the oven to 350°F.
-
Cover the wool roll and let it rise for 60 to 75 minutes, until puffy.
-
To finish and bake the roll: Brush the roll with milk, being careful not to deflate the delicate dough.
-
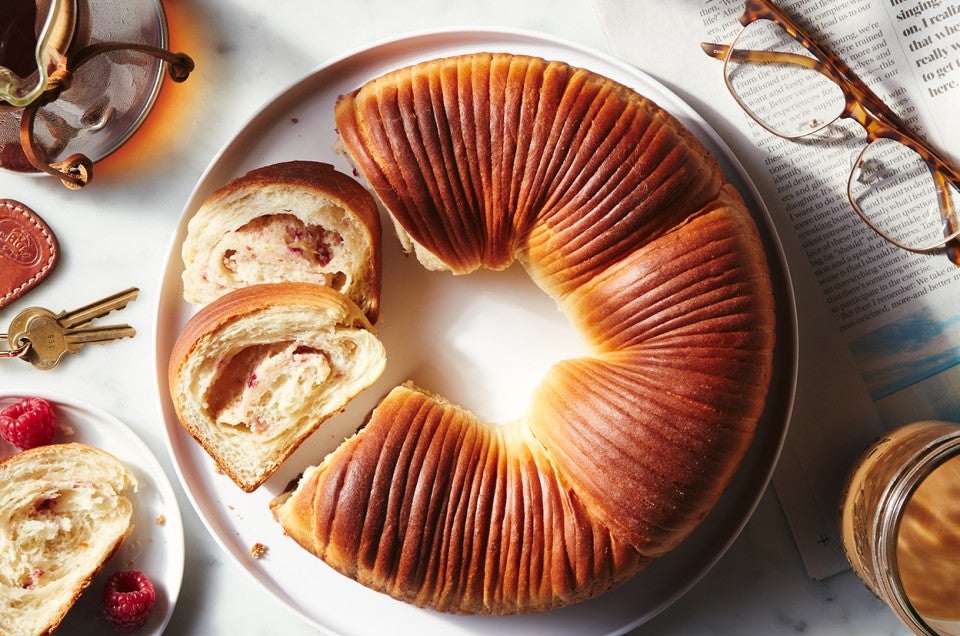
Bake it for 28 to 32 minutes, until it’s golden brown on top; a digital thermometer inserted into the center of the loaf should read at least 190°F.
-
Remove the roll from the oven and cool it in the pan until you can transfer it safely to a rack to cool completely.
-
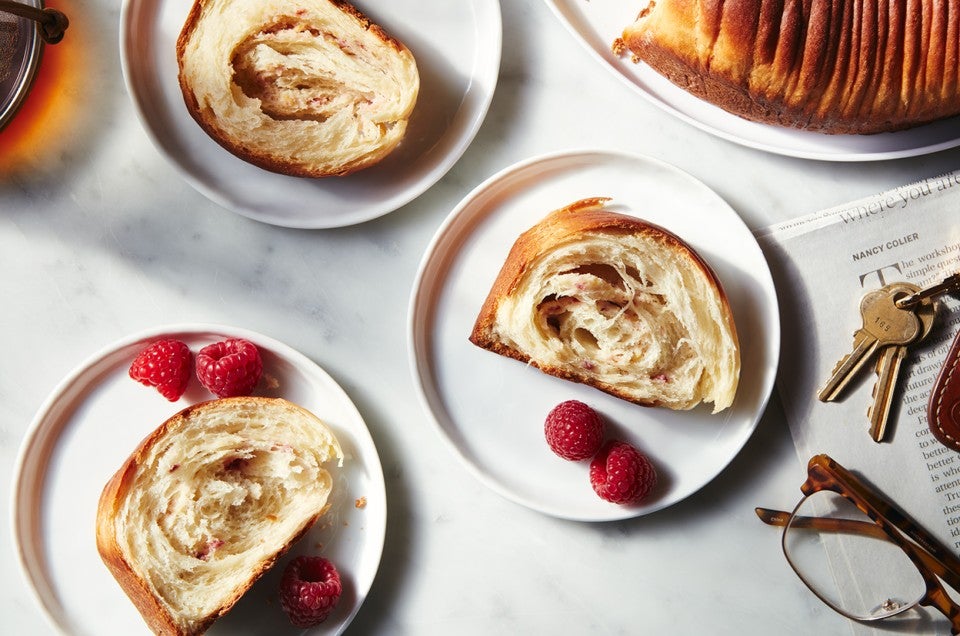
Storage information: Store leftover wool roll bread, well wrapped, at room temperature for several days.


