Easy Everyday Sourdough Bread

Recipe by PJ Hamel

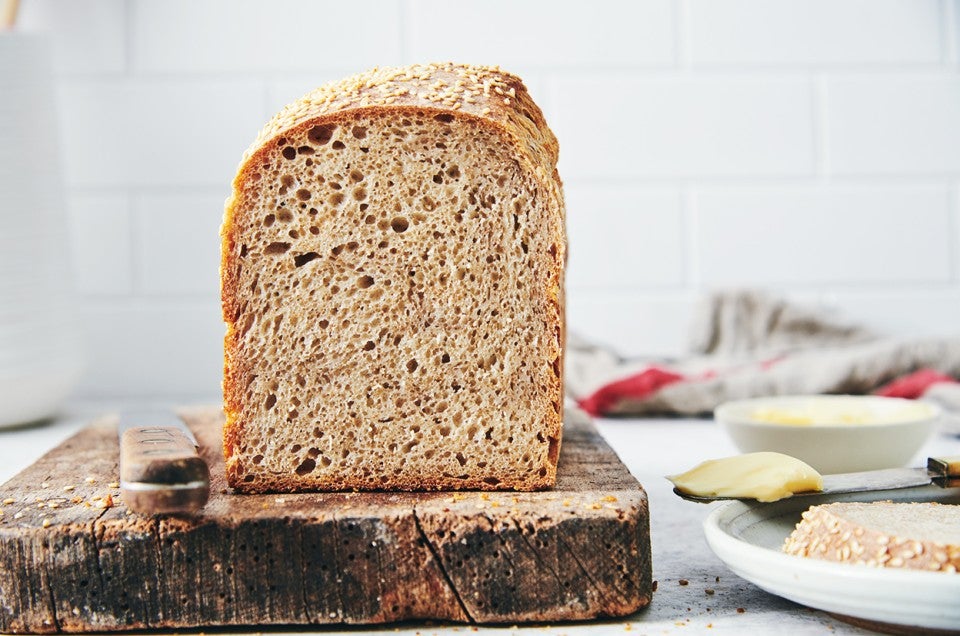
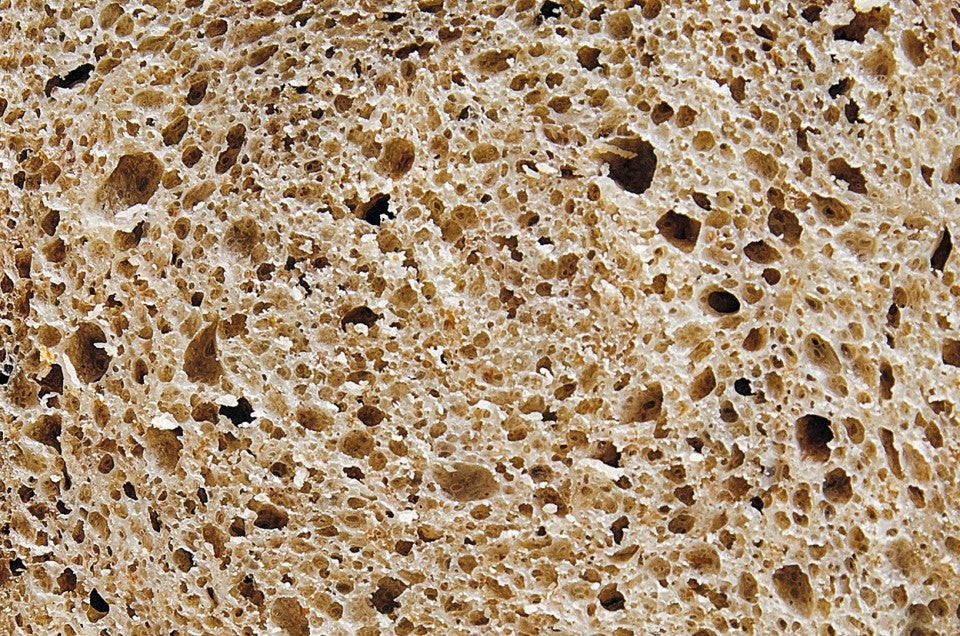
This delicious sourdough bread is wonderfully tangy — and totally forgiving. There’s no feeding your starter, no kneading the dough, and no shaping the loaf. All you do is mix, wait, scoop the soft dough into a bread pan, wait a bit more, and bake up one of the best sourdough sandwich loaves you’ve ever sampled. With its moist, nicely spongy crumb and crispy crust, the loaf is super-easy to slice, making it handy for both sandwiches and toast.

Prep
10 mins
Bake
45 to 55 mins
Total
20 hrs 25 mins
Yield
one 9” x 4” x 4” loaf
Easy Everyday Sourdough Bread - select to zoom

Instructions

Prevent your screen from going dark as you follow along.
  1. For best results, weigh your flours; this recipe was developed by metric weight. However, if you prefer to work with volume measurements, please be sure to measure your flour the King Arthur way: gently spoon the flour(s) into a cup, then sweep off any excess.

  2. In a large bowl, stir together the flours and salt.

  3. Add the starter to the flours. A level muffin scoop (about 1/4 cup) is just the right amount.

  4. Add the lukewarm water; warmer water will shorten the rise a bit while cooler water will lengthen the rise time. Use a spatula, sturdy spoon, or dough whisk to mix everything together.

  5. Once the sticky dough comes together and no floury spots remain, switch to a bowl scraper and give the dough a few more brisk turns, mixing until everything is totally combined. If you want to use a stand mixer, mix with the flat beater on medium-low speed for 45 to 60 seconds.

  6. Cover the bowl and let the dough rest until it puffs noticeably and nearly doubles in size; overnight is your best bet.

  7. Lightly grease a 9” x 4” x 4” loaf pan. If desired, coat the inside with sesame seeds for extra flavor and crunch.

  8. Using a bowl scraper, move the dough to the center of the bowl, gently deflating it in the process. Continue to scrape the dough into the center of the bowl for an additional 20 seconds or so, until it comes together in a jiggly, semi-elastic mass, something you can easily scrape over the edge of the bowl into the prepared pan.

  9. Scrape the sticky dough into the prepared pan and smooth the top with wet fingers. Tent the pan with your favorite reusable cover and let the loaf rise until it’s within about 1" of the rim of the pan. This will take about 3 to 5 hours, depending on your room temperature.

  10. About a half hour before the dough is ready to bake, preheat the oven to 425°F with a rack in the center.

  11. Uncover the risen loaf and place the pan in the oven. Bake the bread for 45 to 55 minutes; it should have a pale brown, crisp top, and should pull away from the edges of the pan when done. Its internal temperature will read about 204°F when measured with a digital thermometer

  12. Remove the loaf from the oven and turn it out of the pan onto a rack to cool completely before slicing.

  13. Store the bread, well wrapped, at room temperature for 4 to 5 days; freeze for longer storage.

Tips from our Bakers

  • If your starter has been neglected and is covered with dark liquid (or even a wrinkled skin), stir it up and give it a couple of good feeds before you use it in this bread. Since we’re not using any commercial yeast, the starter has to do all the heavy lifting: give it some love before you begin.

  • In summer (or in humid conditions), reduce the amount of water to 1 3/4 cups (400g).

  • Rising times will vary. If your kitchen is cool (about 65°F) the initial rise in the bowl may take 15 to 16 hours. In warmer weather, it’ll only take about 12 hours.

  • If you prefer to make a plain white sourdough bread, substitute an additional 1 cup (120g) of bread flour for the suggested whole wheat and rye.