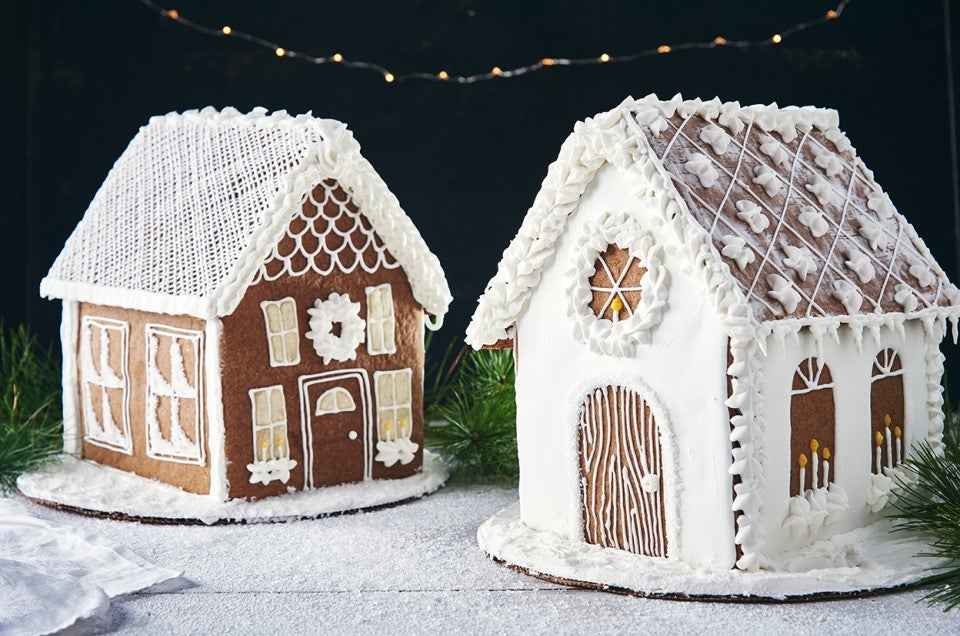
Construction Gingerbread for Gingerbread Houses

Recipe by Susan Reid

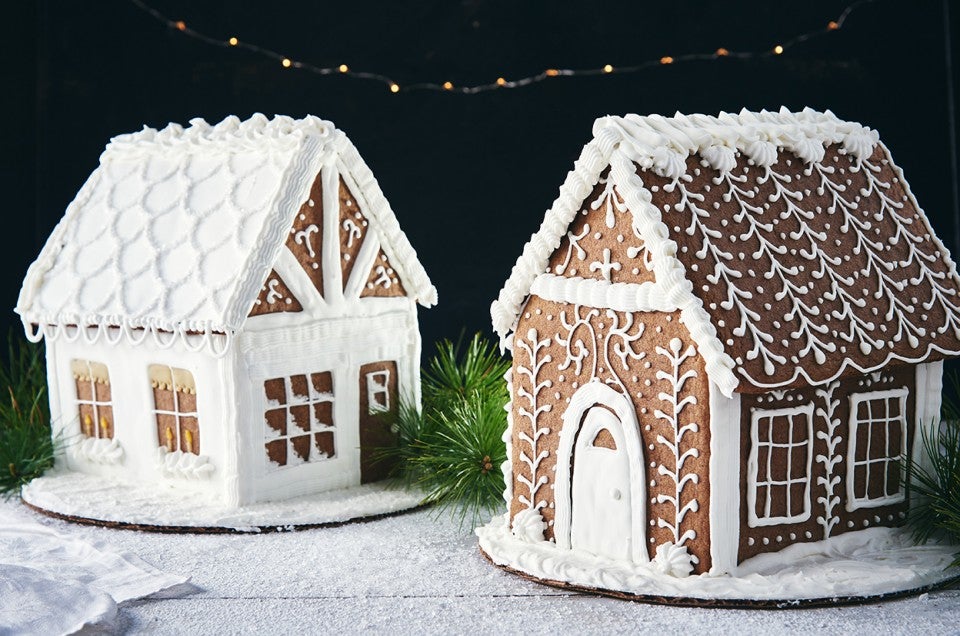
Dough for gingerbread construction projects is perfectly edible; it just has more flour in it to make it sturdier than gingerbread cookie dough would have. It's simple to put together, and can be used for gingerbread people, trees, and other decorations, as well as for the house itself.
Prep
30 mins
Bake
10 to 12 mins
Total
1 hr 45 mins
Yield
enough dough for a 10" x 7" house (approx.), plus decorations
Construction Gingerbread for Gingerbread Houses - select to zoom

Instructions

Prevent your screen from going dark as you follow along.
  1. To make the dough: In a large saucepan, heat the buttermilk and butter until the butter is just melted; remove from the heat.

  2. Add the brown sugar and molasses, then beat in the egg.

  3. Whisk the baking soda, spices, and salt with 1 cup of the flour.

  4. Add this to the wet mixture and mix until incorporated.

  5. Add flour 1 cup at a time until you have a smooth, stiff dough. It should be stiff enough to be flexible, and neither crumbly nor sticky.

  6. Divide the dough in half, flatten each half, and wrap in plastic. Refrigerate for at least 1 hour.

  7. Preheat the oven to 350°F.

  8. Using a quarter of the dough at a time (return the unused portion to the refrigerator), roll the dough 1/8" thick on a piece of parchment.

  9. Cut your construction pieces as needed, pulling away the scraps to be re-rolled. Transfer the dough, parchment and all, to a baking sheet.

  10. Bake the dough for 10 to 12 minutes, until set and very lightly browned at the edges.

  11. Remove from the oven and trim any rough edges while the pieces are still warm. Cool completely before using for construction.

  12. To make the royal icing: In a large bowl, whip the egg whites with the cream of tartar until foamy.

  13. Sprinkle in the sugar gradually, whipping all the while. The more you whip the icing, the stiffer it'll be and the faster it'll harden up.

  14. Cover the bowl of icing, taking out only as much as you'll need immediately. The easiest way to store the icing for long periods of time is in a plastic pastry bag, or zip-top food storage bag.

Tips from our Bakers

  • If you want to "paint" with the icing, use food coloring to create different colors and thin the icing with a few drops of water so it will flow.
  • Note that this gingerbread is quite plain, as it's not really designed to be eaten. For bolder flavor, double the amounts of cinnamon and ginger, and increase the amount of salt to 1 1/4 teaspoons.