Classic Butter Tarts

Recipe by Deborah Reid

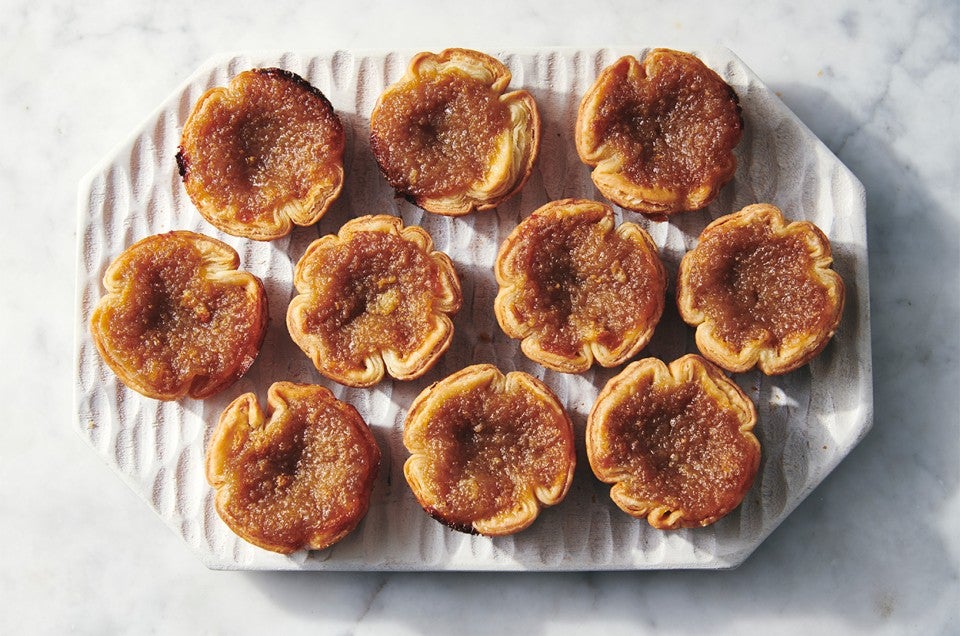
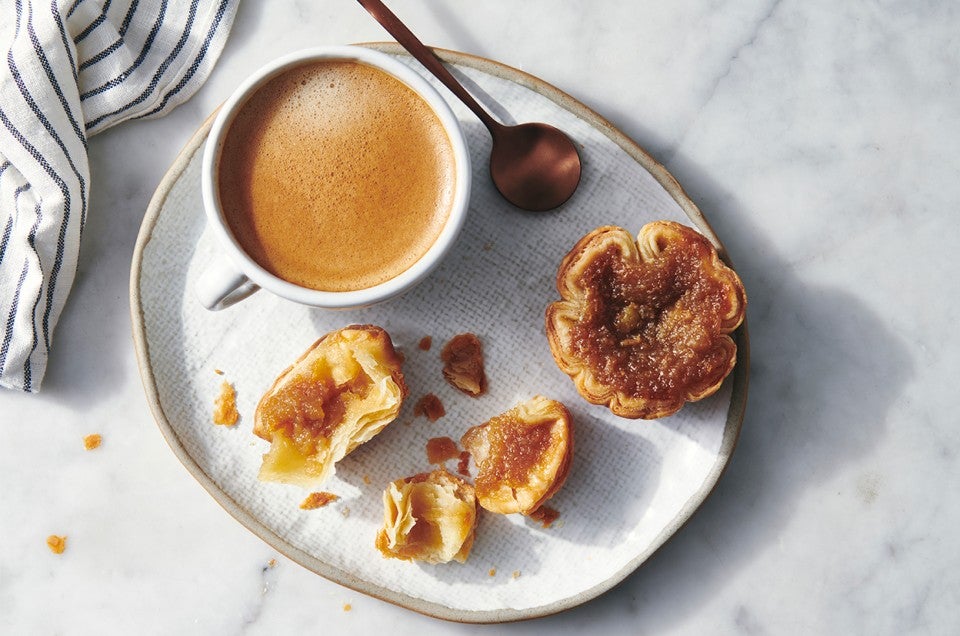
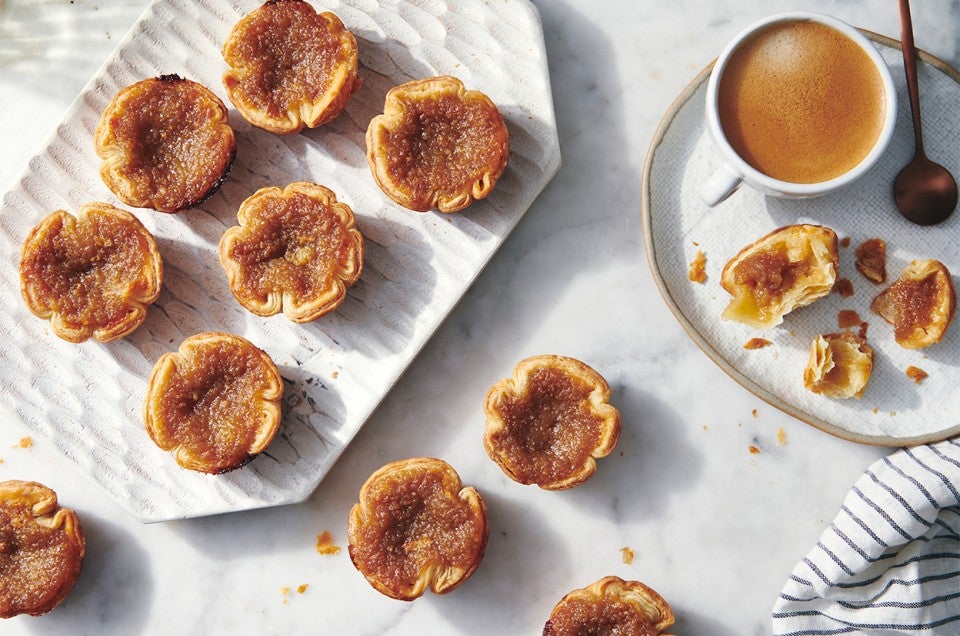
Canadians are fiercely proud of these gooey tarts, which are a national tradition. Like chess pie, the filling should be just barely set and the pastry golden. Though some add raisins to the filling, staunch devotees prefer them plain. This version, sweetened in part with maple syrup instead of the traditional brown sugar, is shared with us by Canadian chef and writer Deborah Reid.
Prep
45 mins
Bake
20 to 25 mins
Total
2 hrs 5 mins
Yield
12 small (3") tarts
Classic Butter Tarts - select to zoom

Instructions

Prevent your screen from going dark as you follow along.
  1. To make the dough: Whisk the flour and salt together in a medium bowl. Work in the butter until the mixture is crumbly.

  2. Whisk the egg, vinegar, and 2 tablespoons water together in a small bowl. Drizzle it into the flour mixture, tossing to moisten evenly.

  3. Fold the dough over on itself until it comes together, drizzling in more water as needed to moisten any dry patches.

  4. Pat the dough into a slab about 1/2" thick, wrap, and refrigerate for at least 1 hour.

  5. To make the filling: Use a mixer to beat the eggs, brown sugar, and salt until smooth. Add the maple syrup, vinegar, melted butter, and vanilla and beat until thoroughly combined.

  6. Preheat the oven to 375°F. Have on hand a lightly greased or non-stick 12-cup standard muffin pan.

  7. To assemble the tarts: Roll the dough 1/8" thick. Cut 4" circles and press them gently into the muffin tins. Fill each tart two-thirds full with the filling.

  8. Bake the tarts for 20 to 25 minutes, until the crust is golden and the filling is bubbly. Remove from the oven and cool completely before unmolding.

  9. Wrap and store in the refrigerator for up to 1 week; or freeze for longer storage, up to 2 months.

Tips from our Bakers

  • It's easier to line the wells of your pan if you do a "release cut" in your pastry circles. Cut 1" in from the edge toward the center, then overlap the cut edges to form a cup and tuck it down into place.