-
You'll want to let the filling set overnight, so make it the day before you bake the cake. Place the chocolate chips, salt, sugar, and espresso powder in a blender or food processor and pulse until finely ground.
-
Add the egg and pulse just until everything is well combined; the mixture may start to form a cohesive mass.
-
Heat the cream in a bowl in the microwave, or in a pan set over medium-high heat. Heat until the cream’s just short of a full rolling boil; it should be bubbling vigorously around the edges, with larger bubbles rippling across the interior. The temperature should be at least 205°F. If the cream's not hot enough it won't cook the egg, and the filling won't set properly.
-
Turn on the blender or processor, and slowly add the cream. Scrape down the sides of the container if necessary. Add the vanilla, or liqueur of your choice, and pulse to blend.
-
Pour the pudding into a shallow bowl, and refrigerate it until chilled and thickened, 2 hours to overnight.
-
Preheat the oven to 350°F. Lightly grease two 8" x 2" round cake pans. Line them with 8" parchment circles, if desired, and grease the parchment; this step will ensure your cake's crumble-free turnout from the pan.
-
To make the cake: Whisk together the dry ingredients.
-
Add the eggs, oil, and vanilla; beat on medium speed for 2 minutes, scraping the bottom and sides of the bowl.
-
Stir in the water; the batter will be thin.
-
Pour the batter into the two prepared pans.
-
Bake the cakes for 35 to 45 minutes, or until a toothpick inserted into the center comes out clean.
-
Remove the cakes from the oven. Cool them for 15 minutes, then turn them out of the pans to cool completely on a rack.
-
To make the icing: Combine the cream and chocolate in a microwave-safe bowl or in a saucepan. Heat until the cream is steaming and showing small bubbles around the edge.
-
Remove the chocolate/cream from the microwave or burner, and stir until the chocolate is melted and the mixture becomes completely smooth, with no lighter areas remaining visible.
-
Refrigerate the icing for 30 minutes. Beat the chilled icing briefly, until it thickens a bit and becomes spreadable.
-
To assemble the blackout cake: Cut the domed tops off both cake layers; these will become your crumb coating.
-
Place one layer on a serving plate. For best presentation, lay strips of parchment around the edge of the plate before laying the cake on top; these will catch the inevitable icing drips, and can be removed once you're done icing the cake.
-
Top the cake with the filling, spreading it evenly to the edges.
-
Center the second layer of cake atop the filling.
-
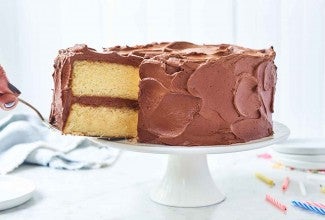
Spread the icing over the top and onto the sides of the cake.
-
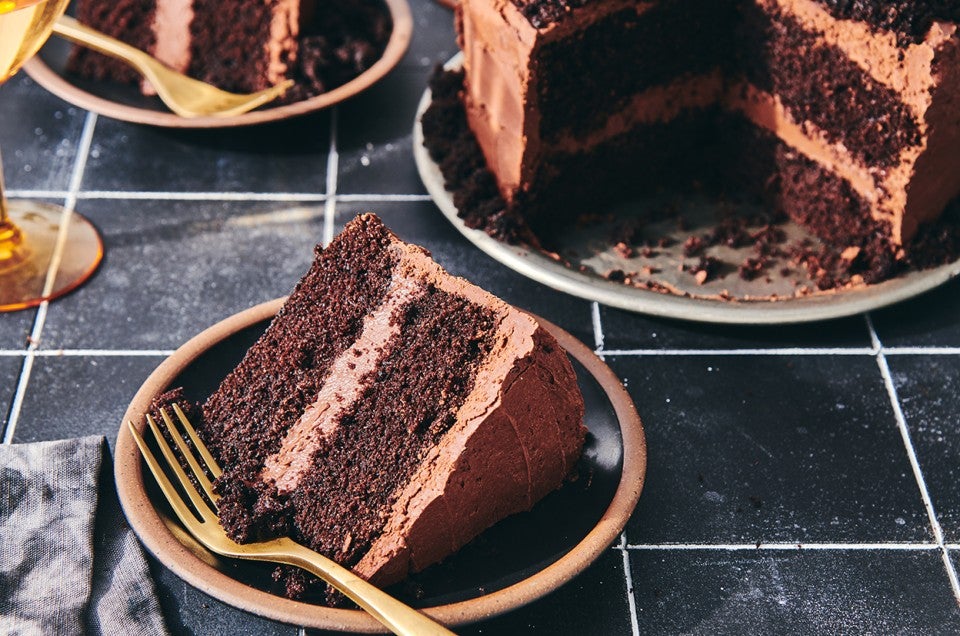
Crumble the reserved cake, and gently press it onto the top and sides of the assembled cake.
-
Serve immediately, or within a couple of hours. For longer storage, refrigerate. This blackout cake is best served the same day it's made, or within 24 hours. Freeze, well-wrapped, for longer storage. You may also choose to freeze individual slices — for those times when you HAVE to have a piece of chocolate cake!
