Black Cocoa Halloween Cookies

Black Cocoa Halloween Cookies

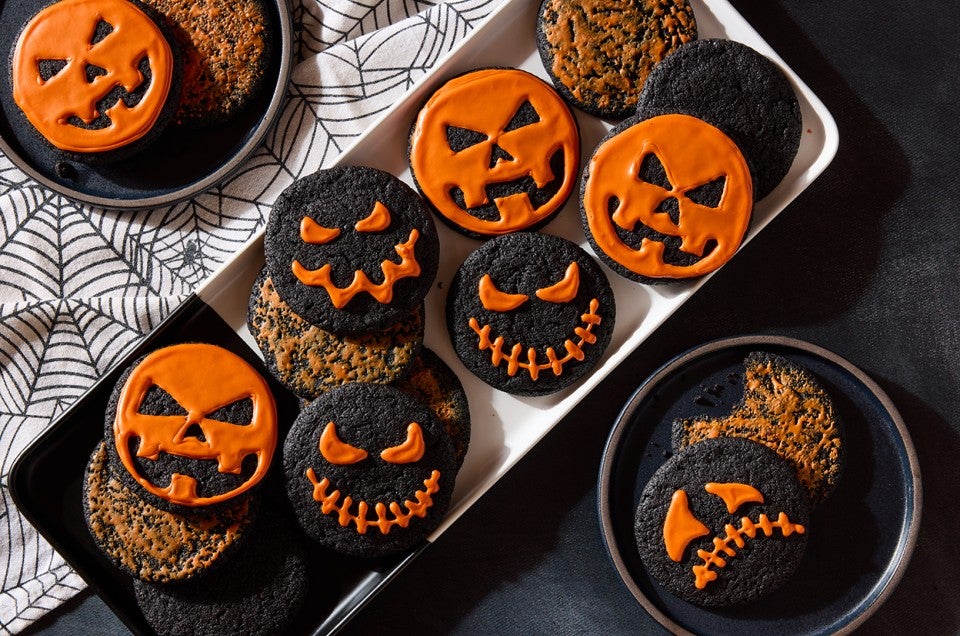
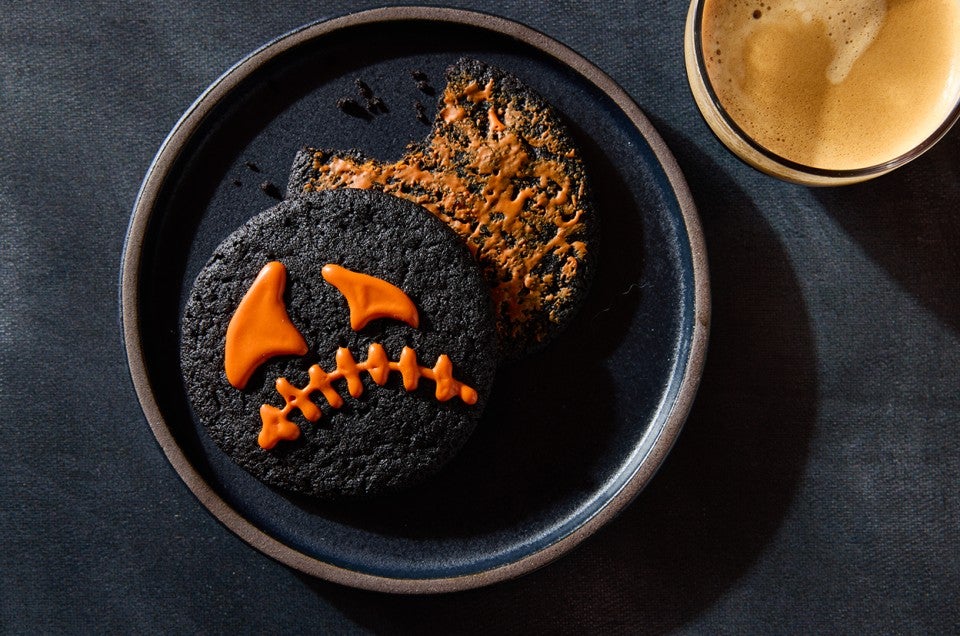
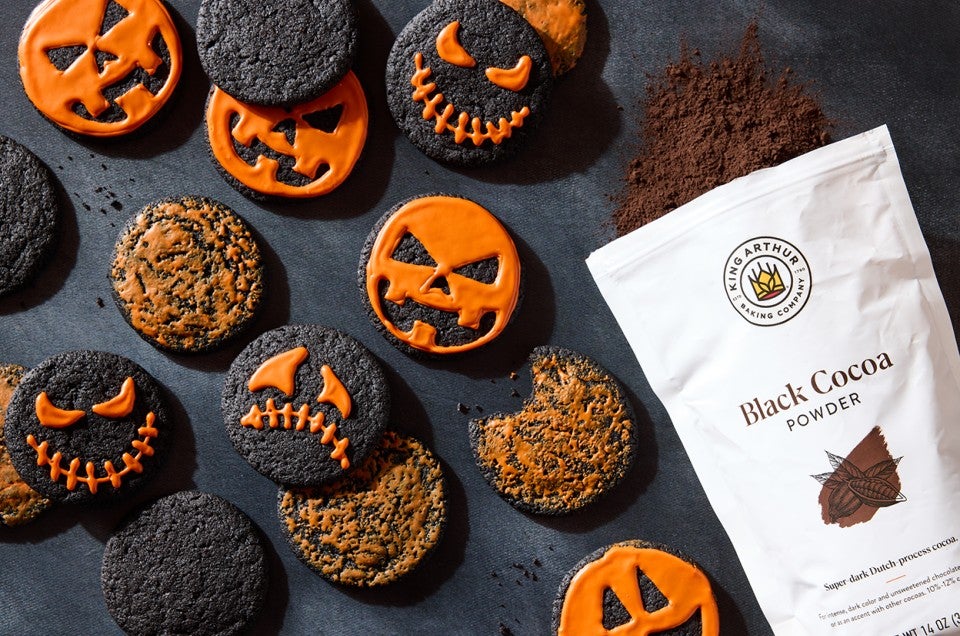
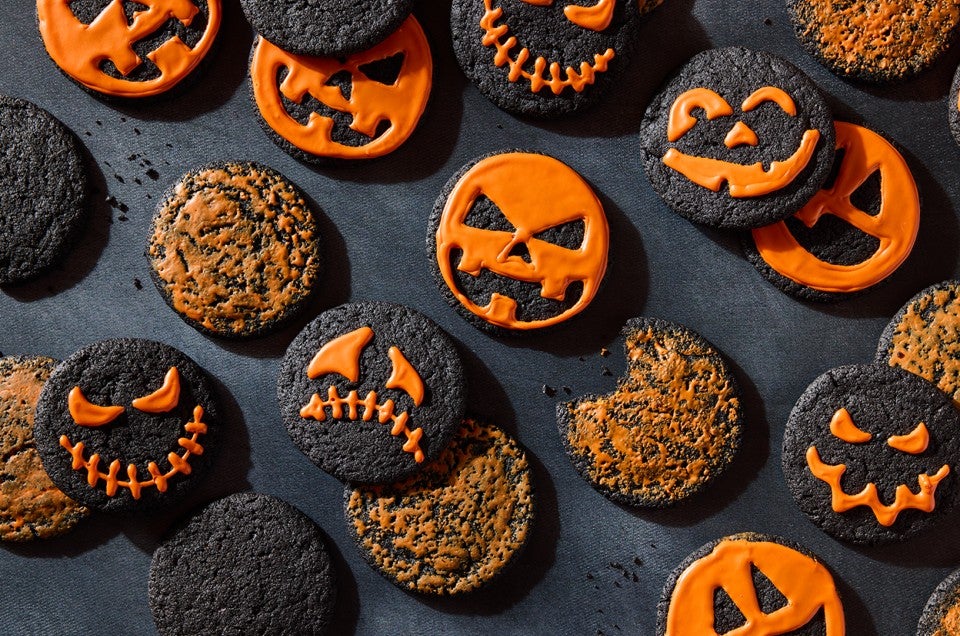
These light and crisp Halloween cookies are loaded with cocoa and finished with an orange glaze. You can decorate them quickly (with a brush of glaze) or not-so-quickly (with a detailed piping of a jack-o'-lantern face). Whatever path you choose, don’t skip the black cocoa, which is the source of the Oreo-like flavor and striking black-as-night appearance. 
Prep
1 hr
Bake
28 to 32 mins
Total
2 hrs 30 mins
Yield
2 dozen 3" cookies
Black Cocoa Halloween Cookies - select to zoom

Instructions

Prevent your screen from going dark as you follow along.
  1. Preheat the oven to 325°F with a rack in the upper and lower thirds. Line 2 baking sheets with parchment.

  2. To make the dough: In the bowl of a stand mixer fitted with the flat beater attachment or working in a large mixing bowl with an electric hand mixer, beat the butter, sugar, salt, and espresso powder on medium speed until smooth (not light and fluffy). If the butter is at room temperature, this will take 1 to 2 minutes. If the butter is cold, this will take 2 to 3 minutes.

  3. Scrape the sides of the bowl, then beat in the egg and vanilla until fully combined.

  4. Add the flour, cocoa, cornstarch, and baking soda all at once and mix until thoroughly incorporated. Scrape the bowl and mix again briefly.

  5. Scoop the dough by the tablespoonful (about 24g each) and roll into balls; a level tablespoon cookie scoop works well here.

  6. Place the balls of dough on the prepared baking sheets, leaving 1 1/2" between them.

  7. Bake the cookies for 28 to 32 minutes, rotating the pans from top to bottom and back to front halfway through. The cookies are done when the edges and centers are firm and crisp; avoid soft centers.

  8. Remove the cookies from the oven and allow them to cool completely before decorating, about 45 minutes.

  9. To make the glaze: In a very small microwave-safe bowl, combine the entire packet of natural orange food coloring with the vanilla and 2 teaspoons water. Stir together and microwave in 5-second intervals until the color has dissolved and the mixture is smooth.
     

  10. In a separate small bowl, place the confectioners’ sugar then pour the orange liquid over the top; stir to combine. Add the remaining 3 teaspoons water, 1/2 teaspoon at a time, until the glaze has a thin, paint-like consistency (see “tips,” below for instructions on how to make a pipeable glaze).

  11. Use a pastry brush to apply a thin coating of glaze to every cookie. Allow the cookies to rest at room temperature, undisturbed, for 10 to 15 minutes until set.

  12. Storage information: Store leftover Halloween cookies, covered, at room temperature for several days. Freeze unglazed cookies for longer storage; freezing glazed cookies is not recommended.

Tips from our Bakers

  • If you don’t have any black cocoa powder on hand, substitute an equal amount of your favorite cocoa powder in a pinch. Note that the cookies won’t have the same dark chocolate intensity in flavor or appearance.  

  • Piping and flooding pumpkin faces onto the entire batch of cookies will require a big batch of glaze. Using the following quantities, prepare the glaze as directed:

    • 2 packets natural orange food coloring
    • 2 teaspoons King Arthur Pure Vanilla Extract
    • 4 to 6 teaspoons water, for the thick outer border of your designs
    • 2 cups (227g) confectioners’ sugar, sifted if lumpy

    After piping the outline of your design on the cookies, add an additional 2 to 3 teaspoons of water to the glaze for a thinner consistency that can be used to flood the interior of the designs. For details on decorating, see our blog post, Cookie decorating techniques
     

  • Liquid or gel color can also be used to color the glaze. If using this type, omit the vanilla extract, and add the color directly to the confectioners’ sugar and water; adjusting color and water amounts as needed.