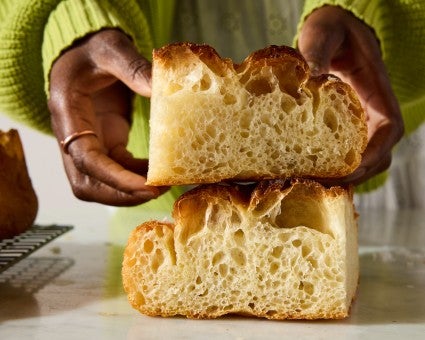


With its fluffy interior and crisp exterior, focaccia is best served the day it’s made. After 24 hours, what was once a tender and airy bread has transformed into something dry and dense. The brittle bubbles and crisp edges have lost all their signature snap and characteristic crunch. It’s hard to imagine that the focaccia you couldn’t stop snacking on yesterday is the same, stale bread that’s on your counter today.
During the months and months that the Test Kitchen was hard at work developing Big and Bubbly Focaccia (our 2025 Recipe of the Year!), I ate more than my fair share of focaccia — and found myself with lots of leftovers. Sandwiches were a natural solution, but I was still faced with the downside of dry day(s) old focaccia: The crust had turned hard and tough, making it difficult to bite, and the interior crumb dried out. But thankfully, I found a solution that makes any focaccia sandwich — no matter how old the bread — a real winner: I started turning my leftover focaccia inside out.

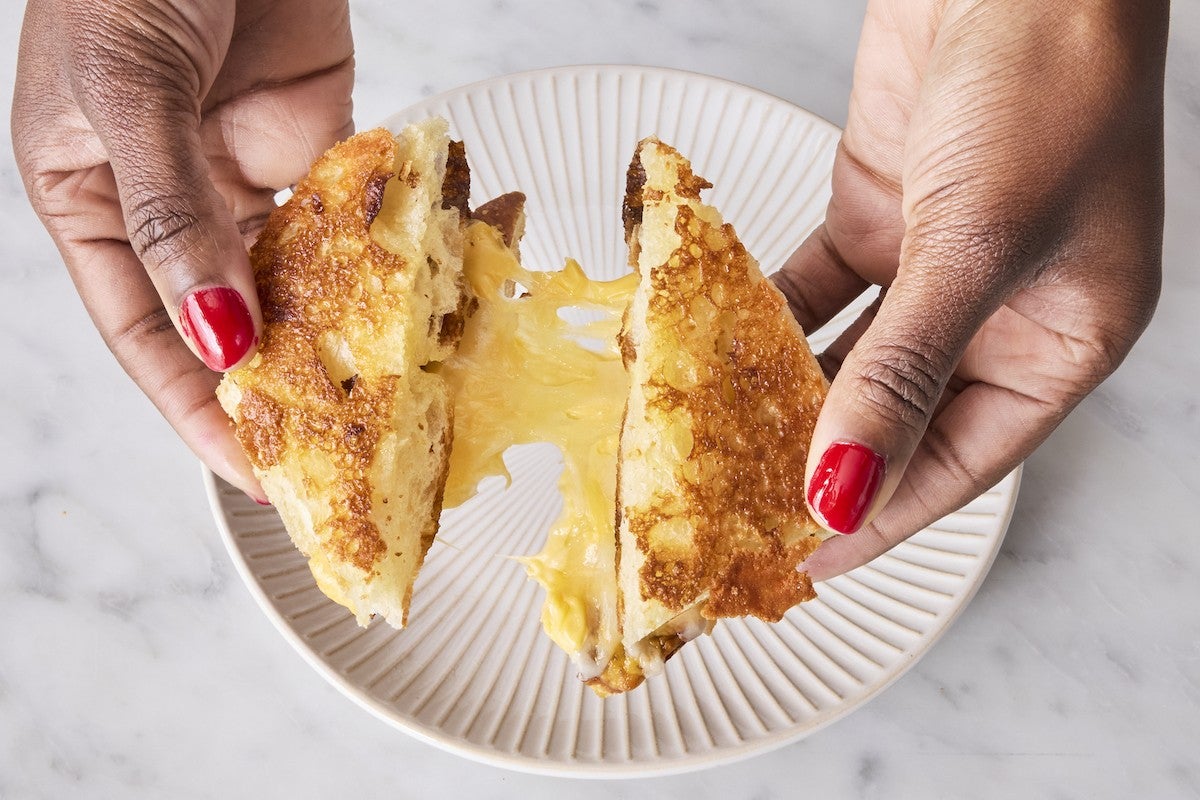
Making a grilled cheese (or any other type of griddled sandwich) with this technique breathes new life into your old bread. The tough exterior of the bread gets softened by the sandwich fillings, and the once-dense interior crumb, once lavished with butter (or mayo) and exposed to heat, transforms into a crispy shell. And you won’t tear the roof of your mouth on an extra toasty part of the crispy exterior, since that part has been tucked inside.
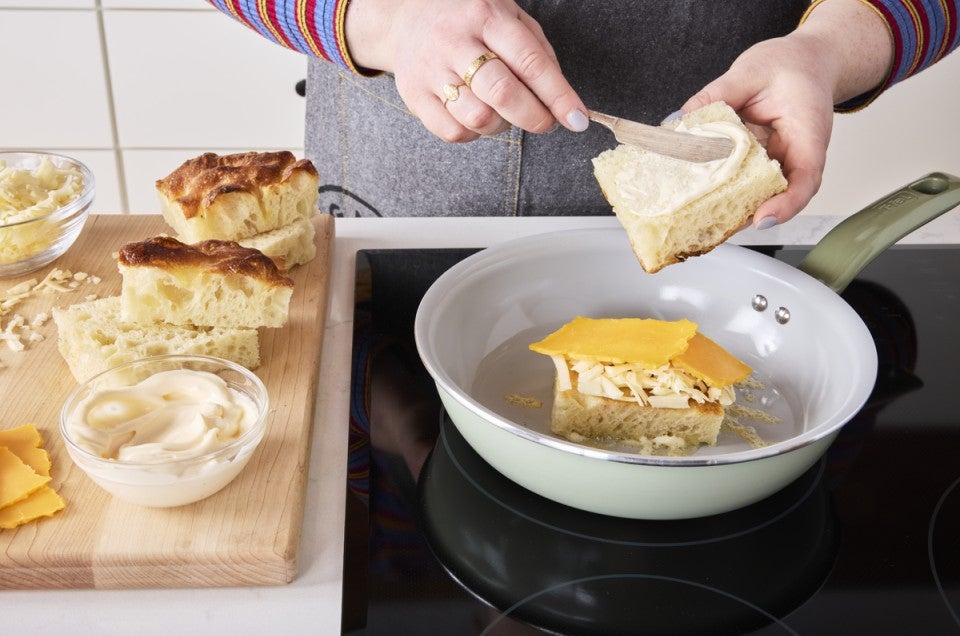
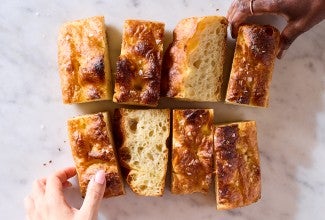
Assembly for the ultimate focaccia grilled cheese couldn’t be easier. Start by using a serrated knife to slice leftover focaccia into your desired sandwich size. Then slice the piece horizontally to create a top and bottom half. Turn the focaccia inside out so the interior crumb faces outward — these will become the top and bottom surfaces of your grilled cheese in the pan. Take the top half of the focaccia and spread a thin layer of mayonnaise or softened butter on the crumb side (the side that was originally the inside of the focaccia), then place it mayo-side down in a preheated non-stick pan over medium heat. Add your cheese to the top surface of the focaccia. (I’ve found that sprinkling shredded cheese evenly over the focaccia in the pan, then topping with sliced cheese results in the best cheese distribution.) Now is the time to add any non-cheese components, too – sliced tomato, avocado, spinach, etc. — stack whatever your heart desires!
For the second half of focaccia, spread a thin layer of mayonnaise or softened butter on the crumb side and place it mayo-side up on top of the cheese-covered half. Press down on the sandwich with a spatula and cook until the bottom layer of bread is golden brown. Carefully flip the sandwich, pressing down again, and cover the pan with a lid. Continue cooking until the second side is golden, and the cheese has thoroughly melted. Remove from the pan, let cool slightly, and slice to serve.

Be sure to keep the heat medium low to medium and keep the pan covered; cooking the sandwich low guarantees that everything will be melted throughout. Because the sandwich can get quite tall when you’re building it, don’t be afraid to firmly compress the sandwich with a spatula while cooking so you’ll be left with a sandwich that you can actually fit in your mouth.
One final tip: If you’re making a grilled cheese out of what was a corner piece of focaccia, rotate the pieces of horizontally sliced focaccia so that the same corners are at opposite sides. Sometimes the corners of the 9" square baked focaccia will be a little less tall/more sloped, so I found it best during grilled cheese testing to rotate so a sloped-corner is paired with a higher-risen interior corner.
I used to think day-old focaccia was just a shadow of its former self but turning it inside out for a grilled sandwich is a simple trick that transforms lackluster leftovers into delicious creations that celebrate every last bite of your bread. First, you’ll need some focaccia — watch this video to learn all the best tips!
Cover photo by Patrick Marinello; food styling by Yekaterina Boystova.


